I Tested And Reviewed 10 Best Paint To Use On Kitchen Cabinets (2023)
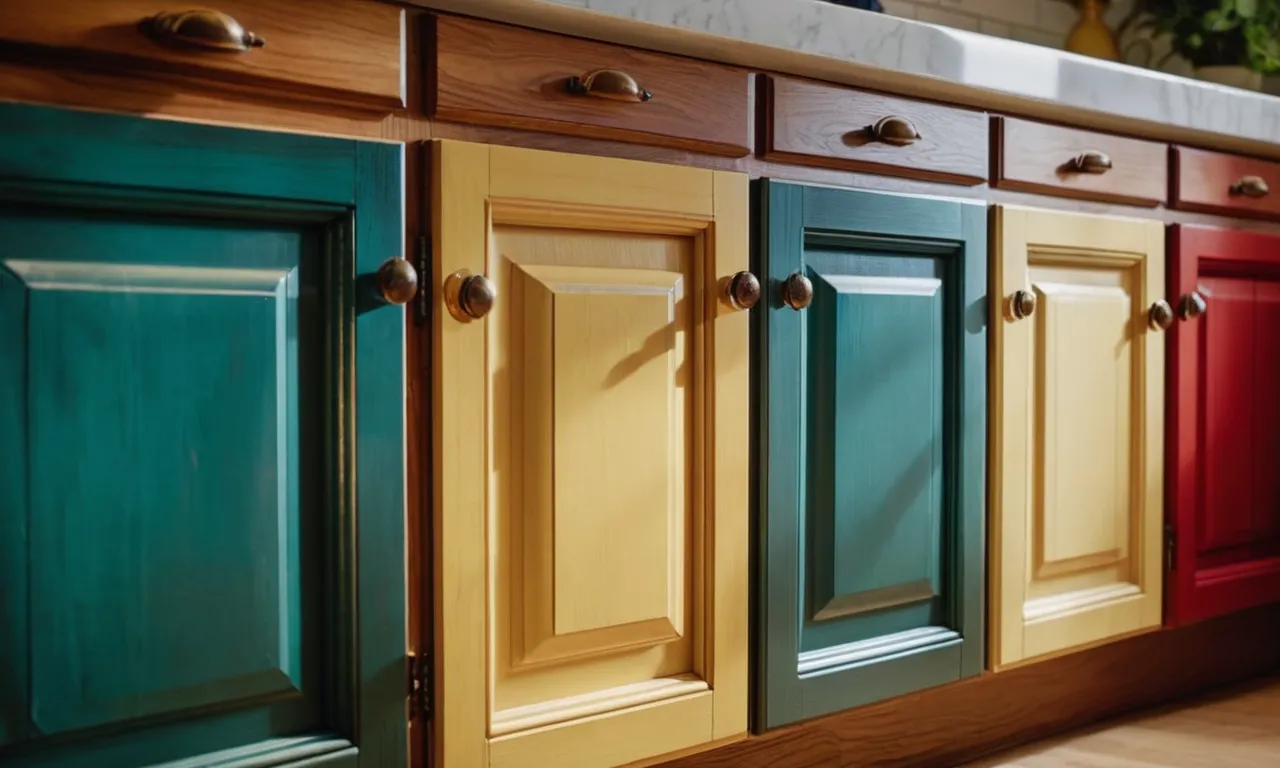
Choosing the right paint for your kitchen cabinets can be overwhelming with the many options available today. With some key considerations in mind, you can select a top-quality paint that will give your kitchen a fresh, updated look.
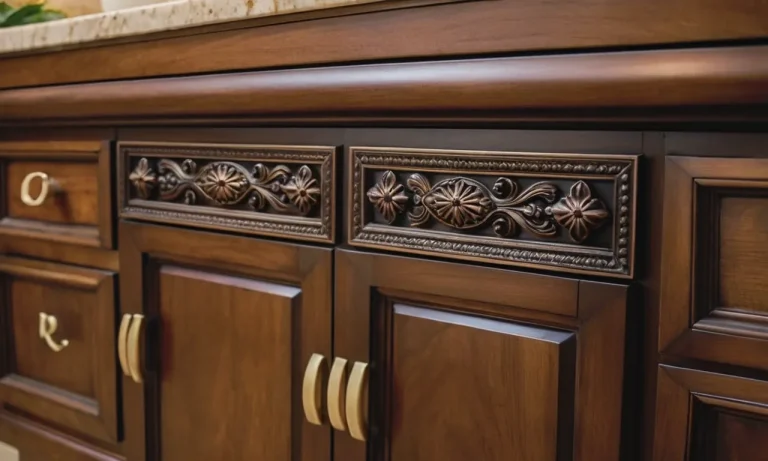
When selecting cabinet paint, durability and finish are two critical factors. The kitchen is a high-traffic area and the chosen paint should stand up to frequent use without chipping or peeling. Look for paints designed specifically for cabinetry, as they contain resins that cure to a harder finish. How shiny or matte you want the end result is also an important determining factor.
Here are some key questions to ask yourself during the selection process: What look are you trying to achieve – modern, rustic, elegant? Do you prefer a glossy or more muted finish? What kind of activities occur in your kitchen? How much wear and tear will the cabinets need to withstand? What's your budget? Answering these questions will help narrow the options.
With some careful thought and preparation, you can achieve a painted kitchen cabinet look that suits your personal style and provides durability to withstand busy kitchen environments. Confidently do your research to find the ideal cabinet paint for your next kitchen upgrade.
10 Best Paint To Use On Kitchen Cabinets
| # | Product Image | Product Name | Product Notes | Check Price |
|---|---|---|---|---|
|
1
|
 |
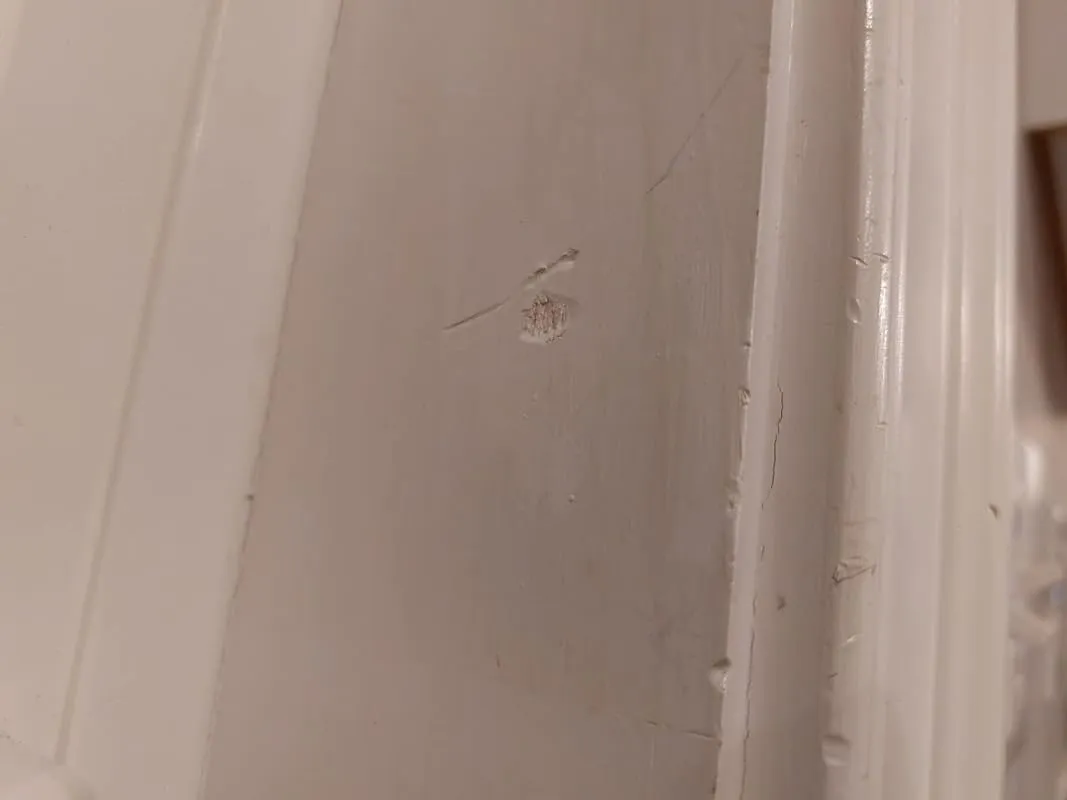
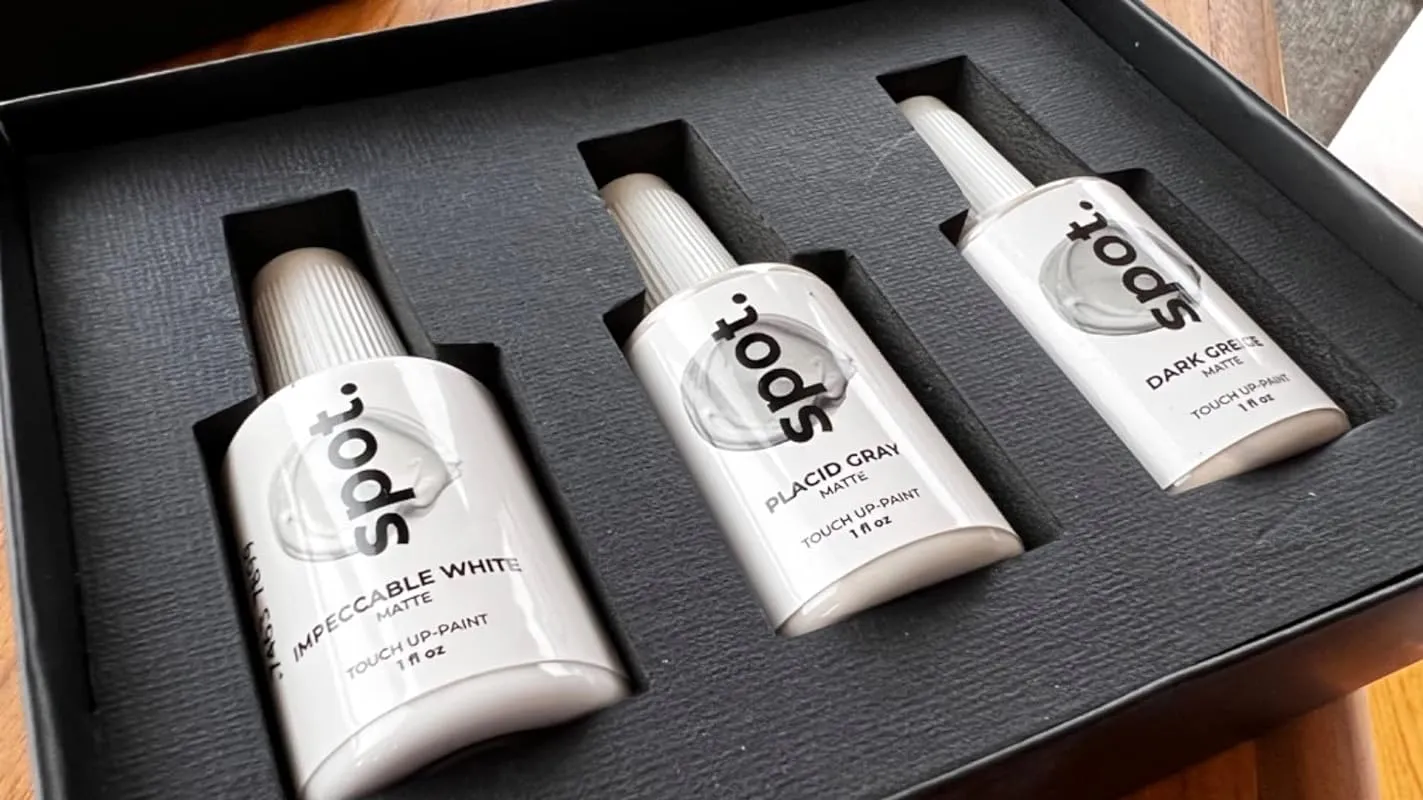
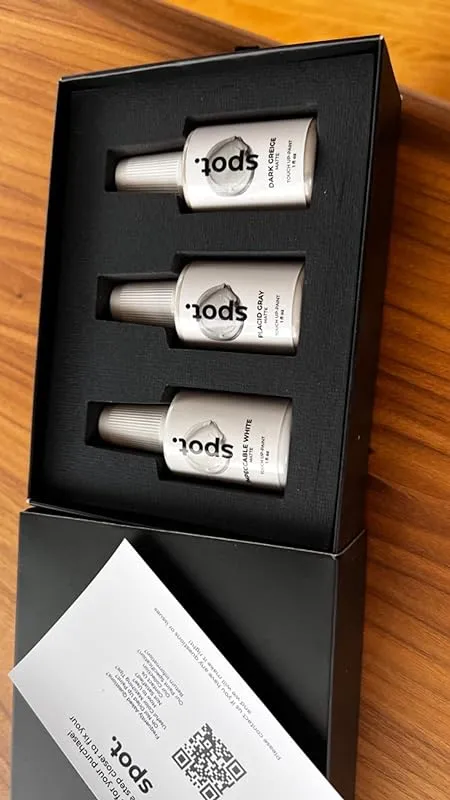
The product is ideal for touch-up painting needs in rental and home repairs, including walls, trim, cabinets, furniture, and shutters.
|
|
|
|
2
|
 |
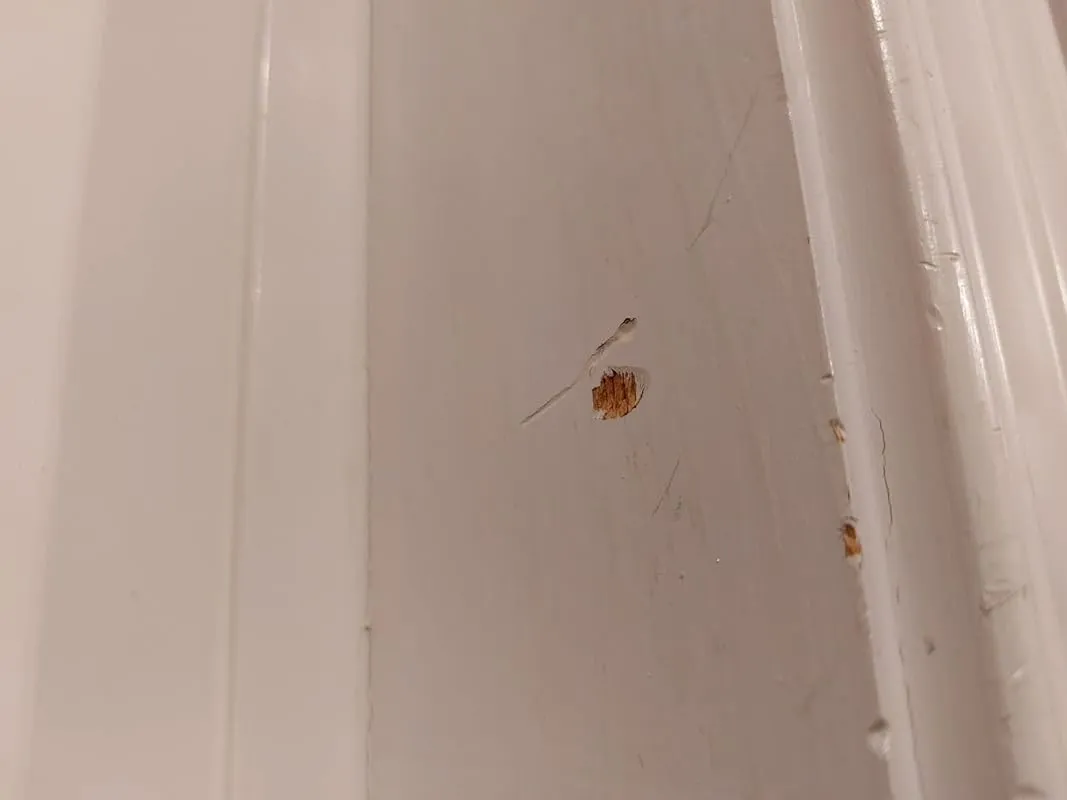
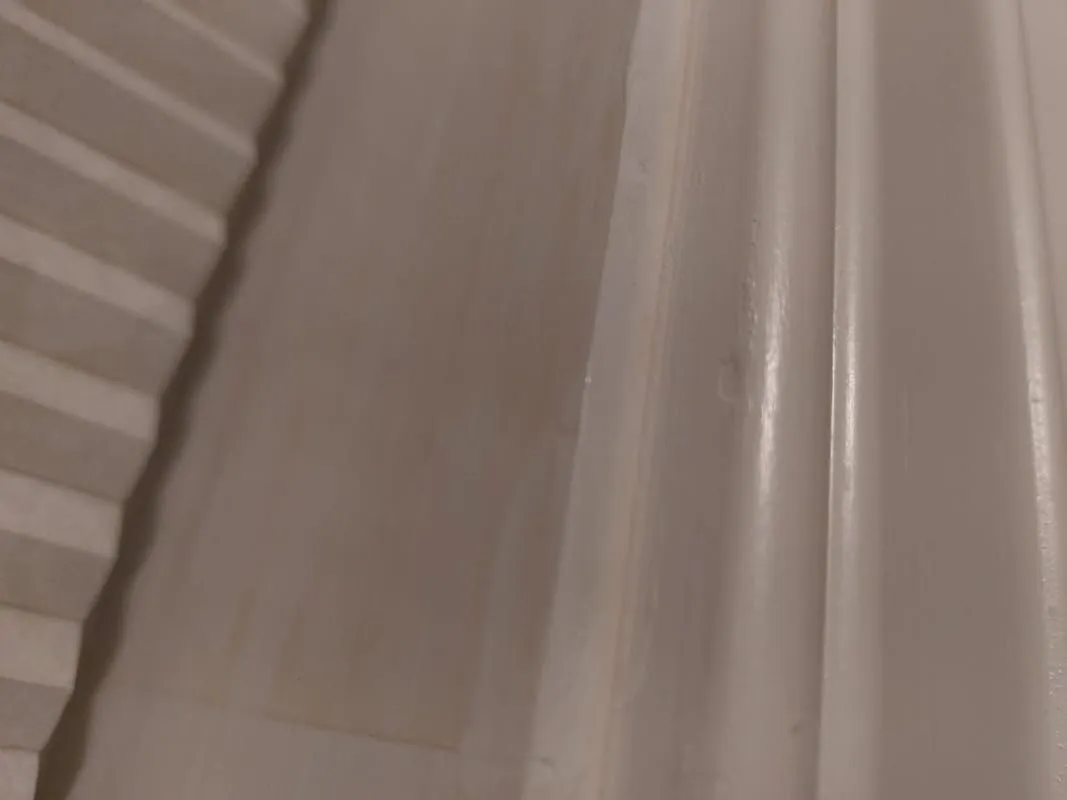
The product is ideal for touch-ups and covering imperfections on cabinets, walls, windows, doors, and furniture.
|
|
|
|
3
|
 |
The product is ideal for painting various surfaces such as furniture, cabinets, metal, tiles, PVC, ceramics, both indoors and outdoors.
|
|
|
|
4
|
 |
The product is ideal for repainting cabinets and trim, providing a durable and attractive finish.
|
|
|
|
5
|
 |
The product is ideal for painting and restoring appliances, providing a glossy, durable finish.
|
|
|
|
6
|
 |
The product is ideal for repairing and touching up various interior and exterior surfaces.
|
|
|
|
7
|
 |
The product is ideal for painting appliances to give them a smooth, glossy finish.
|
|
|
|
8
|
 |
The product is ideal for refinishing tubs, tiles, and sinks in bathrooms or kitchens with a semi-gloss white finish.
|
|
|
|
9
|
 |
The product is ideal for providing a protective topcoat on various interior surfaces and home decor items.
|
|
|
|
10
|
 |
The product is ideal for painting kitchens and bathrooms with a durable white semi-gloss finish.
|
|
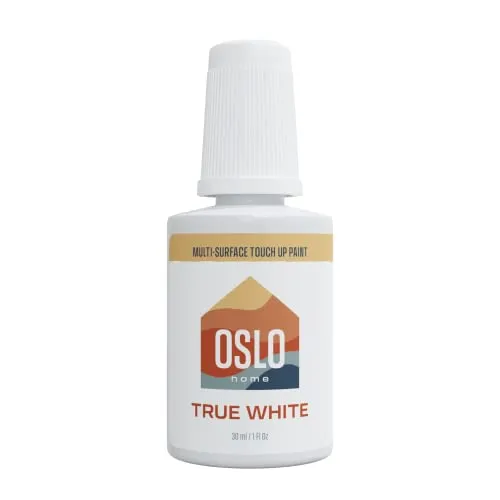
1. True White Touch Up Paint – Perfect For Home Repairs!
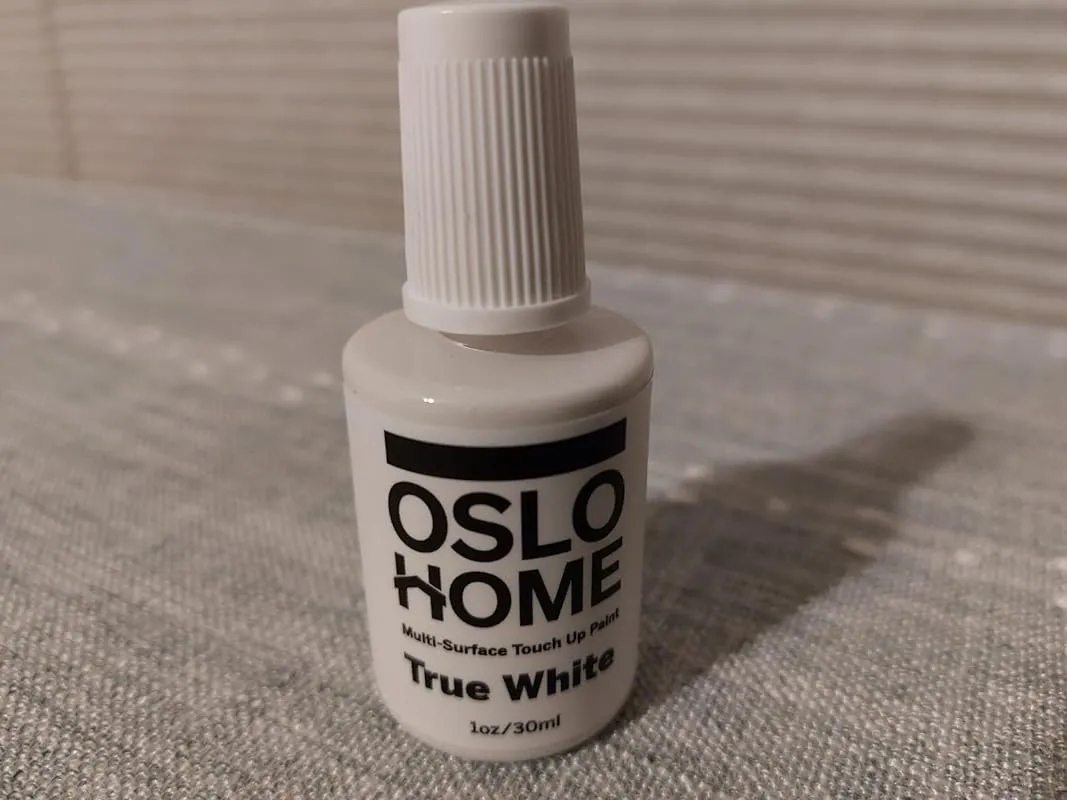
I recently purchased the Oslo Home Touch Up Paint to fix some minor nics on the inside edge of my refrigerator, and I must say, I am extremely satisfied with the results. The product arrived promptly and was well packaged, ensuring that it reached me in perfect condition.
Using the Oslo Home Touch Up Paint was a breeze. The small nics along the seam of my refrigerator are now completely invisible, unless you actually put your head inside the refrigerator to look closely. The paint dried quickly, allowing me to complete the touch-up job efficiently and beautifully.
Not only did this product work wonders for my refrigerator, but it also proved to be effective for other areas in my home. I used it to touch up the edges of my doors, and it worked flawlessly. The paint dried fast, making it perfect for quick touch-ups. I even used it on my white kitchen and bathroom cabinets, as well as the wood trims around the house, and it worked wonderfully.
The Oslo Home Touch Up Paint is incredibly easy to use. All you have to do is shake it, brush it onto the desired area, and let it dry. It even comes with its own built-in brush, which makes the application process even more convenient. I was able to fix some trim that my toddler had scuffed up in no time, and with just one quick coat, the trim looked brand new again.
I also appreciate that this paint provides excellent coverage. I had a black area on my front door, and with this product, it completely covered the blemish. The best part is that there was no mess involved, making the whole process hassle-free.
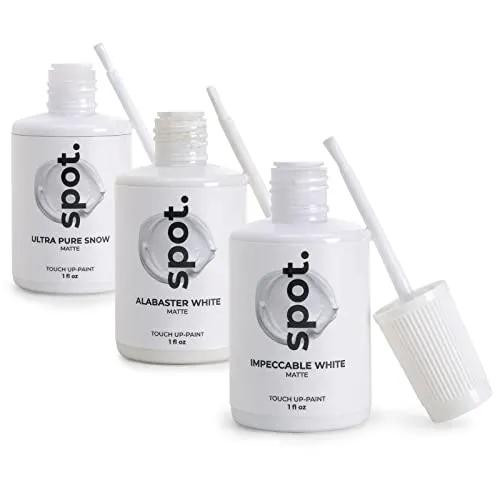
2. Surfacesaver: Cabinet Wall Door Furniture Paint Kit
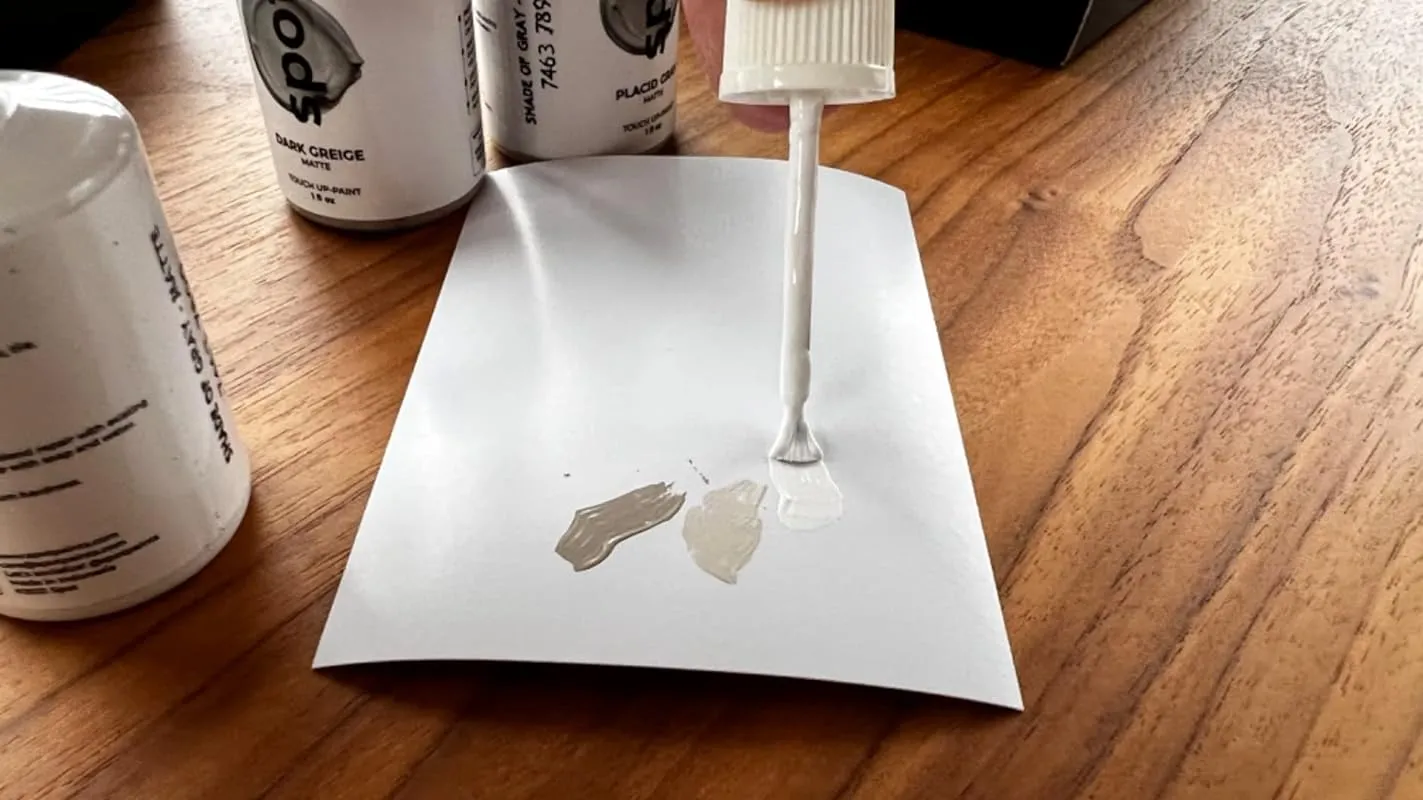
I recently purchased a set of paint touch-up jars that exceeded my expectations. Although I wasn't expecting much, I decided to give it a try since it was on sale. The product arrived well-packaged, minimizing the risk of shipping damage or leaks.
One of the standout features of this paint set is the excellent hiding power it offers. The paint has great coverage, making it easy to apply and blend seamlessly. With multiple shades available, I was able to mix and match to achieve the perfect color match for my needs. Additionally, I was pleasantly surprised that there was no detectable odor with this paint.
The only downside I experienced was that the jars were tightly packaged, making it a bit difficult to remove them from the mold. However, with a little wiggling, I was able to retrieve them without any major issues.
I purchased this set for a family member who is a real estate agent, and it has proven to be incredibly convenient for her. She now carries a quart of white paint in her car, allowing her to easily touch up small areas as needed. The compact size also enables her to keep a set in her purse and car trunk, making it ideal for renters looking to avoid losing their deposit.
Personally, I found this paint set to be exactly what I needed. When I moved into a house with all tile surfaces (floors, counters, walls), I noticed some dings that I initially mistook for dirt. However, they were eyesores that I couldn't ignore, so I decided to order this paint set. It turned out to be perfect for my needs. Even if the shade wasn't an exact match, I was able to mix and match the three shades provided to achieve a nearly flawless blend.
Furthermore, I had an event at my house where chairs left vertical scuffs and gray marks on the wall. Using the middle shade mixed with white, I was able to match my wall color almost perfectly. The application process was easy and the paint dried quickly. To ensure a seamless blend, I used a paper towel to gently blend the paint with my wall.
I must also mention that I appreciate the fact that this set includes three different shades of white. This variety has proven to be incredibly useful, as I have been able to cover nicks, holes, and areas that the painter missed. It's definitely a handy set to have on hand and I highly recommend keeping it in your drawer for any touch-up needs.
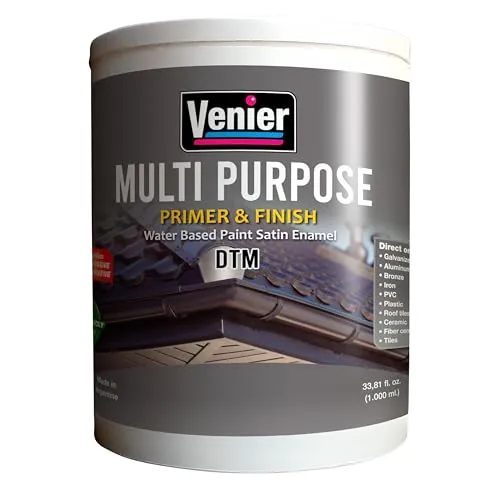
3. Venier Satin Finish Multipurpose Enamel Paint
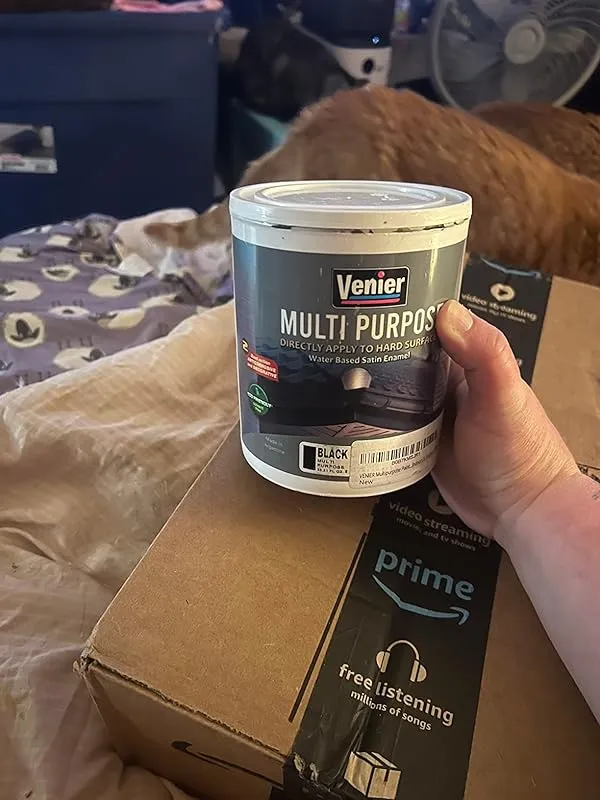
I recently tried this paint to paint my gutters, and I found it to be quite impressive. The paint dried hard and stuck well to the rust on my gutters, providing a quick fix for now. However, I would recommend sanding the surface before applying this paint, especially if there is rust present. The consistency of the paint is pretty thick, so make sure to buy more than you think you need. Overall, it is much better than the "no sand" paint that I usually use.
I also used this paint to paint the underside of my aluminum roof, and it worked flawlessly. The consistency was just right, allowing for smooth and even application. It dried smoothly and provided excellent coverage.
In addition, I decided to give this paint a try on my bathroom tiles, and I was pleasantly surprised. The paint left a super smooth and clean finish, transforming the tiles completely. I also used the remaining paint to freshen up my patio metal round table, and it now looks brand new. I noticed that this paint does not fade with sun exposure, unlike the previous one I used. It seems to be very strong and durable, which is a great advantage.
I was specifically looking for a paint that would provide a great finishing for a project I had, and this paint delivered. The coverage was excellent, and it dried within a reasonable time frame. I was highly satisfied with the results and will definitely use it again for my next project.
While I cannot speak for its long-term durability, as only time will tell, I can say that this paint has performed well so far. As long as you adequately prepare the metal surface before painting, it adheres nicely. Overall, I am happy with this paint and would recommend it.
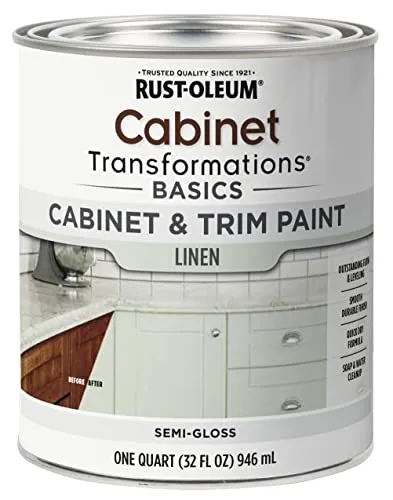
4. Rust-Oleum Cabinet & Trim Paint: Linen Transformation Kit
I recently had the opportunity to use this product for my kitchen cabinets, and I must say that I have no complaints whatsoever. Initially, I was a bit skeptical as the color appeared to be gray in the can, but much to my surprise, it dried to a beautiful black finish. I applied two to three coats on the cabinets, and the result was truly impressive. The application was smooth and even, and the coverage was excellent.
Although it's still early to determine its long-term durability, I am optimistic about its performance. I wish I had taken Before & After pictures of my kitchen, as the transformation was truly amazing. This product is definitely worth considering if you're looking to revamp your cabinets with minimal effort.
In addition to using it on my kitchen cabinets, I also used this product on my baseboards and a cabinet in the bathroom, and I am very pleased with the outcome. The paint went on smoothly and evenly, and the final result was exactly what I was hoping for.
While it did require more than one coat for optimal coverage, I found that using a primer first and applying two coats of this product did the trick. Overall, it is a good product that delivers on its promises.
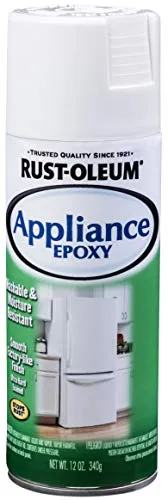
5. Rust-Oleum 7881830 Specialty Appliance Epoxy Spray Paint, 12 Oz, White
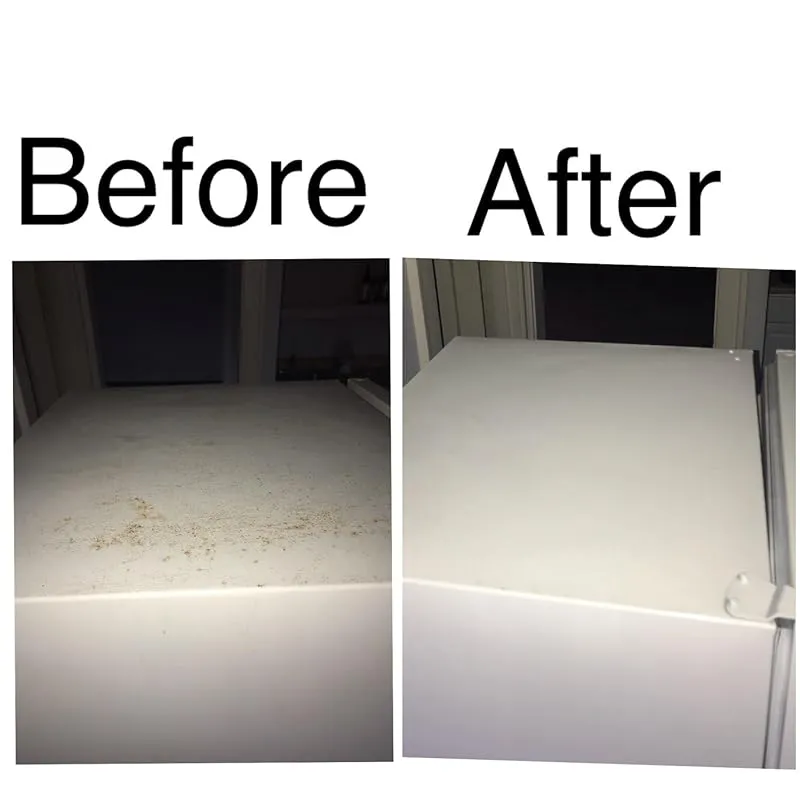

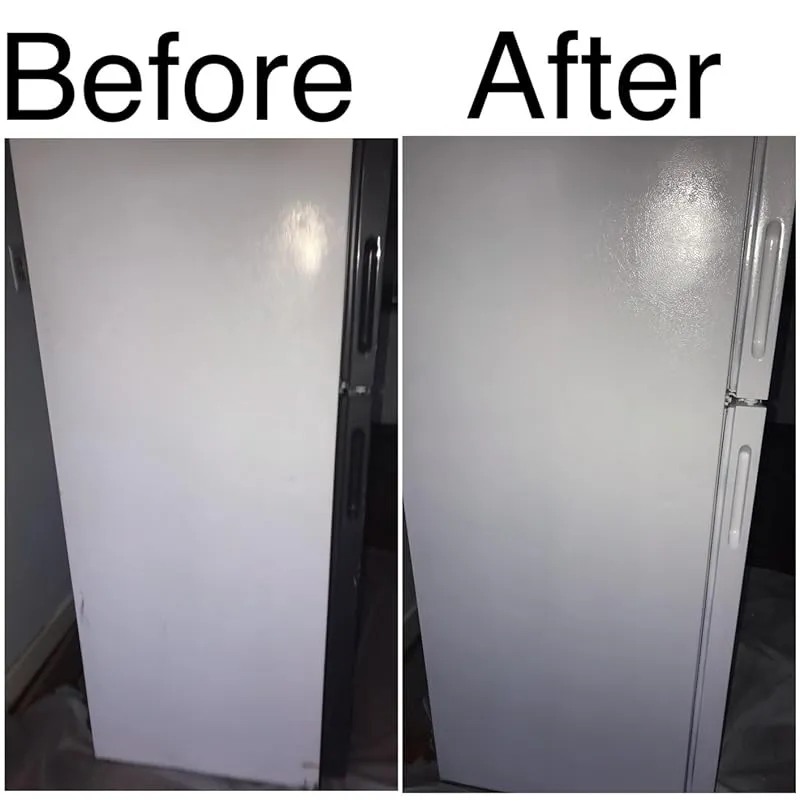
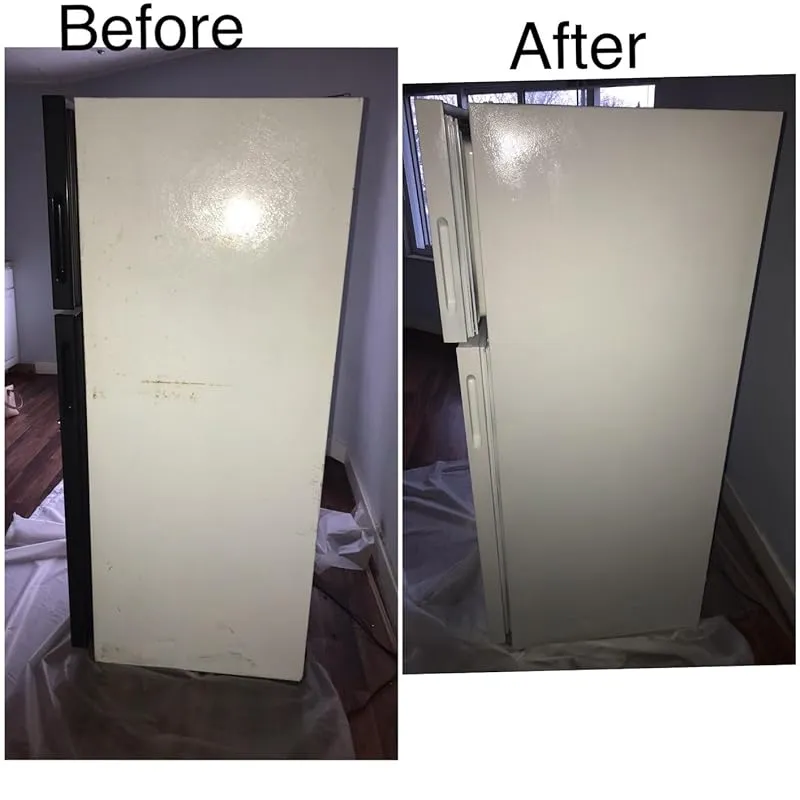
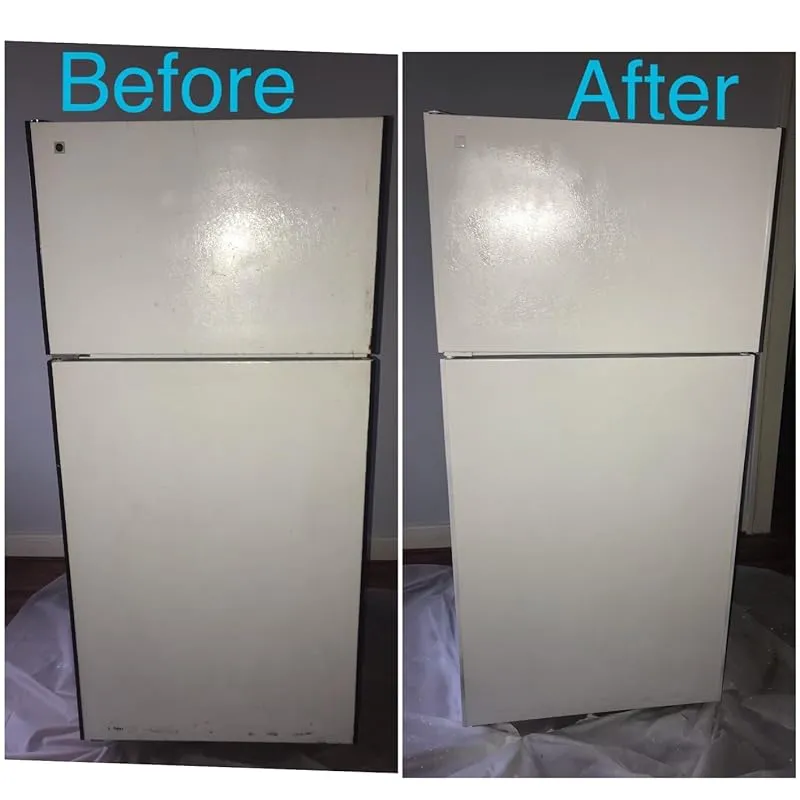
I recently used this spray paint to transform the appearance of the refrigerator in my new apartment. The refrigerator was old-fashioned and covered in rust, so I decided to give it a fresh, modern look by spraying it white.
Before starting the painting process, it is important to thoroughly clean and dry the refrigerator. It is also recommended to use a green scrubby to buff and smooth out the surface, although it is not necessary. I personally cleaned the fridge well but skipped the buffing step, and the end result was still satisfactory.
The spray paint should be shaken generously before spraying. I found that two cans were more than enough to cover the entire refrigerator with about 3-4 coats, with some paint left over. However, I had to go over the rusty spots multiple times to ensure full coverage, while the white areas with no rust only required one or two passes for blending.
Initially, I was nervous about making mistakes and ending up with a messy look, but the application process was quite simple. I started on one side, spraying quick 6-inch horizontal strokes from about 4 inches away from the fridge. As I gained confidence, I sprayed back and forth without stopping. This technique yielded excellent results.
After completing the entire surface, I immediately went over it again with vertical sprays for an even finish. For the stubborn rusty spots, I sprayed from a closer distance until they were fully covered.
One important note is to ensure thorough protection of the surrounding area. I made the mistake of only using some plastic around the fridge, but the paint spread further than I anticipated. It is advisable to cover the entire floor or, if possible, take the fridge outside for painting. Additionally, it is essential to open windows, wear gloves, and a mask due to the strong fumes. I neglected these precautions, which resulted in my smoke alarms going off and a longer cleanup process. If the paint gets on the skin, it can be easily removed with alcohol or 100% acetone.
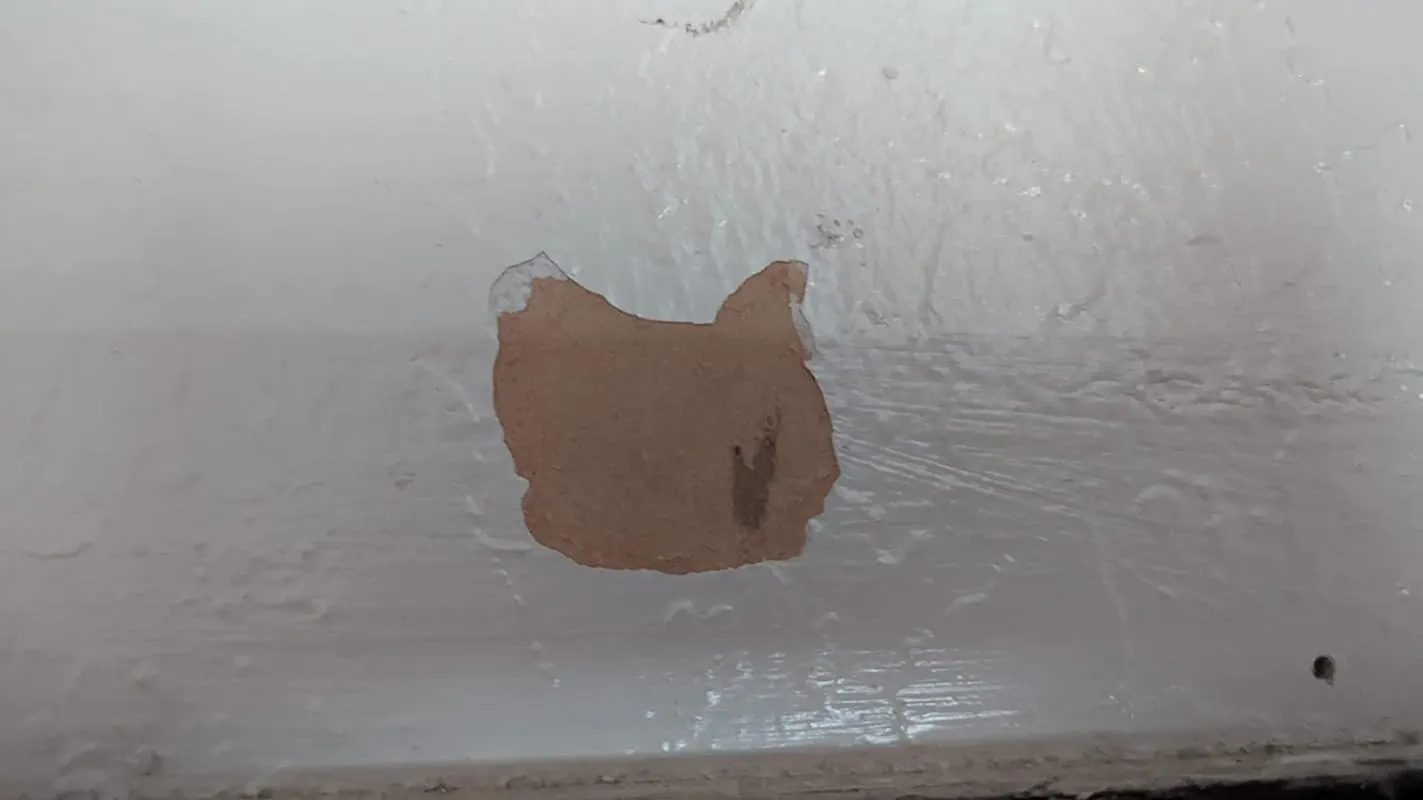
In the attached photos, you can see the before and after transformation of the refrigerator. Upon closer inspection, I noticed a small area on the left side where some black is still showing, so I will apply an additional coat to fix that. However, the paint overall did a great job of covering the rust and giving the fridge a fresh, new look.
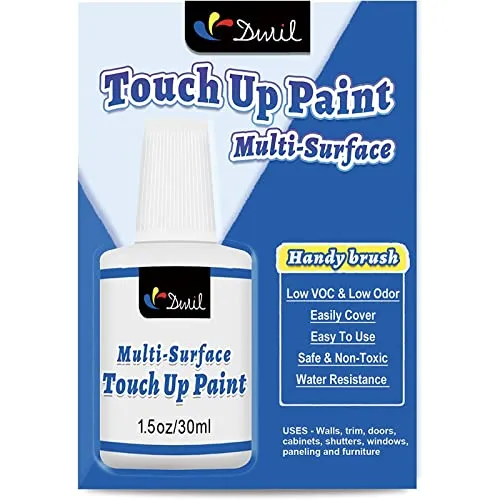
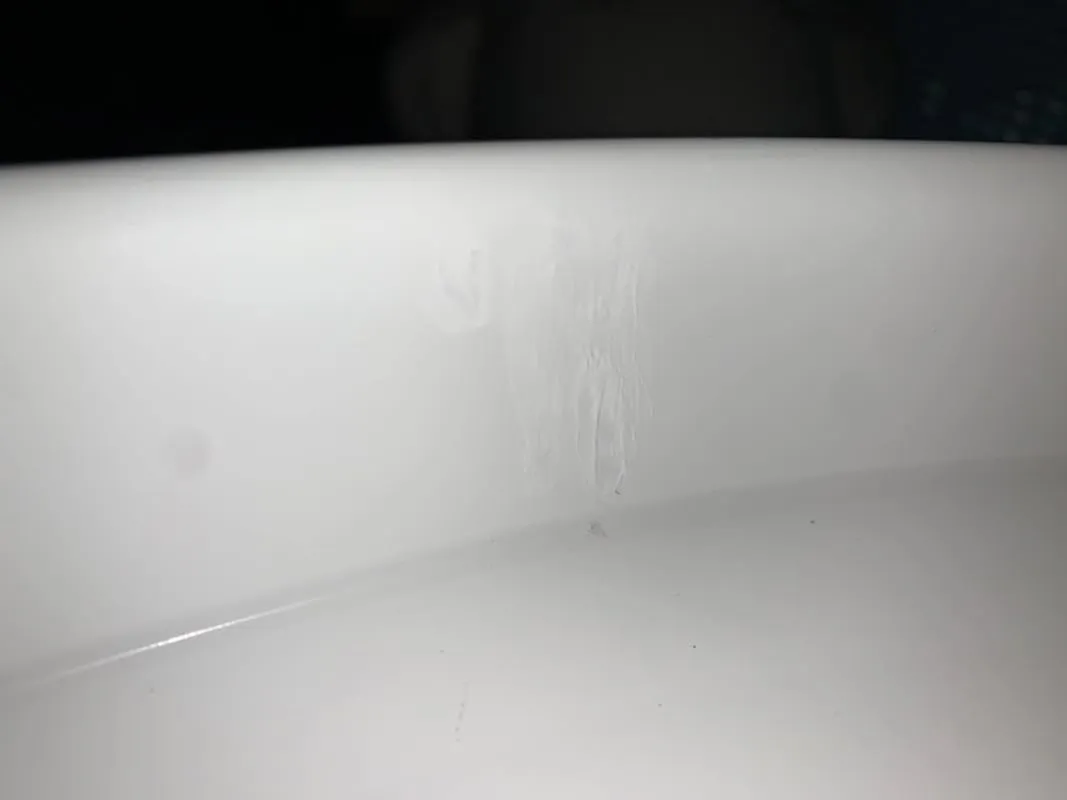
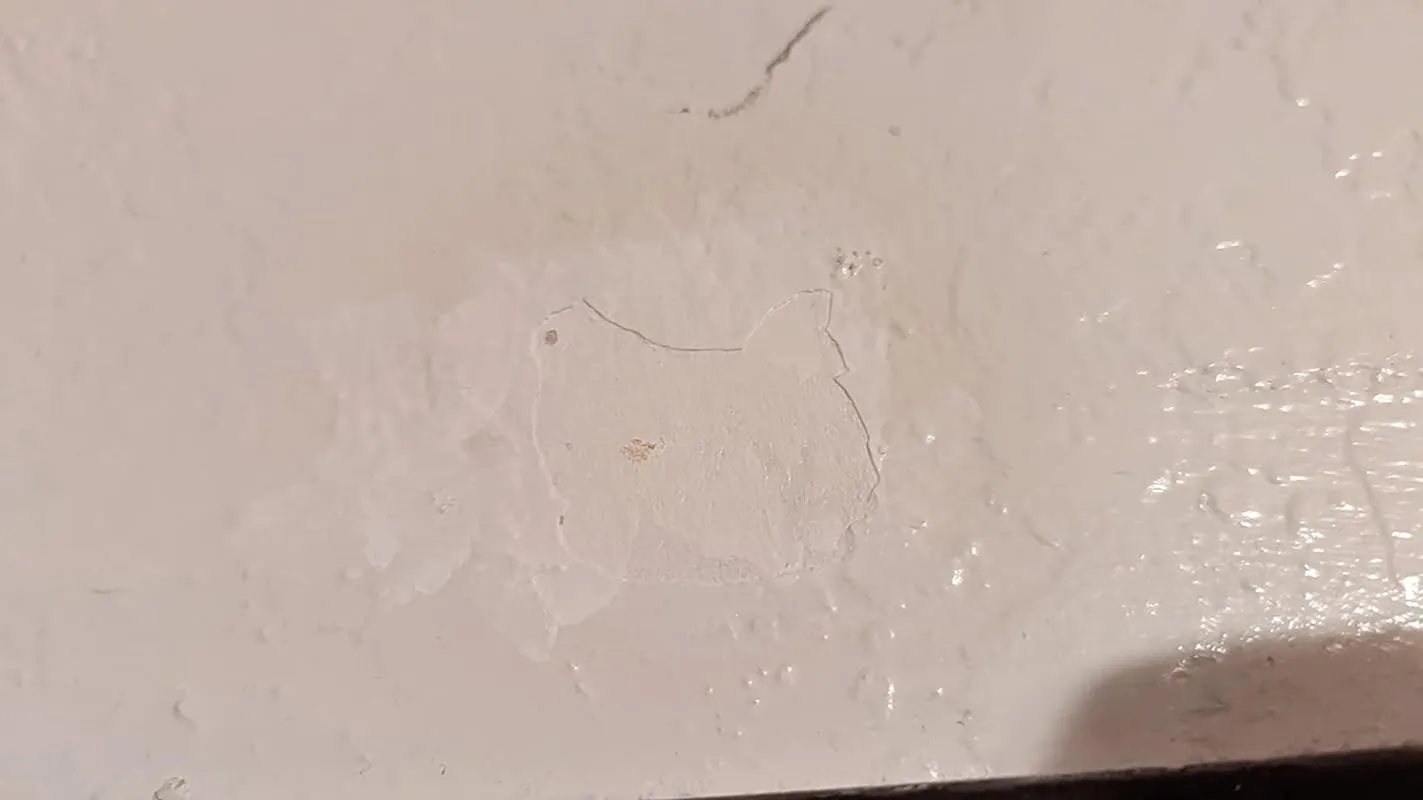
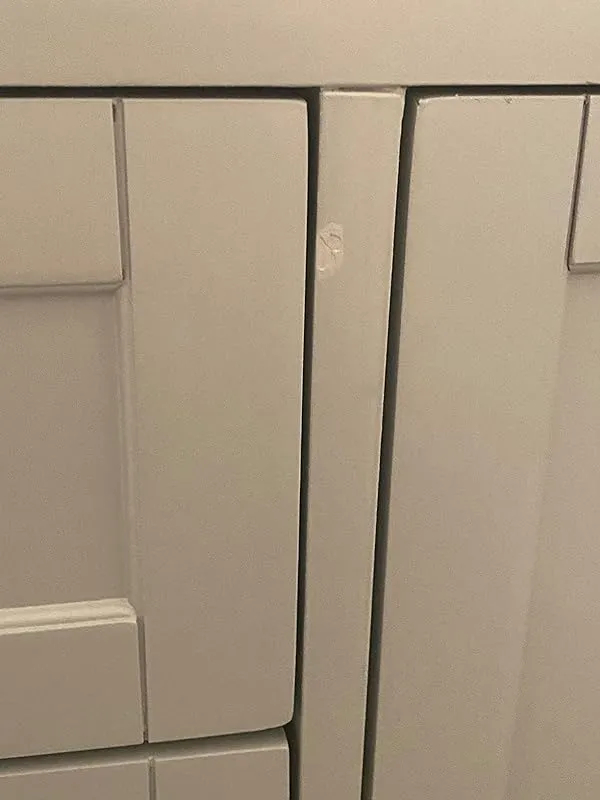
6. Dwil Multi Surface Touch Up Paint – Perfect White
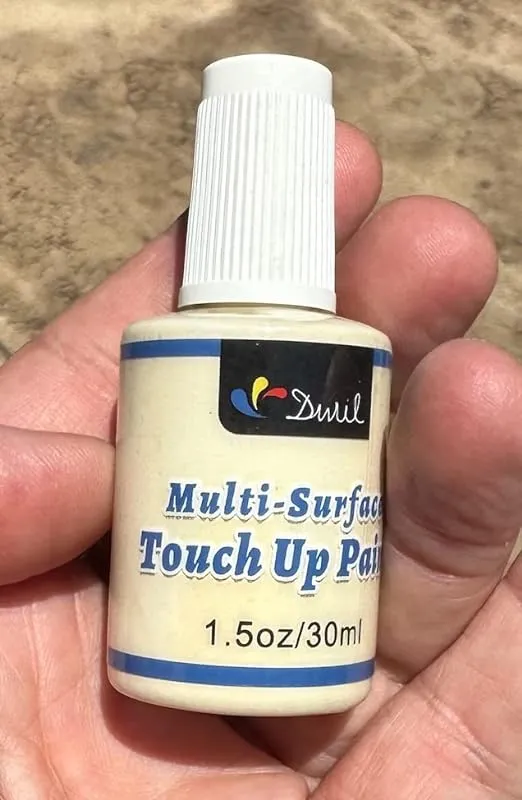
I recently purchased this touch-up paint and overall, I have mixed feelings about its performance. While it did cover the imperfections on my walls, I found that it was not as durable as other touch-up paints I have used in the past. The light yellow color I ordered turned out to be more of a dull yellow, almost tan, which was disappointing. Even in bright sunlight, the color did not appear as vibrant as I had hoped.
However, I must commend the company for their excellent customer service. After expressing my concerns, they promptly reached out to me and offered a replacement or a refund. This level of support is crucial, and I appreciate a company that is willing to go the extra mile to take care of their customers. Therefore, I have decided to change my rating to 5 stars, as good customer support is just as important as the product itself.
Moving on to the actual performance of the touch-up paint, I was pleasantly surprised. While it did not perfectly match my walls, it did a decent job of blending in and was not an eyesore. I applied multiple coats to ensure even coverage, and it did a satisfactory job in that regard. The only improvement I would suggest is to provide a different applicating brush, as the one included could be more user-friendly.
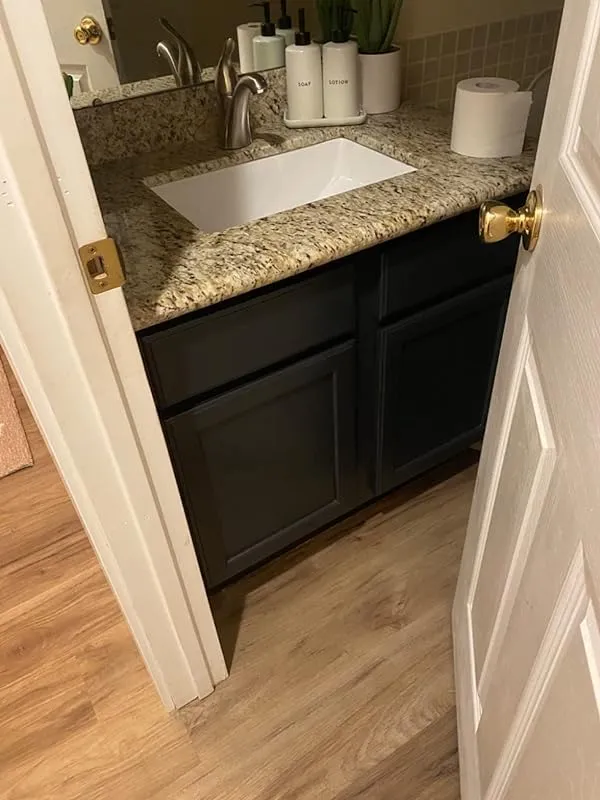
Additionally, I purchased two different shades of the paint, a darker and a lighter one. Mixing them together allowed me to touch up various surfaces in my apartment, including walls, shelves, and doors. The light grey shade was a perfect match for our bathroom vanity, and it looks amazing.
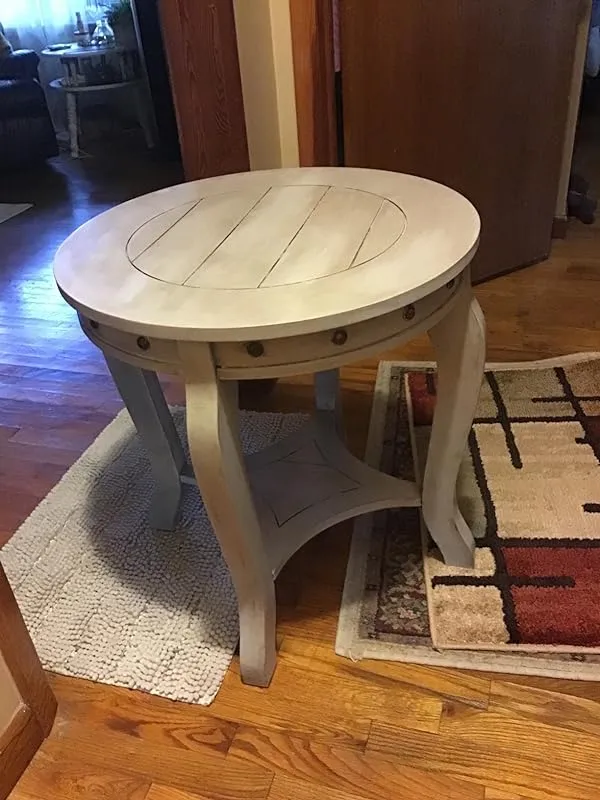
Lastly, I used this touch-up paint immediately to fix a table in our living room that had a white painted top. It worked great! The applicator brush provided smooth and precise application, effectively covering the dings in the paint. Overall, I am pleased with this product and have no complaints.
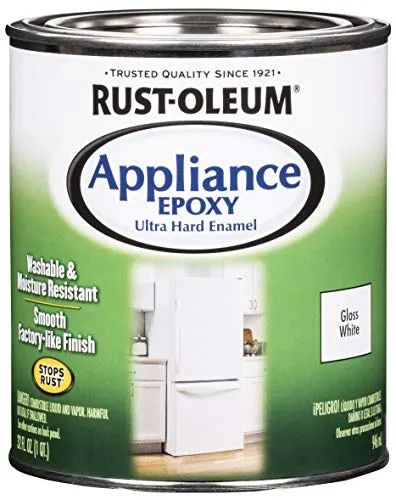
7. Rust-Oleum 241168 Specialty Appliance Epoxy Paint, Quart, Gloss White 32 Fl Oz (Pack Of 1)
I have been using this product for over four months now, and I am extremely satisfied with the results. Not only can it be used on appliances, but I have also used it on my countertops, and they still look as lovely as ever. The paint is easy to clean, highly durable, and a pleasure to see every day. Additionally, I used it on an older refrigerator that had a yellow color, and it turned out beautifully white. The transformation has made my kitchen much brighter and more cheerful to start my day.
Initially, I was not happy with my old countertops, but replacing them was not within my budget at the time. However, I decided to give this product a try, and I am so glad I did. I sanded and primed my counters with an epoxy primer, although I later realized that this product does not recommend using a primer. I applied three thin layers of the paint, allowing a couple of hours of drying time between each coat. While it is mostly self-leveling, I learned to go lightly with the roller to avoid leaving faint paint lines. After drying, there is a slight texture that I wasn't thrilled about initially, but I have gotten used to it, and it still looks much better than before. I allowed it to dry for three solid days before installing faucets and resuming regular usage. So far, it has held up well without any chips, and it appears to be very durable.
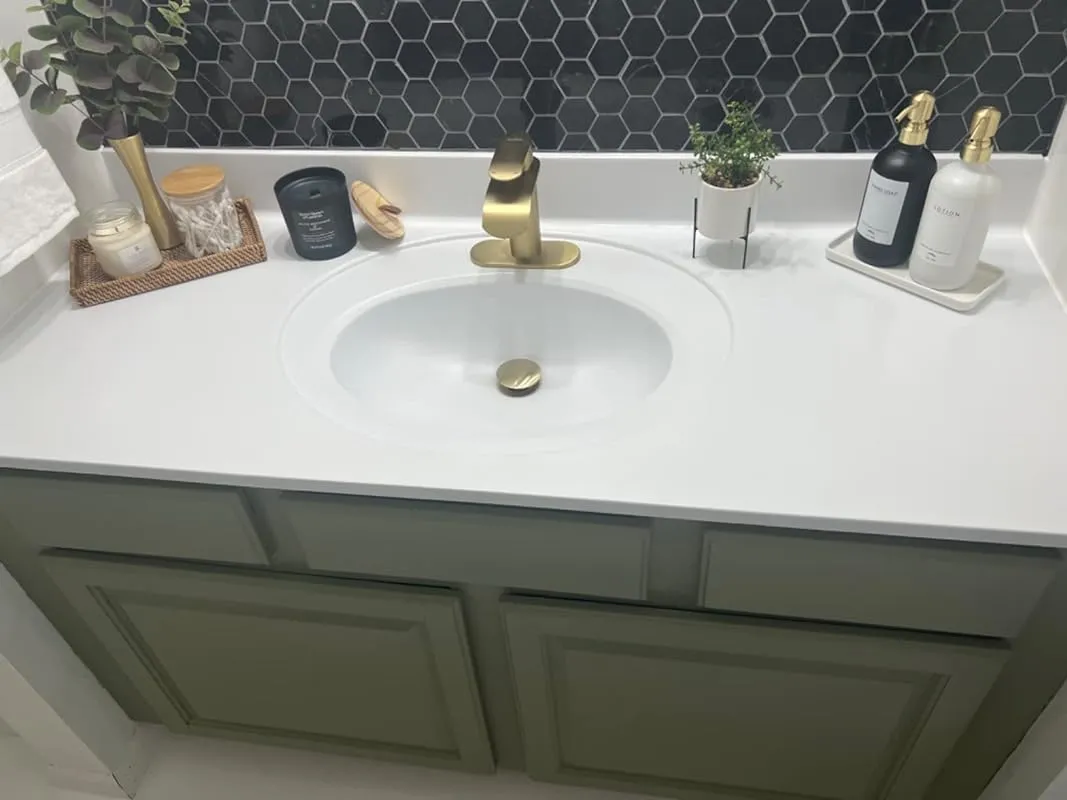
For a quick fix to spruce up my old bathroom vanity top, this product worked wonders. It applied smoothly with a foam roller, and I applied two coats, letting it dry overnight. I am truly impressed, and if it lasts for at least a year, I will be more than happy.
I used this product for painting countertops in my rental property, and it worked extremely well. We applied two coats and allowed 48 hours between coats to dry. We even placed hot pots on the countertop, and it did not scorch the paint. We used a stainless steel scratch pad to scrub the countertop, and while there were some minor scratches, they were no more visible than if we had scratched a laminated countertop. I highly recommend this product as it saved me from spending $6000 on the installation of new cheap laminated countertops. Considering the size of my kitchen, this was a significant cost-saving. I spent less than $60, and my countertops now look beautiful.
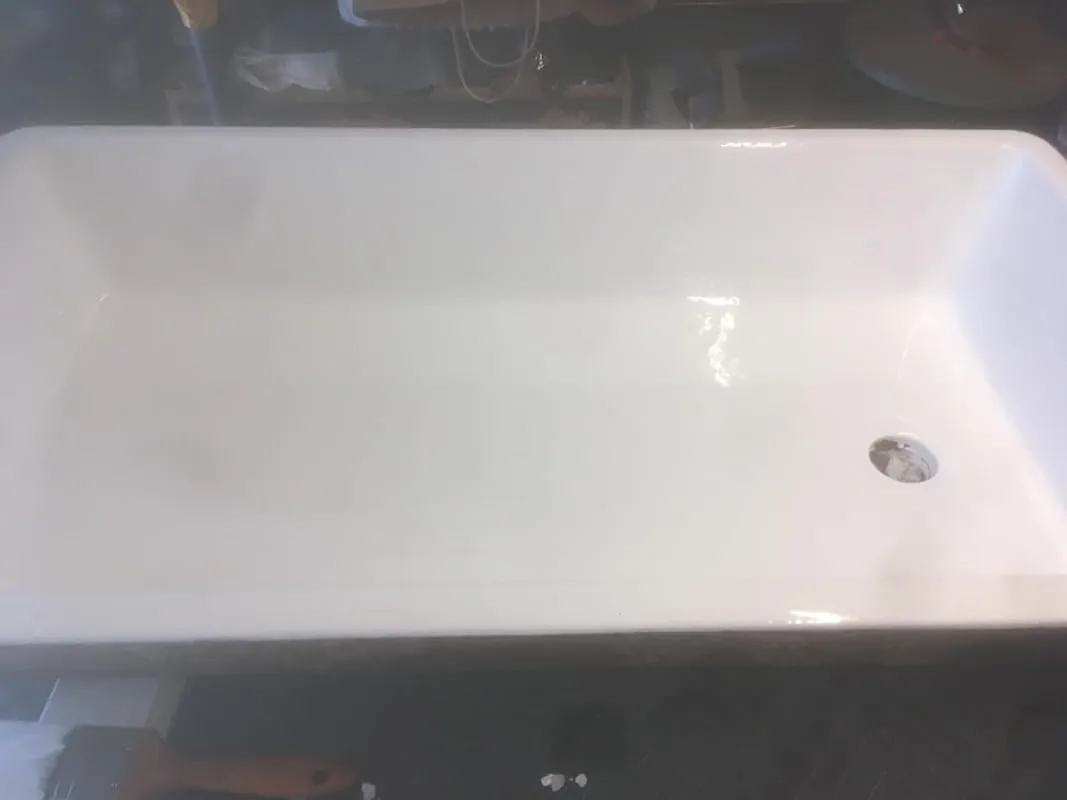
I am truly amazed by this paint and wish I had known about it earlier. I could have saved a lot of money. I initially used it to cover rust on the side of my refrigerator, and it worked so well that I decided to use the rest of it in my bathroom. I painted my tile walls and the bathtub, and I was almost finished with the tub when I ran out of paint. I am now back on Amazon to order more to finish my bathroom and start on another one. I would like to note that it is essential to use gloves and avoid getting the paint on your skin. I learned this the hard way and spent hours trying to remove it because I only had soap at the time. Nail polish remover helped a lot. It is also recommended to open a few windows for ventilation. The paint only took a few hours to dry, which was quite impressive.
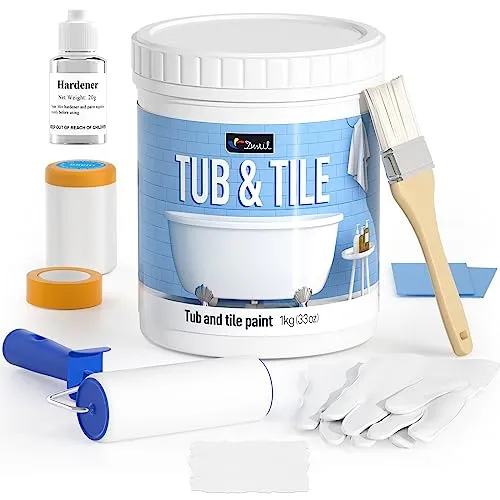
8. Tubrevive: Easy & Odorless Tub And Tile Refinishing
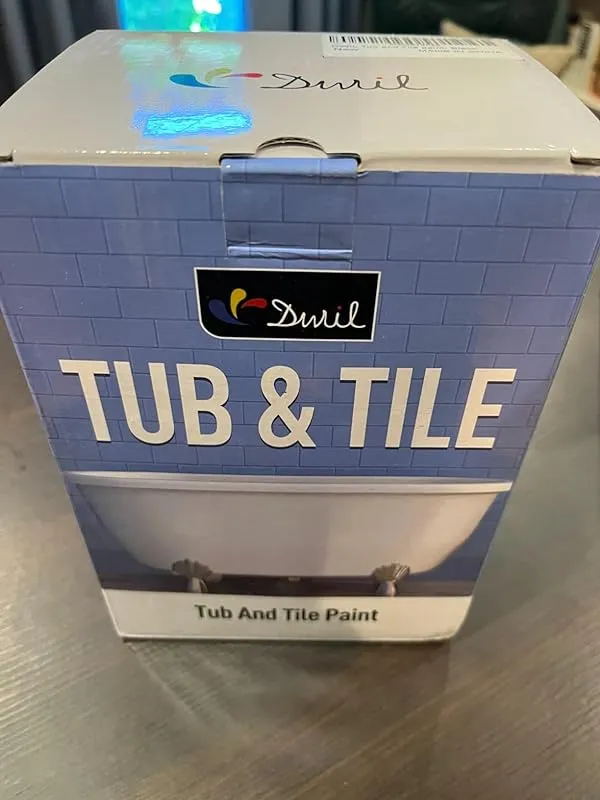
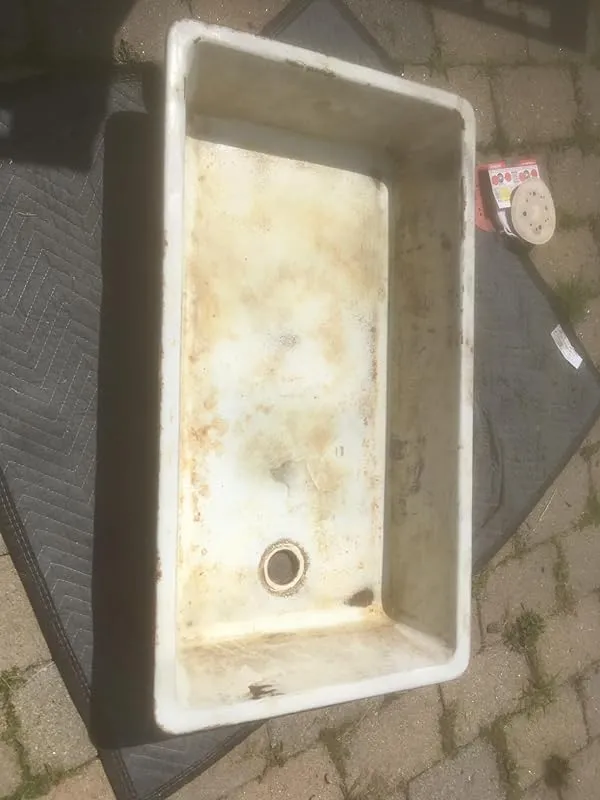
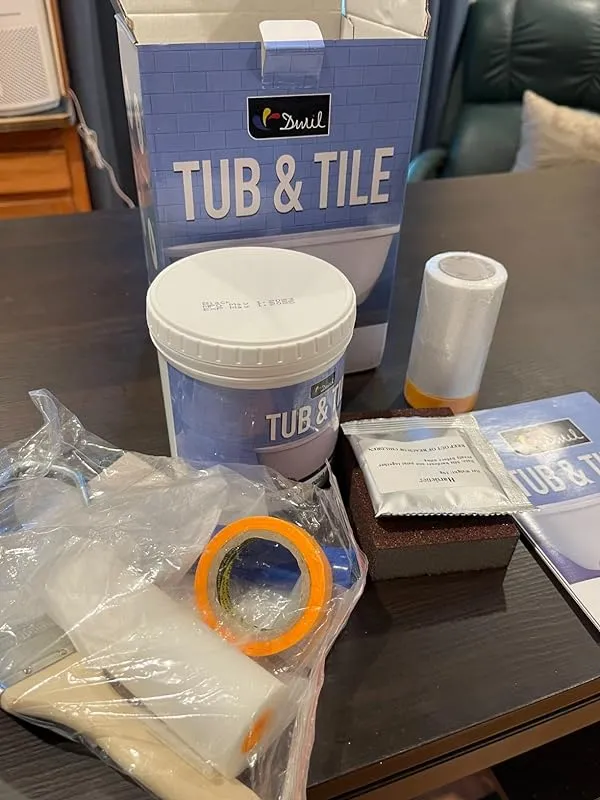
Introducing the DWIL Tile Paint, Tub and Tile Refinishing Kit – the epitome of elegance, luxury, and audacity for your bathroom renovation needs. This kit is not just your average bathroom makeover tool, it's a superstar, a queen, ready to dazzle and captivate your shower space.
Let's start with the color, because honey, this is not your ordinary white bathtub. The DWIL Tile Paint delivers a shade of white that is red-carpet ready, demanding attention wherever it goes. It's the kind of white that exudes royalty, sass, and an invitation to indulge in a luxurious bubble bath.
Now, let's talk about the tools that come with this 35oz Refinishing Kit. It's not just tools, it's a full entourage, darling. Consider it your personal stylist for your bathroom, ready to transform everything into fabulousness. From tired tiles to a fresh new look, this kit has got you covered.
Applying the DWIL Tile Paint is akin to creating a masterpiece in your bathroom. Michelangelo may have had talent, but did he have this Tub Refinishing Kit? I think not. With a brush in hand, you'll glide through the process as if you're entering a room full of admirers. Own it, flaunt it, and revel in the satisfaction of a beautifully painted surface.
Prepare yourself for a transformation that goes beyond a simple improvement. Your bathroom will demand attention, turn heads, and possibly leave your toilet feeling slightly inferior, prompting it to request its own makeover. Embrace the diva-like nature of this product, but remember, cleaning is still a necessary part of bathroom maintenance.
The possibilities with the DWIL Tile Paint are endless. Want to spice up your kitchen or give your garden gnome collection a fresh new look? Go for it! Let your imagination run wild (although the manufacturer may not recommend painting garden gnomes, but a diva takes risks).
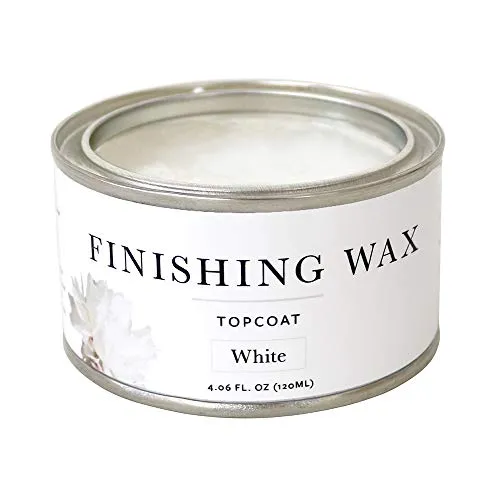
9. Jolie White Wax: Ultimate Finish For Home Decor
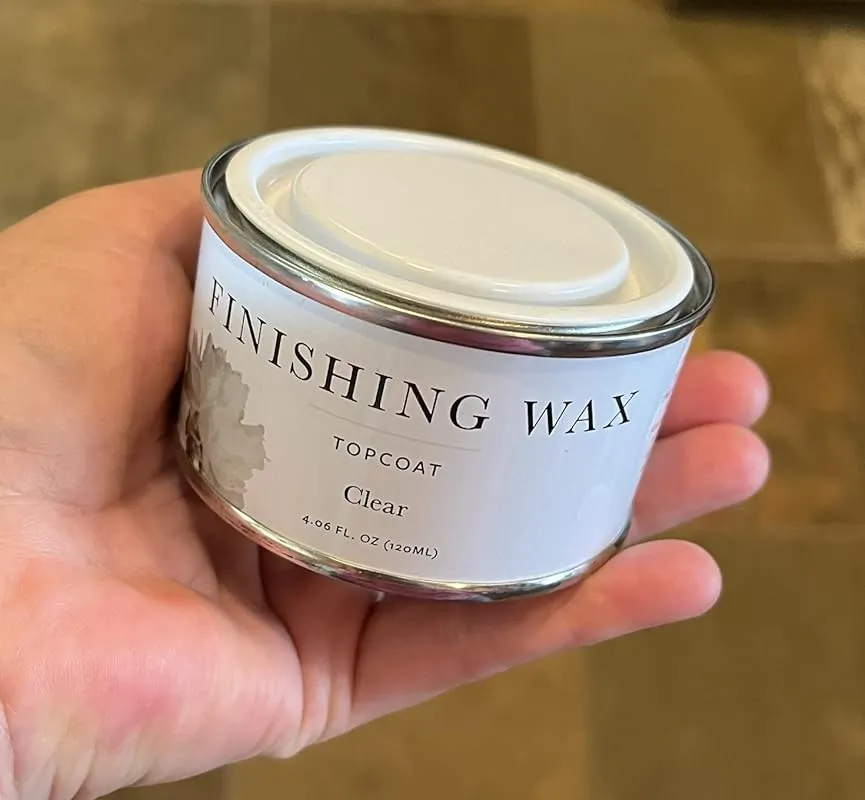
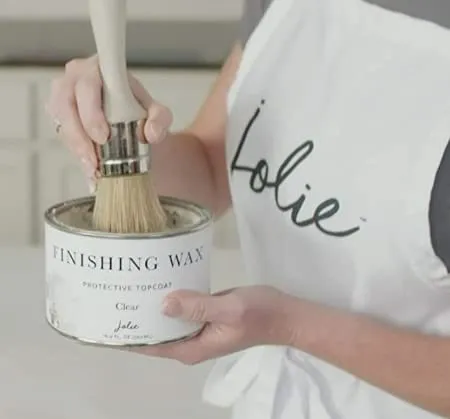
The finishing wax that I purchased worked well for my specific needs. Initially, I intended to use it to coat cabinets that were painted with gray chalk paint. However, I noticed that when I applied the wax to the inside of a cabinet door, it made the paint darker. Since my wife and I loved the original color of the chalk paint, we decided not to apply the finishing wax to the cabinets.
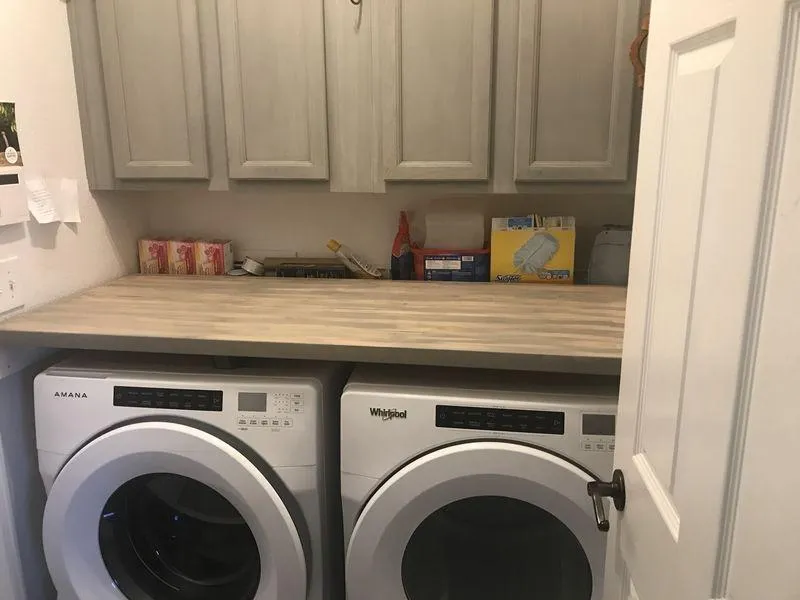
Instead, we opted to use the wax on a wood butcher block counter that we placed over our washer and dryer. We painted the counter with a light coat of chalk paint to match the cabinets and then applied the wax after waiting 24 hours. The result was fantastic! The wax not only enhanced the color of the paint, making it match the cabinets better, but it also provided a protective coating for the counter, which is especially important in a laundry room.
We are extremely pleased with the outcome and would highly recommend this product to anyone looking for a protective coating for indoor furniture or walls. In fact, we were so satisfied with the results that we purchased two cans and plan to use it on other items in the future.
One thing I would like to mention is that the size of the can was a bit misleading. Based on one of the photos, I assumed I was purchasing the larger size, but what I received was a smaller can. This was not a major issue for me, but I wanted to provide clarification for others who may purchase the product.
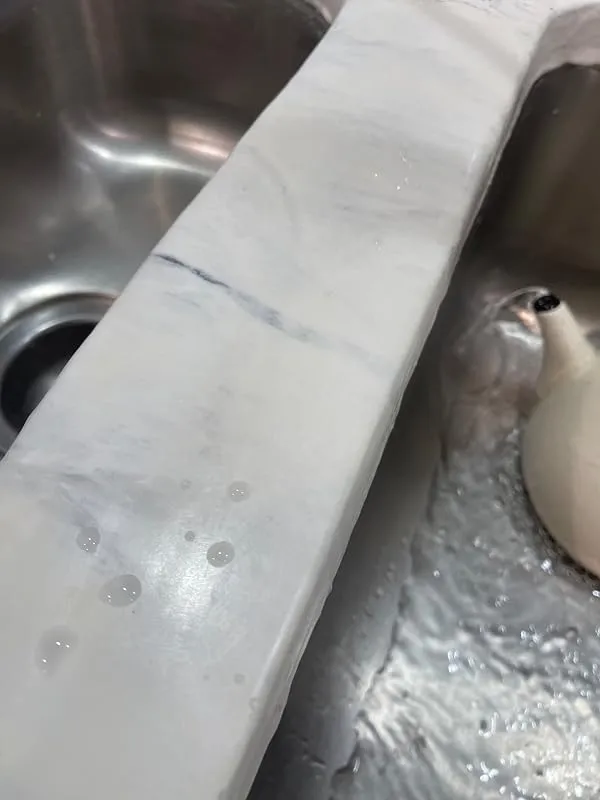
Additionally, I want to express my love for the marble wax offered by this brand. Before discovering this product, I had used a different type of wax that ended up yellowing the surface. However, this marble wax has been a game-changer. It not only provides excellent protection for kitchen counters, but it also repels water, as shown in the photo. This wax is suitable for various surfaces such as epoxy, marble, tile, and more.
To achieve the best results, I apply the wax liberally and let it sit for a few hours or even a day. Then, I use a hand buffer to achieve a beautiful sheen. This simple process, which only takes a few minutes, keeps my countertops in great shape. I learned this technique from a marble restoration company, and I know that furniture companies also use it on wood furniture.
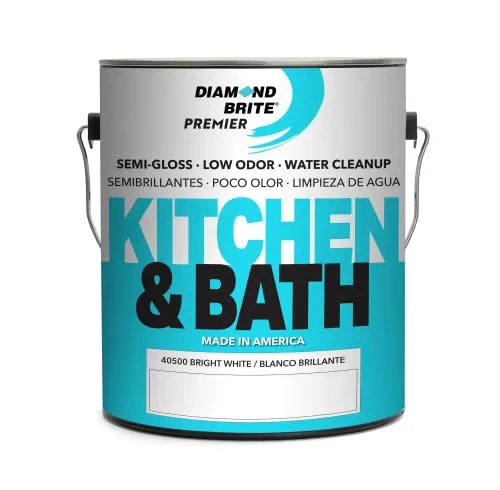
10. Diamond Brite Paint Kitchen & Bathroom 1 Gallon White Semi Gloss Latex Paint 40500-1
I recently had the pleasure of using Diamond Brite Kitchen & Bath paint, and I must say, it exceeded my expectations. As someone who has been painting for many years, I can confidently say that this paint is one of the best I have ever used.
One of the standout features of this paint is its ease of use. It stirs up easily and is not runny, making the application process smooth and hassle-free. Additionally, the coverage is excellent, even over dark wood. I did apply a primer paint beforehand just to be safe, but I found that two full coats on the vanity and back sides of the doors, and a third on the front of the doors, were sufficient. The end result was truly beautiful and well worth the effort.
Another great aspect of this paint is its fast drying time. This allowed me to complete my project in a timely manner, without having to wait for extended periods for the paint to dry. It's always a relief when a paint dries quickly, especially when you have other tasks to complete.
In terms of performance, this paint truly delivers. It covers brown spots effortlessly and provides a fresh, white color that brightens up any space. I particularly appreciate its ability to protect surfaces, ensuring that my bathroom ceilings are not only stain-free but also shielded from potential damage.
Furthermore, the low odor of this paint was a pleasant surprise. Many paints tend to have a strong smell, which can be off-putting, especially in enclosed spaces like bathrooms. However, with Diamond Brite Kitchen & Bath paint, the odor was minimal, making the painting process much more enjoyable.
Lastly, I found that a little goes a long way with this product. With proper surface preparation, I was able to achieve great results with just two coats. This not only saved me time but also made the paint more cost-effective.
FAQs
Can I paint over laminate kitchen cabinets?
Yes, it is possible to paint over laminate kitchen cabinets. However, it requires proper preparation and the use of suitable products to ensure a long-lasting and professional finish. Here are the steps you can follow:
1. Clean the cabinets thoroughly: Remove any grease, dirt, or grime from the surface of the cabinets using a mild detergent and water. Rinse well and let them dry completely.
2. Lightly sand the surface: Use fine-grit sandpaper or a deglosser to roughen up the laminate surface. This will help the paint adhere better.
3. Prime the cabinets: Apply a high-quality primer specifically designed for laminate surfaces. This will create a smooth base for the paint and ensure better adhesion.
4. Apply paint: Use a high-quality paint suitable for kitchen cabinets. You can use a brush, roller, or sprayer depending on your preference. Apply thin, even coats and let each coat dry before applying the next one.
5. Seal the paint: Once the paint has dried completely, apply a clear topcoat or sealer to protect the paint and provide durability.
Remember to follow the manufacturer's instructions for each product you use. Additionally, consider consulting a professional or doing a test patch before painting the entire cabinet to ensure desired results.
Can you use regular wall paint on kitchen cabinets?
Using regular wall paint on kitchen cabinets is not recommended. Regular wall paint is not designed to withstand the wear and tear that kitchen cabinets are subjected to on a daily basis. Kitchen cabinets are exposed to moisture, grease, and constant use, which can cause regular paint to peel, chip, or discolor over time.
For the best results, it is recommended to use specially formulated cabinet paint or enamel paint that is specifically designed for high-traffic areas like kitchens. These paints are more durable and have better adhesion properties, making them better suited for kitchen cabinets.
They are also easier to clean and maintain, which is important in a kitchen environment.
If you are unsure about the type of paint to use, it is always a good idea to consult with a professional painter or seek advice from a home improvement store. They can recommend the right type of paint that will provide long-lasting results for your kitchen cabinets.
How do I prep kitchen cabinets before painting them?
To properly prep your kitchen cabinets before painting them, you will need to follow a few steps:
1. Empty the cabinets: Remove all items from the cabinets to avoid any damage or interference during the painting process.
2. Clean the cabinets: Thoroughly clean the cabinets using a mild detergent and warm water. This will remove any grease, dirt, or grime that may have accumulated over time. Be sure to dry the cabinets completely before proceeding.
3. Remove hardware and doors: Take off any hardware such as knobs, handles, or hinges. If possible, remove the cabinet doors as well. This will make it easier to paint and ensure a smooth finish.
4. Sand the surfaces: Lightly sand the cabinet surfaces with a fine-grit sandpaper. This will help create a rough texture, allowing the paint to adhere better. After sanding, wipe away any dust with a clean cloth.
5. Fill in imperfections: Inspect the cabinets for any dents, scratches, or holes. Use a wood filler to fill in these imperfections, following the manufacturer's instructions. Once dry, sand the filled areas to make them even with the rest of the surface.
6. Prime the cabinets: Apply a coat of primer to the cabinets. This will provide a smooth base for the paint and enhance its durability. Make sure to choose a primer suitable for your cabinet material and follow the recommended drying time.
7. Paint the cabinets: Finally, apply your chosen paint color to the cabinets. Use a brush or roller to ensure even coverage. Apply multiple thin coats, allowing sufficient drying time between each coat. This will help achieve a professional-looking finish.
Remember, proper preparation is crucial for a successful cabinet painting project. By following these steps, you can ensure that your kitchen cabinets look fresh and vibrant with a long-lasting paint job.
How many coats of paint should I apply to kitchen cabinets?
When it comes to painting kitchen cabinets, the number of coats needed depends on several factors such as the condition of the cabinets, the type of paint being used, and the desired end result. In most cases, it is recommended to apply at least two coats of paint to achieve a smooth and durable finish.
The first coat serves as a base coat, providing a good foundation for the subsequent layers. It helps cover any imperfections and provides better adhesion for the final coat. Allow the first coat to dry completely before applying the second coat.
If you are using a high-quality paint with good coverage, two coats may be sufficient. However, if you are working with darker colors or want to achieve a more opaque finish, you may need to apply a third coat.
It's important to follow the manufacturer's instructions for the specific paint you are using, as some may recommend additional coats for optimal results.
Remember to properly prepare the cabinets by cleaning, sanding, and priming them before applying any paint. This will ensure better adhesion and a longer-lasting finish.
Is chalk paint a good option for kitchen cabinets?
Chalk paint can be a good option for kitchen cabinets, depending on your preferences and needs. Chalk paint is known for its matte, velvety finish and can give cabinets a unique, vintage look. It is also relatively easy to use, as it requires minimal prep work and can be applied directly to most surfaces without the need for priming or sanding.
However, there are a few factors to consider before choosing chalk paint for kitchen cabinets. First, it's important to note that chalk paint is not as durable or moisture-resistant as other paint options, such as oil-based or latex paints.
Therefore, if your kitchen cabinets are prone to a lot of moisture or heavy use, chalk paint may not be the most suitable choice.
Additionally, chalk paint requires sealing with wax or a clear topcoat for protection, which adds an extra step to the painting process. Furthermore, chalk paint tends to show fingerprints and smudges more easily than other finishes, so it may require regular cleaning and maintenance to keep it looking its best.
In conclusion, while chalk paint can provide a unique and stylish finish for kitchen cabinets, it may not be the most practical choice for all situations. It is essential to consider your specific requirements and evaluate the durability and maintenance aspects before deciding if chalk paint is the right option for your kitchen cabinets.
Should I use oil-based or water-based paint for kitchen cabinets?
When it comes to choosing between oil-based and water-based paint for kitchen cabinets, there are several factors to consider.
Oil-based paint is known for its durability and smooth finish. It provides a hard, glossy surface that is resistant to stains and scratches. It is also easier to clean and maintain compared to water-based paint. However, oil-based paint has a strong odor and takes longer to dry.
It also requires the use of harsh chemicals for cleanup, which can be inconvenient and pose health risks.
On the other hand, water-based paint is low in odor, dries quickly, and cleans up easily with soap and water. It is also more environmentally friendly since it contains fewer volatile organic compounds (VOCs).
Water-based paint is available in a wide range of colors and finishes, making it a versatile choice for kitchen cabinets. However, it may not be as durable as oil-based paint and could be prone to chipping or peeling over time.
Ultimately, the choice between oil-based and water-based paint for kitchen cabinets depends on your personal preferences, the level of durability you desire, and your willingness to deal with the associated odors and cleanup requirements.
It may be a good idea to consult with a professional painter or visit a paint store to get their expert opinion and see samples of both types of paint before making a decision.
What are the best techniques for painting kitchen cabinets?
When it comes to painting kitchen cabinets, there are several techniques that can yield excellent results. Here are some of the best techniques to consider:
1. Preparation: Begin by thoroughly cleaning the cabinets to remove grease and dirt. Next, remove the cabinet doors, hardware, and hinges. Sand the surfaces to create a smooth base for paint adhesion.
2. Priming: Applying a high-quality primer is crucial as it helps the paint adhere better and provides a smooth finish. Choose a primer specifically designed for cabinets and apply it evenly.
3. Paint selection: Opt for a paint formulated for cabinets or furniture, as these are more durable and resistant to moisture and stains. Consider using a paint sprayer for a smoother and more professional finish, or use a high-quality brush or roller.
4. Application: Start by painting the cabinet frames, followed by the doors. Apply thin and even coats, allowing each coat to dry completely before applying the next. Lightly sand between coats for a smoother finish.
5. Finishing touches: Once the paint has dried, reattach the doors, hardware, and hinges. Consider adding a clear topcoat for added durability and protection.
Remember, proper preparation, high-quality materials, and attention to detail are key to achieving a professional-looking paint job on kitchen cabinets. If you're unsure about tackling the project yourself, it might be worth considering hiring a professional painter for best results.
What are the top recommended brands of paint for kitchen cabinets?
When it comes to painting kitchen cabinets, there are several top recommended brands that professionals and homeowners trust for their durability and quality finish. Here are a few popular options:
1. Benjamin Moore: Known for their wide range of paint options, Benjamin Moore offers durable and long-lasting paint specifically designed for cabinets. Their Advance line is highly recommended for kitchen cabinets due to its smooth finish and excellent adhesion.
2. Sherwin-Williams: Sherwin-Williams is another reputable brand that offers a variety of paint options suitable for kitchen cabinets. Their Emerald Urethane Trim Enamel is popular for its durability and resistance to staining and chipping.
3. Behr: Behr is a well-known brand that offers affordable yet high-quality paint options. Their Premium Plus Ultra line is recommended for kitchen cabinets as it provides good coverage and a durable finish.
4. PPG: PPG is a trusted brand that offers excellent paint options for cabinets. Their Break-Through! line is highly regarded for its adhesion and durability, making it a popular choice for kitchen cabinets.
Ultimately, the best brand for your kitchen cabinets will depend on your specific needs and preferences. It's always a good idea to consult with a professional or visit a paint store for personalized recommendations based on your project requirements.
What is the most durable paint for kitchen cabinets?
When it comes to selecting a durable paint for kitchen cabinets, there are a few options that are highly recommended. One of the top choices is an oil-based paint, which provides excellent durability and resistance to moisture and stains.
Oil-based paints form a hard and durable finish that can withstand the daily wear and tear of a kitchen environment.
Another durable option is a water-based acrylic paint. These paints offer good durability and are easier to clean up compared to oil-based paints. They also have low levels of volatile organic compounds (VOCs), making them a more environmentally friendly choice.
To enhance the durability of the paint, it is advisable to apply a clear top coat or sealer. This additional protective layer will help to prevent scratches and prolong the life of the paint job.
Ultimately, the most durable paint for kitchen cabinets will depend on personal preference and the specific needs of your kitchen. It is recommended to consult with a professional paint supplier or a painting contractor who can provide expert advice based on your requirements.
What type of paint is best for kitchen cabinets?
When it comes to painting kitchen cabinets, it is important to choose a paint that is both durable and suitable for the kitchen environment. The best type of paint for kitchen cabinets is typically a high-quality, oil-based or acrylic latex paint.
Oil-based paints offer excellent durability and are resistant to moisture, stains, and grease. They also provide a smooth and glossy finish. Acrylic latex paints, on the other hand, are water-based and offer good durability and resistance to moisture.
They are also low in VOCs (volatile organic compounds) and are easier to clean up.
It is advisable to use a primer before painting cabinets, as it helps to create a smooth surface and improves the adhesion of the paint. Additionally, using a semi-gloss or satin finish paint is recommended as it is easier to clean and provides a nice sheen.
Ultimately, the best type of paint for kitchen cabinets depends on personal preference, budget, and the specific needs of your kitchen. It is always a good idea to consult with a professional or a knowledgeable paint specialist to determine the best paint for your kitchen cabinets.