I Tested And Reviewed 8 Best White Paint For Interior Doors (2023)
Choosing the right white paint for your interior doors can make a big difference in the look and feel of your home. With so many options on the market, it can be overwhelming trying to select the perfect product. Before making this important decision, keep a few key factors in mind.
First, consider the finish you want. Do you prefer a flat, eggshell, satin or semi-gloss paint? The flattest finishes hide imperfections best, while glossier ones are more wipeable and durable. Also, take into account the traffic level of the area. High traffic spaces like hallways may benefit from more durable paints that can withstand frequent use and cleaning.
You'll also want to think about quality and price. Generally, pricier paints use higher quality pigments and offer better coverage and durability. However, more affordable options from reputable brands can still perform well. Do you need top-of-the-line paint for your situation or is a more budget-friendly product sufficient?
Finally, don't forget about prep work. No paint, no matter how premium, can disguise flawed surfaces. Proper cleaning, sanding, priming and patching ensure the new paint job looks its best. Reading reviews on prep work needed for particular paints can provide helpful insight.
Choosing the best white paint for your interior doors largely comes down to understanding your needs and preferences. With some thoughtful consideration of finish, durability, quality and application, you're sure to find a product that transforms the space. Get ready to welcome the perfect white into your home.
8 Best White Paint For Interior Doors
| # | Product Image | Product Name | Product Notes | Check Price |
|---|---|---|---|---|
|
1
|
 |
The product is ideal for painting cabinets and doors with a cool, bright white finish.
|
|
|
|
2
|
 |
The product is ideal for touch up and repairing white scratches on various surfaces such as furniture, walls, cabinets, trim, doors, indoor/outdoor.
|
|
|
|
3
|
 |
The product is ideal for painting walls, furniture, cabinets, doors, trim, and can be used both indoors and outdoors.
|
|
|
|
4
|
 |
The product is ideal for both interior and exterior house painting with its one-coat coverage and eggshell sheen.
|
|
|
|
5
|
 |
The product is ideal for protecting and preventing rust on various surfaces with a glossy white finish.
|
|
|
|
6
|
 |
The product is ideal for painting front doors and offers excellent rust protection and long-lasting durability.
|
|
|
|
7
|
 |
The product is ideal for interior painting projects that require a semi-gloss finish and a color match to Sherwin Williams Extra White.
|
|
|
|
8
|
 |
The product is ideal for repairing scratches on various surfaces like furniture, walls, cabinets, trim, doors both indoors and outdoors.
|
|
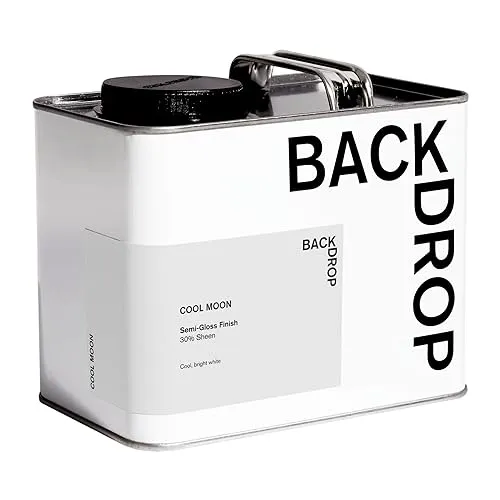
1. Cool Moon Semi-Gloss Cabinet & Door Paint
I recently had the opportunity to try out this paint for my bathroom renovation, and I must say, I was pleasantly surprised. As someone who wanted to take the laziest approach possible, this paint was a game-changer. I didn't have to worry about sanding or prepping; all I did was clean the cabinets and start painting. While the first coat didn't provide great coverage, after applying two coats, I was thrilled with the result. If you're looking for a hassle-free painting experience, this product is perfect for you.
In addition to my bathroom, I also painted my kitchen using the color "Weekend Getaway." Let me tell you, I fell in love with this color. It's a darker green, but not too dark, and it adds a dramatic touch to the kitchen. I tried several other greens before settling on this one, and I can confidently say it was the best choice. Although I did need to apply two coats, I couldn't be happier with the outcome. If you're considering using this color, I highly recommend it.
Now let's talk about the brand itself. I am absolutely obsessed with Backdrop. The colors they offer are absolutely gorgeous, and the packaging is top-notch. One thing that stood out to me was the minimal smell of the paint. As someone living in an old house, this was a major plus, as I didn't have to open the windows while painting my living room. Speaking of which, the paint has some great pros. It dries quickly, allowing me to apply three coats within three hours. It technically covers without the need for a primer, which saved me time and effort. The container is also designed for easy pouring and comes with an easy-to-reseal cap. Considering the quality of the paint, the cost is relatively affordable. In fact, even after painting my living room, I still have a quarter of a can left! However, there are a few downsides to note. The paint is not available for purchase in-store, so you have to order swatches to decide on your desired color. Additionally, it took three coats to cover up the previous green paint I had from Behr.
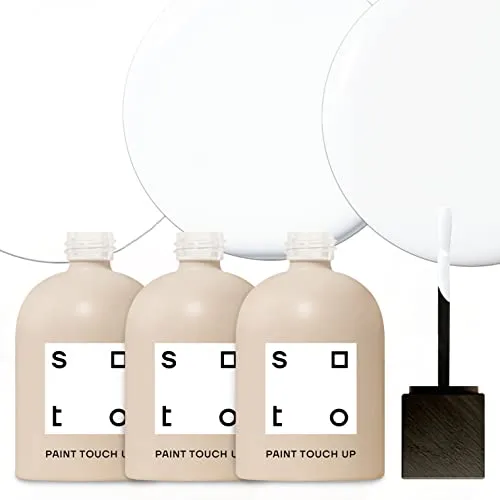
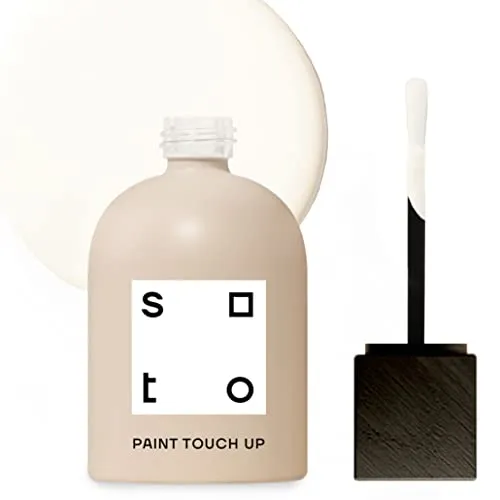
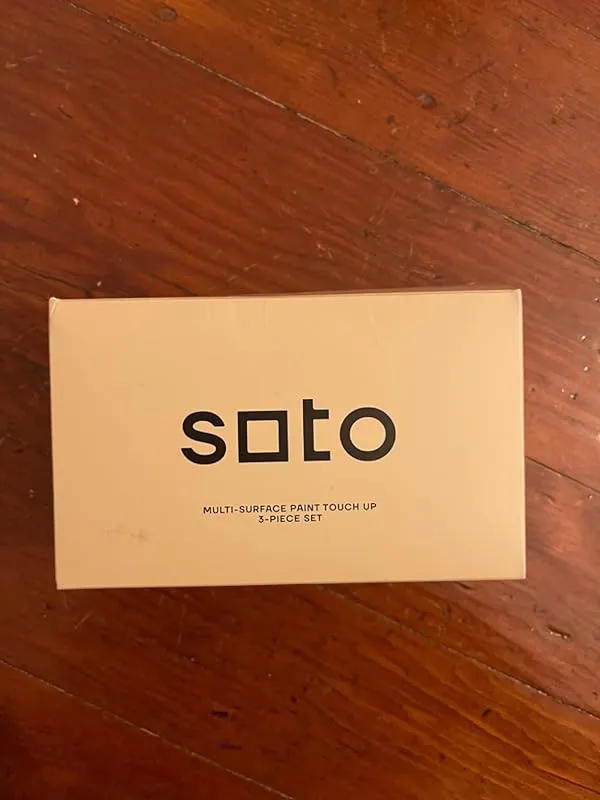
2. Whites Multi-Surface Paint Touch Up Set – Repair Furniture, Walls, Cabinets
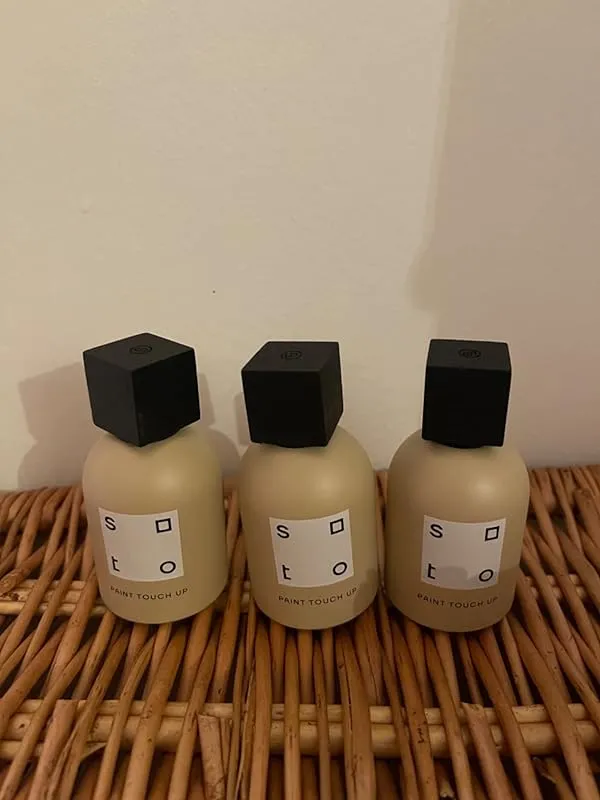
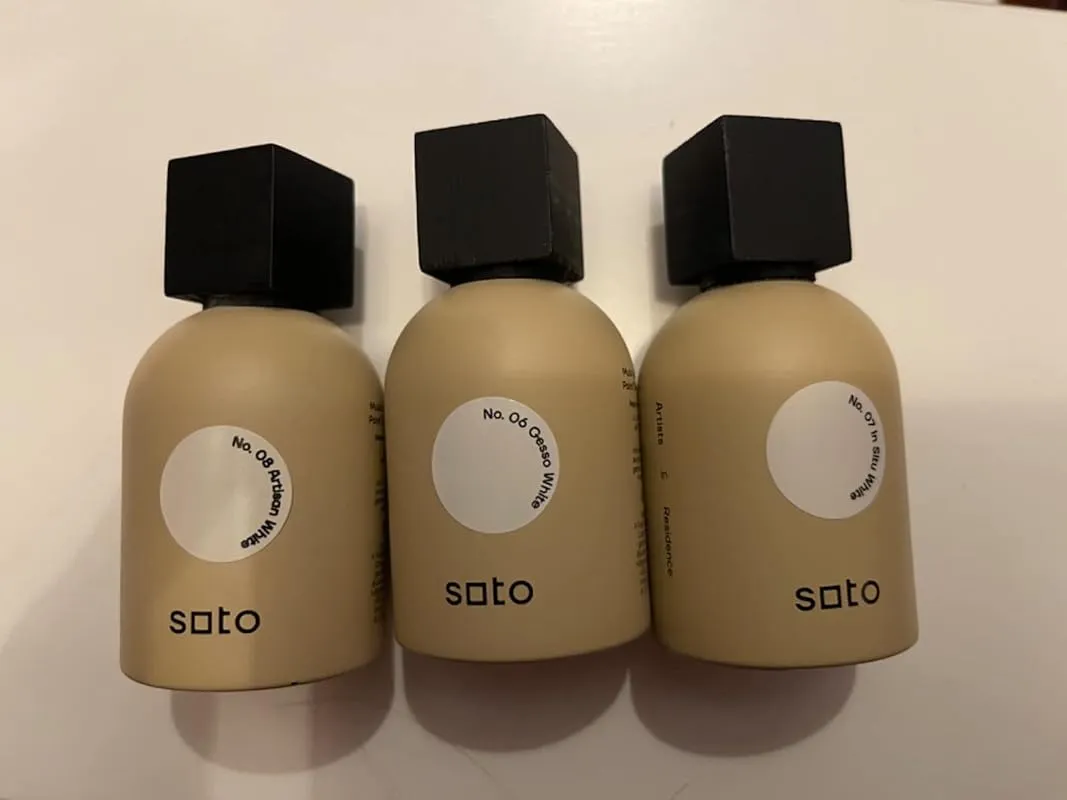
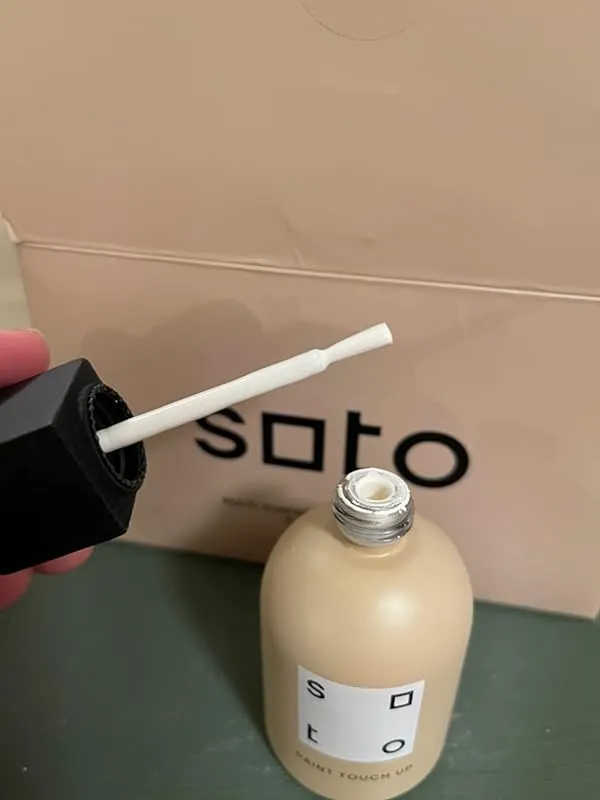
I recently took a chance and purchased the Off-White set of Soto Multi-Surface Paint Touch Up bottles, and I must say, it was a gamble that paid off. With a DIY renovation project underway and a tight schedule, I didn't have time to order paint swatches. However, after using Soto's spackle kit and being impressed with the results, I decided to give their touch-up bottles a try.
The Situ White bottle, which I was particularly interested in, turned out to be a fantastic match for our walls painted with Behr's "Swiss Coffee." Although not a perfect 100% match, it's about 98% or 99% similar. From a normal viewing distance, you can't even tell that we used Soto instead of Behr's Swiss Coffee for touch-ups. Only upon close inspection do you notice subtle differences. But overall, the result is seamless and blends in perfectly.
If you have the time, I would still recommend ordering swatches from Soto to ensure an exact match. The variation between whites can be significant, and you might end up dissatisfied if you don't find the right color.
The other two colors in the kit, Gesso White and Artisan White, are also beautiful. They made me consider painting other walls in those shades. However, Gesso White was too bright for my current walls, and Artisan White appeared more warm and yellow-toned than I desired.
Situ White, on the other hand, is an amazing color, and I was so impressed that I ordered a full-sized can of it. It has become one of my favorite off-white paint colors.
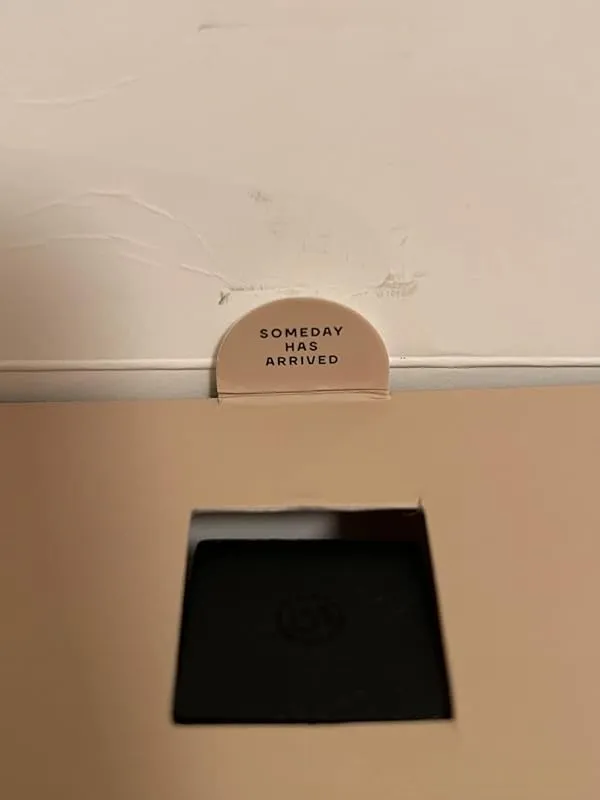
One of the standout features of this kit is the convenience it offers. The paint comes in small bottles with an applicator, similar to a nail polish bottle. This makes touch-ups quick and effortless, eliminating the need to bring out a large can of paint and go through the hassle of using a paintbrush, prepping, and cleaning up. It's so easy to reach for a bottle and apply the color in just a minute. As the kit packaging says, "Someday has arrived."
As with all of Soto's products, the branding and packaging are modern, stylish, and well-designed. It's a luxurious experience to unpack these products, which is not something I'm accustomed to with paint.
As a bonus, the paint is virtually odor-free, making the application process much more pleasant without any unpleasant fumes.
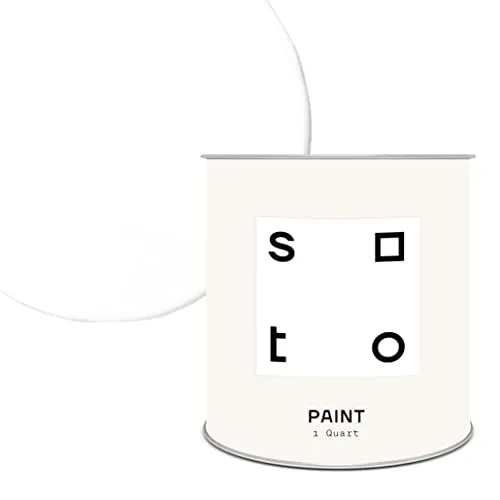
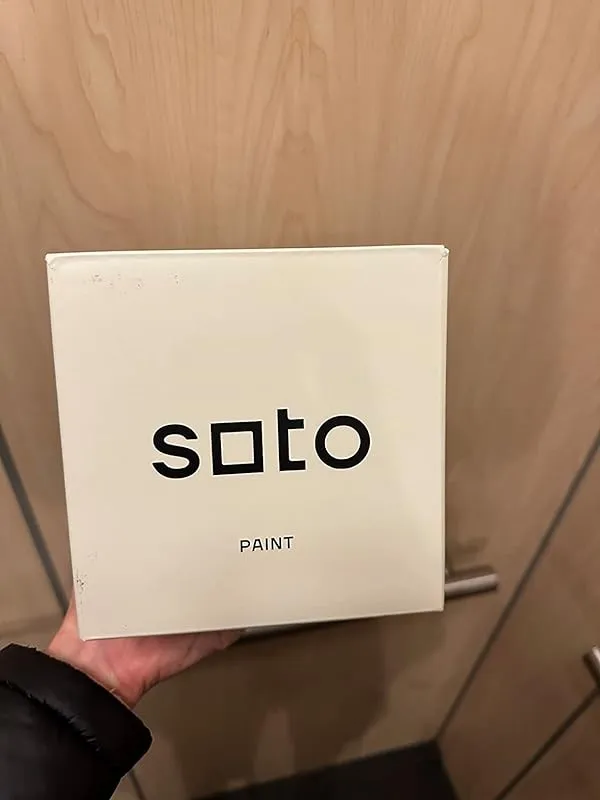
3. Perfect White: One Quart Paint, Whole House Solution

I recently had the opportunity to try out Soto paint, and I must say, it exceeded all my expectations. The color options are absolutely stunning, and the paint itself is thick, providing excellent coverage. I only needed two coats to achieve the desired look, and I still had plenty of paint leftover.
One thing I really appreciated about Soto paint is the tools it came with. In the midst of moving and doing touch-ups on our old place, we were lacking the necessary tools. However, Soto paint came with a can opening key and a mini towel, making the whole process much more convenient. The paint also dried quickly, allowing us to apply multiple coats within a short time frame. Even on a textured wall, the paint held up well and didn't require any primer. I highly recommend using Soto paint for any painting projects.
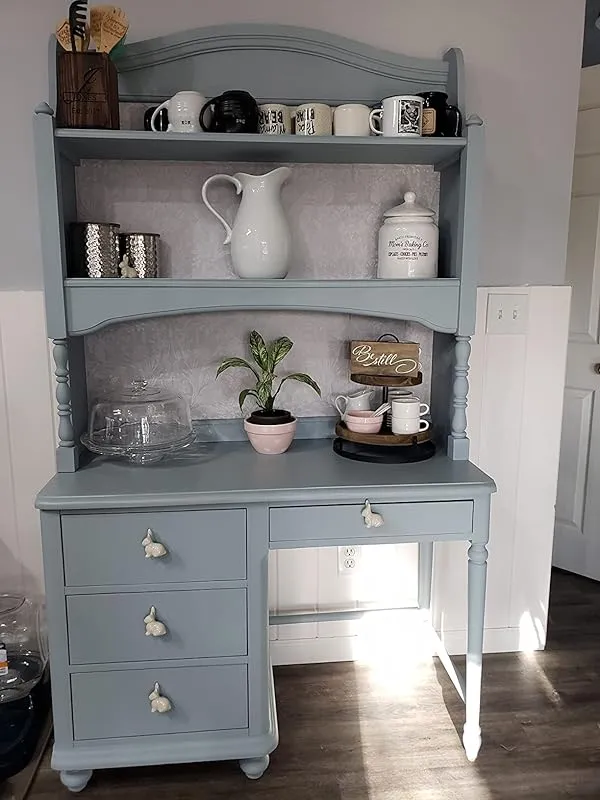
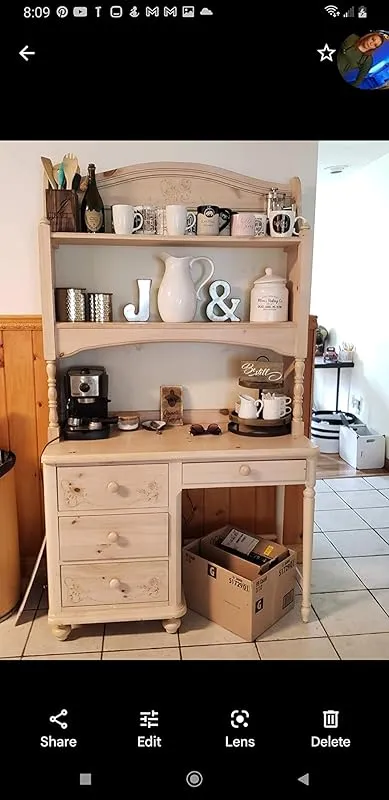
In my personal experience, I used Soto paint to DIY my dresser, and I couldn't be happier with the results. The color turned out slightly different from what I expected, but it still looked great. Additionally, the paint covered my black dresser perfectly with just two coats.
The quality of this paint is truly exceptional. It is rich and thick, making it easy to apply. The finish is a beautiful matte color, adding a touch of elegance to any surface. Having tried various paints in the past, I can confidently say that Soto paint stands out from the rest.
What sets Soto paint apart is not just its performance but also its thoughtful packaging. Opening the package felt like unwrapping a luxurious gift. The paint comes in beautifully designed packaging and includes helpful accessories such as a can opener, towel, gloves, and stirring sticks. They even provide a guide to painting techniques, which is a nice touch. The attention to detail in the packaging and the accessories truly adds to the overall experience.
Although Soto paint may be slightly more expensive than other brands, the quality and design justify the price. I would gladly purchase this paint again, and I believe it would make a perfect gift for new homeowners, DIY enthusiasts, or anyone looking to touch up their walls. It's especially suitable for those who are new to painting, as it includes everything you need and more. Even if you're an experienced painter, I encourage you to give Soto paint a try. The luxurious design and the unique paint opening experience are truly enjoyable.
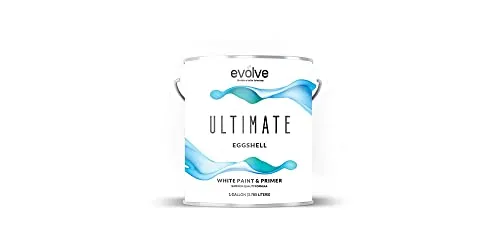
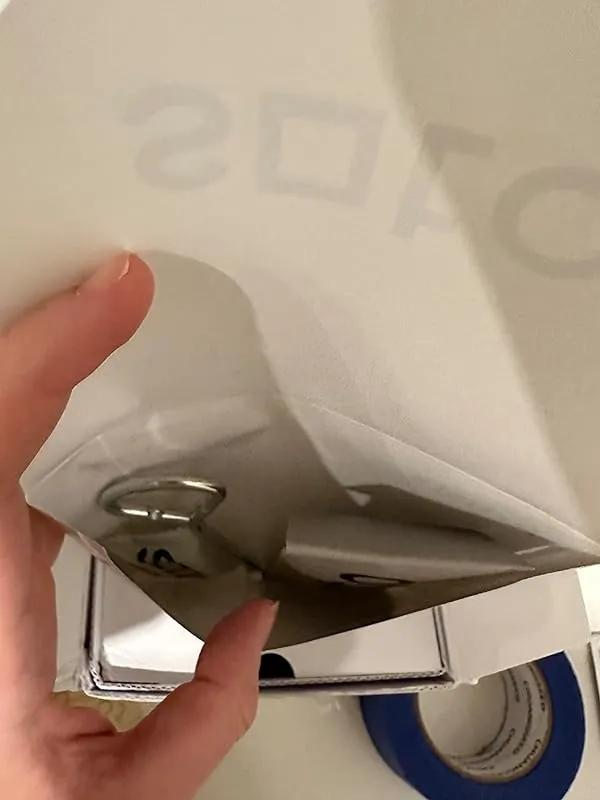
4. Ultimate White House Paint: 1-Gallon, All-In-One Coverage

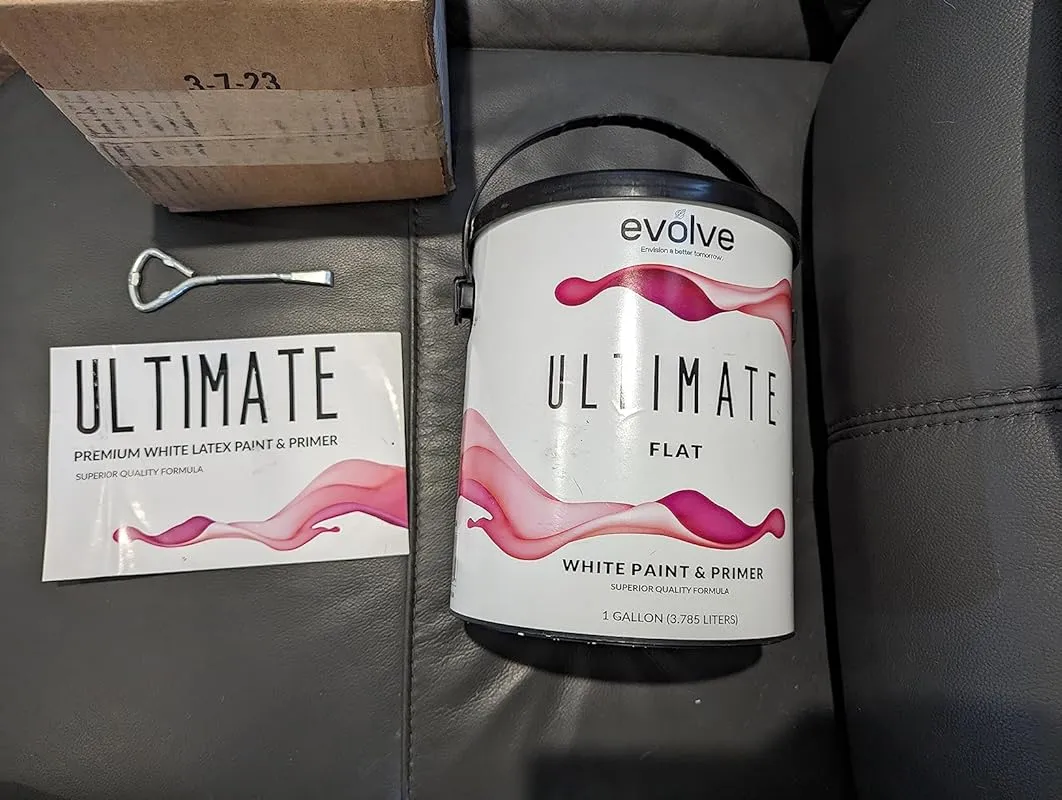
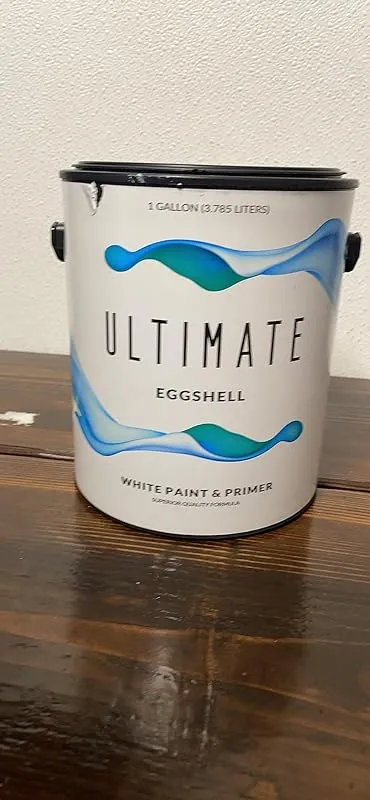
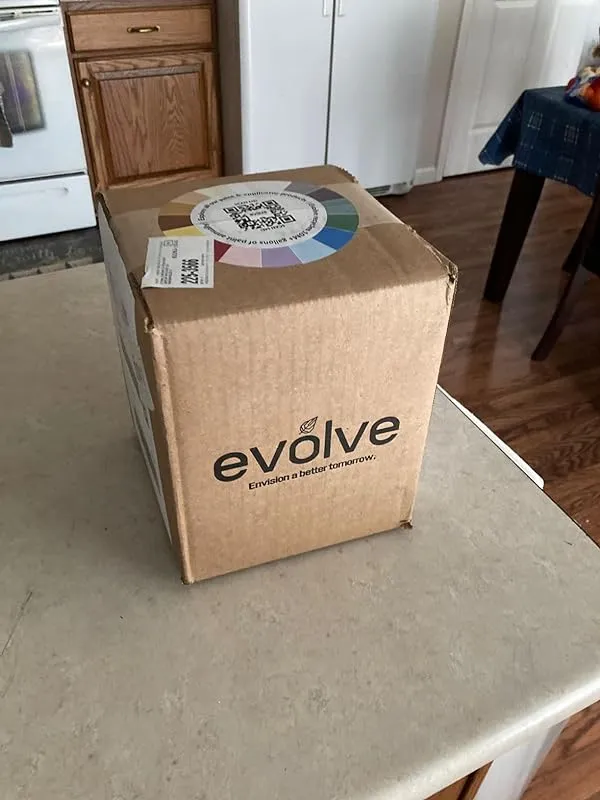
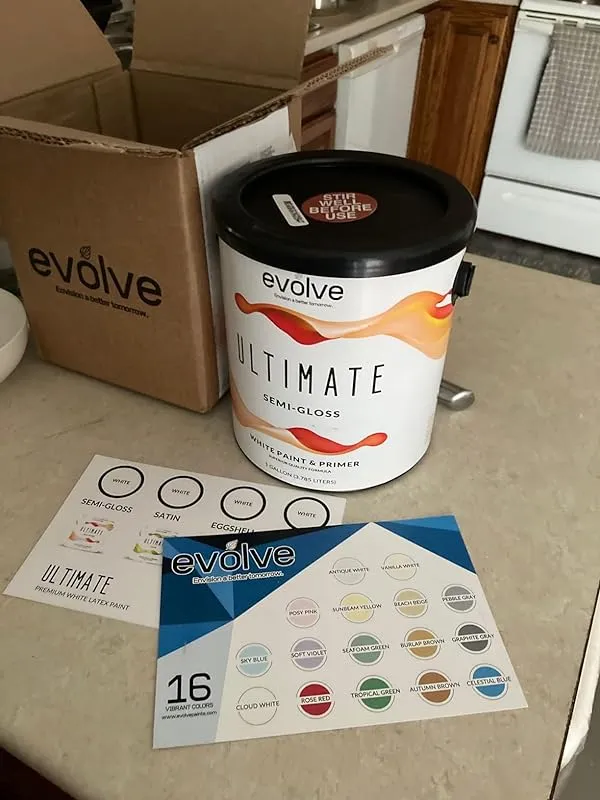
I recently had the opportunity to try out the Evolve Ultimate White Paint, and I must say, it exceeded my expectations. I was looking for a budget-friendly option to paint my detached garage interior white, and this paint did not disappoint.
One of the things that impressed me about this paint is its coverage. I was dealing with 50-year-old oak wood, and I needed a paint plus primer that could cover it with just one coat. The Evolve Ultimate White Paint did just that. It covered the wood as well as the overpriced Behr Premium Plus paint, without the harsh VOC's.
As someone who regularly works on contracting projects, I am a user of Sherwin-Williams and PPG products. I was pleasantly surprised to find that the Evolve Ultimate White Paint was comparable in hiding and quality. It provided a smooth and professional finish, giving my space a fresh and modern look.
Even though I was painting OSB, which typically requires a bit more paint, the coverage of this paint was still great. It effortlessly covered up the gray color with just one coat. The quality of the paint was exceptional, leaving a nice and smooth finish.
What impressed me the most about this paint is its durability. It has been months since I painted my living room walls, and the paint still looks as good as new. There are no signs of wear or fading, which is a testament to its high quality.
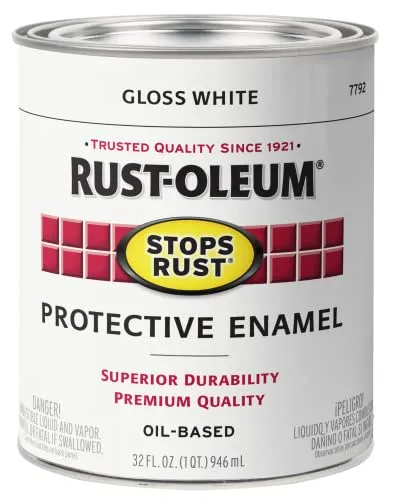
5. Rust-Oleum 7792502 Stops Rust Brush On Paint, Quart, Gloss White, 1 Quarts (Pack Of 1)


I recently purchased this enamel paint for painting my metal front door, and I must say I am quite impressed with the results. The paint went on smoothly and provided a thick, even coverage. However, there were a few things I learned during the process. Since this is an enamel paint, it does not come off easily from paint brushes with just water. In hindsight, I should have used cheap brushes for this project. Additionally, the paint dries quickly, which is great, but when painting outside in a breeze, my brushes and rollers were drying too fast. Once dry on the door, the paint had a smooth and shiny finish, which I absolutely love. However, during the drying process, it was almost like glue when it got on my hands or the can. On the first day, I didn't wear gloves and had to use hand sanitizer and dish soap to remove it from my skin. On the second day, I wore gloves, but they quickly became sticky. Despite these minor issues, I would still buy this paint again as it is easy to use and provides great coverage. The cleaning up process was mostly my fault, but now I know what to do in the future.
I also used this paint with a Harbor Freight cheap spray gun, adding a bit of acetone as a reducer, and it sprayed extremely well. Once dry, the paint proved to be highly durable. The only downside is that it takes a while to dry in 80-degree weather, approximately 4 hours before it is safe to touch. Even after a week, it still emits some fumes when smelled up close. The particular yellow shade I used was almost an exact match to the factory Honda color, making it perfect for my 1968 Honda ct90. In the past, I have used other colors of Rust-Oleum paint for various projects such as painting boat trailers, travel trailers, and even a pre-war Ford. Once the paint is completely dry, it can be waxed and maintained like any other paint job, and its durability as an enamel paint is impressive. However, please note that since it is oil-based, you will need mineral spirits, paint thinner, or acetone to clean it up or reduce it.
I also used this paint for restoring the coping on my pool, which had been peeling badly after 17 years. With proper prep work, the paint covered beautifully and made the coping look almost like new. The quality of the paint, its packaging, and the application process were all top-notch. The coverage and protection provided by this paint were excellent.
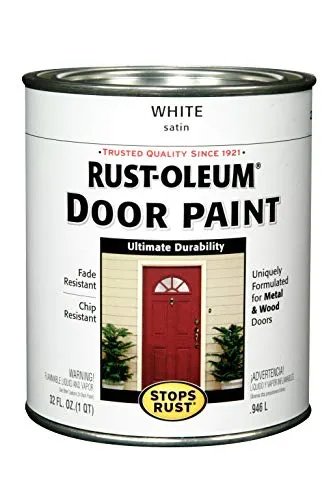
6. Rust-Oleum 238311 Front Door Oil Paint, Quart, White 32 Fl Oz (Pack Of 1)
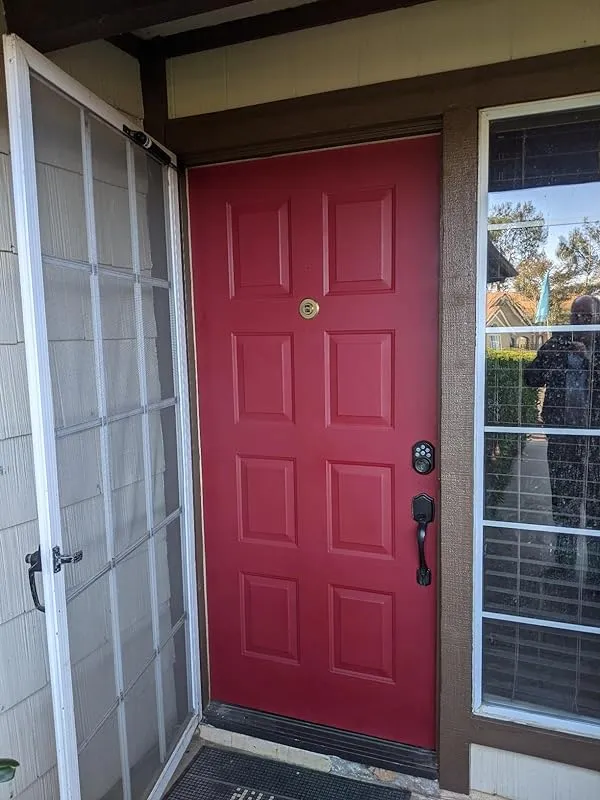

I recently purchased this cranberry red door paint to match some outdoor details on my front door. My husband did the painting and found it to be smooth and easy to apply. We were able to cover the door with just one coat, but we will be applying a second coat for a more even finish. This paint is perfect for those who prefer a deeper red color as opposed to a brighter shade.
I want to address some of the negative comments I came across while adding photos. It seems that some users were unaware that this paint is oil-based. It is important to note that using oil-based paint is different from using latex wall paint. The instructions on how to use this paint are clearly stated, and it is crucial to follow them. For instance, it is essential to work in a well-ventilated area and avoid using it in a closed home during cold weather when fresh air cannot circulate. This paint is designed to withstand the elements and is more durable than latex paint.
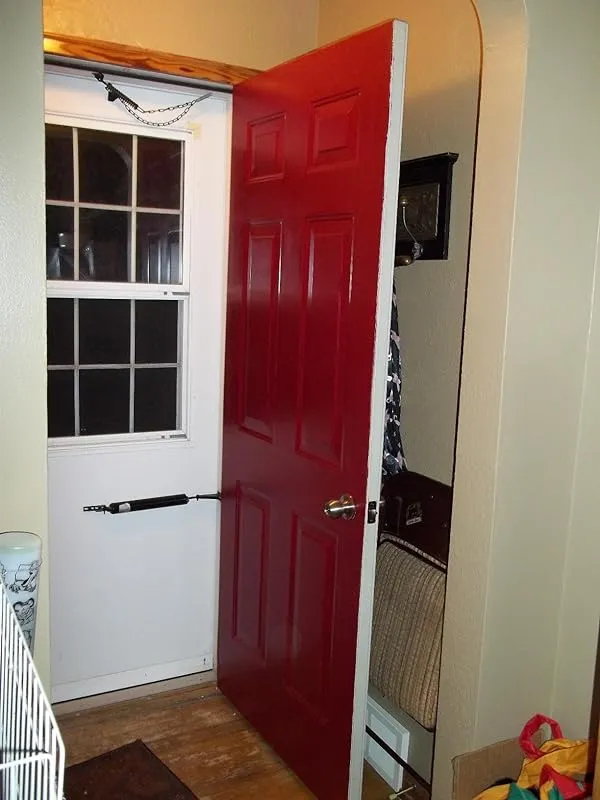
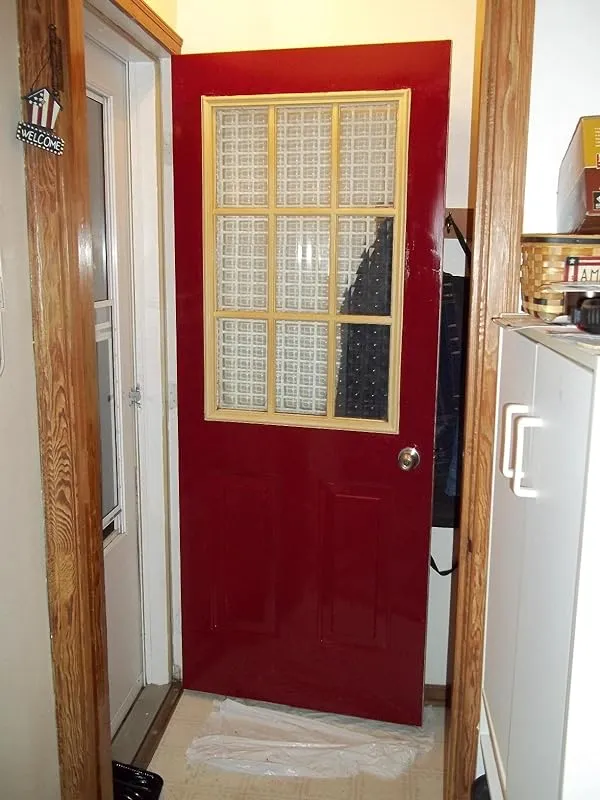
Personally, I am very pleased with this paint. It is oil-based and can be a bit messy, but the end result is fantastic. The cranberry color is rich and vibrant, and the paint came sealed and packaged securely. As expected with oil-based paint, there is a strong odor, so I recommend using it when you can have your windows open to allow for proper ventilation. Another great feature of this paint is its quick drying time. I covered a white door with three coats in just one day.
I do recommend investing in a good quality paint brush, as I initially used a budget brush and found that the paint was sticky and caused the bristles to come loose. However, once I switched to a better brush, I had no issues. It is also important to protect your working area with newspaper or a similar covering, as the paint can be thin and prone to dripping. I found that using light vinyl gloves saved me from having to clean the paint off my hands repeatedly.
7. Prestige Interior Paint & Primer: Sherwin-Williams Semi-Gloss White

I recently used this paint and found it to be incredibly easy to apply. It provided great coverage, even with just one coat. I did use a coat of Kiltz prime beforehand to address some heavy stains, but the paint still covered them nicely. Overall, I am very satisfied with the results and will definitely purchase this paint again in the future. If you are looking to paint your walls or ceilings, I highly recommend giving this product a try.
8. White Magic: Furniture, Walls, Trim Scratch Repair Solution
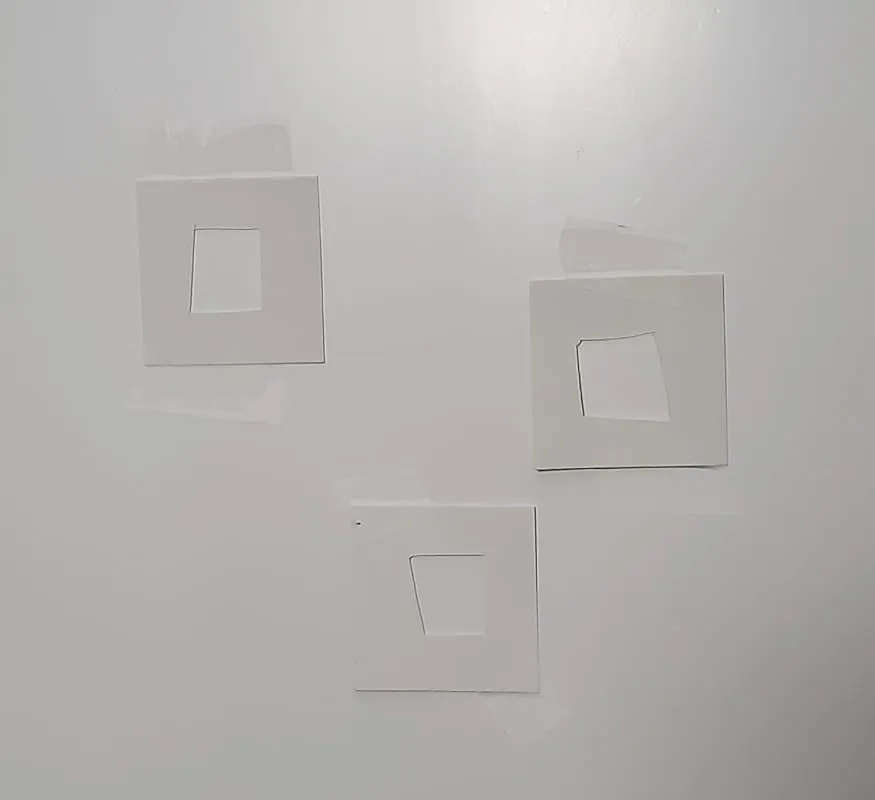
I am extremely satisfied with the chip matching "kit" from Soto's website. The delivery was surprisingly fast, and I found a helpful tip from another reviewer to cut out the centers of the chips for a better color match. This made a significant difference in choosing the right color. I initially thought one color was a match based on the intact chip, but after cutting out the centers, I realized that a different color was actually better. So, I highly recommend cutting out the centers for accurate results.
When my first bottle of Soto touchup paint arrived, it was a bit chalky and didn't provide the best outcome. However, Amazon promptly replaced it without any hassle, and the second bottle was perfect. The touchup paint was smooth and easy to apply. I had several dark chips on my entertainment center, and the results speak for themselves. I applied multiple layers of paint, allowing each layer to dry in between.
To achieve a smooth touchup, especially after the initial lumpy application, I used a moistened "Magic Eraser" which worked wonders. It was gentle and didn't damage the surrounding areas. Before applying the paint, it's crucial to follow the instructions and clean the area properly to ensure a proper color match and paint adhesion. I found using individual premoistened alcohol squares to clean the area very effective.
Another important step is to shake the bottle well before use to ensure the color is thoroughly mixed. This touchup paint not only saves furniture from being discarded into landfills but also provides a cost-effective way to give new life to existing furniture. With the addition of Soto touchup paint and new handles, my entertainment center looks brand new for less than $35.
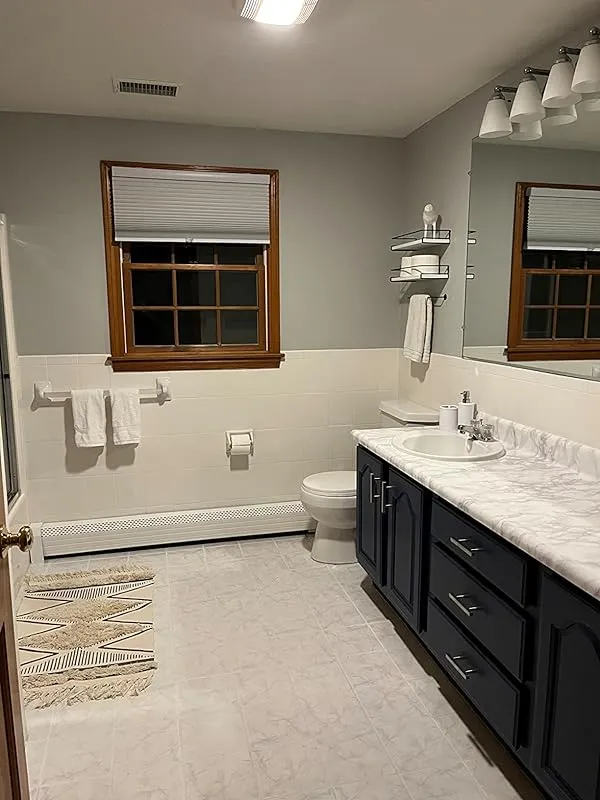
Using this product is as easy as using liquid paper, making it accessible to anyone. I was so impressed with the results that I have already ordered another bottle for porcelain touchups in my bathroom. I will even share photos of the finished touchup on my bathroom sink to showcase the fantastic results.
FAQs
Are there any special considerations or techniques for painting paneled interior doors white?
When painting paneled interior doors white, there are a few special considerations and techniques that can help you achieve the best results. Here are some tips to keep in mind:
1. Preparation: Start by thoroughly cleaning the doors to remove any dust, dirt, or grease. Sand the surface lightly to create a smooth base for the paint to adhere to. Fill any cracks or imperfections with wood filler, and then sand again for a seamless finish.
2. Primer: Applying a high-quality primer specifically designed for wood surfaces is crucial. It helps to seal the wood, prevents bleeding, and ensures better adhesion of the paint. Use a brush to apply the primer, following the wood grain and being careful not to leave any brush marks.
3. Paint selection: Choose a white paint that is specifically formulated for interior doors. Opt for a semi-gloss or satin finish, as it provides durability and is easier to clean. It's advisable to go for a paint with good coverage and self-leveling properties to achieve a smooth and uniform finish.
4. Technique: Start by painting the recessed panels first, using a brush to reach into the corners and edges. Then, use a small roller to apply the paint to the flat surfaces of the door. Work in thin layers, allowing each coat to dry completely before applying the next one.
This helps to prevent drips, brush marks, or uneven coverage.
5. Drying and finishing: Once you've achieved the desired coverage, allow the paint to dry thoroughly. If necessary, sand lightly between coats for a smoother finish. Finally, consider applying a clear topcoat or varnish to protect the paint and enhance the longevity of your painted doors.
By following these considerations and techniques, you can achieve a professional-looking result when painting paneled interior doors white.
Are there any specific tools or brushes recommended for painting interior doors with white paint?
When it comes to painting interior doors with white paint, there are a few tools and brushes that are commonly recommended for achieving the best results. Firstly, it is important to choose a high-quality paintbrush specifically designed for trim and detail work.
A brush with synthetic bristles and a tapered edge will allow for smooth and precise application. Look for a brush with a comfortable grip and a size that suits the width of your door frames and panels.
In addition to a good brush, it is also useful to have a small foam roller on hand. A foam roller can help to achieve a smooth and uniform finish, especially on larger areas of the door. It is generally recommended to use a foam roller with a fine nap for painting doors.
Lastly, don't forget to have some painter's tape and a drop cloth to protect the surrounding areas from accidental drips or spills.
Overall, investing in good quality tools and brushes will make your painting process easier and help you achieve a professional-looking finish on your interior doors.
Can I use the same white paint for both wooden and metal interior doors?
Yes, you can use the same white paint for both wooden and metal interior doors. However, it is important to consider the type of paint and the surface preparation required for each material.
For wooden doors, it is recommended to use a paint specifically formulated for wood surfaces. This type of paint will adhere better to the wood and provide better coverage. Before applying the paint, ensure that the wooden door is clean, smooth, and free of any previous coatings or imperfections.
It is also advisable to use a primer to improve adhesion and ensure a smooth finish.
When it comes to metal doors, it is important to use a paint that is specifically designed for metal surfaces. Metal paints often contain corrosion-resistant properties to protect the door from rust and other damage.
Prior to painting, make sure the metal door is clean, free from rust or corrosion, and properly primed if needed.
By using the appropriate paint and following the recommended surface preparation steps for each material, you can achieve a consistent and professional finish on both wooden and metal interior doors.
Can I use white paint on interior doors that have already been stained or painted a different color?
Yes, you can definitely use white paint on interior doors that have already been stained or painted a different color. However, there are a few important steps you should follow to ensure a successful outcome.
Firstly, you need to prepare the surface of the door. This involves cleaning it thoroughly to remove any dirt, dust, or grease. You may need to use a mild detergent and water solution or a degreaser, depending on the condition of the door.
After cleaning, lightly sand the surface to create a better bonding surface for the new paint.
Next, apply a coat of primer to the door. This step is crucial as it helps the paint adhere properly and prevents any previous color from bleeding through. Choose a primer that is suitable for the type of door material you have, whether it's wood, metal, or composite.
Once the primer is dry, you can start applying the white paint. Use a high-quality paintbrush or roller for an even and smooth finish. Apply multiple thin coats rather than one thick coat to avoid drips and achieve better coverage. Allow each coat to dry completely before applying the next.
In conclusion, with proper preparation, priming, and painting techniques, you can successfully use white paint on interior doors that have been previously stained or painted a different color.
How do I properly prep my interior doors before painting them white?
To properly prep your interior doors before painting them white, follow these steps:
1. Remove the door from its hinges: This will make it easier to work on the door and ensure a smoother painting process.
2. Clean the door: Use a mild detergent and water solution to clean the door, removing any dirt, grime, or grease. Rinse it thoroughly and allow it to dry completely.
3. Sand the door: Lightly sand the entire surface of the door with fine-grit sandpaper. This will help remove any imperfections, smooth out the surface, and create a better bond with the paint.
4. Fill any holes or cracks: Use a wood filler to fill in any holes, cracks, or dents on the door's surface. Allow the filler to dry completely and then sand it down until it's smooth and even with the rest of the door.
5. Prime the door: Apply a coat of primer to the door using a brush or roller. This will help the paint adhere better and provide a uniform base for the white paint. Allow the primer to dry according to the manufacturer's instructions.
6. Paint the door: Once the primer is dry, apply the white paint to the door using a brush or roller. Start with thin coats and allow each coat to dry before applying the next. This will ensure a smooth and even finish.
7. Allow the door to dry: Once you have achieved the desired coverage, allow the paint to dry completely before rehanging the door.
By following these steps, you can properly prep your interior doors before painting them white, resulting in a professional and long-lasting finish.
How long does it typically take for white paint on interior doors to dry?
The drying time for white paint on interior doors can vary depending on several factors. Generally, it can take anywhere from 4 to 8 hours for the first coat of white paint to dry. However, it is important to note that this is just the drying time for the first coat.
If multiple coats are needed, you should allow each coat to dry for at least 4 to 8 hours before applying the next one.
Factors that can affect drying time include the type of paint used, the brand, the thickness of the coats applied, the temperature and humidity of the environment, and the ventilation in the room. It is always advisable to consult the specific instructions provided by the paint manufacturer, as they may have recommendations for optimal drying times.
Additionally, it is important to ensure proper ventilation in the room to help accelerate the drying process.
How many coats of white paint are typically needed for interior doors?
The number of coats of white paint needed for interior doors can vary depending on several factors. Generally, two coats of paint are sufficient to achieve a solid, opaque finish. However, if the door has a dark or bold color underneath, additional coats may be required to completely cover the previous color.
It's important to note that the quality of the paint and the type of surface also play a role. Using a high-quality paint specifically formulated for doors, such as enamel or semi-gloss, can often provide better coverage in fewer coats.
Additionally, if the door has a smooth surface, it may require fewer coats compared to a door with a textured or uneven surface.
To ensure a professional and even finish, it's recommended to apply thin coats of paint rather than thick ones. This allows for better control over the application and reduces the chances of drips or brush marks.
Ultimately, the number of coats needed may vary, so it's advisable to follow the manufacturer's guidelines and perform a visual inspection after each coat to determine if additional coats are necessary.
What are some common mistakes to avoid when painting interior doors white?
When painting interior doors white, there are a few common mistakes that you should avoid to ensure a successful and professional-looking result.
1. Insufficient surface preparation: One of the key mistakes is not properly preparing the door surface before painting. Make sure to clean the door thoroughly, remove any dirt or grease, and sand it lightly to create a smooth surface for the paint to adhere to.
2. Skipping primer: Using a primer is essential, especially when painting over a dark or previously painted door. Priming helps to seal the surface, prevent stains from bleeding through, and ensures better adhesion of the white paint.
3. Applying too thick coats: It's important to apply thin and even coats of paint to avoid drips, uneven coverage, or a heavy texture. Multiple thin coats are better than a single thick coat.
4. Neglecting proper drying time: Rushing the drying process can lead to smudges, smears, or damage to the fresh paint. Follow the manufacturer's instructions for drying time between coats and allow ample time for the final coat to dry completely before rehanging the door.
5. Ignoring proper ventilation: Painting indoors can result in strong fumes, so it's important to ensure proper ventilation by opening windows or using fans. This will help to minimize odors and create a healthier environment.
By avoiding these common mistakes and following proper painting techniques, you can achieve a beautiful and professional-looking white finish on your interior doors.
What are the best brands of white paint for interior doors?
When it comes to choosing the best brand of white paint for interior doors, there are several options available that are known for their quality and performance. One popular brand is Benjamin Moore, which offers a wide range of white paint colors with different finishes such as satin, semi-gloss, and high-gloss.
Their paints are known for their durability, smooth application, and excellent coverage.
Another reputable brand is Sherwin-Williams, which also offers a variety of white paint options suitable for interior doors. They have a range of finishes and their paints are known for their high-quality formulation, durability, and ability to resist chipping and fading.
Other brands worth considering include Behr, Valspar, and Farrow & Ball. These brands have a good reputation for producing high-quality paints that deliver excellent results.
Ultimately, the choice of the best brand of white paint for interior doors will depend on personal preference, budget, and specific requirements. It's always a good idea to consult with a paint specialist or professional painter for specific recommendations based on your needs.
What type of finish should I choose for white paint on interior doors?
When it comes to choosing the right finish for white paint on interior doors, there are a few options to consider. The most common finishes for doors are satin, semi-gloss, and high-gloss.
Satin finish is a popular choice as it provides a subtle sheen that is not too shiny. It offers a smooth and elegant look, making it suitable for most interior door styles. Satin finishes are also known for their durability and ability to resist stains and scuffs, making them a practical choice for high-traffic areas.
Semi-gloss finish, on the other hand, offers a slightly higher sheen and reflects more light. It has a sleek and polished appearance that can enhance the overall aesthetic of your doors. Semi-gloss finishes are also more resistant to moisture and easy to clean, making them ideal for bathrooms and kitchens.
High-gloss finish is the most reflective and shiny option. It creates a bold and glamorous look, adding a touch of modernity to your interior doors. However, it is important to note that high-gloss finishes tend to show imperfections more easily and require more maintenance.
Ultimately, the choice of finish depends on your personal preference and the style you want to achieve in your space. If you're unsure, I recommend testing out small samples of each finish on a hidden part of the door to see which one you like best.