I Tested And Reviewed 9 Best White Paint For Kitchen Cabinets (2023)
Giving your kitchen a fresh new look often starts with a simple paint job. When it comes to painting kitchen cabinets white, choosing the right white paint is key to achieving a bright, clean, and modern aesthetic. With so many options on the market, how do you determine what is truly the best white paint for kitchen cabinets?
Before making a purchase, consider factors like finish, durability, and ease of application. The finish determines the look, from flat matte to high-gloss. Durability relates to how well the paint stands up to heavy use, moisture, grease, and more. Ease of application involves spreadability, dry time, and clean up.
Do you prefer spraying or brushing? How much prep work are you willing to do? What kind of look are you hoping to achieve? Asking these questions will help narrow your options. Your choice may also depend on whether you're painting over existing cabinet surfaces versus new wood.
Transforming your space doesn't have to be difficult. With the right white paint and proper prep, you can give your kitchen an affordable makeover. Doing your research, evaluating your space, and assessing your skills will lead you to the perfect product for your needs. By taking your time and choosing wisely, you'll end up with a fresh, inviting kitchen you can enjoy for years to come. The search for the best white paint starts with you.
9 Best White Paint For Kitchen Cabinets
| # | Product Image | Product Name | Product Notes | Check Price |
|---|---|---|---|---|
|
1
|
 |
The product is ideal for covering scratches and imperfections on various surfaces.
|
|
|
|
2
|
 |
The product is ideal for painting cabinets and trim to give them a fresh and updated look.
|
|
|
|
3
|
 |
The product is ideal for refinishing cabinets, countertops, furniture, and doors with a no-sanding, matte finish in bright white.
|
|
|
|
4
|
 |
The product is ideal for adding decorative touches and accents to various surfaces.
|
|
|
|
5
|
 |
The product is ideal for painting and refinishing cabinets with a durable, satin finish.
|
|
|
|
6
|
 |
The product is ideal for painting cabinets, providing a durable, satin finish in the color white.
|
|
|
|
7
|
 |
The product is ideal for repainting cabinets and furniture without the need for sanding, serving as an all-in-one paint solution.
|
|
|
|
8
|
 |
The product is ideal for providing a durable, semi-gloss white finish on various surfaces.
|
|
|
|
9
|
 |
The product is ideal for touch-ups and small painting projects on various surfaces.
|
|
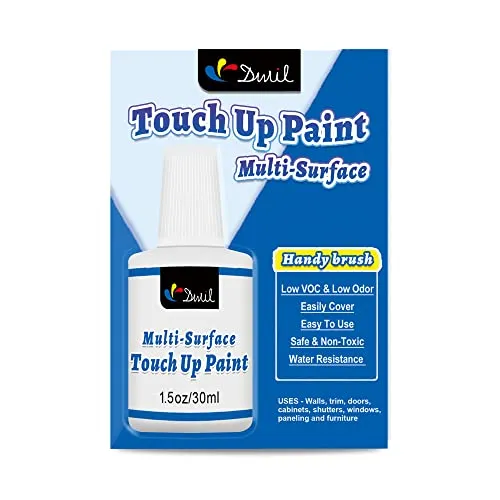
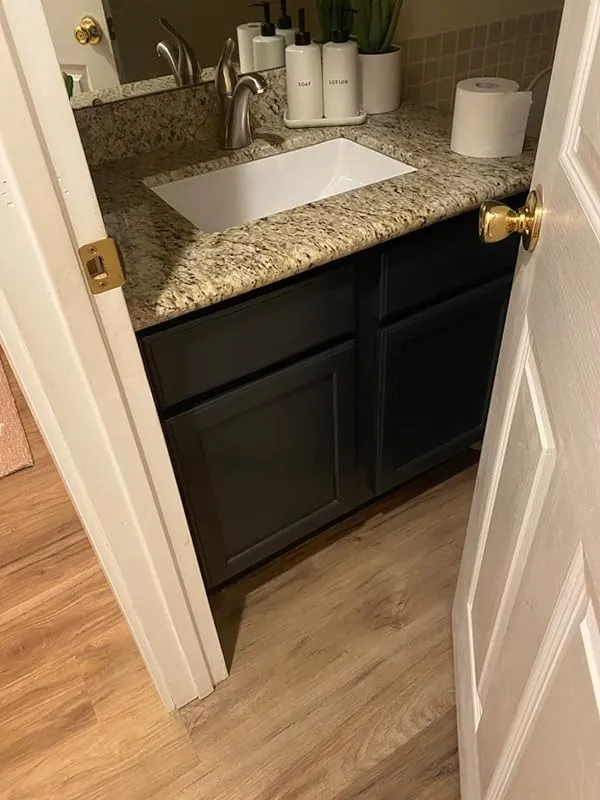
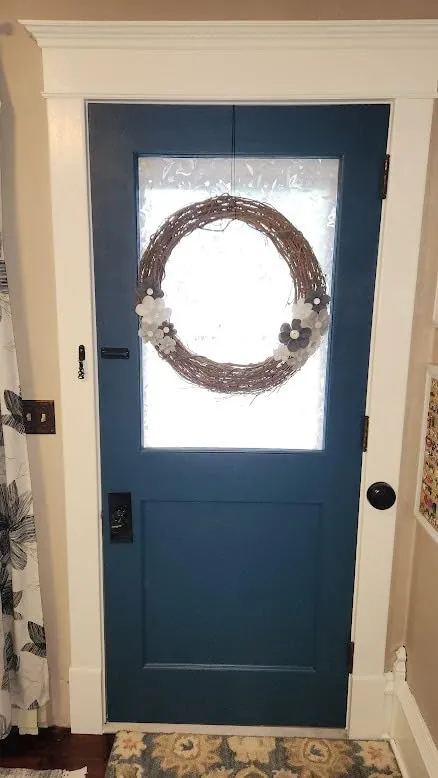
1. Perfect White Touch-Up Paint: Dwil Multi-Surface Solution
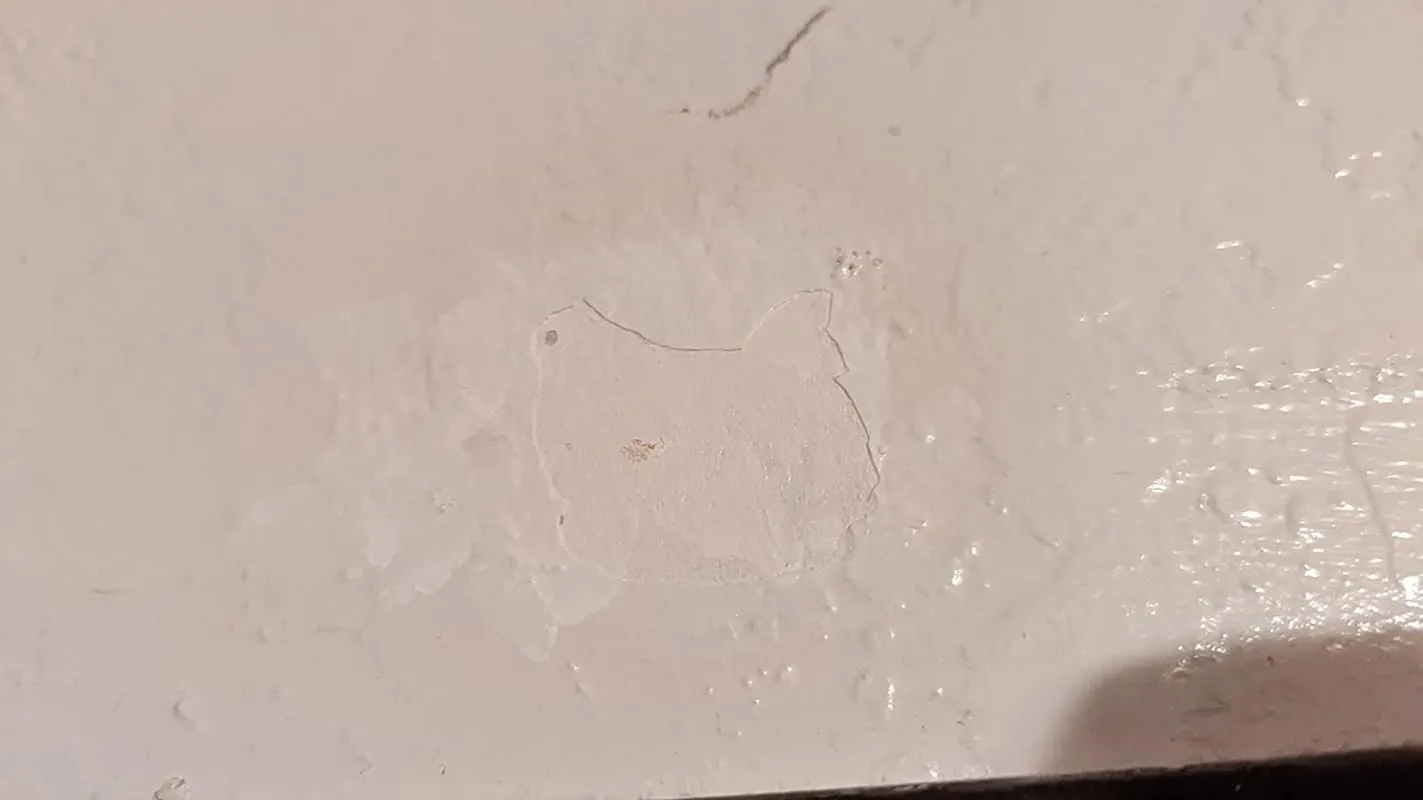
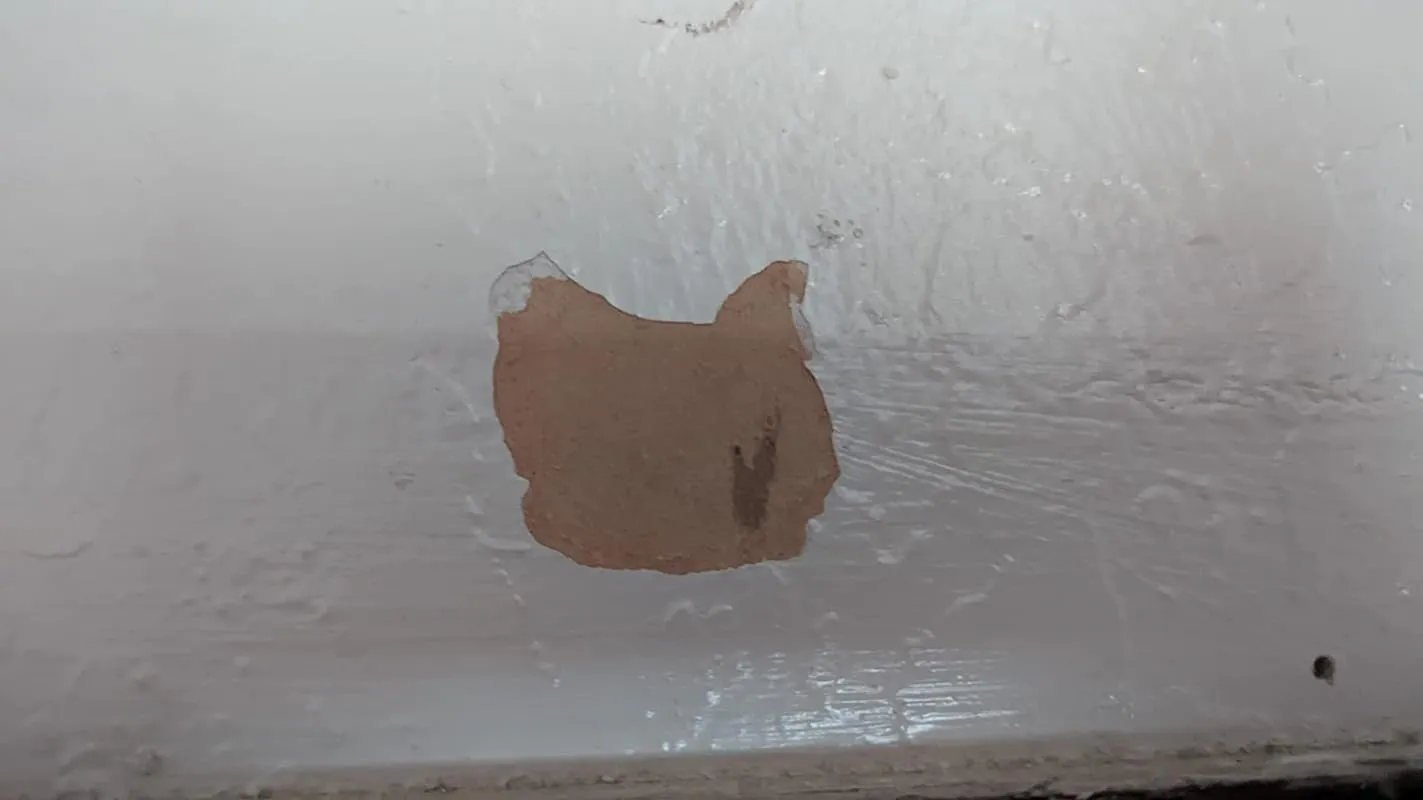
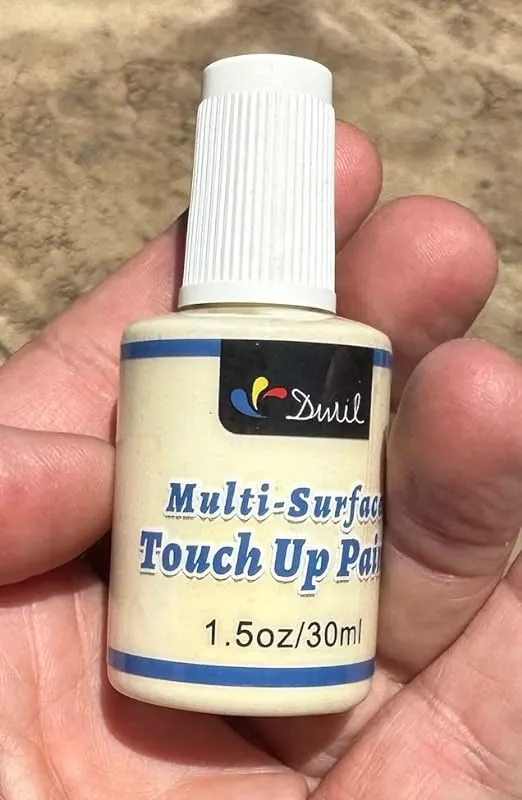
The touch up paint I ordered and used was not as durable as other brands I have tried. Additionally, the light yellow shade I ordered turned out to be more of a dull yellow or tan color, which was disappointing. Even in bright sunlight, the color did not appear as vibrant as I had hoped.
However, I must commend the company for their excellent customer service. They reached out to me and offered a replacement or refund, which I greatly appreciated. It is important to have good support from a company, and I'm glad they were willing to work with me to resolve the issue.
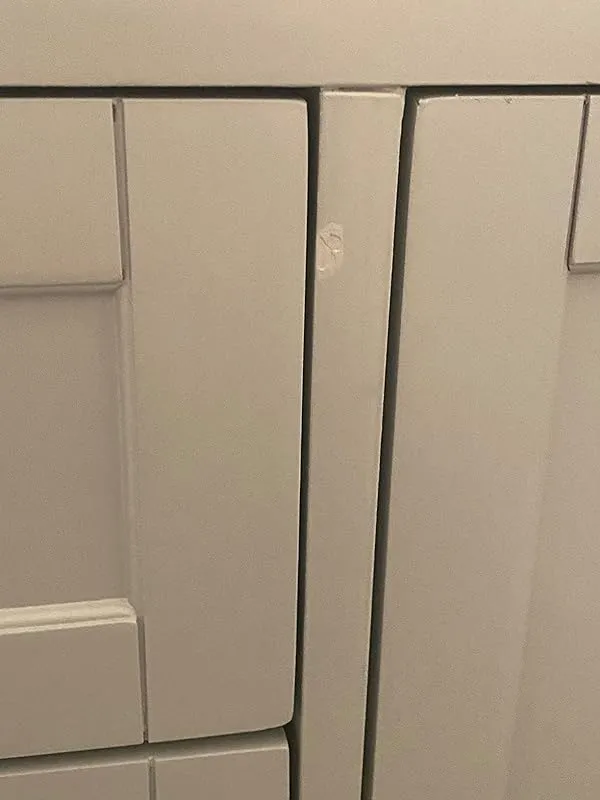
On a positive note, the touch up paint did perform well in terms of coverage. While it didn't perfectly match my walls, it did a decent job of blending in and was not an eyesore. I applied multiple coats and found that it covered evenly. The only improvement I would suggest is a different applicator brush, as the current one could be better.
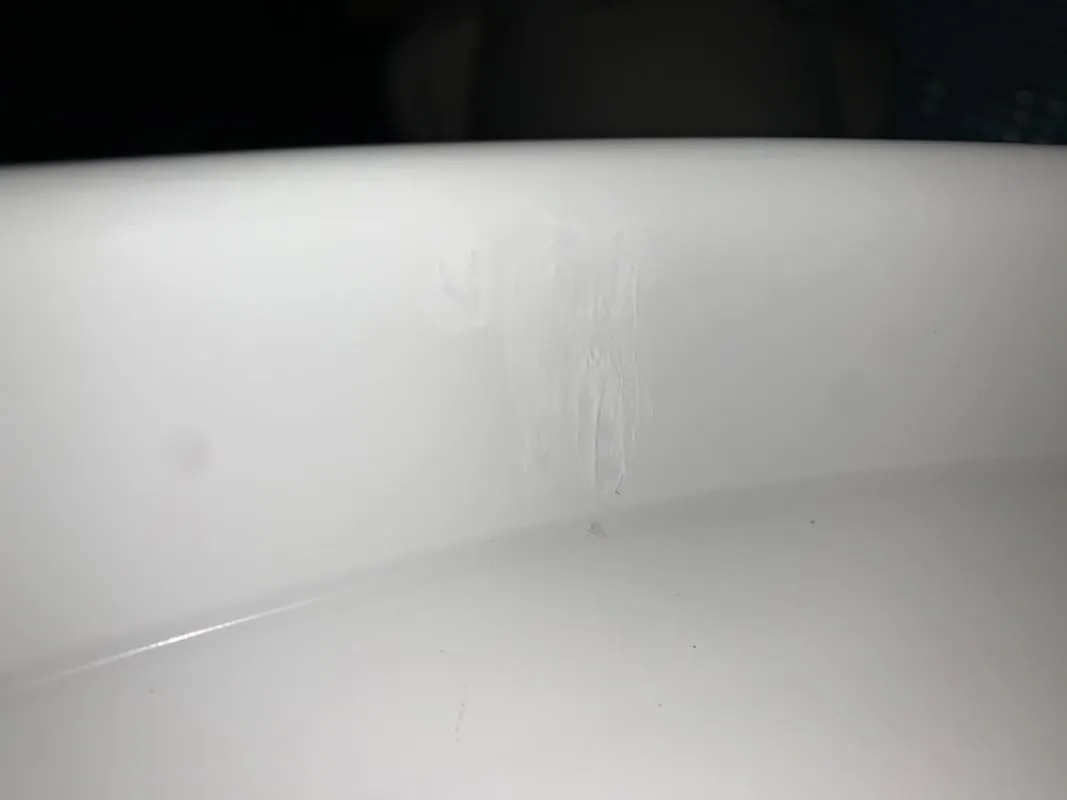
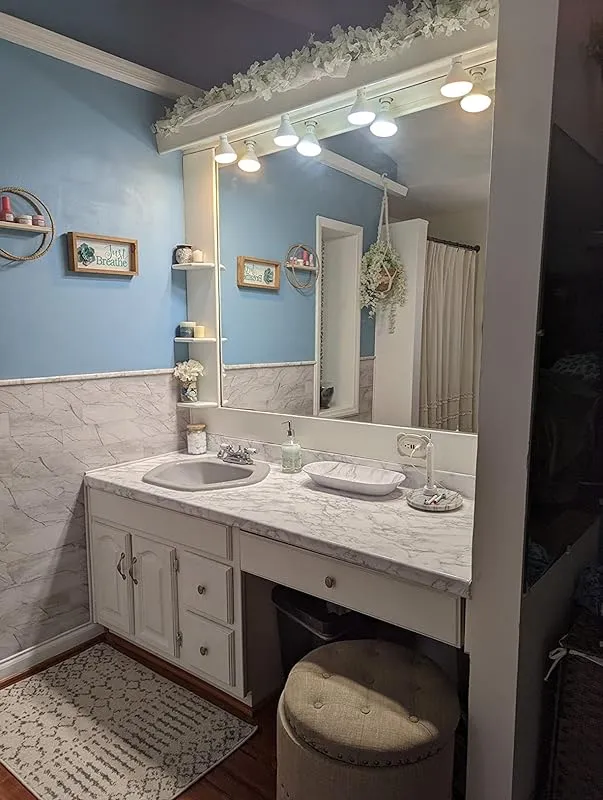
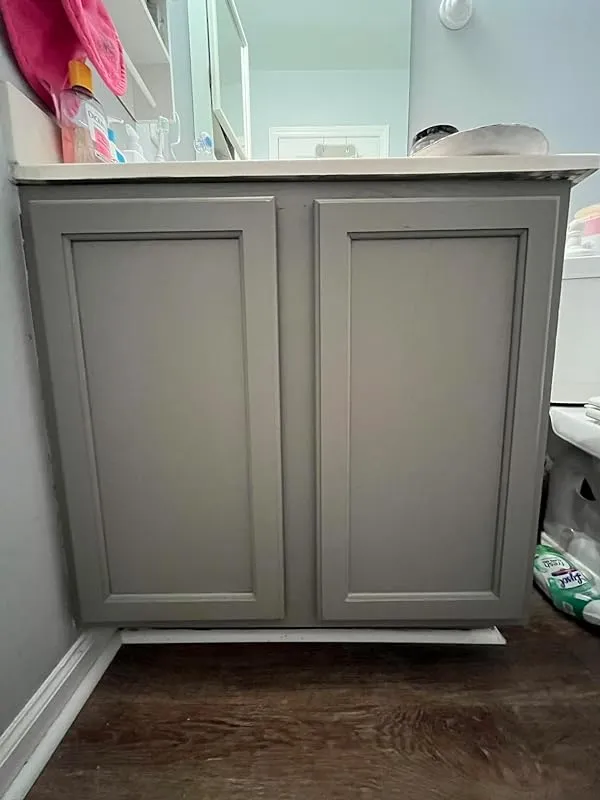
In another instance, I used the light grey shade of this touch up paint to match our bathroom vanity, and it turned out to be a perfect match. It looks amazing and I am very pleased with the result.
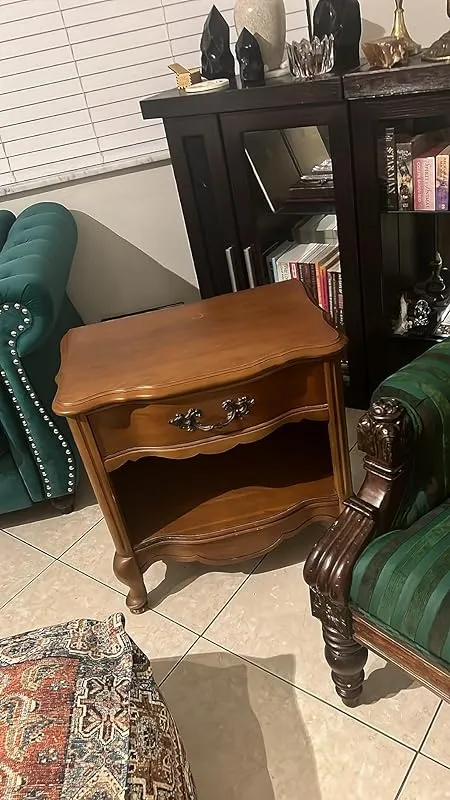
I also used this product to touch up a white painted table in our living room, and it worked great. The applicator brush was effective and it covered the dings in the paint well. Overall, I have no complaints about this product and am pleased with its performance.
I decided to purchase two different shades, a darker and a lighter one, and I found that by mixing them, I was able to touch up almost every wall, shelf, and door in my apartment. This versatility was a great advantage for me.
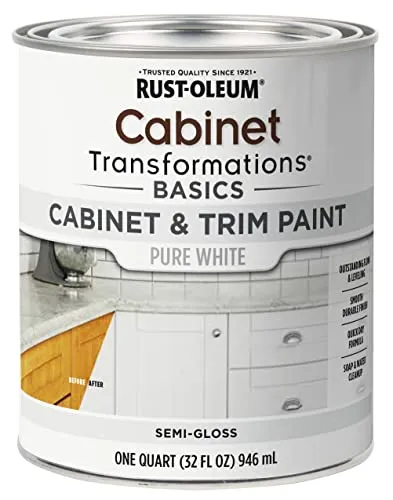
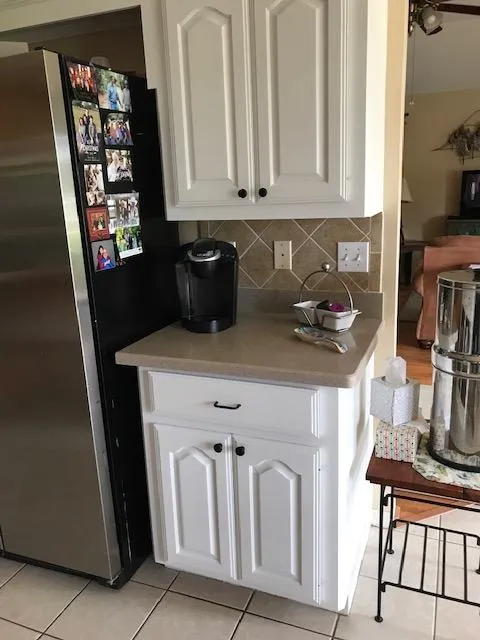
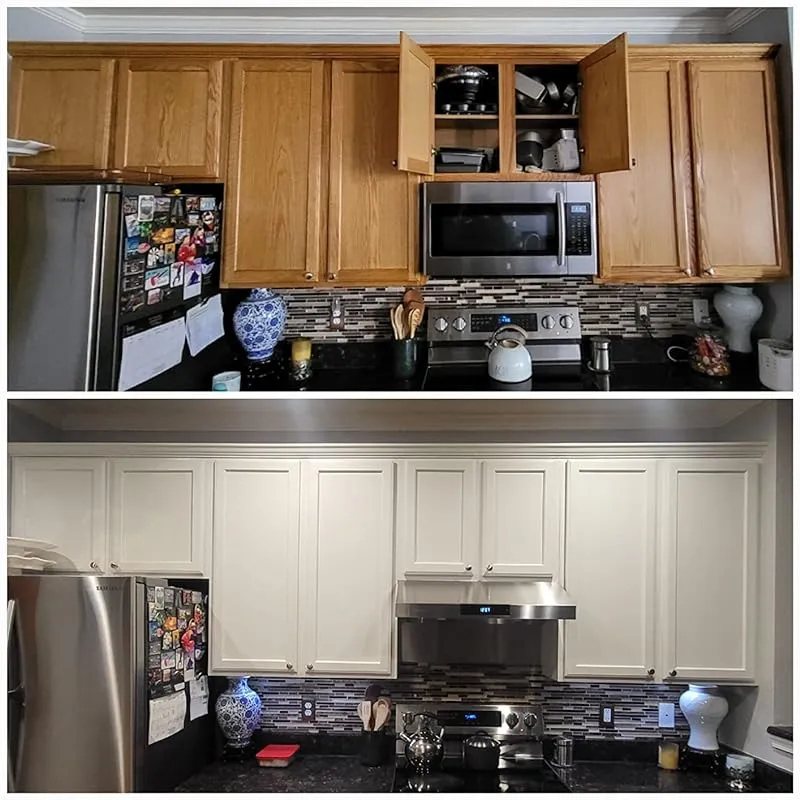
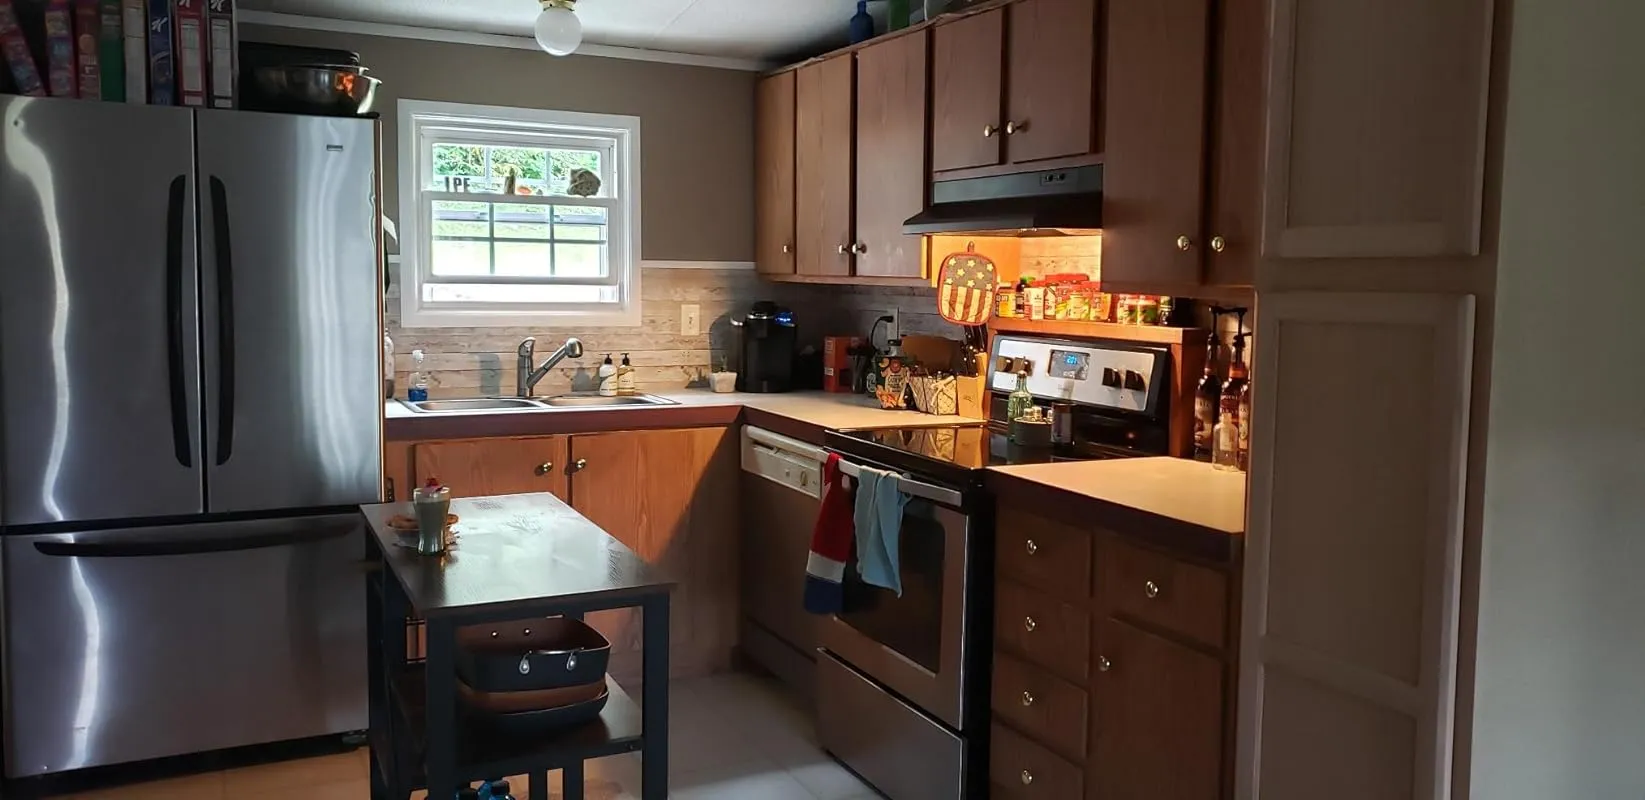
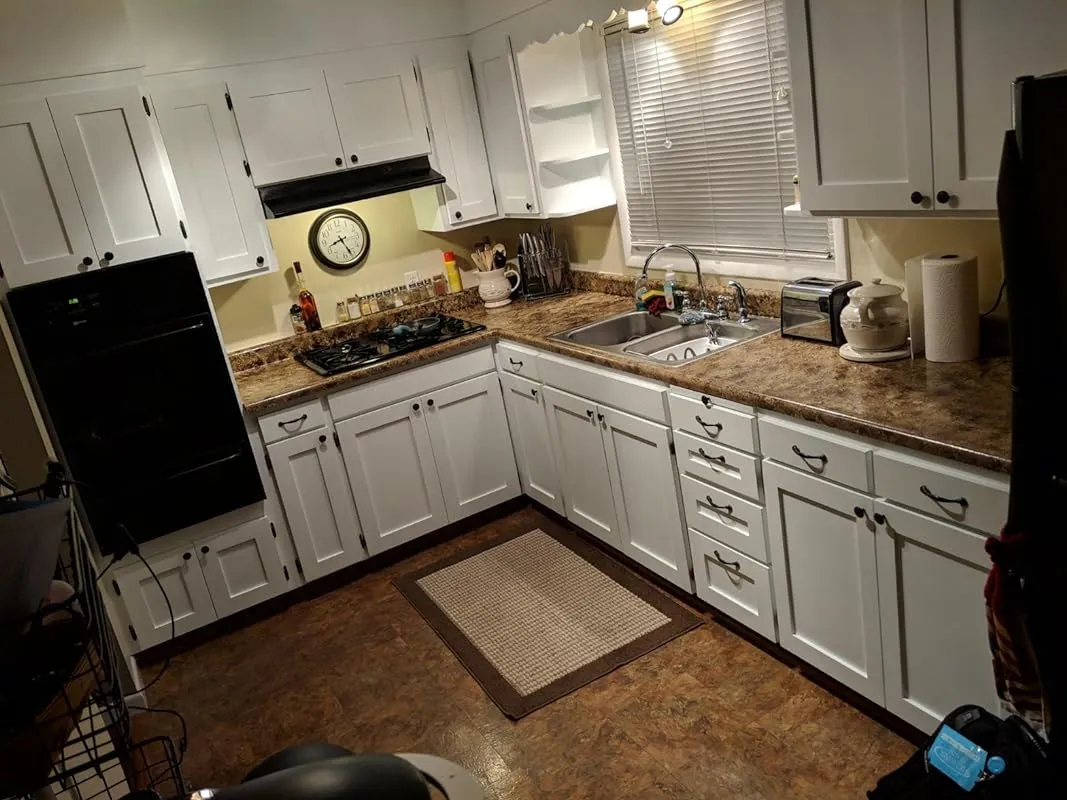
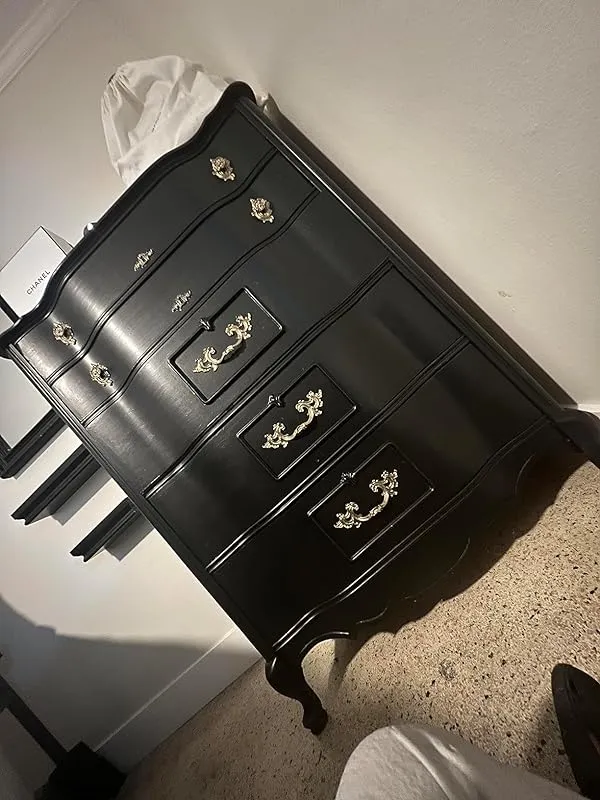
2. Pure White Cabinet & Trim Paint – Rust-Oleum Basics
I recently used almost two quarts of this product to paint my kitchen cabinets, and I must say, I have no complaints! At first, the color in the can appeared to be gray, but it dried to a beautiful black shade. I applied two to three coats on the cabinets, and the results were fantastic. It's still too early to determine how well it will hold up, but so far, I am impressed.
I do regret not taking Before & After pictures of my kitchen because this product is truly excellent. The coverage was so good that I only needed to use one coat, which was amazing. The transformation was remarkable, and I couldn't be happier with the outcome.
Not only did this product perform well on my kitchen cabinets, but I also used it to paint the baseboards and a cabinet in my bathroom. The application process was smooth and even, resulting in a professional-looking finish. My satisfaction with this purchase is evident, and I highly recommend it.
While it did require more than one coat, I found this to be a good product overall. To ensure the best results, I used a primer first and then applied two coats of this product. The extra effort was worth it, as the finished look was satisfactory.
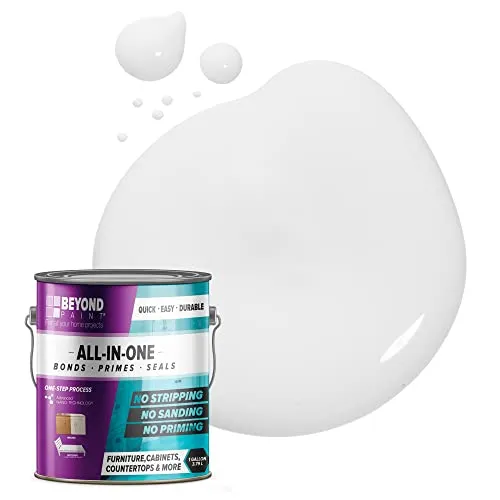
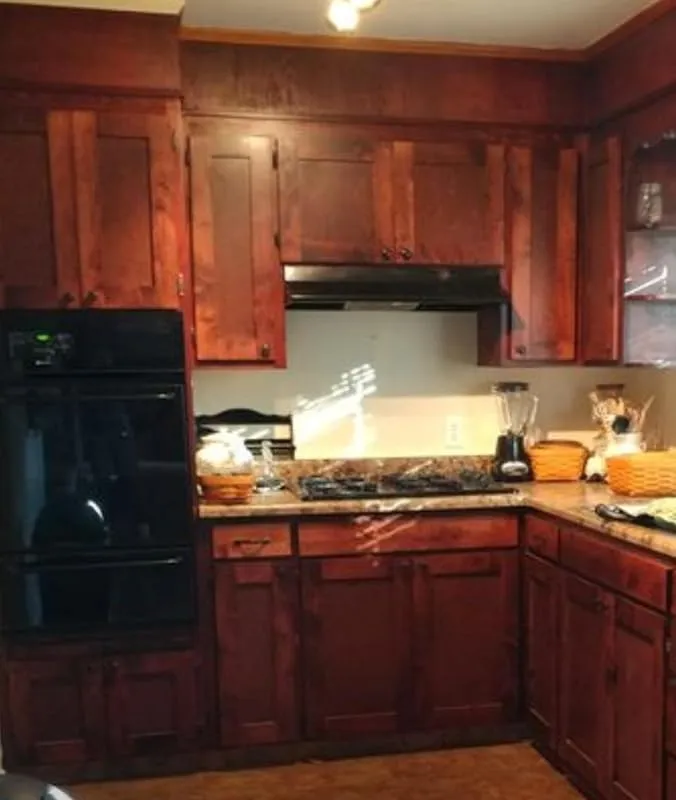
3. Beyond Paint: Matte Finish 1 Gallon, Bright White
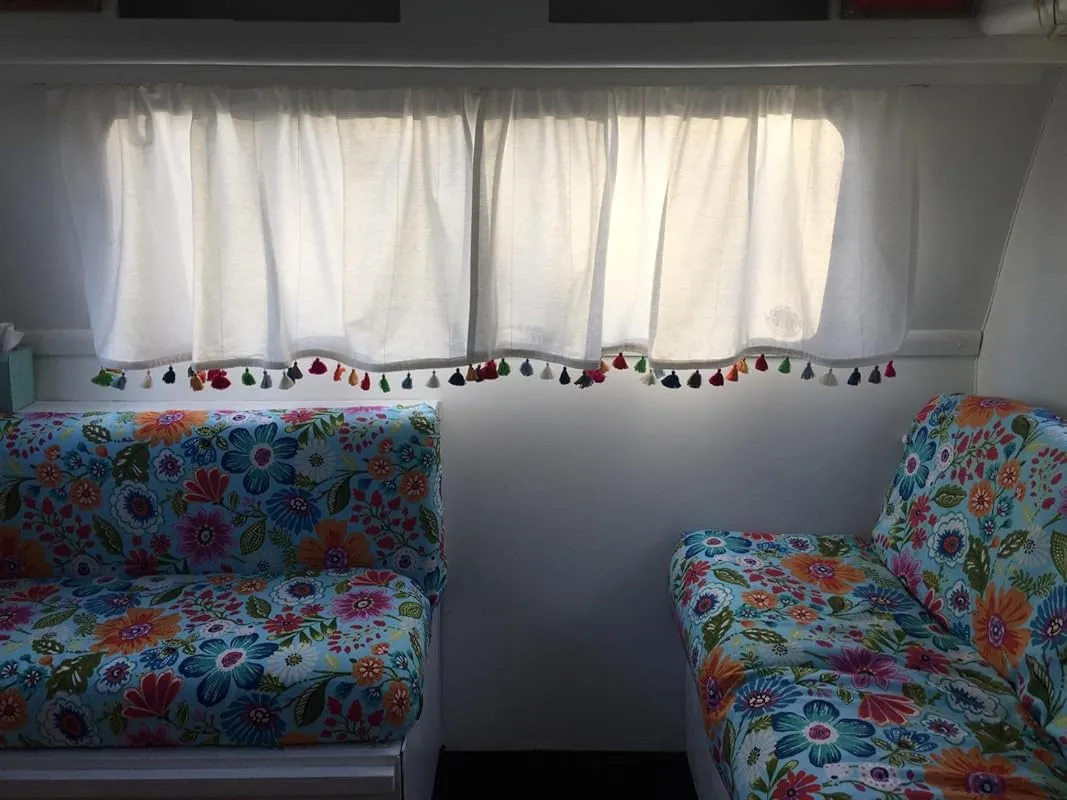
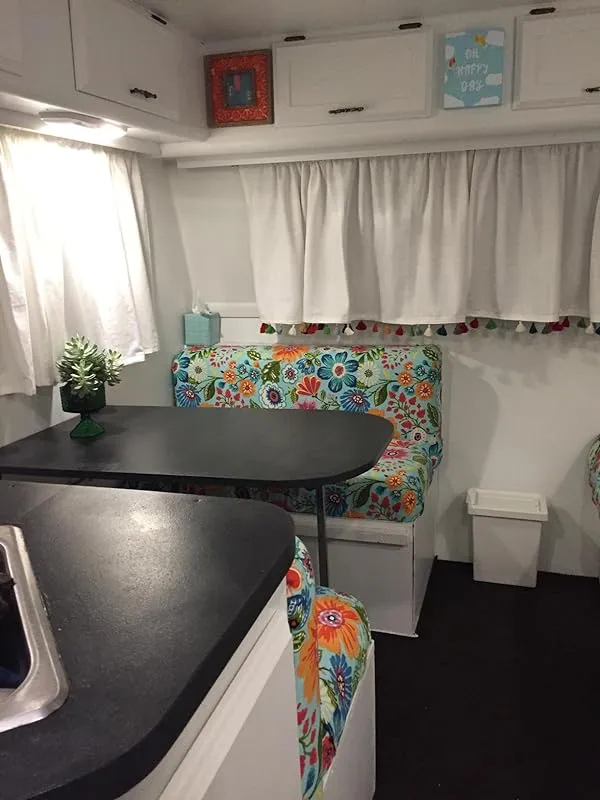
I recently had the opportunity to use this paint on a 1987 camper-trailer interior, and I must say, I was thoroughly impressed. Despite not having the time for extensive prep work, such as taping and priming, I took a risk and decided to give this product a try. And boy, am I glad I did!
The application process was a breeze. After wiping down the surfaces with Simple Green and allowing them to dry, I simply painted two coats of this paint. The ease of application and quick drying time were major highlights for me. And now, after six months of use by a farm intern, I can confidently say that the durability and "clean-ability" of the painted surfaces are exceptional.
One thing to note is that I did allow the paint to cure for 30-40 days before using the camper. I believe this may have made a difference in terms of the longevity of the paint job. The product does recommend a one-month cure time, and I highly recommend following this guideline for optimal results.
I first heard about this paint from my daughter-in-law, who used it in her kitchen. After five years, she had no chips or peeling. This gave me the confidence to try it on my cabinets as well. As someone who has been deterred from painting cabinets in the past due to the tedious sanding process, I was thrilled to discover that this paint eliminates the need for sanding, unless there is damage or loose varnish.
For my cabinet project, I simply cleaned them with Simple Green and a plastic scrubbie, then rinsed with a wet towel. The next day, I began painting. While it did take three coats to achieve full coverage, the end result was well worth it. The transformation of my cabinets was remarkable, and I couldn't be happier with the outcome. This product truly added the facelift that I was looking for.
As a new homeowner, saving money is always a priority. I was initially nervous about painting my kitchen cabinets, but I am so glad I took the leap of faith with this paint. The coverage was exceptional, and the end result was beautiful. I am absolutely in love with my new cabinets.
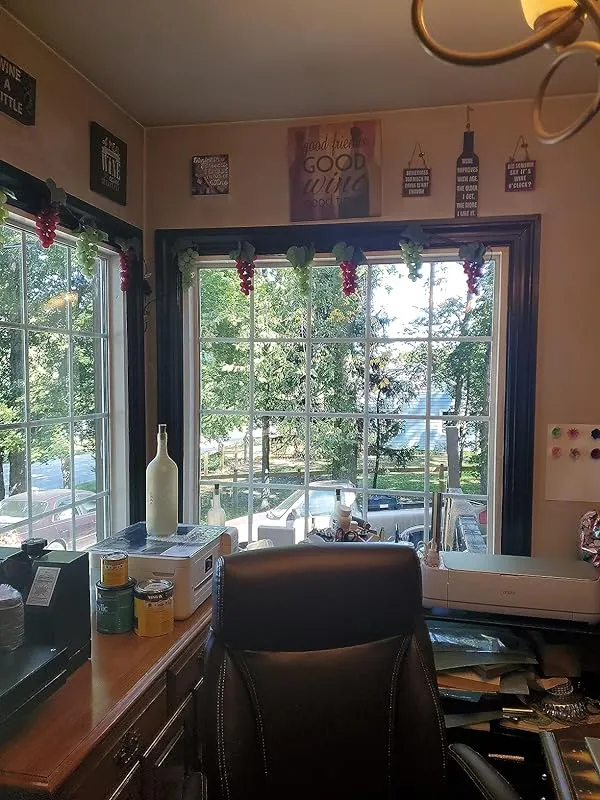
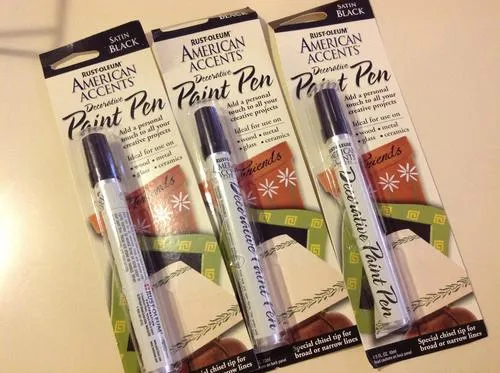
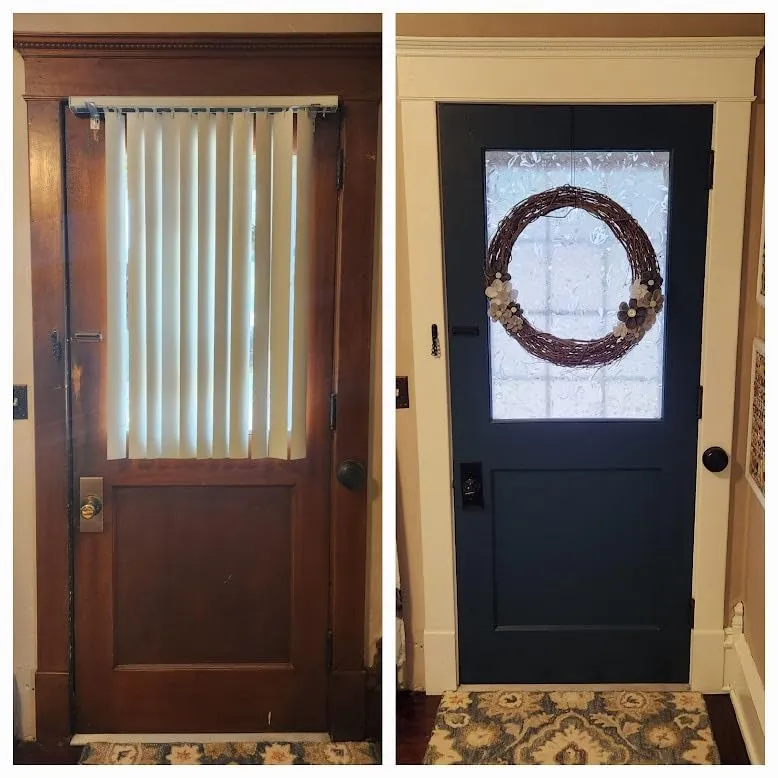
4. Rust-Oleum Satin White Decorative Paint Pen – Precision And Style
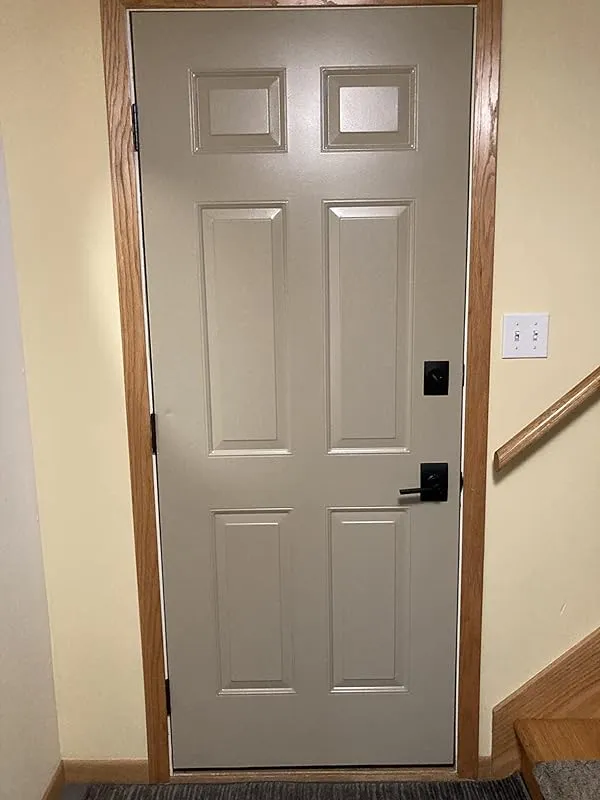
I recently had the opportunity to try out the Rust-Oleum paint pen, and I must say, I was thoroughly impressed with its performance. One of the main reasons I decided to give this product a try was to refresh the service door to my garage. Unfortunately, the hinges couldn't easily be replaced to match the new look I was going for. However, the Rust-Oleum paint pen came to the rescue. With just fifteen minutes of application, the old brass hinges were perfectly disguised, giving my door a fresh and updated appearance. It was truly a simple and hassle-free solution.
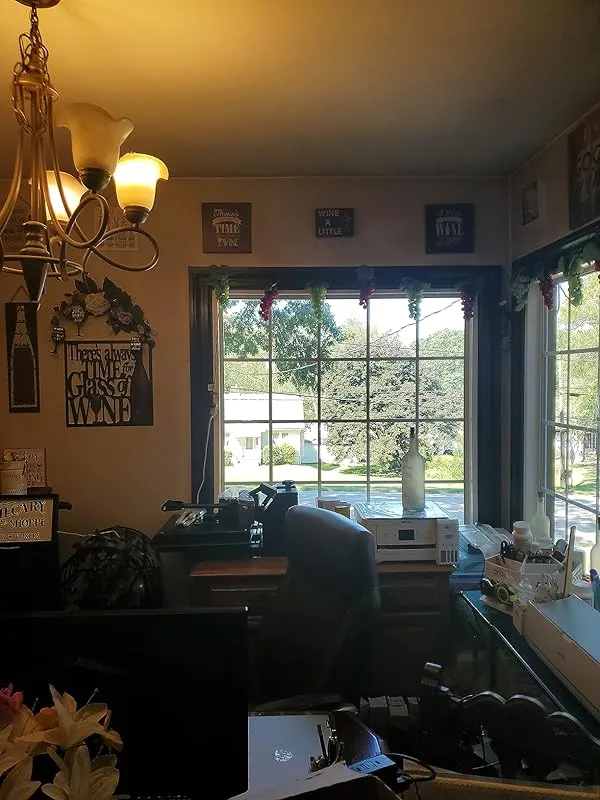
Another occasion where the Rust-Oleum paint pen proved its worth was when I needed to clean up some edges on my painted stairs. Paint bleeding through the tape edge can be quite frustrating, but this brand came to the rescue once again. The pen effectively covered up the imperfections, leaving me with clean and crisp edges. I would definitely choose this brand again for any future touch-up needs.
As a professional house cleaner, I often come across various challenges when it comes to restoring the appearance of clients' homes. One particular client had a master faucet that was supposed to be bronze, but due to hard water corrosion, it had turned white. Enter the Rust-Oleum paint marker. Although I was initially worried about the blotchiness and weird appearance when applying the marker, once it dried, the faucet looked great. It has been three months since I used the marker, and it still looks good, without any signs of fading. This product truly exceeded my expectations in terms of durability and longevity.
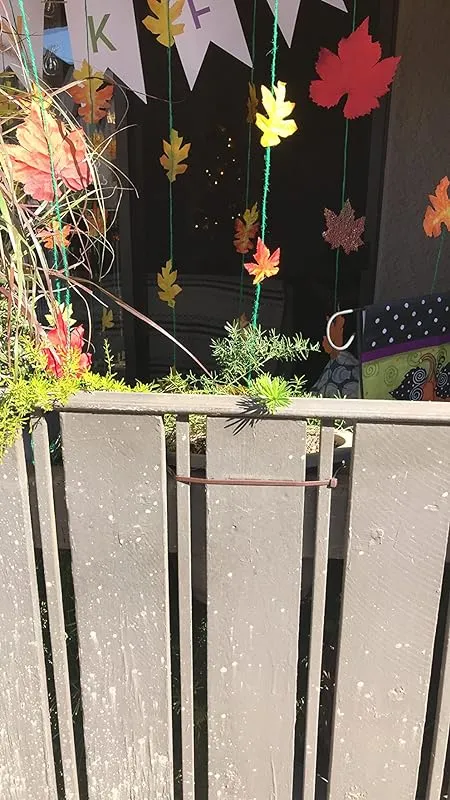
Living in an apartment complex, I often find the need to camouflage certain elements, such as white zip ties holding plants on my patio railing. The Rust-Oleum paint pen came in handy once again, as it worked exceptionally well on the plastic zip ties. Even after being exposed to the weather for over a month, the paint has held up without any signs of chipping or fading. It has truly helped me create a more aesthetically pleasing outdoor space.
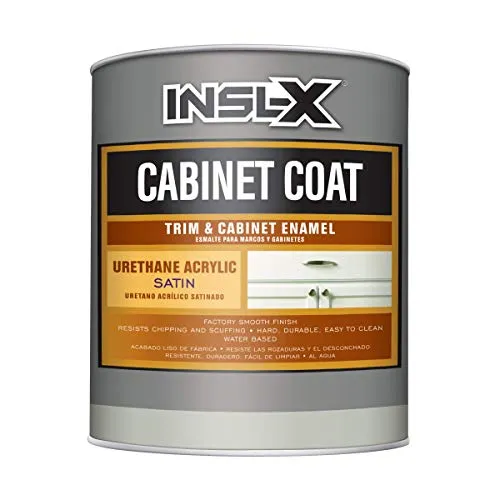
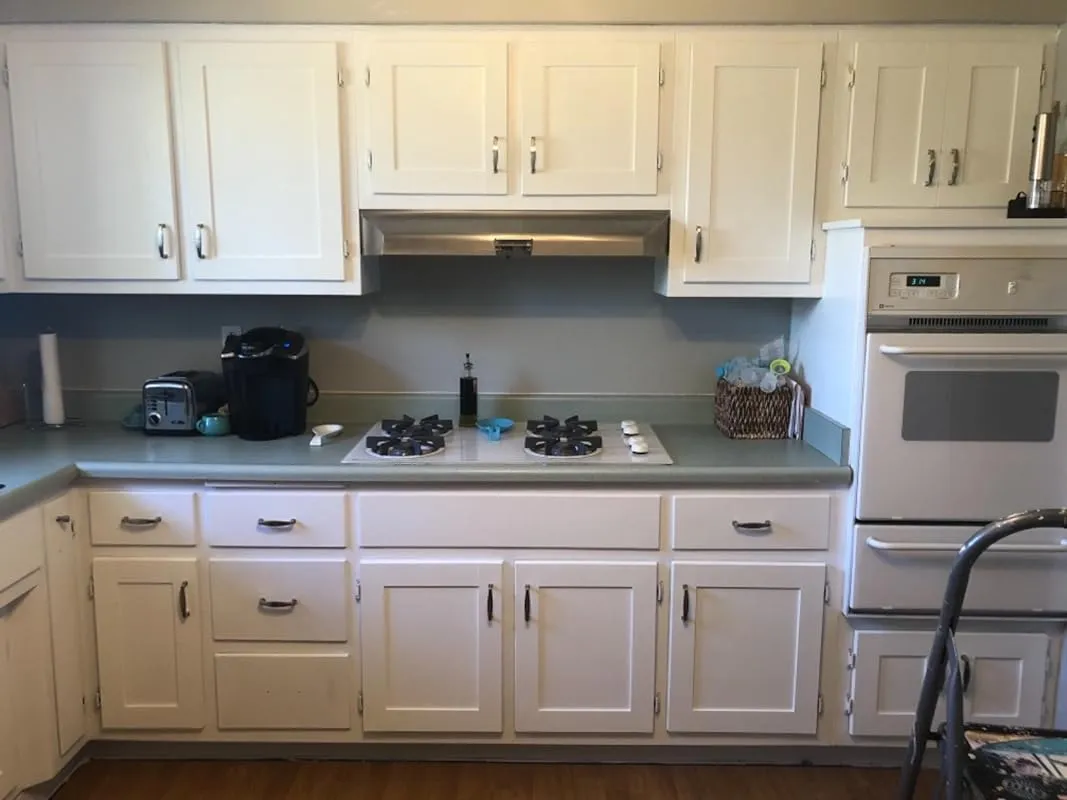
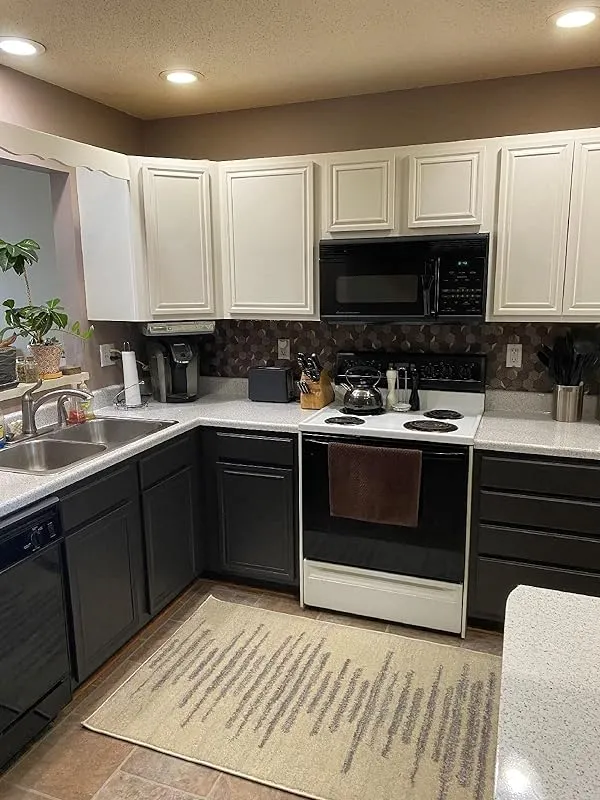
5. Insl-X Cabinet Coat: White Satin Cabinet Paint
I recently had the opportunity to try out Inslx paint for my home renovation project, and I must say, I am thoroughly impressed. As someone who loves a good deal, I initially made the mistake of opting for a cheaper paint, but I quickly learned that investing a little extra money in quality paint is worth it in the long run.
I started off by using Inslx paint for my kitchen cabinets, which I had sanded down in preparation for staining. However, after using this paint, I am so glad I decided to go with it instead. The durability of this paint is truly remarkable, especially for a household like mine that experiences a lot of wear and tear. It is incredibly easy to clean, making it perfect for a high-traffic area like the kitchen.
I also used Inslx paint to cover multiple layers of dark maroon/brown paint on my door frames, and I was amazed at how well it adhered to the surface and provided excellent coverage. Despite dealing with less than ideal surfaces, I only needed two coats to achieve the desired result. Additionally, this paint is very forgiving of my sometimes imperfect brush technique, which is a huge plus.
One of the standout features of Inslx paint is its washability. This was a major factor in my decision to purchase another gallon of this paint. We will soon be installing beadboard wainscoting in the kitchen, and I have full confidence that this paint will be able to withstand bumps, spills, and everyday mishaps.
Upon further research, I discovered that Inslx is a Benjamin Moore product, which explains the price and the exceptional quality. While it may not be the cheapest option on the market, in my opinion, if you are looking for a rough interior semi-gloss paint, this is the one to go for.
In terms of application, I found that it took three coats of Inslx paint to achieve the desired finish. However, the end result was absolutely amazing. It is important to note that proper surface preparation, including thorough sanding and cleaning, is crucial for the best outcome. In my case, there were some spots where I missed during the sanding/cleaning process, and the previous residents' smoking habits caused some yellowing to show through. Even though I tried using Killz, it couldn't fully cover it. Despite this, I still consider Inslx to be a five-star product due to its overall performance.
I have been using this paint for over 25 years, ever since I peeled off the yellowing laminate from my kitchen cabinets and painted the underlying MDF white. I have even added cabinets and had new MDF doors made to match the originals, all using Inslx paint with great success. Recently, I had new drawer fronts made and was running low on my leftover paint. I was thrilled to discover that it is still being produced and available on Amazon, as it was out of stock locally.
I am currently in the process of painting the new drawer fronts, and I can confidently say that I am a very satisfied customer. The original coat of Inslx paint has held up remarkably well over the past 25 years, enduring the antics of two teenage sons and various pets, without the need for repainting. While it may be thin and prone to running, taking the time to apply it carefully results in a smooth and level finish.
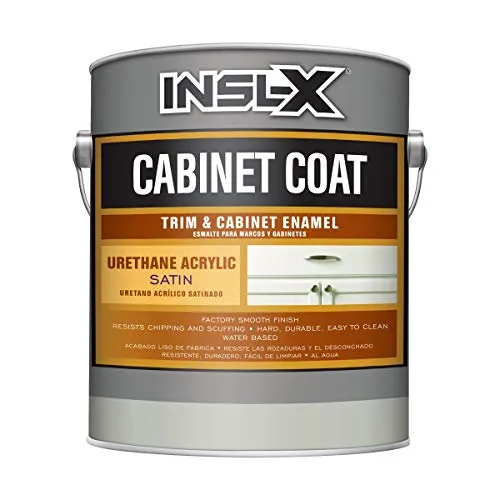
6. Insl-X Cc550109a-01 Cabinet Coat Enamel, Satin Sheen Paint, 1 Gallon, White, 128 Fl Oz (Pack Of 1)
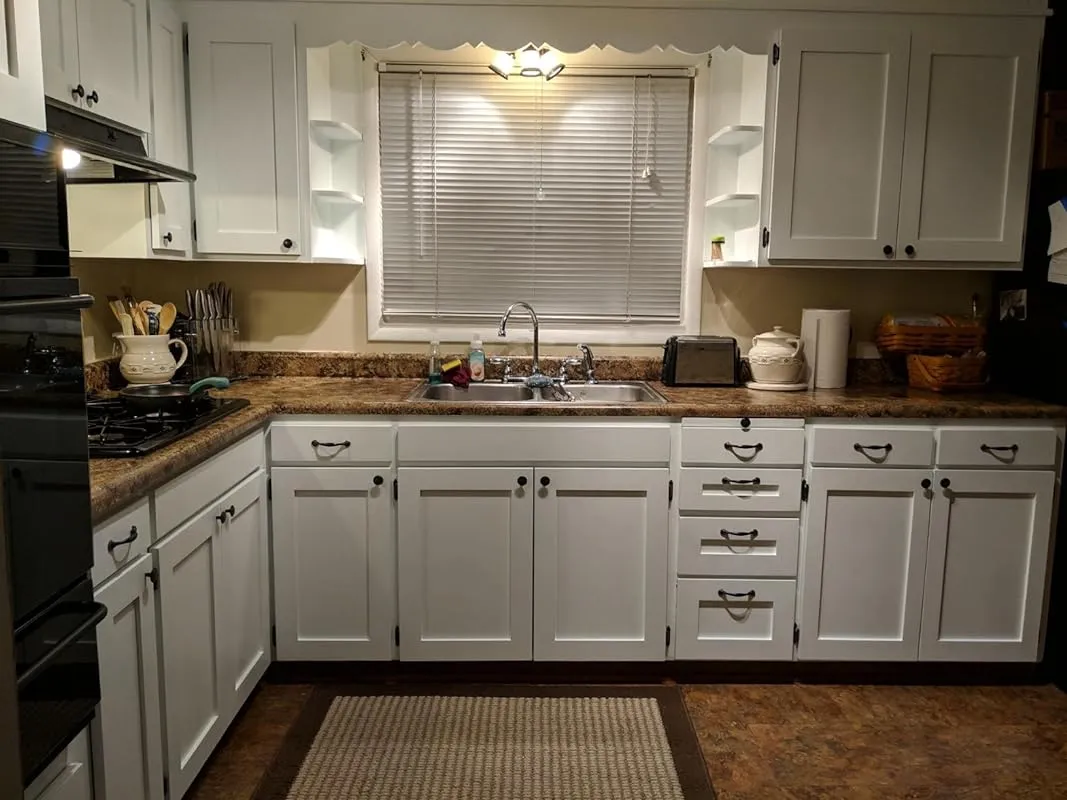
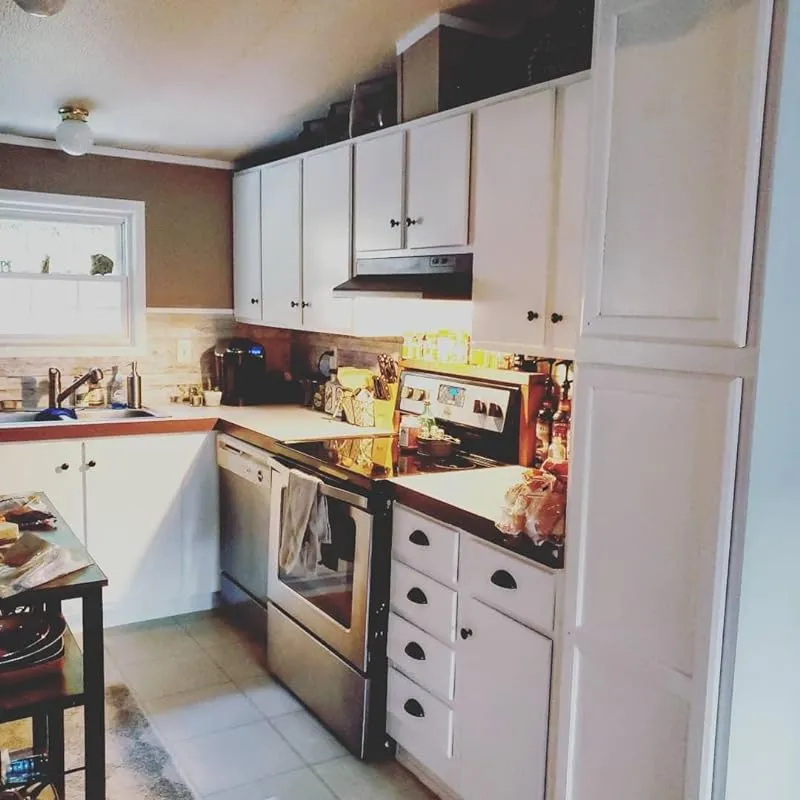
I recently used the INSL-X cabinet coat to paint my old kitchen cabinets, and I must say, the results were even better than I had imagined. The process was a bit time-consuming, but it was well worth it in the end.
To prepare the cabinets, I followed a thorough cleaning process. I washed them down with Dawn and then used liquid sandpaper. After wiping them down with a lint-free wet rag, I applied two coats of primer. Once the primer dried, I applied two thin coats of the INSL-X cabinet coat and sanded it once it dried. To ensure a flawless finish, I applied two more thin coats.
The cabinets turned out smooth and even, with a nice sheen. I used a foam roller for most areas and a foam brush for the hard-to-reach spots. The paint dried quickly, with only a few hours between coats, and the cabinets were ready to handle within a day.
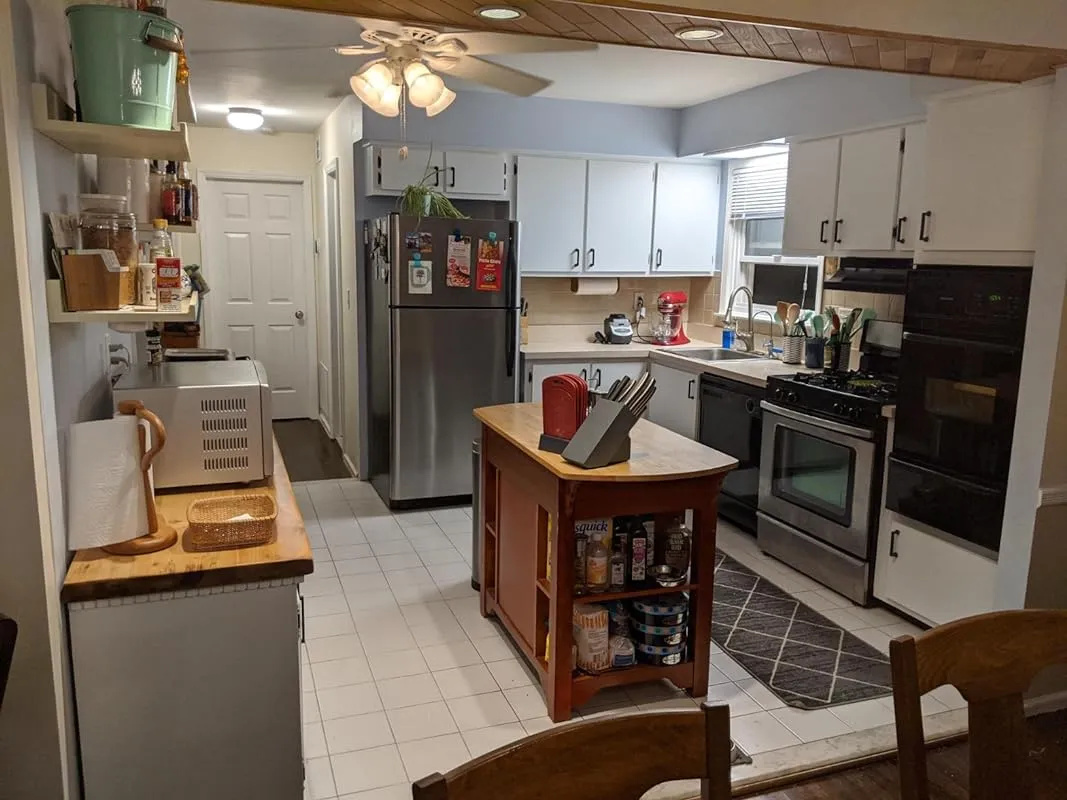
The package arrived on time and in perfect condition. The paint itself is of very high quality. I only needed two coats to achieve amazing results on my kitchen cabinets. There was no odor, and the paint was easy to apply. It has a slightly watery consistency, but it spreads and paints easily. One coat is enough for coverage, but two coats really make the cabinets look amazing.
In terms of the process, I had quite a few surfaces to paint, including 25 doors, 7 drawers, the outsides of the boxes, several overhead railings, and 2 valences. I found it helpful to lay out and paint 7 doors at a time, while the rest could be painted in place. I started early in the morning by removing the hinges and pulls and taping off areas I didn't want paint on. I then washed and dried the doors, boxes, and drawers with degreaser. After applying liquid sander and sanding lightly, I was ready to start painting.
Using a sponge roller and a 1" paint brush, I applied a thin coat of the INSL-X cabinet coat. After letting it dry for a few hours, I flipped the doors over and painted the insides. I repeated this process with a second thin coat and let it dry again. Finally, I applied a third coat in the evening. The next morning, I installed new handles, hung the doors, and was amazed at the transformation.
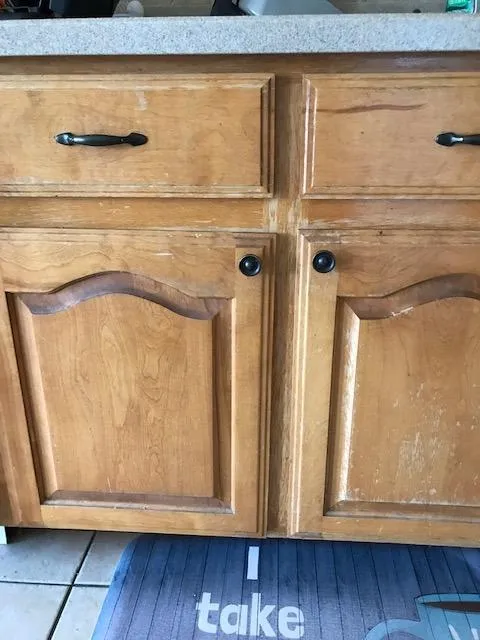
7. Durable Linen Cabinet & Furniture Paint With Primer
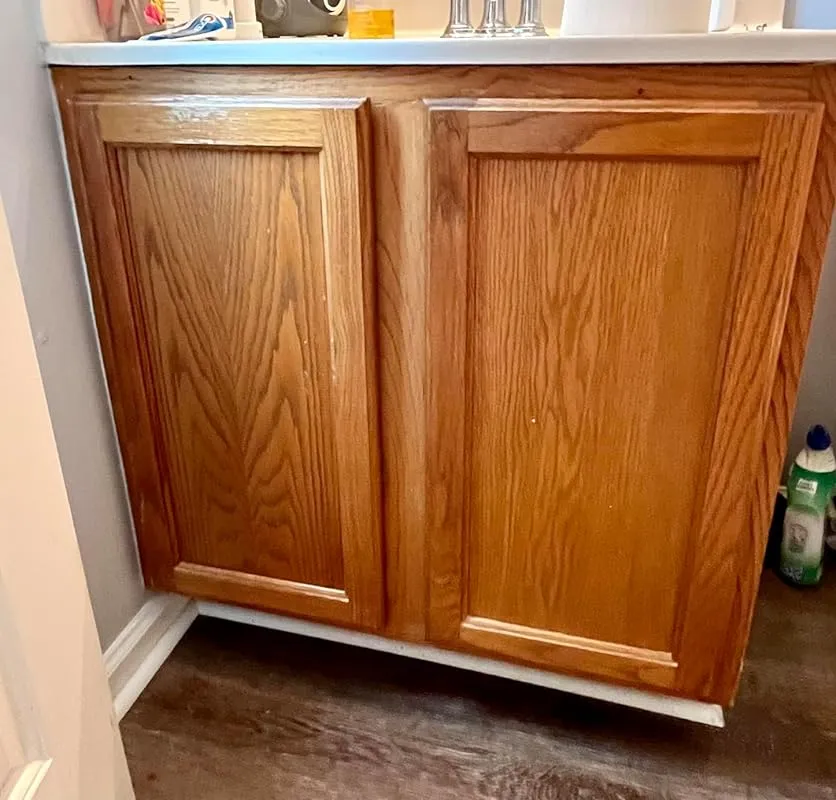
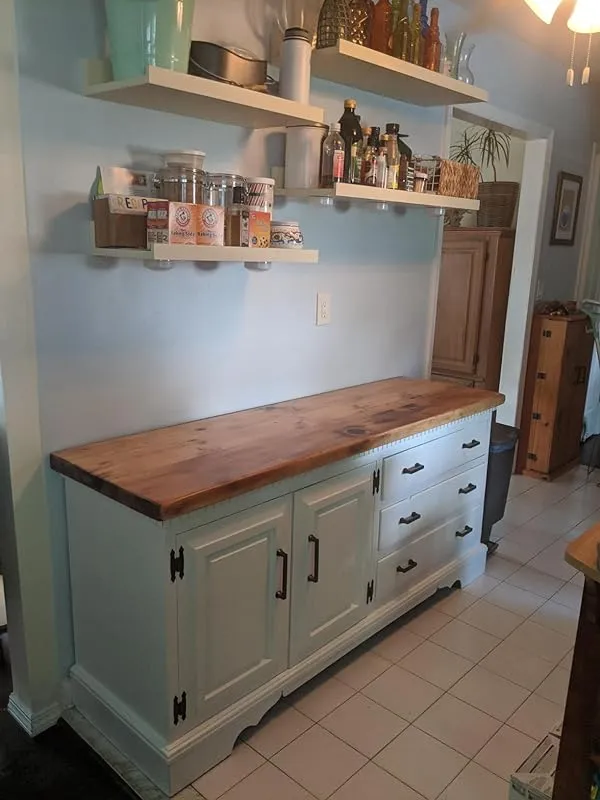
I recently decided to try chalk paint on a vanity that desperately needed a makeover. My husband, who is a builder, was skeptical about the idea and preferred traditional paint. However, I was determined to give it a try and prove him wrong.
The surface of my vanity was not ideal for painting, as it was covered in a shiny, non-porous material. I followed the recommended steps of degreasing and applied at least four coats to achieve full coverage. In comparison, I also painted a small wooden item with the same chalk paint and it looked great with just one coat. This made me realize that the number of coats required depends on the surface material.
To my surprise, when I finished painting, my husband complimented me on the excellent job I had done. The paint had a smooth finish that almost looked like it was sprayed on. The color, Abbey, was a perfect dark greige that complemented our bathroom decor.
Clean-up was a breeze, even though I was a bit careless while painting due to a stressful day working from home. A few stray drops of paint easily wiped off the white tiles and walls without leaving any stains. The paint also dried quickly without drying out in the tin.
The only downside I experienced was that the paint chipped easily in some spots. However, I attribute this to the non-porous surface of the vanity rather than a fault of the paint itself. To protect the finish, I applied three coats of General Finishes flat top coat, which is highly recommended by woodworkers. It was a bit expensive, but I wanted to maintain the quality of my chalk paint job.
My builder husband, who usually doesn't pay much attention to home decor, was impressed by the results and has now decided to chalk paint our sleigh bed and bureaus. He believes that his skills will take the finish to another level. Although I still plan to buy a new set, at least our old furniture will match the master remodel we're completing.
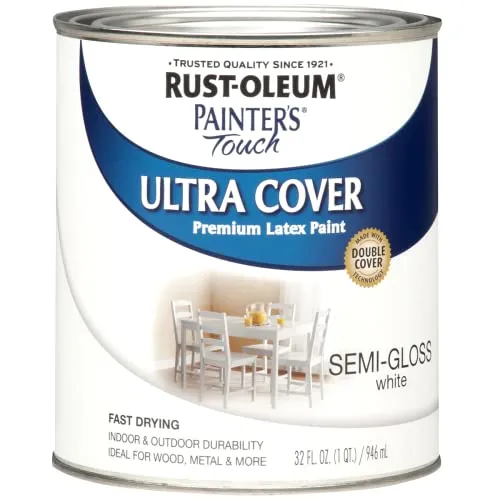
8. Rust-Oleum Multi-Purpose Enamel Paint – Semi-Gloss White
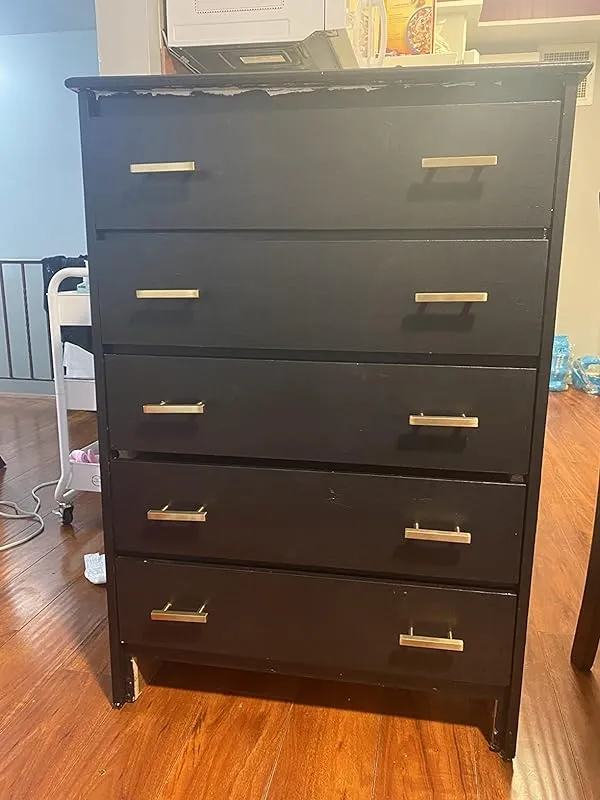
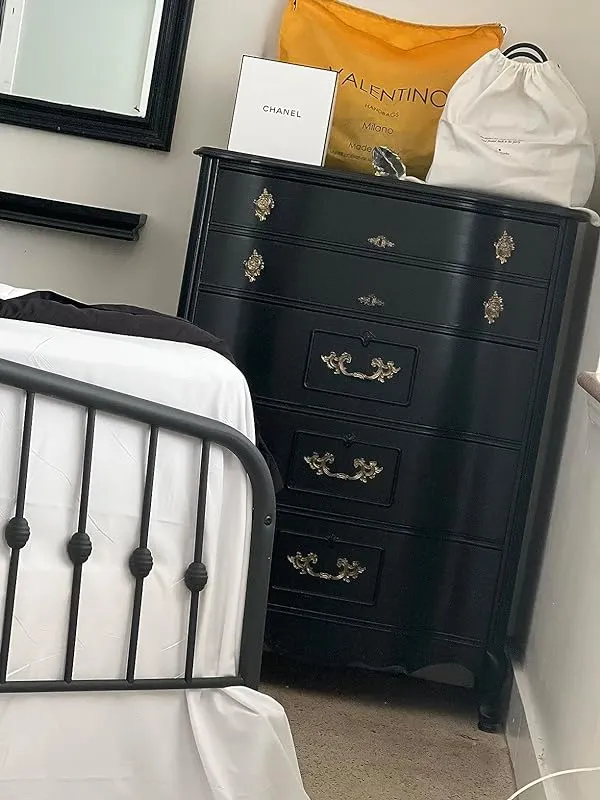
I recently purchased this black paint for my daughter's dresser, and I must say, I am highly impressed with the results. Despite some initial concerns about the paint's appearance when I first opened the can, it went on smoothly with the first coat. However, it is important to note that allowing the paint to dry before applying a second coat is crucial in order to avoid clumpy and uneven results.
The black color of this paint is truly deep and rich, giving the dresser a chic and classy look. Even though I didn't cover all the wire and I'm not the best painter, the end result still turned out fantastic. The paint is also matte, which adds to the overall aesthetics.
I found that a little goes a long way with this paint. I didn't even use half the can to complete my project. The first coat did appear splotchy, but once the second layer was applied, it turned out perfectly. I must admit, I took a shortcut and didn't sand down the surface, but the paint still adhered well.
One of the things I love about this paint is that it is easy to clean up. It easily peels off my floors once it is dry. This saves me the trouble of using tarps to catch any paint spills.
I also used this paint to redo my old trailer kitchen cabinets, which had an unpleasant orange wood print on plastic. With 2-3 coats, I was able to achieve 100% coverage and transform the cabinets into something beautiful. However, it's important to note that if you want a high gloss finish, it's best to use a brush instead of a foam roller. Wetting the brush slightly with warm water and making sure it's not too dry helps the paint flow better.
9. Krylon Kscp913 Short Cuts Enamel Paint Pen, Gloss White, .33 Ounce
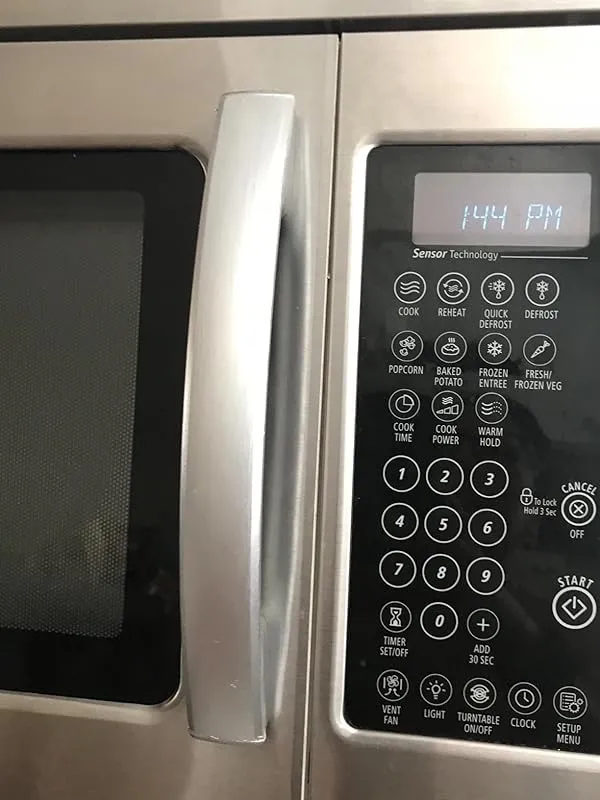
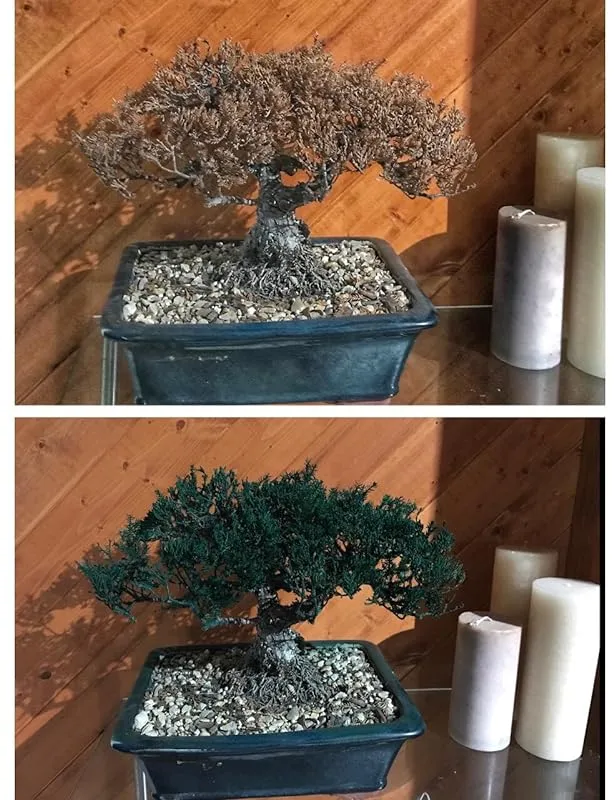


I recently had an unfortunate incident where I accidentally killed my $350 bonsai tree. However, I found a solution to make it look alive again – paint! I came across this amazing Old World/Greecian gold tone paint that perfectly matched the color of the tree. The only downside is that the size of the can is a bit small and doesn't go a long way. This can cause the cost to add up quickly. Thankfully, I found the best price for this paint on Amazon from this seller. I highly recommend it, as you will not be disappointed with the color and quality.
I also had a microwave with a peeling handle that had sharp edges. Since I'm only a tenant and not ready to replace the microwave, I decided to try using Krylon paint as a temporary fix for the chrome. Surprisingly, it did a great job with the repair and dried quickly. Although it may not be a perfect replacement for chrome, it served its purpose well.
When using this paint, make sure to shake it well. I used it to redo the worn-out hot-stamped chrome on my 1979 Datsun 620 pickup's dashboard. The pen-like applicator made it easy to use, and it dried within seconds when exposed to warm weather and sunlight. The pen tip is spring-loaded, so you need to push it to get the paint into the tip. It's important to find the right amount of paint to apply – too much will cause dripping, and too little will result in poor coverage. With a bit of practice, you'll quickly find the sweet spot and achieve excellent results. I was able to redo the chrome striping on my dash in just 10 minutes, including the alcohol prep.
It's worth noting that this paint is a very fine silver, not actual chrome. However, unless you're comparing it side by side with a brand new chrome piece, most people won't be able to tell the difference if you do a good job. The paint cleans up easily with rubbing alcohol, but it's not meant to withstand the test of time. If you want it to last longer, you can consider purchasing some matte or gloss clear and go over the entire dash piece along with the chrome pen.
In addition to my dashboard, I also successfully used this paint to redo the Datsun badges on my 510's glovebox and fix a nick in the chrome on a window crank handle. Overall, for less than $10 including shipping, this paint is a great value. It's much cheaper than sending your part off to get chromed and does an impressive job when used correctly.
FAQs
Are there any special considerations or techniques for painting white cabinets in a kitchen with high humidity?
Yes, there are a few special considerations and techniques to keep in mind when painting white cabinets in a high humidity kitchen. Here are some suggestions:
1. Choose the right type of paint: Opt for a high-quality latex or oil-based paint that is specifically formulated for high humidity environments. These paints have better moisture resistance and can withstand the constant changes in humidity levels.
2. Prepare the cabinets properly: Proper preparation is crucial for a durable and long-lasting paint job. Clean the cabinets thoroughly to remove any grease, dirt, or residue. Sand the surface lightly to create a smooth base for the paint to adhere to.
Use a primer to seal the surface and enhance paint adhesion.
3. Apply thin coats: Instead of applying thick coats of paint, it's better to apply multiple thin coats. This allows each coat to dry and cure properly, reducing the chances of paint peeling or blistering due to high humidity.
4. Allow sufficient drying time: Humidity can slow down the drying process, so it's essential to provide ample drying time between coats. Follow the manufacturer's instructions for drying time and avoid rushing the process.
5. Use a dehumidifier or improve ventilation: If possible, use a dehumidifier in the kitchen to reduce the overall humidity levels. Good ventilation, such as opening windows or using exhaust fans, can also help in expelling excess moisture and speeding up the drying process.
By following these considerations and techniques, you can achieve a beautiful and durable white cabinet paint finish in a high humidity kitchen.
Are there any specific tools or brushes recommended for painting kitchen cabinets with white paint?
When painting kitchen cabinets with white paint, there are a few tools and brushes that are recommended to achieve the best results. Firstly, it is important to use high-quality brushes specifically designed for painting cabinets.
Look for brushes with synthetic bristles that are firm and dense, as they will provide a smooth and even application of paint.
For the cabinet doors and larger surfaces, a paint roller can be used to ensure quick and efficient coverage. Opt for a foam roller or a microfiber roller, as they tend to leave a smoother finish compared to traditional rollers.
In addition to brushes and rollers, it is crucial to have some essential tools on hand. These include sandpaper or a sanding block to prepare the surface by removing any existing finish or rough spots.
A good quality primer is also recommended to ensure proper adhesion of the white paint and enhance its durability.
Remember to clean and degrease the cabinets thoroughly before starting the painting process. This will help the paint adhere better and result in a more professional finish.
Can you recommend a specific shade of white paint that works well for kitchen cabinets?
When it comes to choosing a shade of white paint for kitchen cabinets, there are a few factors to consider. First, you'll want to think about the overall style and aesthetic of your kitchen. If you have a modern or contemporary kitchen, a bright white with cool undertones like Benjamin Moore's "Chantilly Lace" could work well.
On the other hand, if you have a more traditional or farmhouse-style kitchen, a warmer white with creamy undertones like Sherwin Williams' "Alabaster" might be a better choice.
It's also important to consider the lighting in your kitchen. Natural light can affect how a paint color appears, so it's a good idea to test paint samples in your space before committing to a specific shade.
Additionally, you'll want to choose a paint that is durable and easy to clean, as kitchen cabinets can be subject to grease, spills, and other messes. Look for a paint specifically formulated for cabinets or trim, as these tend to have a harder finish that can withstand the wear and tear of everyday kitchen use.
Ultimately, the best shade of white paint for kitchen cabinets will depend on your personal preferences and the specific characteristics of your kitchen. I would recommend consulting with a professional paint specialist or interior designer who can provide personalized advice based on your unique needs and style.
How long does it take for white paint to dry on kitchen cabinets?
The drying time for white paint on kitchen cabinets can vary depending on several factors. Generally, it takes about 6 to 8 hours for the paint to dry to the touch. However, it is important to note that this is just the initial drying time.
To fully cure and harden, the paint may take around 24 to 48 hours.
The actual drying time can be influenced by factors like the type and quality of paint used, the temperature and humidity in the kitchen, and the ventilation in the area. Higher-quality paints with faster-drying formulas may dry more quickly.
To ensure a proper drying process, it is recommended to follow the instructions provided by the paint manufacturer. This may include guidelines on the ideal temperature and humidity levels for drying, as well as any specific recommendations for the type of paint being used.
Providing adequate ventilation in the kitchen area can also help accelerate the drying process.
How many coats of white paint are typically needed for kitchen cabinets?
The number of coats of white paint needed for kitchen cabinets can vary depending on several factors. Generally, it is recommended to apply at least two coats of paint for an even and durable finish. However, the condition of the cabinets, the type and quality of the paint, and the desired level of coverage can also influence the number of coats required.
If the cabinets are in good condition and have a smooth surface, two coats of paint may be sufficient. However, if the cabinets are stained or have a dark finish, you may need to apply an additional coat or two to achieve complete coverage and hide any underlying color.
It is crucial to ensure that each coat of paint is properly dried and sanded before applying the next one. This helps to achieve a smooth and professional-looking finish. Additionally, using high-quality paint and proper application techniques can also contribute to a more effective coverage with fewer coats.
Ultimately, it is advisable to follow the manufacturer's instructions on the paint can and consider the condition of your cabinets to determine the number of coats needed.
Should I use a primer before applying white paint to kitchen cabinets?
Yes, using a primer before applying white paint to kitchen cabinets is highly recommended. Primer serves as a preparatory layer that helps ensure a smooth and durable finish. It creates a uniform surface by filling in any imperfections, such as scratches, dents, or wood grain, which may affect the final appearance of the paint.
Primer also helps the paint adhere better to the cabinet surface, promoting better adhesion and reducing the chances of peeling or chipping in the future. It acts as a barrier between the wood or previous finish and the paint, preventing any stains or discoloration from bleeding through.
Moreover, primer aids in achieving an even color tone and enhances the coverage of the paint. It allows the white paint to appear more vibrant and true to its color, without being influenced by the original color or texture of the cabinets.
In conclusion, applying a primer before painting your kitchen cabinets with white paint is a crucial step that helps ensure a professional and long-lasting result.
What are the best brands of white paint for kitchen cabinets?
When it comes to choosing the best brand of white paint for kitchen cabinets, there are several options that consistently receive positive reviews from homeowners and professionals alike. Some of the top brands known for their quality and durability include Benjamin Moore, Sherwin-Williams, and Behr.
Benjamin Moore's Advance line is highly recommended for kitchen cabinets due to its smooth finish, excellent coverage, and resistance to stains and scratches. Sherwin-Williams' Emerald Urethane Trim Enamel is another popular choice, known for its durability, easy application, and long-lasting finish.
Behr's Premium Plus Ultra is also a good option, offering great coverage, excellent adhesion, and a scrubbable finish.
Ultimately, the best brand of white paint for your kitchen cabinets will depend on your specific needs and preferences. It is recommended to consult with a professional painter or visit a local paint store to get personalized advice and color samples to ensure the best outcome for your project.
What are the steps to properly prepare and paint kitchen cabinets with white paint?
To properly prepare and paint kitchen cabinets with white paint, follow these steps:
1. Remove all cabinet hardware: Start by taking off the cabinet doors, drawers, and any hardware such as handles or knobs. This will make it easier to work on the cabinets and ensure a smooth finish.
2. Clean the cabinets: Use a mild detergent and warm water to clean the cabinets thoroughly. Remove any grease, dirt, or grime that may have accumulated over time. Rinse the cabinets with clean water and allow them to dry completely.
3. Sand the cabinets: Lightly sand the cabinets using a fine-grit sandpaper. This will help to remove any existing finish and create a rough surface for the paint to adhere to. Be sure to sand in the direction of the wood grain.
4. Fill any imperfections: Fill in any cracks, holes, or dents on the cabinets using a wood filler. Smooth out the filler and allow it to dry completely. Once dry, sand the filled areas until they are flush with the rest of the cabinet surface.
5. Prime the cabinets: Apply a coat of primer to the cabinets using a brush or roller. Primer helps to create a smooth and even base for the paint. Be sure to choose a primer that is suitable for wood surfaces.
6. Paint the cabinets: Once the primer is dry, it's time to paint the cabinets with white paint. Use a high-quality paintbrush or a paint sprayer for best results. Apply thin and even coats of paint, allowing each coat to dry before applying the next.
This will help to achieve a professional-looking finish.
7. Apply a second coat: Depending on the coverage and desired finish, you may need to apply a second coat of paint. Follow the same process as before, ensuring each coat is dry before proceeding.
8. Reattach the hardware: Once the paint is completely dry, reattach the cabinet doors, drawers, and hardware. Take care not to scratch or damage the freshly painted surfaces.
By following these steps, you can properly prepare and paint your kitchen cabinets with white paint, transforming the look of your kitchen.
What is the average cost of white paint for kitchen cabinets?
The average cost of white paint for kitchen cabinets can vary depending on various factors such as the quality of the paint, the brand, and the quantity needed. On average, a gallon of high-quality white paint specifically designed for kitchen cabinets can cost anywhere between $30 to $60.
However, it is important to note that this cost is only for the paint and does not include any additional supplies or labor costs that may be required for the painting process. It is recommended to consult with a professional painter or visit a local home improvement store to get a more accurate estimate based on your specific requirements.
What type of white paint is most durable and resistant to stains for kitchen cabinets?
When it comes to choosing a durable and stain-resistant white paint for kitchen cabinets, there are a few options that stand out. One popular choice is an oil-based enamel paint, which offers excellent durability and resistance to stains.
Oil-based paints form a hard, smooth finish that can withstand daily wear and tear, making them ideal for kitchen cabinets. However, keep in mind that oil-based paints have a longer drying time and can emit strong fumes, so proper ventilation is necessary during application.
Another option is a water-based acrylic paint with a high gloss or semi-gloss finish. These paints are known for their durability, ease of application, and resistance to stains. Water-based acrylic paints also dry faster and have less odor compared to oil-based paints, making them a more convenient choice for some homeowners.
Ultimately, the best type of white paint for kitchen cabinets depends on your preferences, budget, and specific needs. It's always a good idea to consult with a paint professional or your local hardware store to get their expert advice and recommendations based on your specific circumstances.