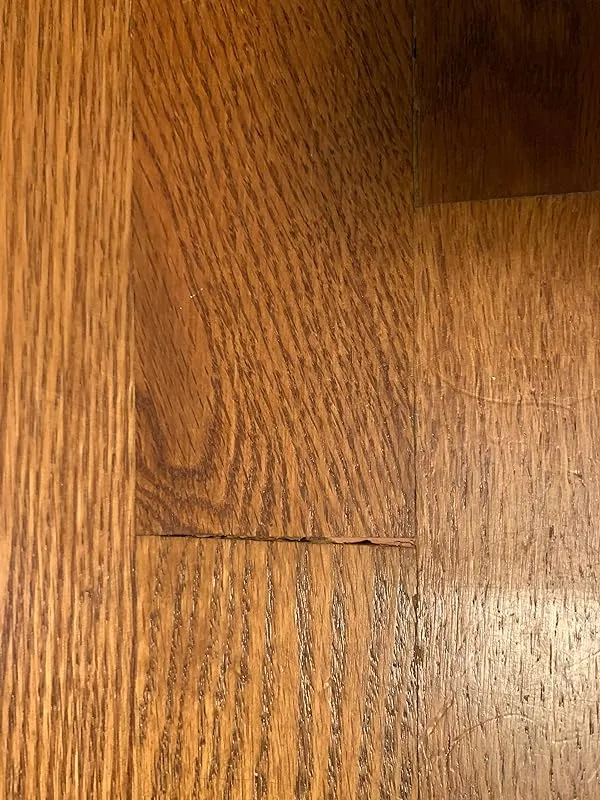
I Tested And Reviewed 9 Best Wood Filler For Hardwood Floors (2023)
Choosing the best wood filler for hardwood floors can seem daunting, but it doesn't have to be. With some knowledge about the different factors to consider and the right questions to ask yourself beforehand, you'll be equipped to make the perfect choice for your needs.
First, consider the color and texture you're looking to match. Do you need a filler that will blend seamlessly, or one that's formulated for a specific wood species? Make sure to check samples and reviews to get an accurate idea of how different products will look on your floors. Porosity is also key – pick a wood filler designed for highly porous woods like oak or ash if that's your floor type.
You'll also want to think about drying time and longevity. Some fillers dry quickly for fast repairs, while others are formulated for maximum strength and durability over years of wear. Consider when and how often you'll need to make touch-ups. Water clean-up versus solvent-based formulas are another factor depending on your preferences.
Questions to ask yourself: Will I be refinishing my floors anytime soon? Do I need a filler rated for exterior use? What's my budget? How large are the holes, cracks and imperfections I need to fill? Taking the time to answer these will ensure you get a wood filler that meets all your needs.
With the right prep work and product selection, you can give your hardwood floors a flawless, smooth finish. Taking the time to research beforehand pays off with a filler that withstands traffic and gives your floors a beautiful, renewed look.
9 Best Wood Filler For Hardwood Floors
| # | Product Image | Product Name | Product Notes | Check Price |
|---|---|---|---|---|
|
1
|
 |
The product is ideal for repairing scratches and restoring the appearance of hardwood and laminate floors and furniture.
|
|
|
|
2
|
 |
The product is ideal for repairing and restoring damaged wood furniture, floors, doors, desks, and cabinets.
|
|
|
|
3
|
 |
The product is ideal for repairing scratches, cracks, holes, and other damages on hardwood floors, laminate, tables, and doors.
|
|
|
|
4
|
 |
The product is ideal for repairing scratches and blemishes on hardwood floors, laminate flooring, and furniture.
|
|
|
|
5
|
 |
The product is ideal for filling and repairing small holes, cracks, or gouges in walnut wood surfaces.
|
|
|
|
6
|
 |
The product is ideal for filling and repairing wood surfaces such as furniture, cabinets, and flooring.
|
|
|
|
7
|
 |
The product is ideal for filling and repairing cracks, holes, or damaged areas in wooden surfaces, specifically in red oak.
|
|
|
|
8
|
 |
The product is ideal for repairing and restoring damaged wooden floors and furniture.
|
|
|
|
9
|
 |
The product is ideal for repairing scratches, holes, and damaged areas on wood floors, furniture, and laminate surfaces.
|
|
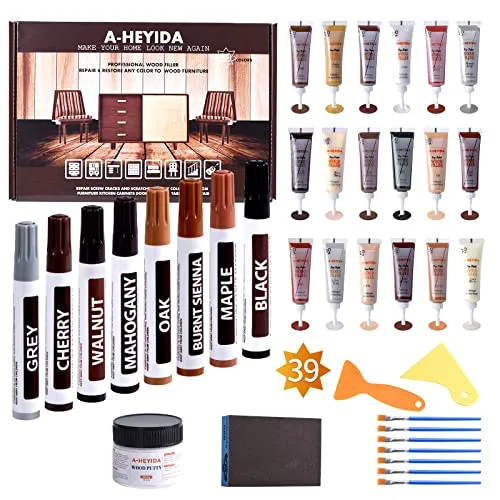
1. Wood Repair Kit: Restore & Touch Up Furniture

Upon receiving my order, I noticed that there were only 14 color tubes in the box instead of the advertised 18. The colors Bamboo Yellow, Cherry, Red Walnut, and Red Oak were missing. However, I contacted customer service and they promptly resolved the issue by sending me a new kit with the correct number of tubes.
I decided to give this product a try to fix some small dings in our bamboo floor, and I must say, it worked great. The kit was easy to use and effectively did the job. Even as a beginner, I found it simple to apply and the variety of colors available made it easy to match the desired outcome. My cabinet now looks better than expected thanks to this product.
This product also came to my rescue when it came to my vinyl wood flooring. It was a breeze to use and made knocks and scratches virtually disappear. I am truly impressed with the results it delivered.
Initially, I purchased this product to address one specific issue, but I soon discovered that it could fix a multitude of small problems around the house. Whether it was a tiny cosmetic blemish or a chip in wood, this product proved to be a valuable asset. When a contractor accidentally damaged my hardwood stair, I used this product while waiting for them to fix it. The end result wasn't perfect, but the contractor even admitted that I did a better job than he would have. The range of colors provided made blending and achieving a natural wood look a breeze. I would highly recommend this product and rate it 5++ Stars.
Living in an 82-year-old cottage with various colors of stain, I faced the challenge of my adopted kitty shredding every doorframe in the house. However, thanks to this kit, I was able to fix every single one of them. Despite not being a craftsman, the result was nearly perfect. The process was easy and it only took a couple of hours to undo a lot of damage. I'm glad I made the decision to purchase this kit for my cottage.
2. Wood Fix-It Kit: Repair, Restore, Revive Your Furniture

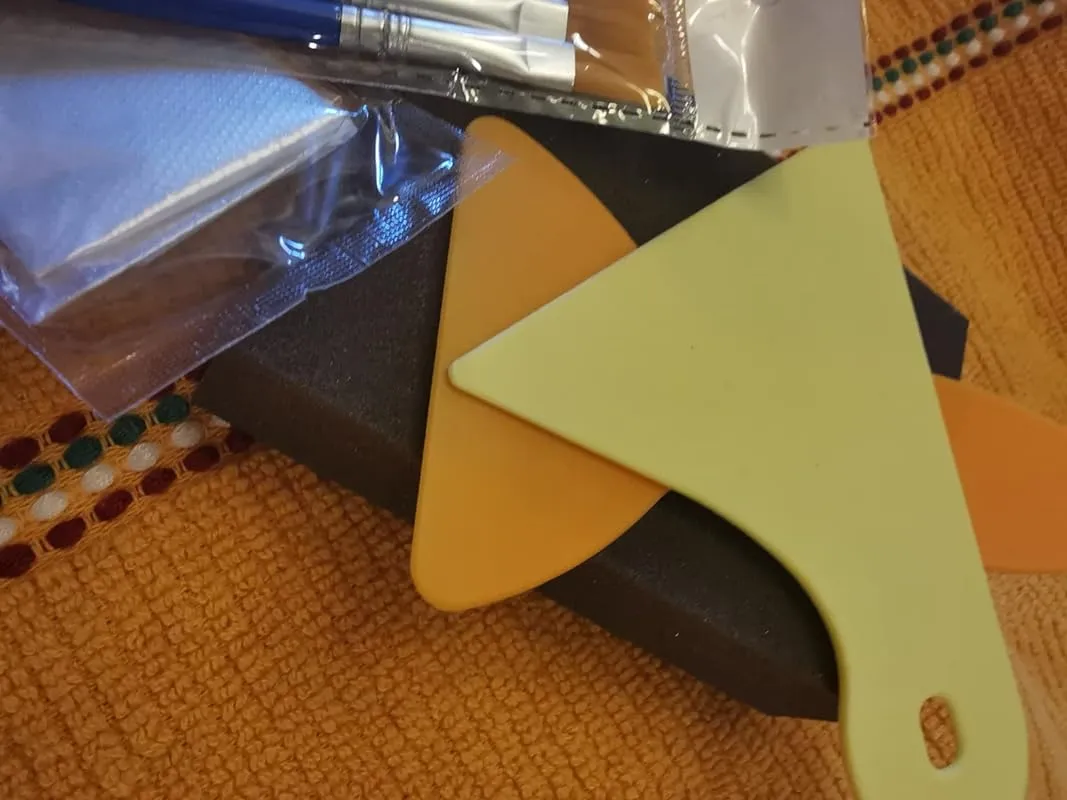

I recently purchased the wood touch-up kit and I must say, it exceeded my expectations. This set has everything you need to tackle any wood touch-up project around the house. From custom-mix pigments to stainable wood filler, sanding block, spreaders, paintbrushes, and pens, this kit has it all.
I have a variety of wooden items in my home, including oak floors, a cherry kitchen, a maple table, and a walnut antique highboy. With this kit, I was able to easily fix scratches and stains on all these surfaces. The pens provided in the kit were especially helpful in covering up big scratches on my cabinets. The color was almost perfect, but I did notice that the pigment in the pen dries instantly, so you have to move quickly and be sure of the color you're using.
What I really loved about this kit is that all the items were fresh and ready to use. There were no dried out tubes or putty. I also appreciate the fact that the set comes with a large ziploc bag for easy storage, ensuring that the items stay in good condition for years to come.
Another great feature of this kit is the variety it offers. With 39 pieces, there are plenty of colors to mix and match for multiple projects. While I haven't had much use for the markers yet, I'm sure they will come in handy in the future. It's always better to have more than to be missing out on furniture projects.
The instructions provided with the kit were clear and easy to understand. I had no trouble using the products and achieving the desired results. I highly recommend this kit for anyone in need of wood touch-up solutions. It's quick, easy to use, and provides excellent results.
As someone who is new to furniture restoration, I was looking for a variety of wood fillers and this kit fit the bill perfectly. I've only used one color so far, but it worked excellently. The value for money is definitely there, and I'm extremely satisfied with my purchase.
I must admit, I was a bit skeptical at first about using this kit on my bed post, but it turned out to be a great decision. Even as someone who isn't familiar with fixing things like this, I found it easy to use. Initially, I made the mistake of not reading and following the instructions, but once I started following the correct process, the results were impressive.
The marker provided in the kit matched the color perfectly, but I did notice that it got too dark when I kept layering more color on. However, after cleaning the area and applying the paste, the deep grooves and scratches were easily touched up. The cherry color paint, which I initially doubted, turned out to be a great match once it dried.
3. Revivex Wood Repair Kit: Ultimate Scratch & Crack Fix
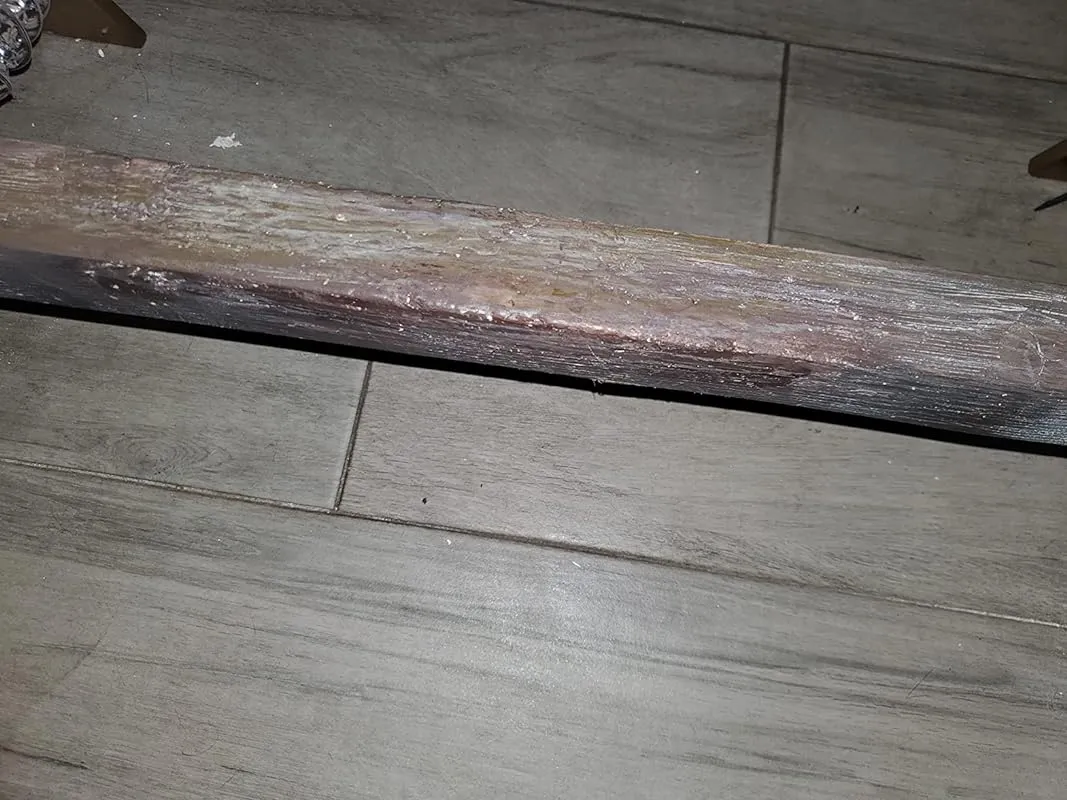


I recently had an unfortunate incident where my friend accidentally made a hole in my floor while drilling. In order to fix the damage, I decided to purchase a repair kit. I started by filling the hole with a wooden plug and then used the included putty to cover it up. After sanding it down to be flat, I mixed up colors to match the surrounding area. The end result was impressive and you couldn't even tell there was ever a hole. I highly recommend this kit for any similar repairs.
As a doggy daycare owner, I often deal with the occasional destructive behavior from my furry friends. One of the dogs in my care decided to sharpen his teeth on a beam under my desk, which I absolutely adore. Using the repair kit, I was able to fix the damaged beam and restore its unique grain and color. The before and after pictures speak for themselves, and I couldn't be happier with the outcome. If you're looking for a reliable and effective solution to fix furniture damage caused by pets, this repair kit is the way to go.
I recently had a mishap in my kitchen where hot oil splashed onto my laminate countertop. Thankfully, I wasn't injured, but I was left with burn holes on my beloved counter. After some research, I decided to purchase the Lifreer Furniture Repair Kit to tackle the repairs. The kit provided everything I needed, including the necessary tools and materials.
To begin, I carefully cut away the delaminated laminate to expose the fiber substrate. I then used mineral spirits to draw out as much of the oil as possible before starting the repair process. The kit included various colors for me to experiment with, and I was able to blend and mix them to achieve a close match to my countertop's color and grain.
For the larger and deeper holes, I opted to use a different brand's wood filler instead of the one included in the kit. This decision allowed me to better match the natural color of my countertop. I made sure to let each step dry thoroughly before moving on to the next.
Considering that this is a kitchen countertop prone to cooking splashes and frequent cleaning, I decided to apply a coat of polyurethane to protect the repairs. I used a satin finish and applied two coats. However, I noticed that the color turned slightly darker and yellower after the application. Although the match wasn't as exact as before, the overall repair still looks pretty good. I might consider lightly sanding the areas and trying again in the future.
4. Wood Floor Repair Kit – Ultimate Scratch Filler Solution

I am extremely satisfied with this product as it works really well in repairing impacts on laminate flooring. While it can be a bit challenging to find the perfect shade to match the existing laminate, this repair kit proves to be effective and comprehensive in carrying out the repairs. The impact is barely visible now, even in a well-lit area, and someone who is unaware of the repair would not be able to notice it. The product is incredibly easy to use, and the included photos speak for themselves. It is an excellent product that perfectly conceals small to medium-sized holes. Additionally, I am very pleased with the overall quality and price ratio of this complete kit.
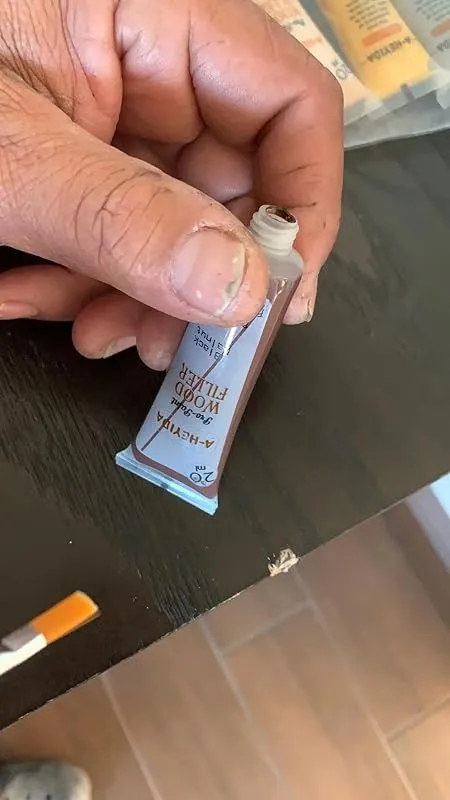
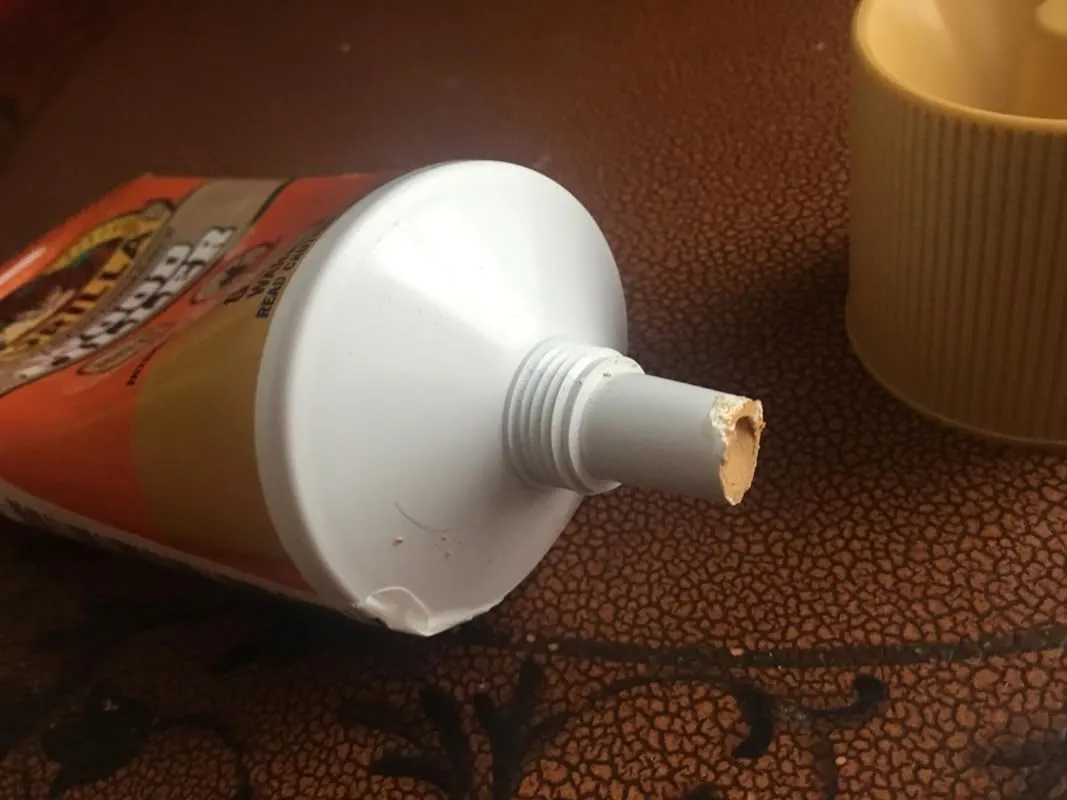
5. Elmer's E859 Carpenter's Wood Filler, 3.25-Ounce Tube, Walnut


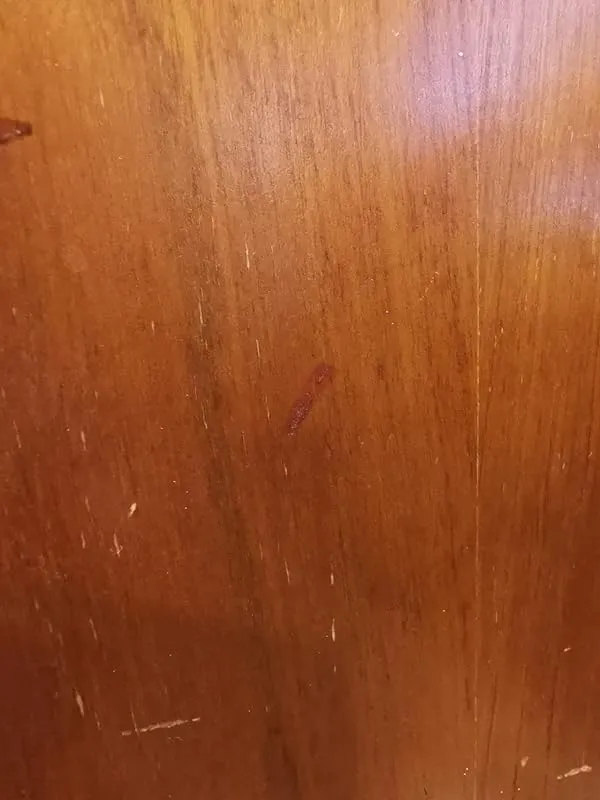
I recently purchased this wood filler for some repair work I needed to do, and I must say, it exceeded my expectations. The application process was incredibly easy, and the clean-up was a breeze. I used it to repair a spot on my floor, and although the color was slightly off, I was able to easily fix it by adding some detail with a sharpie and applying a clear nail polish top coat. Now, you have to really know where to look in order to find the repair. I'm hoping that it will last for a long time.
As someone who is not particularly handy, I wasn't sure if I was using this product correctly or if it was even the right choice for my needs. However, I decided to give it a try. I used it to fix a lap table that had some loose screws. Initially, the screws wouldn't stay in place and just created sawdust when I tried to screw them back in. One of the screws even got lost in the process. Since I couldn't return the table, I contacted the manufacturer who recommended using super glue. However, I felt that super glue would be too permanent, so I opted for this wood filler instead. Surprisingly, it worked! The screws are now secure, and the wood filler dried up nicely.
I'm absolutely delighted with this wood filler. I needed to repair some small wooden statues, and this product was perfect for the job. I simply snipped off the tip to get the desired thickness, and the color of the filler was a great match. It was incredibly easy to paint over and blend in with a different shade of brown. I regret not using this wood filler earlier and attempting to use a tub of wood filler instead when repairing trim on a coffee table.
The consistency of this wood filler is slightly thinner than drywall spackling patch, but it applies just as easily, if not easier. I used it to fill in small gaps between wood floors that had shrunk over time. Using my finger, I was able to easily get the filler into the spaces. After letting it sit for a few minutes, I wiped off the excess with a damp cloth. The filler dried hard and can be sanded or painted if necessary. I purchased the walnut color, and it blended seamlessly with my wood floors. This product is truly amazing for those minor repairs.
I noticed that some reviews mentioned difficulties in squeezing out the product, but I personally didn't face any issues. If you find it difficult to squeeze out, I would suggest cutting a slightly bigger hole. Adding water, as someone else suggested, may affect the product's ability to harden properly, so I wouldn't recommend doing that. Overall, applying this wood filler shouldn't be a challenging task. If you're unable to apply this product, it's probably best to leave the repairs to a professional. Trust me, it's easier than using a screwdriver or hammer. Good luck!
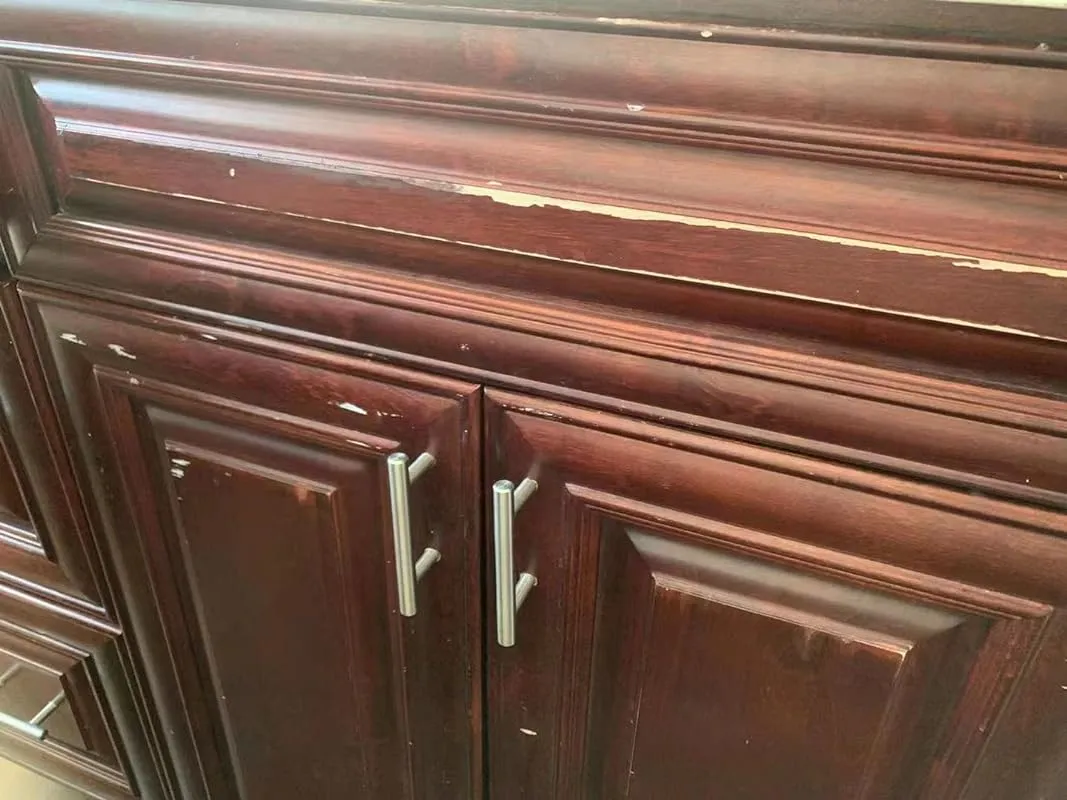
6. Gorilla All Purpose Wood Filler, 6oz Tube, Golden Oak (Pack Of 1)

I recently had an issue with the nails in my mobile home cabinets coming out due to wear and tear. After researching for a solution, I came across this product and decided to give it a try. I ordered it and was impressed with how easy it was to use. I simply filled the holes with the product and allowed it to dry completely. Once dry, I drilled the screws back in and the cabinets were secure once again. Even my skeptical husband was impressed with the results.
One of the things I liked about this product was its great coverage. It filled the holes completely and provided a sturdy base for the screws. Although it didn't match my 73-year-old hardwood floor exactly, over time, it has started to blend in with foot traffic, which is a bonus.
The drying time was quick, and clean up was a breeze with just soap and water. I appreciate products that make the process hassle-free, and this one definitely delivered on that front.
However, I did have a disappointing experience with the packaging of the product. When it arrived, I noticed that the tip of the tube was chewed off by a beaver, and there was putty smeared all over the outside. It was clearly a used item, which was not what I expected. I would suggest to the manufacturer or seller to use proper tools like a razor blade or scissors to open the tube to avoid such issues in the future. Nevertheless, I appreciate Amazon's great return policy, which allowed me to resolve the issue without any hassle.
In terms of performance, this product exceeded my expectations. It provided a perfect color match for my cabinet, and once applied, you can't even tell where the damage was done. I am extremely satisfied with the end result, and I highly recommend this product to others in need of a reliable and effective solution for repairing cabinets.
The only minor drawback I encountered was that it was a little tough to get the product out of the tube initially. However, the excellent drying time and minimal shrinkage more than made up for it. Additionally, when sanded down, it provided a smooth and seamless finish.
7. Elmer's E860 Carpenter's Wood Filler, 3.25-Ounce Tube, Red Oak
I am extremely impressed with this product. I recently had a situation where one of my tenants had scratched the floors in one of my properties, and I was skeptical if anything could fix it. However, this product exceeded my expectations. It easily filled in the deep scratches, and even repaired a section where a piece of laminate was missing. I simply placed a small piece of wood in the section, covered it with the glue, and smoothed it out. The repairs came out flawless and I couldn't be happier with the results. In fact, I am so impressed that I will be ordering several more tubes today, just in case it ever gets discontinued. I have several other properties with laminate floors that may require touch-ups in the future.
I must say, I don't understand why some people are complaining about the consistency of this product. I didn't have any issues with it at all. I did knead it a little before using it, but it didn't seem necessary. The thickness was just right for me, and I wouldn't want it any thicker or thinner. Perhaps it might be slightly tedious if you have a large hole to fill, but for my purposes, it worked perfectly.
I also used this product to fill gouges in a table, and it worked like a charm. I was able to blend it in seamlessly, and once it hardened, I was able to sand it smooth so that the repair spot was in line with the rest of the table.
After staining, this product blended very well with my red oak. While it's not an exact match, it is very close and looks great.
The only improvement I would suggest is to have a cherry wood option available. It would have been slightly better in my specific case. Overall, this product is fantastic and I highly recommend it for any small repairs or touch-ups you may have.
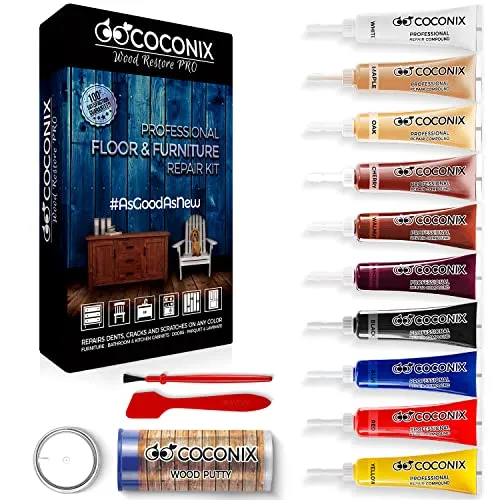
8. Coconix Wood Restore Pro Professional Floor & Furniture Repair Kit


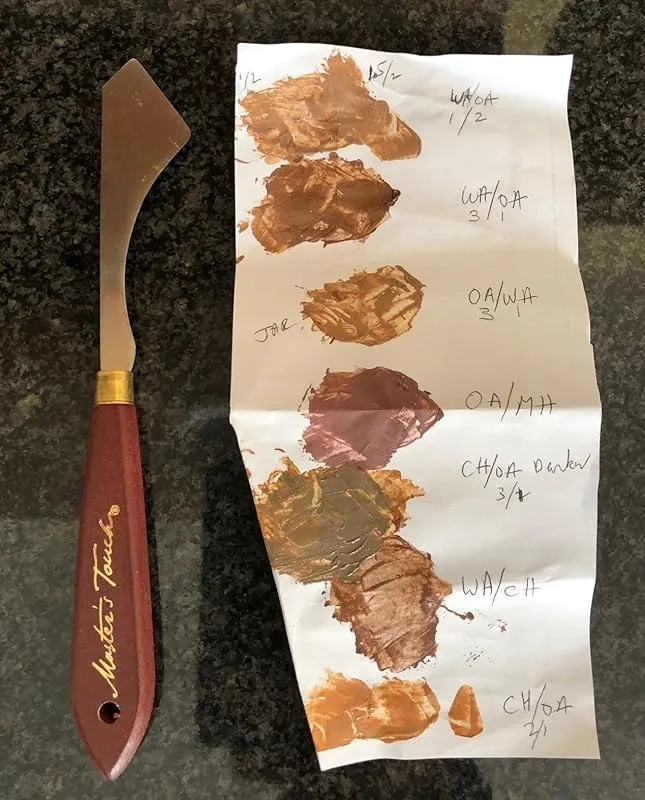
I recently purchased the Coconix wood floor repair kit to fix some scratch and clawing damage caused by my new puppy. The kit includes different colored tubes that can be mixed to create a custom color for the repair. I found it a bit challenging to select the perfect color from the included chart, but I experimented with different combinations on a scrap of paper and eventually came close to the desired color.
I decided to reach out to Coconix customer assistance for expert advice, as they had suggested. I received a prompt and detailed response from Maria, the Customer Success Manager. She recommended using the colors I had chosen (Cherry and Oak) and provided step-by-step instructions, including how to recreate the grain of the wood. The pictures I have included only show the colorant applied, as I still need to complete the grain and top coat.
I did run out of the Cherry color during the repair process, but Maria followed up with me and generously offered to send more colorant free of charge so that I can finish the repair. I must say, Coconix has impressed me with their excellent customer service.
In addition to the color mixing suggestions, Maria also provided recommendations on what can be used to restore the top coat. Overall, this product is excellent for achieving an indistinguishable repair, but it does require patience and careful attention to detail. It is important to mix the colors and test them on a scrap piece or in a remote area of the project to ensure the correct color match before proceeding with the actual repair.
I also purchased an artist's angled palette knife, which proved to be very handy for leveling off the filler and creating clean lines between the wood floor planks, if needed.
If you're looking for a professional-grade repair that is hardly noticeable, I highly recommend giving the Coconix wood floor repair kit a try. To get the best results, take a picture of the damage that accurately reflects the actual color and send it to Coconix along with a description of the damage. It's important to take your time and follow the instructions provided, as Coconix will provide you with the necessary assistance to achieve a great repair!
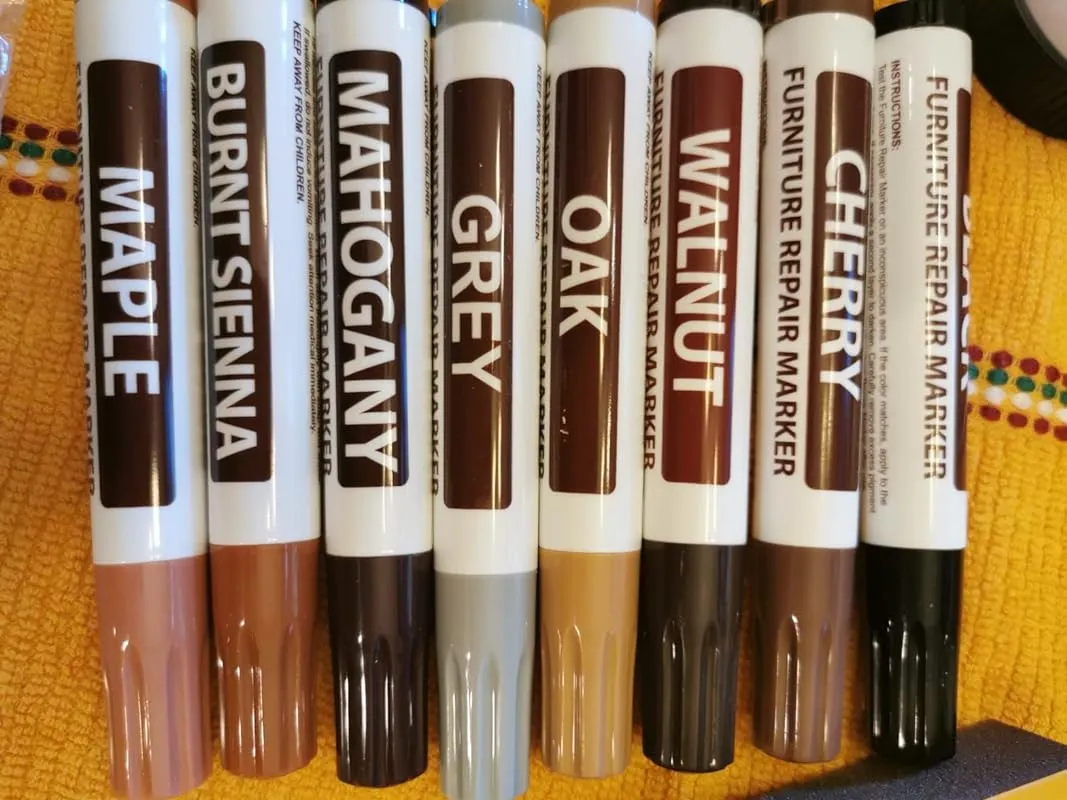
9. Wood Floor Repair Wax Filler Kit – Scratch & Hole Fix


I am extremely impressed with these wax crayons! I was working on a project for a client who wanted their furniture stained in Barnhouse Red, and these crayons were a lifesaver. I used a candle to melt the wax and filled in the larger gaps seamlessly. For the smaller gaps, I simply rubbed the crayon into the area, removed any excess, and buffed it out. The color matching was spot on, and I was able to achieve a perfect Barnhouse Red stain effortlessly. My only regret is not taking before and after photos to showcase the incredible results. However, I will definitely be purchasing these crayons again in the future. The only improvement I would suggest is to include a lot number on each crayon, so that you can easily reorder specific colors when running low. Overall, these crayons worked wonders and brought my 15-year-old cabinets back to their original glory.
I also had a gouge in my luxury vinyl plank flooring, and I decided to try using these wax crayons to fix it. I melted some of the wax into the gouge using a lighter, and then used a plastic spatula to smooth away any excess. The results were outstanding – you can't even tell where the gouge was! The variety of colors in this package was also impressive, giving me plenty of options to choose from for a perfect match. The only thing missing from the package was something like an old credit card, which would have been useful for removing excess color without digging it out from the scratch. Once I found my old card and used it, the process worked like a charm. These crayons have been a lifesaver for my colorful floors, and I highly recommend them.
In addition to floors, I have also used these wax crayons on my cabinets and banister, and they have exceeded my expectations every time. The color selection is extensive, allowing me to match any color out there. The product works exactly as advertised, and I am extremely satisfied with the results. Whether it's filling in gaps, covering scratches, or restoring the original beauty of my furniture, these crayons have proven to be a reliable solution. I highly recommend them for anyone looking to touch up their floors, cabinets, or banisters.
FAQs
Are there any special techniques or tools required for applying wood filler to hardwood floors?
When applying wood filler to hardwood floors, there are a few techniques and tools that can help you achieve the best results. Firstly, ensure that the floor is clean and free of debris before applying the filler. Use a vacuum or broom to remove any dust or dirt.
Next, choose a high-quality wood filler that matches the color of your hardwood floor. This will help the filler blend seamlessly with the surrounding wood.
To apply the filler, you will need a putty knife or a flexible plastic scraper. Start by applying a small amount of filler to the damaged area and use the putty knife to spread it evenly. Press the filler firmly into the damaged area and smooth out any excess.
After applying the filler, allow it to dry completely according to the manufacturer's instructions. Once dry, sand the area lightly to ensure a smooth finish. Finally, clean the area again to remove any sanding residue before applying a protective finish or stain if necessary.
Remember to always follow the manufacturer's instructions and take your time to ensure a professional-looking result. If you are unsure, it may be helpful to consult a professional or seek advice from a local home improvement store.
Are there any specific precautions or maintenance steps to follow when using wood filler on hardwood floors?
When using wood filler on hardwood floors, there are several precautions and maintenance steps to follow to ensure a successful outcome. Firstly, it is essential to clean the area thoroughly before applying the filler.
Remove any dust, debris, or loose particles from the floor surface to ensure proper adhesion.
Next, it is crucial to choose a high-quality wood filler that is compatible with hardwood floors. Opt for a filler specifically designed for hardwood, as it will have the necessary flexibility and durability to withstand foot traffic and temperature changes.
Before applying the filler, read the manufacturer's instructions carefully and follow them precisely. Use a putty knife or a similar tool to apply the filler into the gaps or damaged areas on the floor. Ensure that the filler is evenly spread and flush with the floor surface.
After applying the filler, allow it to dry completely as per the manufacturer's instructions. This may take several hours or even overnight. Once dry, lightly sand the filled areas to create a smooth, even surface. Be cautious not to sand too aggressively, as it can damage the surrounding hardwood.
Finally, clean the floor again to remove any sanding residue before applying a suitable finish or stain. Follow the recommended maintenance guidelines for your specific floor finish to ensure its longevity and appearance.
In summary, when using wood filler on hardwood floors, remember to clean the area, choose the right filler, follow the manufacturer's instructions, allow proper drying time, sand carefully, and clean the floor before finishing.
By following these precautions and maintenance steps, you can achieve a seamless and long-lasting repair on your hardwood floors.
Can wood filler be sanded and refinished along with hardwood floors?
Yes, wood filler can be sanded and refinished along with hardwood floors. Wood filler is typically used to fill in gaps, cracks, or holes in wood surfaces, including hardwood floors. After applying the wood filler and allowing it to dry, it can be sanded to create a smooth and even surface.
Sanding helps to blend the filler with the surrounding wood, making it less noticeable. Once the sanding is complete, the hardwood floors can be refinished using the desired finish, such as stain or varnish.
It is important to note that the type and brand of wood filler used should be compatible with the hardwood floors and the refinishing products being applied. It is recommended to follow the manufacturer's instructions for proper application, drying time, and sanding techniques to achieve the best results.
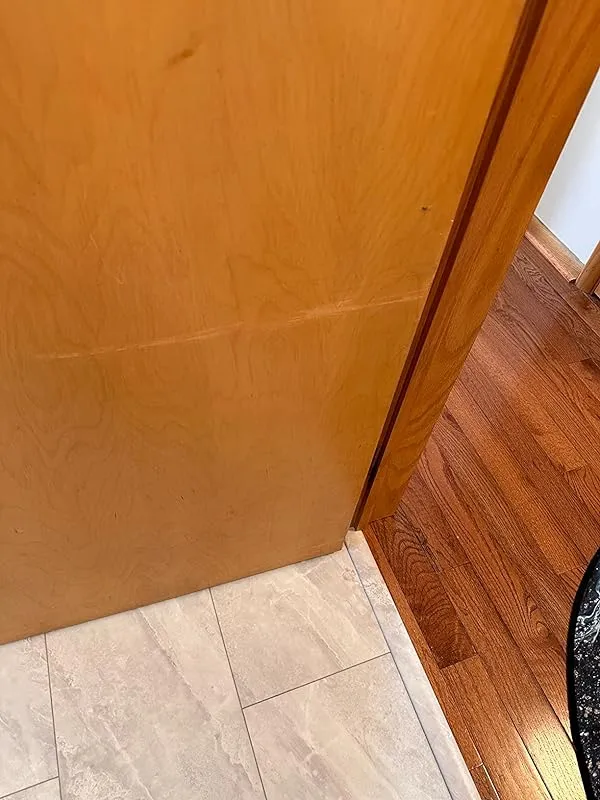
Can wood filler be used to fix deep scratches on hardwood floors?
Yes, wood filler can be used to fix deep scratches on hardwood floors. However, it is important to note that wood filler is typically used for small repairs, such as filling in small gaps or cracks, rather than deep scratches.
Deep scratches on hardwood floors may require a more extensive repair process.
To fix deep scratches, you could consider several options. One option is to sand down the scratched area to remove the damaged wood and then apply wood filler to fill in any remaining gaps. After the wood filler has dried, you can sand it down to make it level with the rest of the floor and then refinish the area to match the surrounding floor.
Another option is to use a colored wax filler or a wood stain marker that matches the color of your hardwood floor. This can help to camouflage the scratch and make it less noticeable.
If you are unsure about the best approach to take or if the scratches are extensive, it may be advisable to consult a professional flooring contractor who can assess the damage and recommend the most appropriate repair method.
How do I choose the right wood filler for my hardwood floors?
Choosing the right wood filler for your hardwood floors is crucial to ensure a seamless and durable repair. Here are some steps to guide you in making the right choice:
1. Consider the type of wood: Different wood species have different characteristics, so it's important to choose a filler that matches the color and grain of your hardwood floors. This will help the repair blend in seamlessly.
2. Assess the size of the repair: Wood fillers come in different consistencies, ranging from thin to thick. For small holes and cracks, a thinner filler will work well, while larger repairs may require a thicker filler or epoxy.
3. Determine the level of durability needed: If the repaired area will be subjected to high traffic or moisture, opt for a wood filler that is specifically designed for heavy-duty use. These fillers are more resistant to wear and tear and will provide long-lasting results.
4. Consider the finish: Some wood fillers can be stained or painted, while others are designed to be left natural. If you plan to apply a finish to your hardwood floors, choose a filler that can be easily matched to the surrounding wood or one that can be stained to match.
5. Read product reviews: Before making a final decision, read reviews from other users to get an idea of the filler's performance, ease of use, and overall quality.
If you're still unsure, it's always a good idea to consult with a professional or seek advice from a reputable hardware store. They can provide personalized recommendations based on your specific needs and the condition of your hardwood floors.
How durable is wood filler when used on hardwood floors?
Wood filler can be a useful solution for repairing minor imperfections on hardwood floors. However, its durability can vary depending on several factors. The quality of the wood filler itself, the application technique, and the specific conditions the floor is exposed to all play a role in determining its longevity.
High-quality wood fillers, especially those specifically designed for hardwood floors, tend to offer better durability. They are formulated to withstand the stress and movement that hardwood floors naturally experience.
When applied correctly, these fillers can last for several years without requiring touch-ups.
Proper application is crucial for maximizing the durability of wood filler on hardwood floors. It is essential to clean and prep the damaged area thoroughly before applying the filler. Additionally, following the manufacturer's instructions regarding drying and sanding times is crucial to ensure a strong bond and long-lasting result.
However, it's important to note that wood filler is not a permanent solution for significant damage or deep cracks on hardwood floors. In such cases, it is advisable to consult a professional and consider more extensive repair options, such as replacing damaged boards or refinishing the entire floor.
How long does wood filler take to dry on hardwood floors?
The drying time of wood filler on hardwood floors can vary depending on several factors. Generally, wood filler takes around 24 hours to dry completely. However, this can be influenced by factors such as the type and brand of wood filler used, the temperature and humidity levels in the room, and the thickness of the filler application.
It's essential to follow the manufacturer's instructions for the specific wood filler you are using, as they may provide more precise drying times. Additionally, it is advisable to allow the filler to dry for a bit longer than the minimum recommended time to ensure that it is fully cured before sanding or applying any finishes.
It's always a good idea to test a small area first to see how the wood filler reacts and dries on your specific hardwood floor.
Is it possible to stain wood filler to match the color of my hardwood floors?
Yes, it is possible to stain wood filler to match the color of your hardwood floors. Wood filler is typically used to fill in gaps, cracks, or holes in wood surfaces before staining or painting. To ensure a seamless blend with your hardwood floors, you can follow these steps:
1. Choose the right filler: Look for a wood filler that is specifically designed to accept stains. There are various types available, such as water-based or solvent-based fillers. Make sure to read the product labels to ensure compatibility with staining.
2. Prepare the area: Clean the area where the wood filler will be applied. Remove any debris, dust, or loose particles. This will help the filler adhere better and create a smoother finish.
3. Apply the filler: Using a putty knife or a similar tool, apply the wood filler to the gaps or holes in the wood. Smooth it out evenly, ensuring it is level with the surface.
4. Let it dry: Follow the manufacturer's instructions for drying time. Typically, it takes a few hours to dry, but this can vary depending on the product.
5. Sand the filler: Once the filler is dry, use sandpaper or a sanding block to smooth it down. This will help create a seamless surface and remove any excess filler.
6. Stain the filler: Choose a stain that matches the color of your hardwood floors. Apply the stain to the wood filler using a brush or a cloth. Allow it to dry according to the stain manufacturer's instructions.
7. Finish it off: If necessary, apply a clear coat or varnish over the stained wood filler to protect it and provide a uniform finish.
Remember to test the stain on a small, inconspicuous area first to ensure it matches your hardwood floors before applying it to the entire filled area.
What are the common types of wood filler used for hardwood floor repairs?
There are several common types of wood fillers that are used for hardwood floor repairs. One of the most popular types is a water-based wood filler, which is easy to use and dries quickly. This type of filler is typically made from a combination of wood fibers and a binding agent, such as latex or acrylic.
Another common type of wood filler is a solvent-based filler, which is often used for larger repairs or deep gouges. This type of filler is usually made from a mixture of wood fibers and a solvent, such as lacquer or epoxy.
It tends to be more durable and resistant to moisture, but it may take longer to dry.
In addition to these types, there are also epoxy wood fillers, which are ideal for filling large voids or gaps in the hardwood floor. Epoxy fillers are typically mixed together from two different components and provide a strong, long-lasting repair.
When choosing a wood filler for hardwood floor repairs, it is important to consider the size and depth of the repair, as well as the desired level of durability and drying time. It is always recommended to follow the manufacturer's instructions and test the filler in a small inconspicuous area before applying it to the entire floor.
What is the best wood filler for repairing hardwood floors?
When it comes to repairing hardwood floors, the best wood filler would depend on the specific needs of your project. However, there are a few options that are commonly used and highly recommended.
One popular choice is a two-part epoxy wood filler. It is known for its durability and excellent adhesion to wood surfaces. Epoxy fillers are suitable for both small and large repairs, and they can be sanded and stained to match the surrounding wood.
Another option is a latex-based wood filler. This type of filler is easy to work with, dries quickly, and can be easily cleaned up with water. Latex-based fillers are great for smaller repairs and can be sanded and painted over.
For larger repairs or for filling gaps in the floor, a wood putty or wood dough could be a good choice. They are typically made from a combination of wood fibers and binders, and they can be shaped and molded to fit the repair area.
Ultimately, it is essential to consider the specific requirements of your hardwood floor repair project and consult with a professional or expert at a local hardware store to determine the best wood filler for your needs.