I Tested And Reviewed 5 Best Wood Filler For Outdoor Use (2023)
When it comes to selecting the best wood filler for outdoor use, there are a few key factors you'll want to keep in mind. Properly filling and sealing exterior wood can help protect it from the elements and make repairs less noticeable. Here are some important considerations when choosing an outdoor wood filler:
What type of repairs will you be making? Smaller cracks and holes require a different product than rotted sections or large gaps. The amount of filler needed and how it will be applied impacts the type you choose.
What kind of weather conditions will the wood filler be exposed to? Frequent rain, snow, humidity, and temperature fluctuations can affect filler performance. Look for durable, waterproof options made for exterior use.
Does color matching matter? Wood fillers come in various wood tones but also neutrals like white and gray. If you need to blend repaired areas into existing wood, pay attention to color accuracy.
How long should the filler last? Some fillers are effective for quick, temporary fixes while others provide more permanent solutions. Consider lifespan based on your project.
Does filler need to be sanded and painted? Depending on the finish you want, some fillers require sanding before painting while others can be painted directly.
Doing a little research before purchasing can ensure you select the ideal outdoor wood filler for your specific needs. Asking these key questions will help narrow your options. Ready to tackle that repair project? Read on to explore your available choices!
5 Best Wood Filler For Outdoor Use
| # | Product Image | Product Name | Product Notes | Check Price |
|---|---|---|---|---|
|
1
|
 |
The product is ideal for repairing damaged or rotted wood surfaces, such as furniture, doors, and window frames.
|
|
|
|
2
|
 |
The product is ideal for repairing and filling holes, cracks, and damaged wood surfaces.
|
|
|
|
3
|
 |
The product is ideal for filling holes, gouges, and imperfections in wood surfaces.
|
|
|
|
4
|
 |
The product is ideal for filling cracks, holes, and gaps in interior wood surfaces.
|
|
|
|
5
|
 |
The product is ideal for repairing and restoring damaged or rotted wood surfaces.
|
|
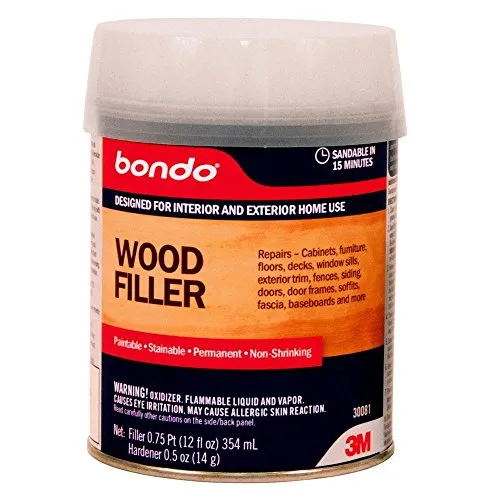
1. 3m Bondo Wood Filler 12 Oz Can With Hardener (Pint)
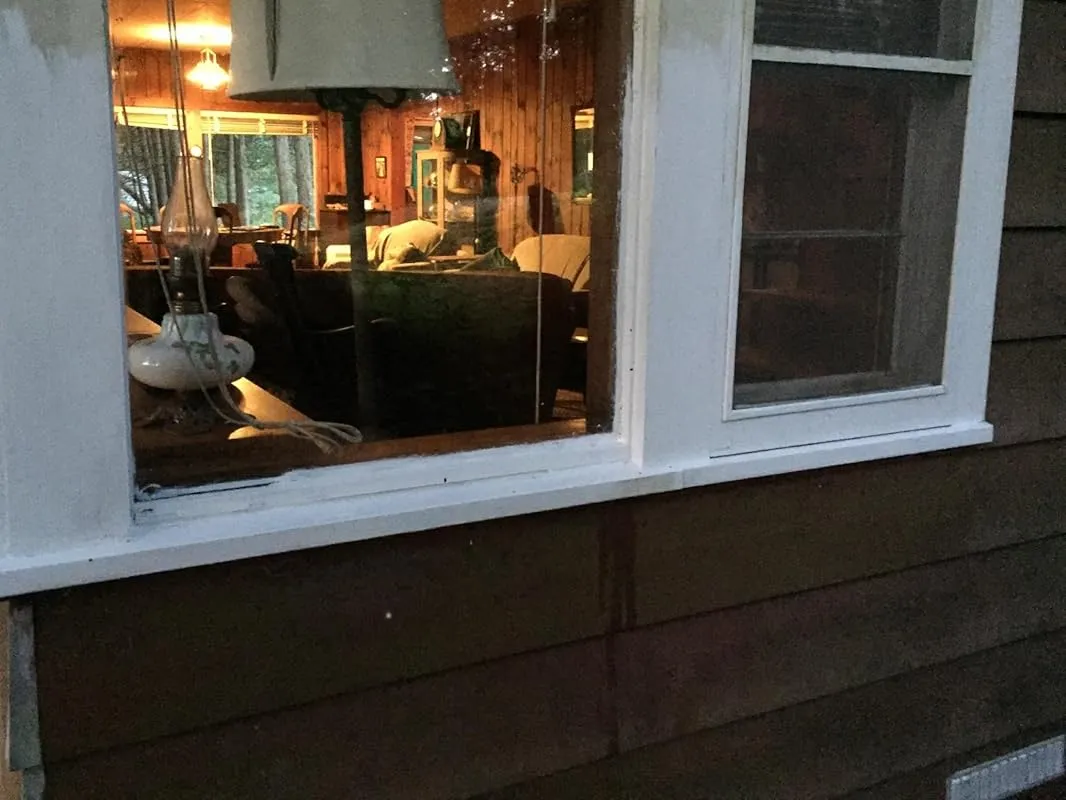
I recently used Bondo on my cedar sided home to fill in the holes created by woodpeckers, and I must say, it worked like a charm! As someone who has used Bondo for other projects in the past, I was not surprised by its effectiveness.
One thing to note is that Bondo does come with some safety precautions, as it is highly toxic and can cause harm if not handled properly. I made sure to wear protective gear such as nitrile gloves, a mask, and glasses while working with the product. I also worked outside to ensure proper ventilation. I will definitely continue to prioritize safety when using Bondo in the future.
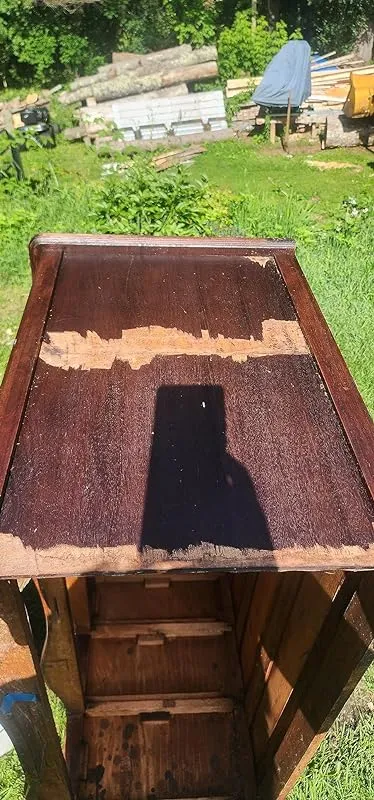
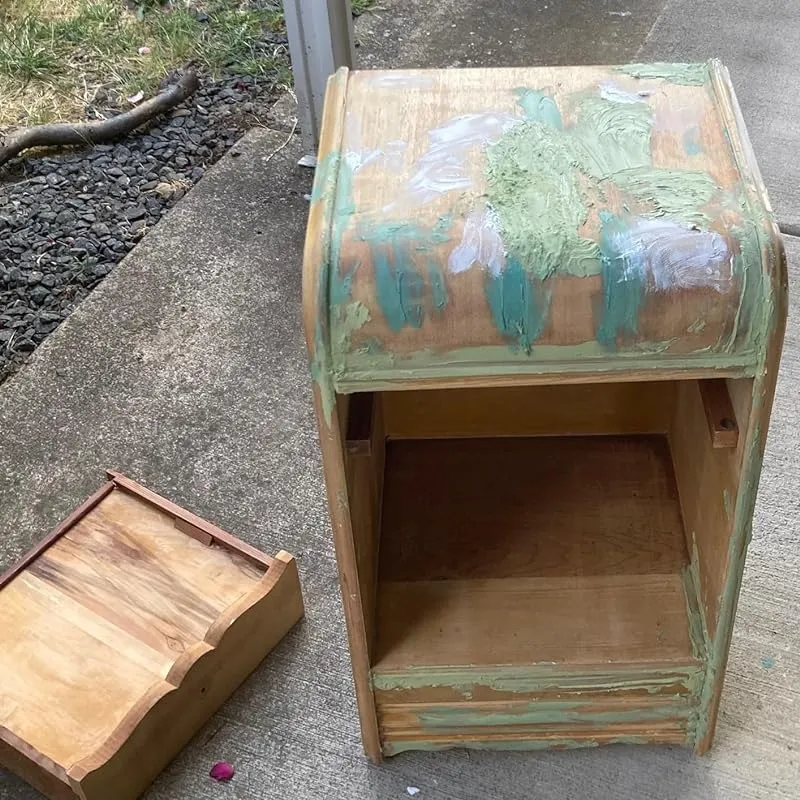
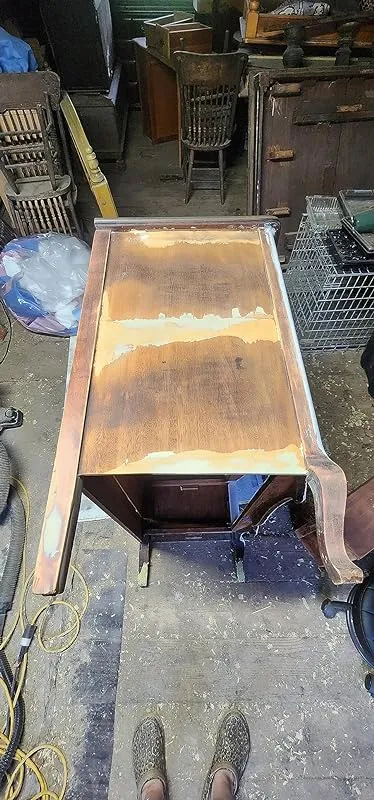
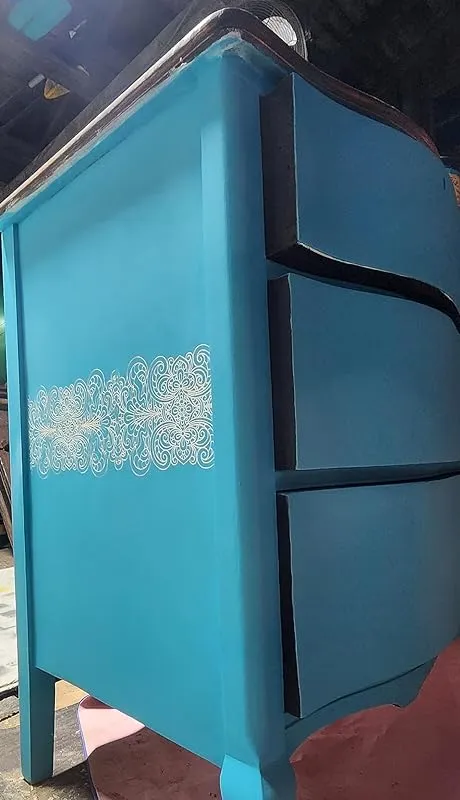
Speaking of its performance, Bondo truly lives up to its reputation. I had a 1930s waterfall nightstand that was in rough shape, with missing pieces, wide gaps, splits in the wood, and numerous scratches. However, with the help of Bondo, I was able to revive this piece of furniture. The product is incredibly versatile and dries quickly, allowing me to sculpt missing pieces and fill in scratches and gaps. It even proved to be stronger than traditional wood filler.
In terms of application, I did find that working quickly is key with Bondo. However, with some experience, I learned not to mix up too much product at once to avoid wastage. This wood filler has become my go-to choice, and I won't be purchasing any other brand in the future. It has truly become an essential tool for any handy person.
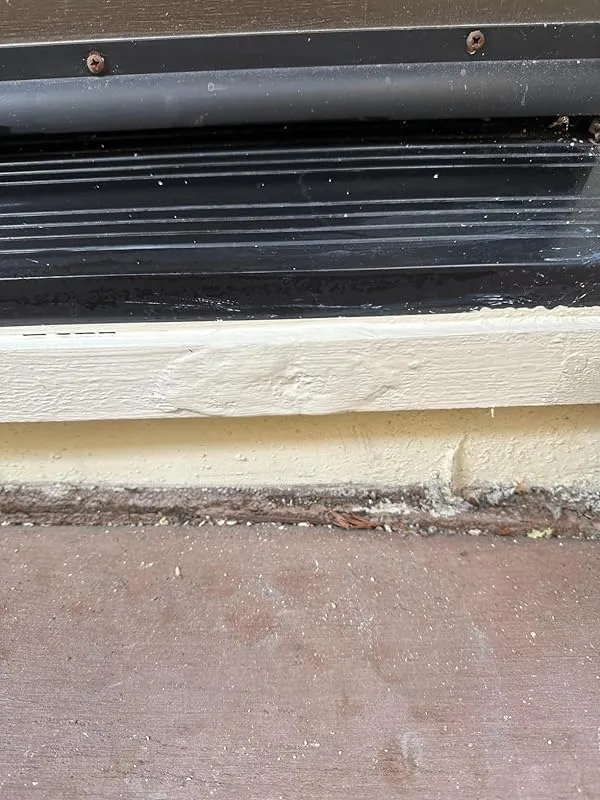
Additionally, I also used Bondo to repair the holes made by woodpeckers. The process was simple – fill the holes, level the material using a sharp blade as it sets, and then paint. The end result was remarkable, with the repaired areas looking as good as new. I even added some shiny spinners on the wall to deter birds from causing further damage.
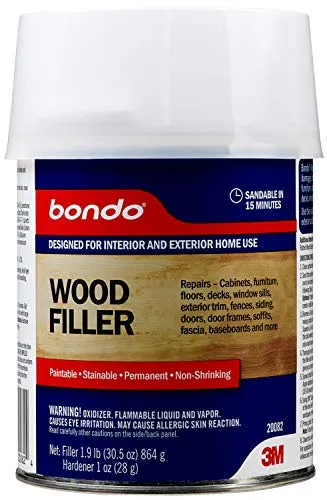
2. Bondo Home Solutions Wood Filler, Sandable In 15 Min, 1.9 Lbs With 1 Oz Hardener

I have been using this product for various projects around my house, and I must say that it has exceeded my expectations. The flat bottom containers are perfect for my needs, and I appreciate that this product is sold by weight rather than volume. This makes it easier to fill and ensures that I get the right amount of product.
Contrary to some negative reviews I have come across, the tube of red hardener provided with this epoxy is more than sufficient for the entire can. I always opt for the 1.9lb can, and I have never faced any shortage of hardener. In the past, I have used epoxies that required precise ratios of resin to hardener, but this product is more forgiving. I make sure to stir the resin before transferring it to a plastic mixing container, and then I add the smallest amount of hardener possible. This allows me to have a longer working time and a slightly longer setup time, which works best for my projects.
After adding the hardener, I mix the components quickly and thoroughly until the color and consistency resemble natural peanut butter. Although the instructions recommend mixing for about two minutes, I find that one minute is usually sufficient. I then apply the product to the desired areas and smooth it off using a stiff metal putty knife. I always wear disposable gloves while working with this epoxy, and I discard the mixing container after each use.
Once the epoxy has dried, I typically wait around 30 minutes before sanding, although the instructions suggest a 15-minute wait. The choice of sandpaper depends on the surface I filled and how smooth I was able to make it during the filling process. I have used this epoxy on a variety of surfaces, including plywood kitchen cabinets from the '70s to fill knots, hardwood flooring damaged around a fireplace, and a rotted subfloor around a bathtub in a bathroom. In the bathroom, I used the companion product for rotted wood to stabilize the area before applying several coats of this epoxy wood filler to build it up. I then placed Durock on top of the repaired subflooring and tiled over it.
Currently, I am also using this product outdoors on my deck railing to fill in knots and checks, providing a clean look and preventing water damage before painting. Overall, I am extremely satisfied with the performance of this epoxy wood filler. It has proven to be versatile, easy to use, and effective in various applications. I highly recommend it for any DIY projects that involve wood repair or filling.
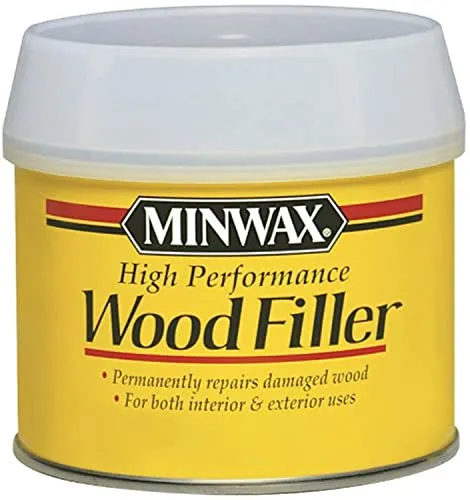
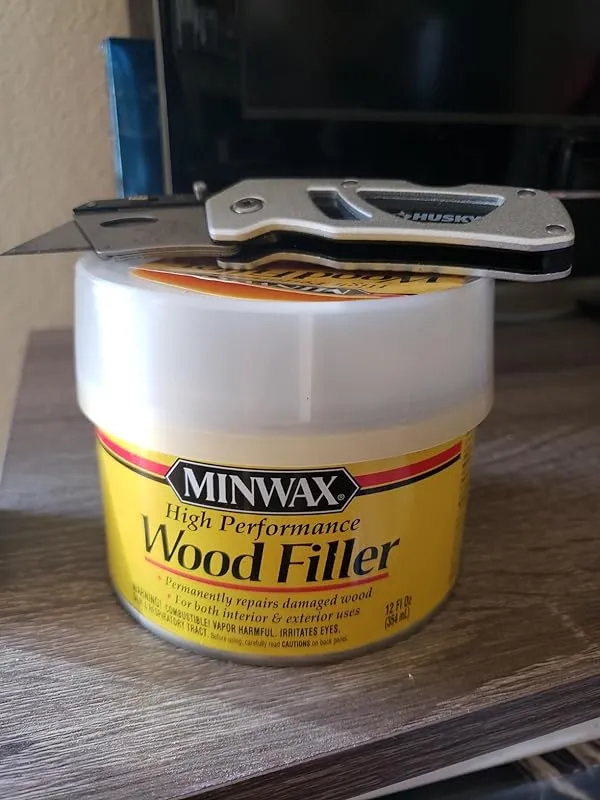
3. Minwax 21600000 High-Performance Wood Filler, 12-Ounce Can
The Minwax High Performance Wood Filler is a highly effective product specifically designed for structural damage repair to wood that will be painted or where cosmetic appearance is not a concern. Unlike other wood fillers in the market, this two-part system dries grey and is harder than wood, ensuring long-lasting repairs.
One of the standout features of this wood filler is its exceptional adhesive properties. It sticks to wood extremely well, making it a reliable option for repairing door strike plates, stripped out screws or carriage bolts, and fallen-out knots. In fact, it is even stronger than wood itself, providing a durable and sturdy fix.
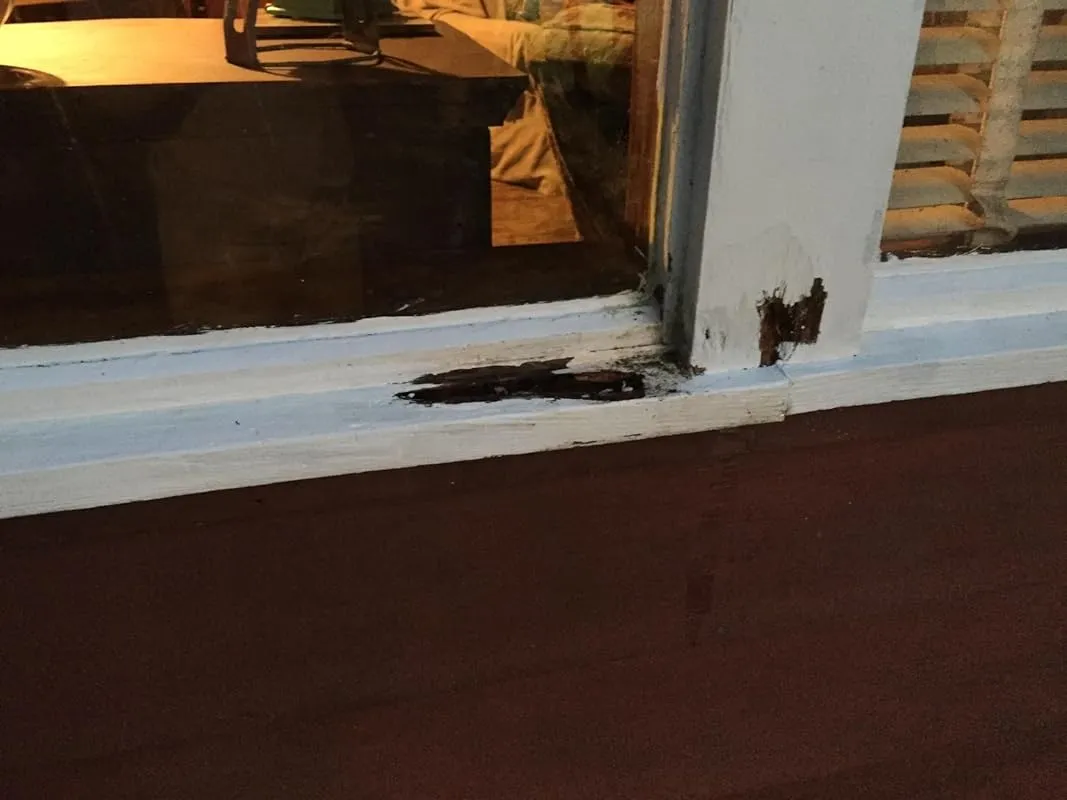
I have personally used the Minwax High Performance Wood Filler for several years and can vouch for its effectiveness. It has saved me thousands of dollars in repairs to my wooden windows and surrounding trim. To ensure the best results, I recommend prepping the damaged area by inserting screws into the remaining wood before applying the filler. These screws act as anchors for the wood filler, enhancing its stability.
When working with this product, it is important to be prepared and work efficiently. The filler starts to harden in about 3-5 minutes, so it is crucial to trim or cut any excess material as close as possible to the desired final surface area. After it hardens, sanding can be done to achieve a smooth finish.
For cases of wood rot, I suggest using the wood hardener in conjunction with the Minwax High Performance Wood Filler. However, this should be a last resort, as it is best to remove all soft wood before applying the filler. In situations where removing all soft wood is not possible, the wood hardener can be applied as directed, followed by drilling starter holes for screws and securing them before it hardens.
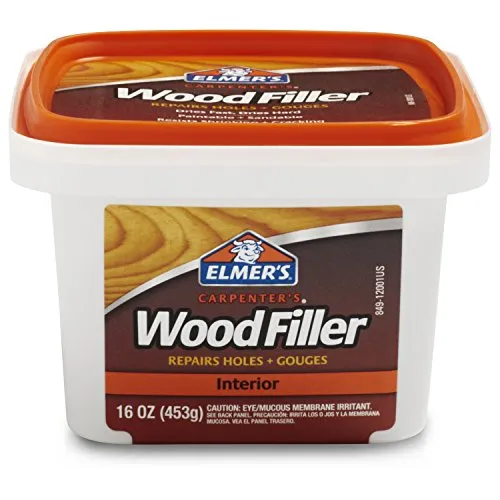
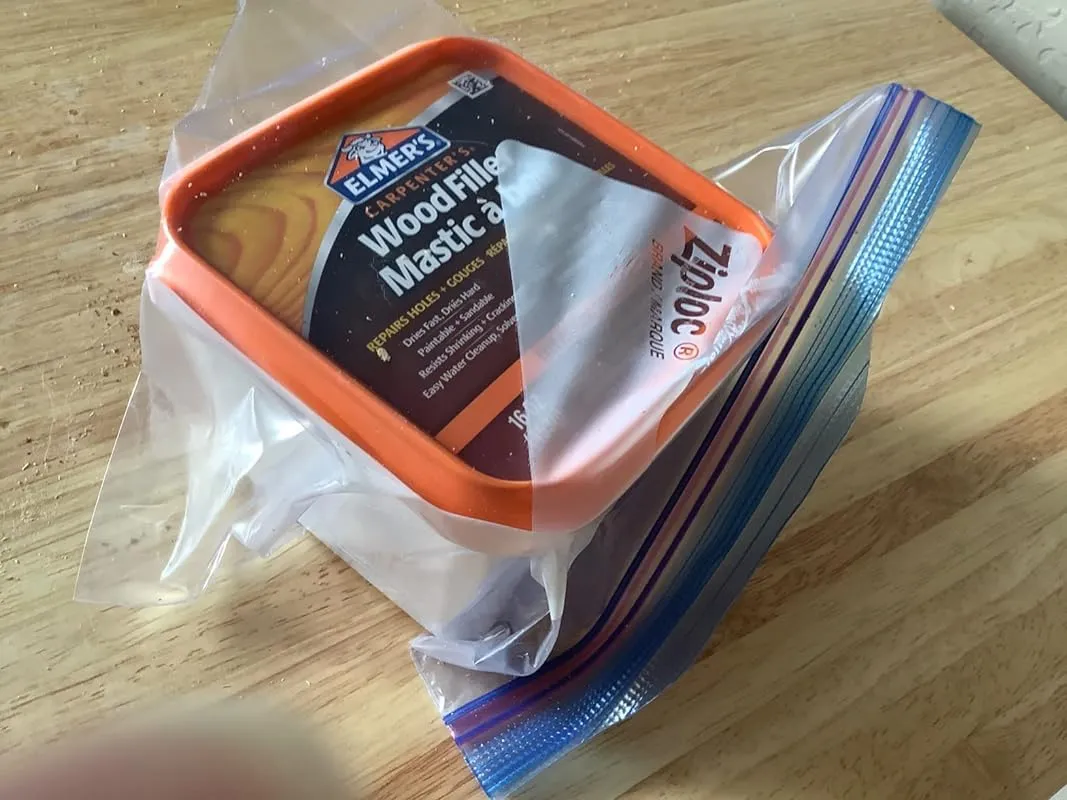
4. Elmer's Products E849d8 Carpenter's Interior Wood Filler, 1 Pint, 16 Ounce

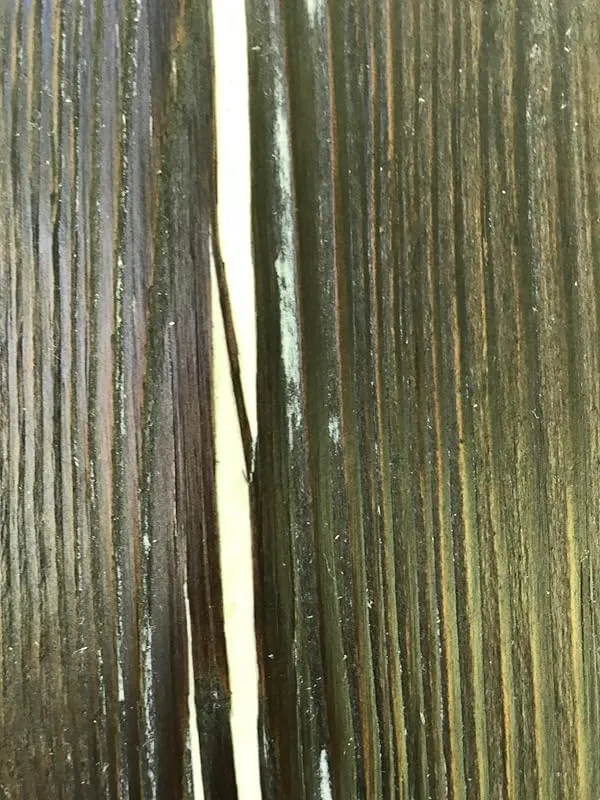
I absolutely love this wood filler for all my restoration projects. As someone who has tried numerous products, I can confidently say that this is the best one for simple, small filling repairs. Here are the reasons why I highly recommend it:
PROS:
1. Easy to work with: The consistency of this wood filler is perfect, making it a breeze to apply with either a finger or a putty knife.
2. Sands down smooth: After drying, this filler can be easily sanded down to a smooth finish, leaving no visible traces of the repair.
3. Long-lasting: I have used this wood filler on my 100+ year-old bungalow, and it has held up exceptionally well for over 6 years without any cracks or issues.
4. Adheres well: This filler sticks firmly to the surface, ensuring a strong bond that will last for years.
5. Quick drying time: It dries quickly, allowing for faster completion of projects. Additionally, it can be easily sanded down soon after application.
6. Great price: The affordability of this wood filler is another bonus, especially when compared to other products on the market.
While there are many pros to using this wood filler, there are a couple of minor drawbacks to consider:
CONS:
1. Not stainable: Keep in mind that this filler is not suitable for wood that will be stained. It is best used for repairs that will be painted over.
2. Lid does not seal well: The lid of the container does not provide a tight seal, which can lead to the filler drying out. However, a simple workaround is to store it in a ziploc bag for extra protection.
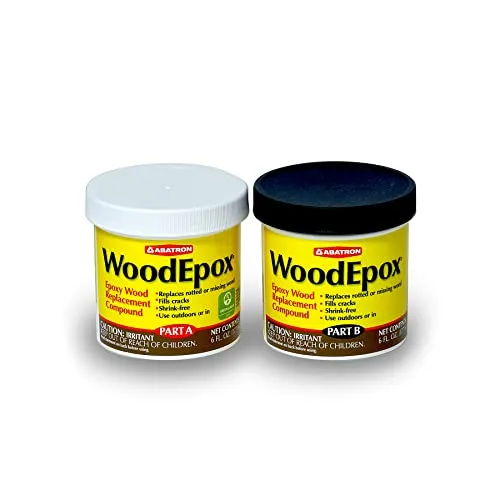
5. Abatron Woodepox Kit – 12 Oz – 2-Part Structural Epoxy Adhesive Filler – Wood Filler Putty
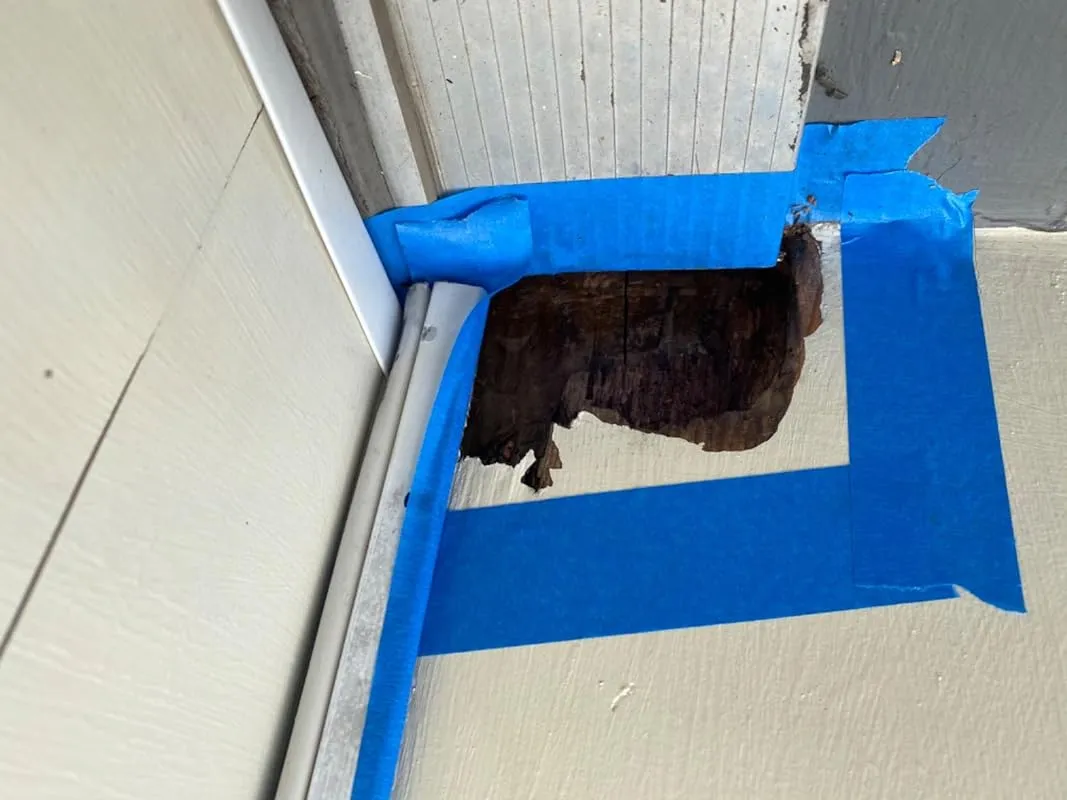
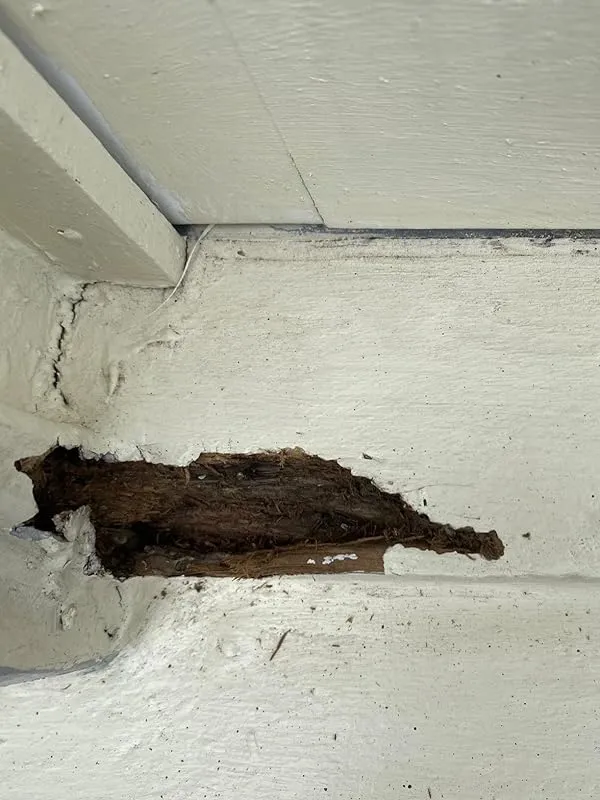
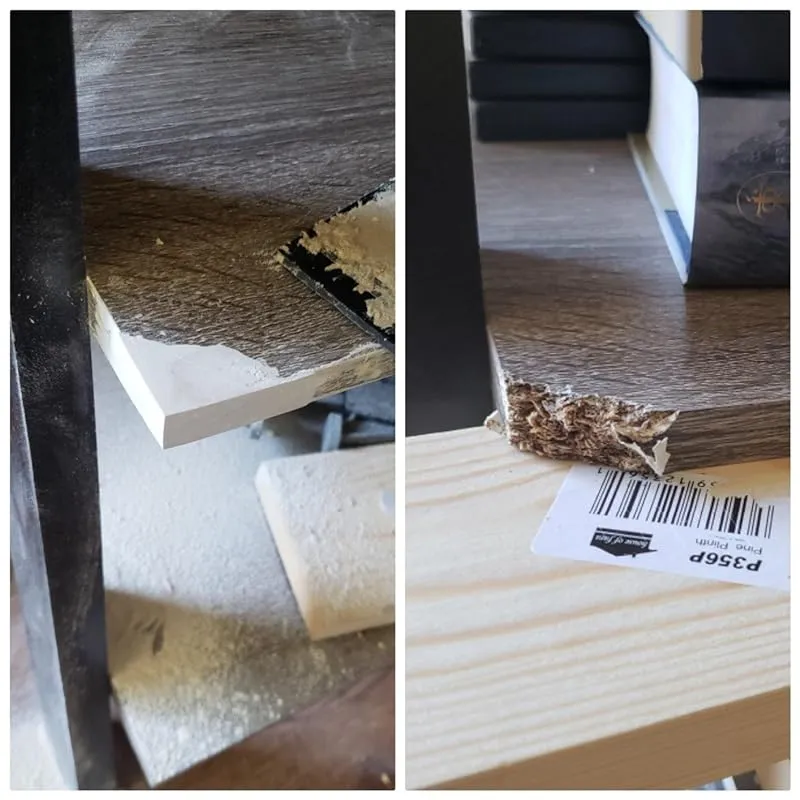
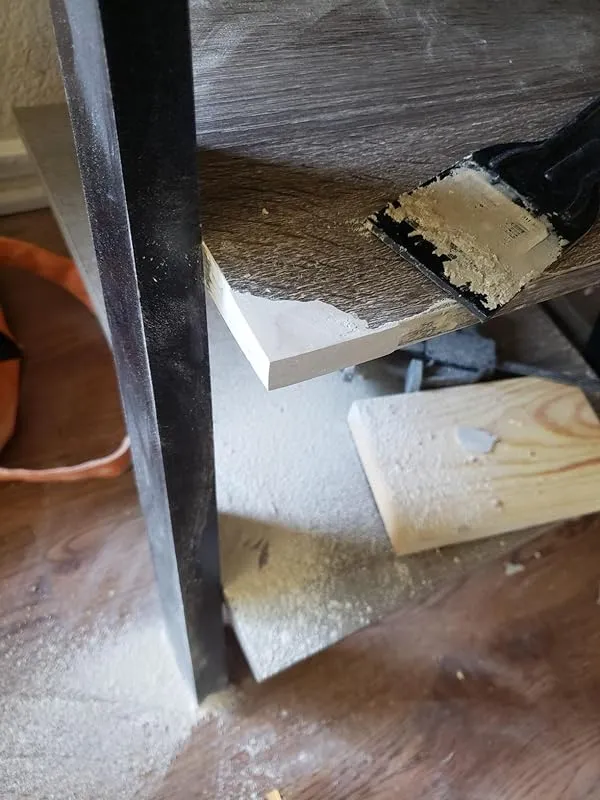
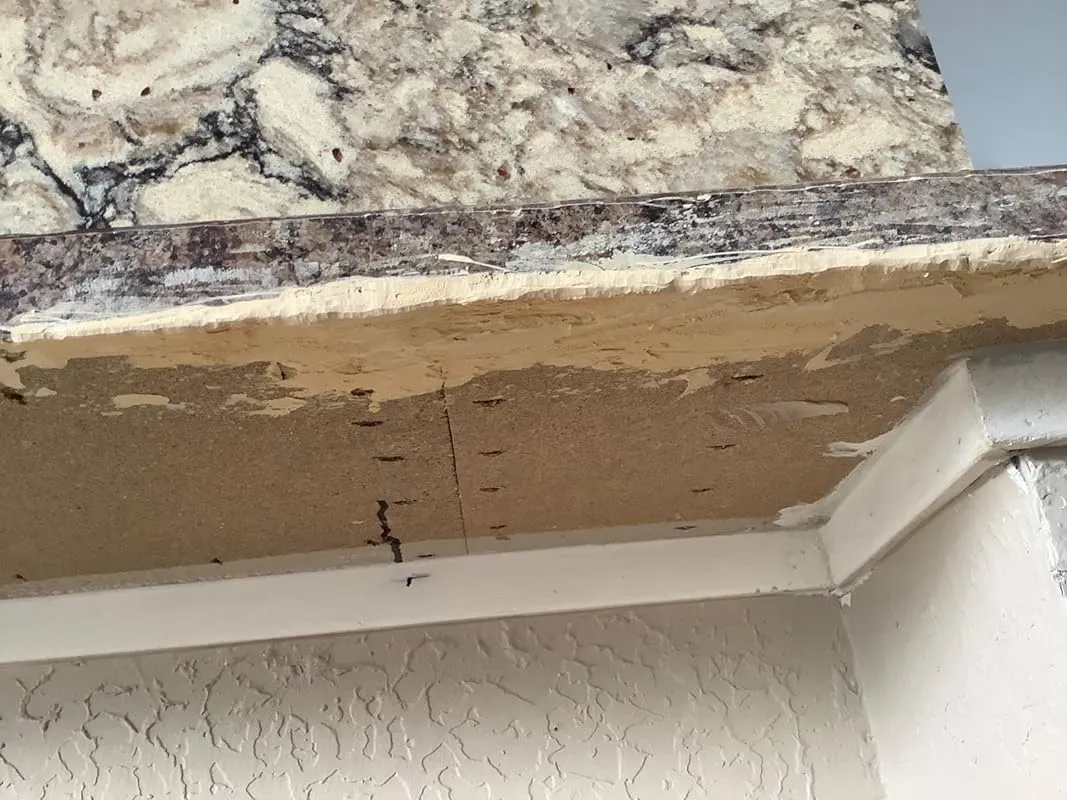
The WoodEpox product is truly remarkable for repairing rotted wood. I recently used it to fix the rotted wood corner of a door, and I was amazed at the results. I initially thought that replacing the wood would be the only solution, but WoodEpox proved me wrong.
One of the standout features of this product is its long work time. Unlike some other epoxies, WoodEpox gives you ample time to work with it before it sets. This made the repair process much easier, especially when using a Drexel Multi-Max for sanding. Additionally, the ability to shape the epoxy with tools such as paint sticks and popsicle sticks allowed me to perfectly match the existing door edges.
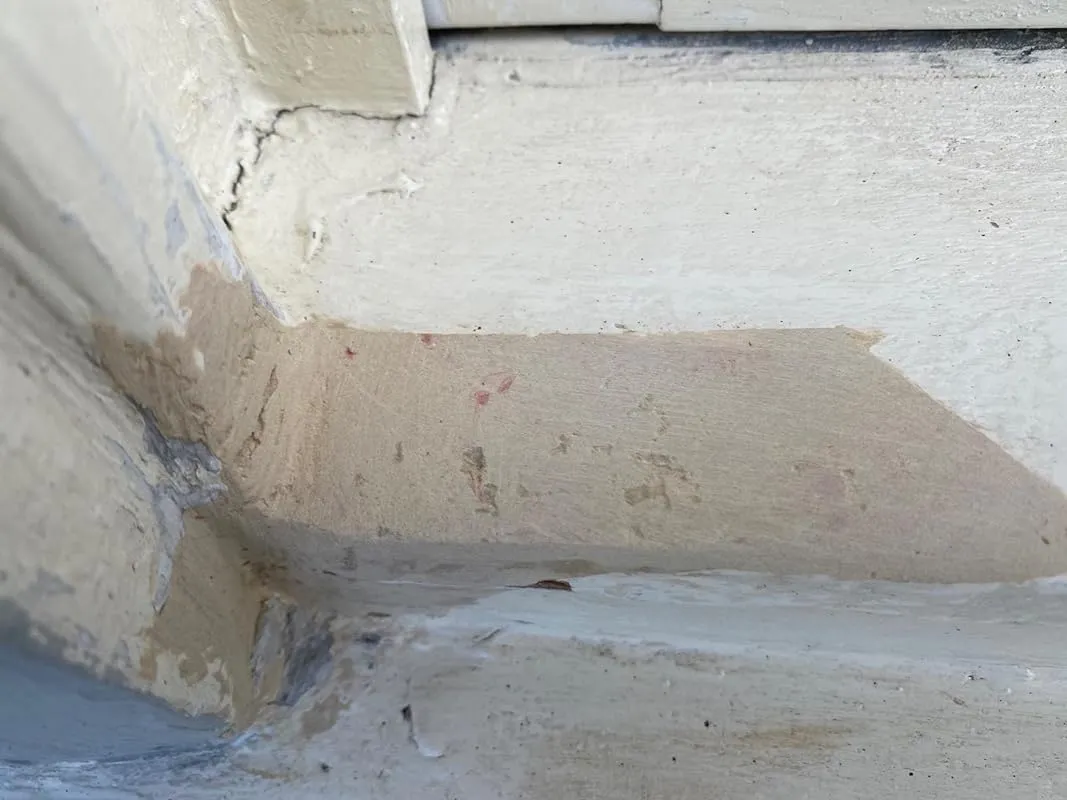
To ensure a successful cure, it's crucial to mix the two parts of WoodEpox thoroughly until you achieve a solid tan color. If not mixed properly, the product may crumble and not provide a durable repair. I learned this the hard way during my first attempt.
Although WoodEpox may be more expensive compared to other wood fillers, its exceptional workability sets it apart. While Bondo wood filler is great for filling large areas, it tends to set up too quickly and becomes too mushy to work with before it hardens. QuikWood, on the other hand, is easy to use for filling holes but lacks the firmness required to match a profile. Non-epoxy wood fillers have also failed to provide lasting repairs on exterior wood in my experience.
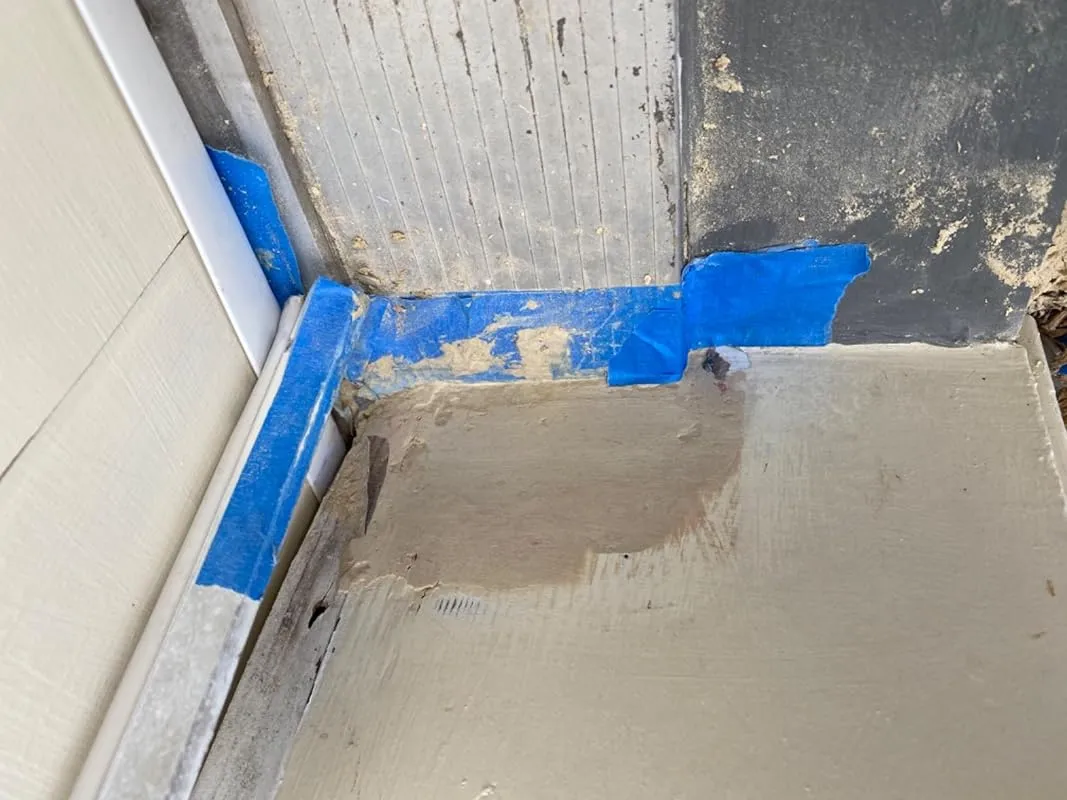
Another advantage of WoodEpox is its longevity. I have been able to make multiple repairs using the same small containers, making it a cost-effective choice in the long run.
To ensure a strong bond, it's recommended to use a wood hardener like LiquidWood on the rotted wood before applying WoodEpox. Additionally, driving stainless steel screws into the hardened rot and fresh wood underneath provides extra adhesion and strength to the repair.
FAQs
Are there any special steps or prep work required when using wood filler for outdoor applications?
Yes, there are some special steps and prep work required when using wood filler for outdoor applications. Here are some important considerations:
1. Choose the right type of wood filler: Opt for an exterior-grade wood filler that is specifically designed for outdoor use. These fillers are formulated to withstand the harsh elements and are more resistant to water, UV rays, and temperature changes.
2. Prepare the surface: Before applying the wood filler, make sure the surface is clean, dry, and free from any loose debris or old paint. Use a brush or sandpaper to remove any loose wood particles or rough edges. This will ensure proper adhesion and a smooth finish.
3. Apply the wood filler: Follow the manufacturer's instructions to apply the wood filler. Use a putty knife or a similar tool to spread the filler evenly over the damaged or uneven areas. Make sure to press it firmly into the gaps or cracks for better adhesion.
4. Smooth and shape: Once the filler is applied, use a putty knife or sandpaper to smooth and shape the surface. Feather out the edges to blend it seamlessly with the surrounding wood. Take care to remove any excess filler to achieve a clean finish.
5. Prime and paint: After the wood filler has dried completely, apply a coat of primer to seal and protect the repaired area. Once the primer is dry, you can proceed with painting or staining the wood as desired.
Remember to always read and follow the instructions provided by the wood filler manufacturer for best results.
Are there any specific application techniques or tools that are recommended for using wood filler in outdoor projects?
When using wood filler in outdoor projects, there are a few specific application techniques and tools that can be recommended to achieve the best results. Firstly, it is important to choose a high-quality, weather-resistant wood filler that is specifically designed for outdoor use.
This will ensure durability and protection against the elements.
Before applying the wood filler, it is crucial to properly prepare the surface by cleaning it thoroughly and removing any loose or damaged wood. This can be done using a stiff brush or sandpaper. It is also advisable to slightly dampen the area with water before applying the filler, as this helps to improve adhesion.
When it comes to application, it is recommended to use a putty knife or a flexible plastic scraper to evenly spread the wood filler over the damaged area. Apply the filler in thin layers, making sure to press it firmly into the wood and smooth out any excess.
Allow each layer to dry completely before adding another layer if necessary.
Once the wood filler has dried, it can be sanded down to achieve a smooth and seamless finish. Use a fine-grit sandpaper and sand in the direction of the wood grain to avoid any scratches or marks.
Finally, it is essential to follow the manufacturer's instructions regarding drying time and any additional steps, such as priming or sealing the filled area. This will ensure that the wood filler provides long-lasting protection and maintains its integrity in outdoor conditions.
Overall, by using the appropriate techniques and tools, along with a high-quality outdoor wood filler, you can achieve excellent results in your outdoor projects.
Are there any specific brands or products that are known for their durability and effectiveness in outdoor settings?
Yes, there are several brands and products that are known for their durability and effectiveness in outdoor settings. One such brand is The North Face, which is renowned for its high-quality outdoor gear, including jackets, tents, and backpacks.
Their products are designed to withstand harsh weather conditions and provide excellent protection and functionality.
Another brand known for its durability is Patagonia. They are known for their sustainable and long-lasting outdoor clothing and gear, such as jackets, fleeces, and hiking pants. Patagonia products are designed to be rugged and reliable, making them ideal for outdoor activities.
In terms of outdoor footwear, brands like Merrell, Salomon, and Keen are highly regarded for their durability and effectiveness. These brands offer a wide range of hiking boots and shoes that are designed to provide excellent traction, support, and durability on various terrains.
It's important to note that the durability and effectiveness of outdoor products can vary depending on the specific needs and preferences of the individual. It is always recommended to read reviews, do research, and consider personal requirements before making a purchase.
Can any wood filler be used for outdoor projects, or are there specific ones designed for this purpose?
While wood fillers can be used for a variety of projects, including outdoor ones, it is important to note that not all wood fillers are suitable for outdoor use. Outdoor projects require wood fillers that are specifically designed to withstand the harsh elements such as rain, sun exposure, and temperature fluctuations.
These outdoor wood fillers are typically formulated with special additives that make them more resistant to moisture, UV rays, and other environmental factors.
When selecting a wood filler for outdoor projects, it is advisable to look for products that are labeled as "exterior" or "outdoor" wood fillers. These products are specifically formulated to provide long-lasting durability in outdoor conditions.
It is also worth considering the type of wood you are working with and the specific requirements of your project. Some wood fillers are designed for specific types of wood, such as hardwood or softwood, and may offer better adhesion and performance for those specific applications.
In summary, while not all wood fillers are suitable for outdoor use, there are specific ones designed for this purpose. It is important to select an exterior or outdoor wood filler that is formulated to withstand the challenges of outdoor environments and matches the requirements of your project.
Can wood filler be stained or painted after application to match the surrounding wood?
Yes, wood filler can be stained or painted after application to match the surrounding wood. However, it is important to note that not all wood fillers are created equal. Some wood fillers are specifically designed to accept stains and paints, while others may not adhere as well or may not take the stain or paint evenly.
To achieve the best results, it is recommended to use a wood filler that is labeled as stainable or paintable. These types of fillers are typically made with a formula that allows them to accept the stain or paint more effectively.
Before staining or painting the wood filler, it is important to ensure that it has fully cured and dried according to the manufacturer's instructions.
Additionally, it is a good practice to test the stain or paint on a small, inconspicuous area of the wood filler first to ensure that the color matches the surrounding wood as desired. This will help you make any necessary adjustments before applying the stain or paint to the entire filled area.
How long does outdoor wood filler typically last before it needs to be replaced?
The durability of outdoor wood filler largely depends on several factors such as the quality of the product used, the type of wood being repaired, and the exposure to weather conditions. Generally, high-quality outdoor wood fillers are designed to withstand outdoor elements and can last for several years before needing replacement.
However, it's important to note that no wood filler is completely permanent, especially when exposed to harsh weather conditions. Over time, outdoor wood fillers may start to deteriorate due to UV radiation, moisture, temperature fluctuations, and normal wear and tear.
In some cases, the filler might crack, shrink, or lose adhesion, which can compromise its effectiveness.
To ensure the longevity of outdoor wood filler, it is recommended to choose a high-quality product specifically designed for outdoor use. Additionally, regular maintenance and protective measures such as applying a sealant or paint can help extend the lifespan of the filler.
Monitoring the condition of the filled areas and addressing any signs of deterioration promptly will also help maintain the integrity of the repair.
How weather-resistant is wood filler for outdoor use, and can it withstand extreme temperatures?
Wood filler for outdoor use is typically designed to be weather-resistant to some extent. However, the level of weather resistance can vary depending on the specific brand and formulation of the wood filler.
It is important to choose a wood filler that is specifically labeled for outdoor use and claims to be weather-resistant.
While wood filler can withstand mild to moderate weather conditions, it may not be able to withstand extreme temperatures. Extreme hot or cold temperatures can cause the wood filler to expand or contract, which can lead to cracking or splitting.
In areas with extreme temperature fluctuations, it is advisable to choose a wood filler that is specifically formulated for such conditions or consider other alternatives like epoxy fillers or exterior-grade wood putties that offer better resistance to extreme temperatures.
It is always recommended to follow the manufacturer's instructions and guidelines for the specific wood filler you are using. Additionally, proper maintenance and regular inspections are crucial to ensure the longevity and performance of any wood filler used outdoors.
Is wood filler for outdoor use typically water-resistant or waterproof?
Wood filler for outdoor use is typically water-resistant, but it may not always be fully waterproof. The main purpose of wood filler is to fill gaps, cracks, and holes in wood surfaces, providing a smooth and seamless finish.
While many outdoor wood fillers are designed to withstand moisture and resist water damage, they may not be completely impervious to water penetration.
To ensure optimal protection against water damage in outdoor applications, it is recommended to choose a wood filler specifically labeled as waterproof. These types of fillers are formulated with additives that enhance their resistance to water, making them more suitable for outdoor use.
Additionally, applying a protective sealant or finish over the wood filler can further enhance its water resistance and durability.
If you require a higher level of water resistance for your outdoor project, it is advisable to consult with a professional or a knowledgeable salesperson at a hardware store. They can provide specific recommendations based on your project requirements and the type of wood you are working with.
What are the key factors to consider when choosing a wood filler for outdoor use?
When choosing a wood filler for outdoor use, there are several key factors that need to be considered to ensure optimal performance and longevity. Firstly, it's important to select a wood filler that is specifically designed for outdoor applications.
These outdoor-specific fillers are typically formulated to withstand exposure to the elements, including moisture, UV rays, and temperature fluctuations.
Secondly, consider the durability of the wood filler. It should be able to withstand heavy foot traffic, impact, and other stresses without crumbling or cracking. Look for fillers that have high tensile and compressive strength.
Another important factor is the ability of the wood filler to adhere well to the wood surface. It should have good bonding properties to ensure a strong and long-lasting repair. Additionally, the filler should be easy to apply and work with, allowing for smooth and seamless repairs.
Lastly, consider the color and finish of the wood filler. It should match the color and texture of the wood for a natural-looking repair. Some fillers also offer the option to be stained or painted, providing further customization.
Overall, choosing a wood filler for outdoor use requires considering its suitability for outdoor conditions, durability, adhesion, ease of use, and aesthetic factors.
What types of outdoor damage or wear can wood filler effectively repair?
Wood filler can effectively repair various types of outdoor damage or wear, making it a versatile solution for fixing wooden surfaces. It can be used to fill cracks, dents, chips, or holes in outdoor furniture, decks, fences, or wooden structures.
Wood filler is particularly useful for addressing weather-related damage such as water damage, sun damage, or rot. It can also be used to repair damage caused by insects or pests. The key is to choose a wood filler that is specifically designed for outdoor use and is weather-resistant.
These fillers are formulated to withstand exposure to moisture, UV rays, and temperature fluctuations, ensuring long-lasting repairs. It is important to properly prepare the damaged area before applying the wood filler, following the instructions provided by the manufacturer.