How To Add A Door To A Wall: A Step-By-Step Guide
Adding a door to an existing wall may seem daunting, but with the right tools and some basic carpentry skills, it’s actually a straightforward DIY project. In this comprehensive guide, we’ll walk you through every step of the process, from choosing the right door and preparing the rough opening to installing and trimming out the door for a professional look.
If you’re short on time, here’s a quick answer to your question: install a pre-hung door into a rough opening you cut into the wall, shim it plumb and level, secure it in place, seal any gaps, install trim, and add hardware. Read on for full details!
Choosing the Right Door
When it comes to adding a door to a wall, one of the first steps is to choose the right door for your needs. Here are some factors to consider when making your decision:
Door Type
There are various types of doors available, each with its own unique features and benefits. Some common door types include:
- Interior Doors: These are designed for use inside the house and come in a variety of styles, such as panel, flush, and French doors.
- Exterior Doors: These are specifically designed to withstand the elements and provide security for your home.
- Sliding Doors: These are a popular choice for rooms with limited space as they slide open and do not require extra space for swinging.
- Pocket Doors: These doors slide into a wall cavity, saving space and providing a sleek look.
Door Size
It’s important to measure the dimensions of the wall opening before selecting a door. Standard door sizes are typically 80 inches in height and range from 24 to 36 inches in width. However, custom sizes are also available to fit specific requirements.
Swing Direction
Consider the swing direction of the door, which can be either inward or outward. This decision should be based on the layout of the room and the available space. Inward swinging doors are more common, but outward swinging doors can be useful in certain situations, such as in tight spaces or for wheelchair accessibility.
Material and Style
The material and style of the door can greatly impact the overall aesthetic of the room. Common door materials include wood, fiberglass, and steel. Each material has its own advantages and disadvantages in terms of durability, energy efficiency, and maintenance requirements.
Additionally, consider the style of the door, whether it’s traditional, modern, or contemporary, to ensure it complements the existing decor.
Remember, it’s important to choose a door that not only fits the wall opening but also matches your personal preferences and needs. Consulting with a professional or visiting reputable websites, such as Home Depot or Lowe’s, can provide you with more information and guidance in selecting the right door for your project.
Preparing the Rough Opening
Before adding a door to a wall, it’s important to prepare the rough opening. This involves measuring for the rough opening, cutting the opening, and framing it properly. By following these steps, you’ll ensure that your door fits correctly and functions smoothly.
Measuring for the Rough Opening
The first step in preparing the rough opening is to measure the space where the door will be installed. Start by measuring the width and height of the door frame. Make sure to account for any trim or casing that will be added later.
It’s always a good idea to double-check your measurements to ensure accuracy.
Once you have the measurements, add a few inches to both the width and height to allow for adjustments during installation. This extra space will prevent any issues with the door not fitting properly.
Cutting the Rough Opening
After measuring for the rough opening, it’s time to cut the opening in the wall. Use a level and a pencil to mark the dimensions of the rough opening on the wall. Double-check your measurements before making any cuts to avoid any costly mistakes.
Next, use a reciprocating saw or a circular saw to carefully cut along the marked lines. Take your time and make sure to follow the markings precisely. Remember to wear safety goggles and gloves during this step to protect yourself from any debris or sharp edges.
Framing the Rough Opening
Once the rough opening is cut, it’s essential to frame it properly. This step provides support for the door and ensures it functions correctly. Start by adding a header at the top of the opening. This header should be made of sturdy material such as solid wood or engineered lumber.
Next, add vertical studs on both sides of the opening. These studs will provide stability and support for the door frame. Make sure to secure them tightly to the surrounding wall studs to prevent any movement.
Finally, add a sill plate at the bottom of the rough opening. This plate will support the door and prevent any sagging over time. Use a level to ensure that the sill plate is perfectly horizontal before securing it in place.
By following these steps to prepare the rough opening, you’ll be well on your way to adding a door to a wall. Remember to measure carefully, cut accurately, and frame properly for the best results. Happy door installation!
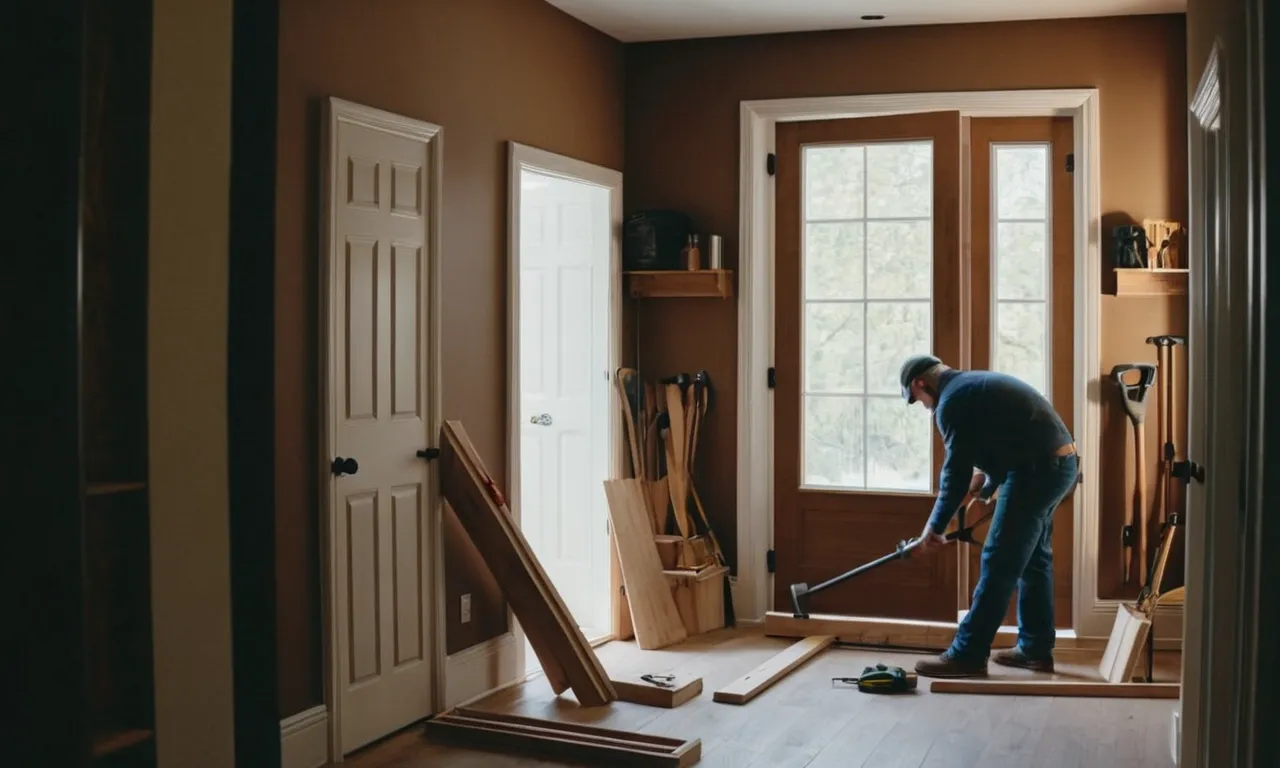
Installing the New Door
Test Fitting the Door in the Opening
Before installing the new door, it is essential to test fit it in the opening to ensure a proper fit. This step is crucial as it will help identify any adjustments or modifications that may be required before proceeding.
Start by placing the door in the opening and checking for any gaps or misalignments. It is recommended to have someone assist you during this process, as they can provide a different perspective to help identify any issues.
Once the door is in place, check for even spacing around the edges. Use a level to ensure that the door is plumb and level. This step is important for proper functionality and aesthetic appeal.
Shimming and Securing the Door
After test fitting the door, it’s time to shim and secure it in place. Shimming involves inserting small wedges or shims between the door frame and the wall studs to ensure a snug fit. This step helps prevent any sagging or misalignment over time.
Start by placing shims at the bottom corners of the door frame and gradually work your way up. Use a level to check for plumb and adjust the shims as needed. Once the door is perfectly plumb and level, secure it in place by driving screws through the door frame and into the wall studs.
Be sure to use screws that are long enough to penetrate the studs and provide a secure hold.
It is recommended to install at least three screws on each side of the door frame, evenly spaced. This will ensure that the door is securely fastened and will not sag or shift over time.
Sealing Gaps and Insulating
After the door is securely installed, it’s important to seal any gaps between the door frame and the wall to prevent drafts, water infiltration, and energy loss. Use a caulking gun and weatherstripping to seal any visible gaps around the edges of the door.
This will help improve insulation and energy efficiency.
Additionally, consider insulating the door for added energy efficiency. Insulation can help regulate the temperature inside the room and reduce noise transmission. There are various insulation options available, such as foam insulation strips or spray foam, which can be applied around the door frame.
By properly sealing gaps and insulating the door, you can enhance the overall performance and comfort of your space while also saving on energy costs.
For more detailed instructions and visual demonstrations, you can visit Family Handyman or This Old House.
Trimming Out the Door
Adding Interior Trim
Once you have successfully installed the door, the next step is to trim it out. Adding interior trim not only enhances the overall aesthetic appeal of the door but also helps to hide any gaps or imperfections. Start by measuring and cutting the trim to fit around the door frame.
Use a miter saw to create clean and precise angles for a professional finish. Apply construction adhesive to the back of the trim and secure it in place using finishing nails. Be sure to fill any nail holes and gaps with wood putty and sand it down for a smooth surface.
Installing Exterior Trim and Casing
When it comes to installing exterior trim and casing, it is essential to choose materials that can withstand the elements. Opt for weather-resistant materials such as PVC or composite trim that are durable and low-maintenance.
Measure and cut the trim to fit around the door frame, ensuring that it is properly aligned. Use a level to ensure that the trim is straight and then secure it in place using exterior-grade nails. Caulk any gaps or joints to prevent water infiltration.
Finally, paint or stain the trim to match the rest of your exterior for a seamless look.
Hanging the Door
Before hanging the door, make sure to properly prepare the door frame. Remove any excess drywall or insulation to create a clean and even surface. Install door shims to ensure that the door is level and plumb. Carefully lift the door into the opening, making sure to align it properly.
Secure the hinges to the door frame using screws and ensure that the door swings freely. Use a level to check for any adjustments that may be needed. Finally, install the door handle and latch, and test the door to ensure it opens and closes smoothly.
For more detailed instructions and visuals, check out this step-by-step guide from The Family Handyman website.
Conclusion
With good preparation and by carefully following each step, you can successfully install a door in an existing wall. Take time to choose the ideal door, frame the rough opening precisely, and don’t rush critical installation steps like shimming and sealing.
Finish up by adding trim for a polished look. Your patience will pay off when you’re able to enjoy your attractive and functional new doorway.