How To Clean A Non-Removable Faucet Aerator
If your faucet’s water flow has slowed to an annoying trickle or the stream isn’t as strong as you’d like, the aerator is probably clogged with mineral deposits. Cleaning the aerator is an easy DIY task that doesn’t require any special tools.
Read on to learn how to clean a non-removable faucet aerator and restore full water flow.
Here’s a quick answer if you’re short on time: You can clean a non-removable aerator using vinegar, an old toothbrush, and a plastic bag. Simply fill the bag with vinegar and secure it around the aerator overnight. Then scrub with a toothbrush and rinse.
The vinegar will dissolve the mineral deposits clogging the aerator.
Why Clean the Aerator?
The aerator is an important component of a faucet that helps regulate the flow of water and prevent splashing. Over time, however, it can become clogged with sediment and debris, leading to various issues. Cleaning the aerator regularly is essential to maintain the optimal performance of your faucet.
Here are a few reasons why cleaning the aerator is necessary:
Sediment Buildup
One of the main reasons to clean the aerator is to remove sediment buildup. As water flows through the aerator, tiny particles of dirt, sand, and minerals can get trapped in the mesh screen. Over time, this buildup can restrict the flow of water and affect the overall performance of the faucet.
Cleaning the aerator helps remove these sediments and prevent any blockages.
Reduced Water Flow
If you’ve noticed a decrease in water flow from your faucet, a dirty aerator may be the culprit. Sediment buildup can gradually restrict the flow of water, resulting in a weak stream. Cleaning the aerator can help restore the water flow to its optimal level, ensuring a smooth and efficient operation of your faucet.
Poor Water Stream
In addition to reduced water flow, a clogged aerator can also lead to a poor water stream. Instead of a steady and uniform stream, you might experience splashing or uneven water distribution. Cleaning the aerator can help eliminate these issues and provide a consistent and satisfactory water stream.
According to a study conducted by the Environmental Protection Agency (EPA), a dirty aerator can reduce water flow by up to 30%.
Regularly cleaning the aerator is a simple and cost-effective way to maintain the performance of your faucet and ensure a steady and efficient water flow. It is recommended to clean the aerator at least once every few months, or more frequently if you notice any decrease in water flow or poor water stream.
For more information on how to clean a non-removable faucet aerator, you can visit HomeAdvisor or Family Handyman.
Supplies Needed
Distilled White Vinegar
One of the essential supplies you’ll need to clean a non-removable faucet aerator is distilled white vinegar. Vinegar is a fantastic natural cleaner that is effective at removing mineral build-up and grime from various surfaces.
Its acidic properties make it a great choice for tackling tough stains and residue on your faucet aerator.
You can easily find distilled white vinegar at your local grocery store. It’s an inexpensive and eco-friendly cleaning solution that can be used for various household cleaning tasks.
Toothbrush
A toothbrush is another supply you’ll need to clean a non-removable faucet aerator. It’s essential to choose a toothbrush with soft bristles to ensure that you don’t scratch or damage the delicate parts of the aerator.
The small size and bristle density of a toothbrush make it perfect for reaching into the small crevices and tight spaces of the aerator.
It’s recommended to use a toothbrush specifically designated for cleaning purposes and not your regular toothbrush. Keep it separate to avoid any cross-contamination.
Plastic Bag
When cleaning a non-removable faucet aerator, a plastic bag can come in handy. The plastic bag will be used to soak the aerator in vinegar and remove any stubborn mineral deposits. Make sure the bag is large enough to accommodate the aerator and seal it properly to prevent any leakage.
A ziplock bag is an excellent option for this task as it provides a secure seal and allows you to easily manipulate the bag without any spillage.
Rubber Band or Zip Tie
A rubber band or zip tie is needed to secure the plastic bag around the faucet aerator while it soaks in vinegar. This will ensure that the vinegar can dissolve the build-up effectively without any leaks or spills.
Wrap the rubber band or zip tie tightly around the bag’s opening to create a seal around the aerator. This will help maintain the vinegar’s contact with the aerator, allowing it to work its magic and loosen any debris.
By gathering these supplies, you’ll be well-prepared to clean a non-removable faucet aerator effectively. Remember to follow the proper steps and take necessary precautions to ensure the best results.
Cleaning Steps
Fill plastic bag 1/2 full with vinegar
To begin the cleaning process, gather a plastic bag and fill it halfway with vinegar. Vinegar is a natural cleaning agent that helps to remove mineral deposits and buildup from the aerator. Its acidic properties make it an effective solution for tackling stubborn grime.
Secure bag around aerator
Once you have filled the plastic bag with vinegar, carefully place it over the non-removable faucet aerator. Make sure the bag is securely fastened to prevent any leaks or spills during the cleaning process.
This step is crucial as it allows the vinegar to directly come into contact with the aerator, ensuring a thorough cleaning.
Let vinegar soak overnight (at least 6 hours)
After securing the bag around the aerator, it’s important to allow the vinegar to soak for an extended period. Ideally, you should let it sit overnight or for at least 6 hours. This gives the vinegar enough time to break down any mineral deposits or buildup that may have accumulated over time.
The longer the vinegar soaks, the more effective it will be in cleaning the aerator.
Remove bag and scrub with toothbrush
Once the vinegar has had sufficient time to soak, carefully remove the bag from the aerator. You may notice that the vinegar has dissolved some of the grime and deposits. To thoroughly clean the aerator, use a toothbrush to scrub away any remaining residue.
The bristles of the toothbrush will help to dislodge any stubborn dirt, ensuring a deep clean.
Rinse thoroughly
After scrubbing the aerator with a toothbrush, it’s essential to rinse it thoroughly to remove any remaining vinegar or residue. Run water through the faucet for a few minutes to flush out any leftover debris. This step will ensure that the aerator is clean and ready to function optimally.
Remember, regular cleaning of your non-removable faucet aerator is important to maintain its efficiency and prevent any clogs or reduced water flow. By following these steps, you can easily clean your aerator and enjoy a steady stream of clean, fresh water.
Prevention Tips
Proper maintenance of your non-removable faucet aerator is essential to ensure its longevity and efficiency. Here are some prevention tips to keep your aerator clean and free from mineral deposits:
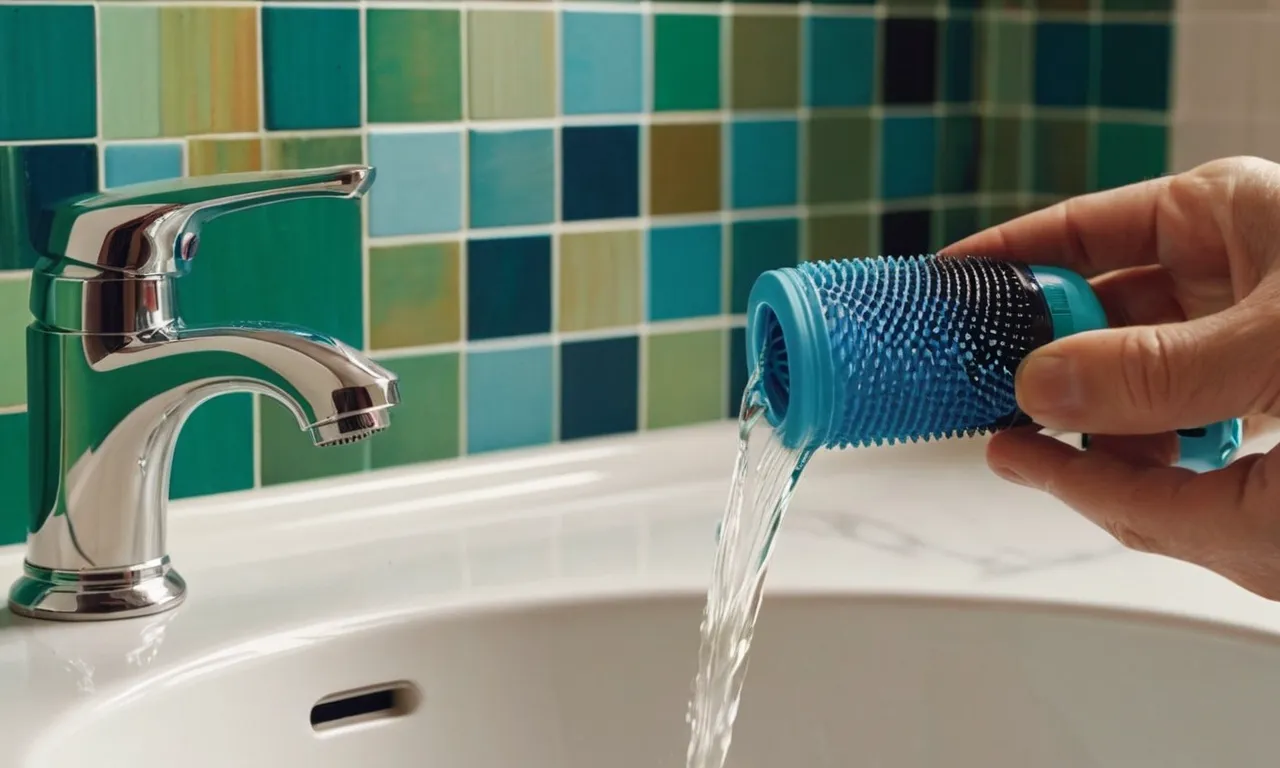
Regularly flush with vinegar
One effective way to prevent mineral buildup in your non-removable faucet aerator is to regularly flush it with vinegar. Vinegar is a natural cleaning agent that helps dissolve mineral deposits. To do this, simply fill a plastic bag with vinegar and secure it tightly over the faucet aerator, making sure that the aerator is fully submerged.
Leave it overnight or for a few hours, then remove the bag and run water through the faucet to flush out any remaining vinegar and mineral deposits. This simple routine can help keep your aerator clean and functioning optimally.
Use water softening system
If you live in an area with hard water, which contains high levels of minerals like calcium and magnesium, consider installing a water softening system. These systems work by removing the minerals from the water before it reaches your faucets, preventing mineral buildup in your aerator and other plumbing fixtures.
Water softeners can be installed at the main water supply entry point or at individual faucets. They not only help prevent mineral deposits, but also provide other benefits such as softer skin and hair, and longer lifespan for appliances and plumbing.
Install scale inhibitors
Another preventive measure to consider is the installation of scale inhibitors. These devices are designed to reduce the formation of mineral deposits in your plumbing system, including your non-removable faucet aerator.
Scale inhibitors work by altering the structure of minerals in the water, preventing them from adhering to surfaces and causing buildup. They can be installed at the main water supply line or directly onto individual faucets.
While scale inhibitors may require a larger upfront investment, they can save you money in the long run by reducing the need for frequent cleaning and maintenance.
When to Call a Plumber
While cleaning a non-removable faucet aerator can often be a simple task that homeowners can handle themselves, there are certain situations where it may be necessary to call a plumber. Here are a few instances where professional assistance may be needed:
Aerator screen is damaged
If you notice that the aerator screen is damaged or missing, it is best to call a plumber. The aerator screen is an important component that helps to filter out debris and sediment from the water. Without it, your faucet may experience reduced water pressure or clogged pipes.
A plumber will be able to replace the damaged aerator screen and ensure that your faucet is functioning properly.
Mineral deposits don’t scrub off
In some cases, mineral deposits can build up on the aerator screen and become stubborn to remove. If you have tried various cleaning methods and the mineral deposits still won’t come off, it may be time to seek professional help.
Plumbers have specialized tools and solutions that can effectively remove tough mineral deposits without causing any damage to the faucet.
Water flow doesn’t improve after cleaning
If you have cleaned the aerator thoroughly but notice that the water flow is still not improving, it is recommended to contact a plumber. This could be an indication of a deeper plumbing issue that requires professional attention.
A plumber will be able to identify and resolve the underlying problem, ensuring that your faucet operates at its optimal performance.
Remember, it’s always better to be safe than sorry when it comes to plumbing matters. Calling a plumber in these situations can save you time, money, and potential headaches down the line.
Conclusion
A clogged faucet aerator is an easy fix you can tackle yourself without much hassle or expense. With some household vinegar, a toothbrush, and a plastic bag, you can dissolve those mineral deposits and restore full water flow in no time. Just follow the cleaning steps outlined above.
And be sure to implement some prevention measures so you don’t have to scrub the aerator as often. If you try the DIY approach but still can’t get your faucet flowing properly, it’s probably time to call in a plumber.