How To Fix Water Damaged Wood Floors: A Complete Step-By-Step Guide
Finding water damage on your beautiful wood floors can be heartbreaking. But don’t panic! With some time and effort, you can often repair water damaged wood floors yourself and restore their beauty.
If you need a quick fix, here are some key things you’ll need to do: remove excess water, dry the floor thoroughly, sand down damaged areas, seal the wood, and refinish it with new stain and polyurethane.
In this comprehensive guide, we’ll walk you through all the steps and considerations for repairing water damaged wood flooring. We’ll cover assessing the damage, drying and sanding the floor, sealing and refinishing it, and preventing water damage in the future.
Assessing the Damage and Drying the Floor
Determine the Source and Severity of Damage
When dealing with water-damaged wood floors, the first step is to assess the source and severity of the damage. This will help you determine the best course of action for repair. Is the water damage coming from a burst pipe, a leaky roof, or a flood?
Understanding the source will not only help you fix the immediate problem but also prevent it from happening again in the future.
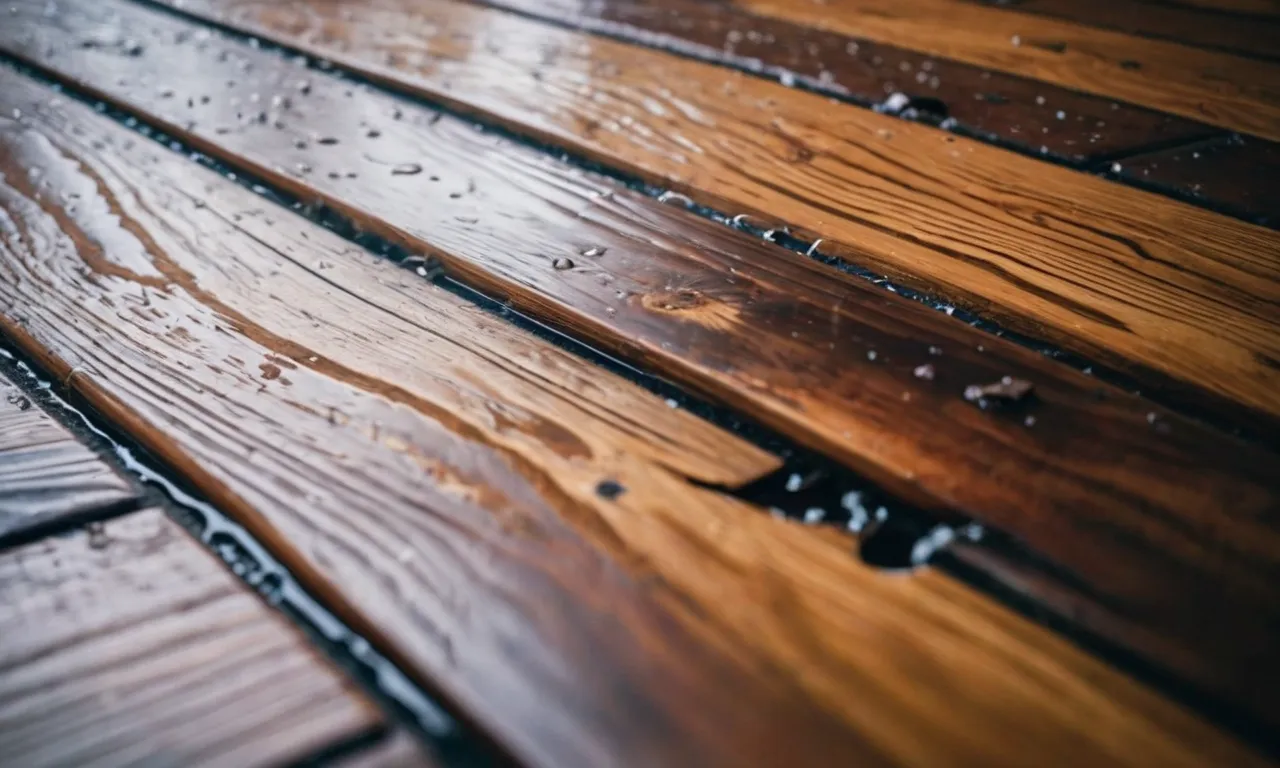
Additionally, it’s important to evaluate the severity of the damage. Is the water pooling on the surface, or has it seeped into the wood? Are there any signs of discoloration, warping, or buckling? Identifying the extent of the damage will guide your efforts in restoring the wood floor.
Remove Standing Water
Once you have determined the source and severity of the water damage, the next step is to remove any standing water from the wood floor. Use a wet/dry vacuum or a mop to soak up the water. Be sure to wring out the mop or empty the vacuum regularly to prevent spreading the water and further damaging the floor.
If the water damage is extensive, you may need to use fans or dehumidifiers to speed up the drying process. Proper ventilation is crucial in preventing the growth of mold and mildew, which can further damage the wood and pose health risks.
Allow the Floor to Dry Thoroughly
After removing the standing water, it’s important to allow the wood floor to dry thoroughly. This process can take several days, depending on the extent of the damage and the humidity levels in the room.
Make sure to keep the affected area well-ventilated and avoid walking on the wet floor as much as possible. Placing fans strategically around the room can help circulate air and expedite the drying process.
It’s important to note that simply drying the surface of the wood floor may not be enough. Moisture can seep deeper into the wood, causing long-term damage. To ensure thorough drying, consider using a moisture meter to monitor the moisture levels in the wood.
Once the moisture levels have returned to normal, you can proceed with the necessary repairs and refinishing.
For more detailed information on fixing water-damaged wood floors, you can visit www.woodmagazine.com.
Sanding Down the Damaged Wood
Sand Off Discolored and Damaged Areas
Once you have identified the discolored and damaged areas on your water-damaged wood floors, the next step is to sand them down. This process will help to remove any surface stains and imperfections caused by the water. Start by using a medium-grit sandpaper to gently sand the affected areas.
Be sure to sand in the direction of the wood grain to achieve the best results. If the damage is deep or extensive, you may need to use a coarser grit sandpaper initially and then switch to a finer grit to achieve a smooth finish.
Vacuum Up All Sanding Dust Thoroughly
After sanding down the damaged areas, it is crucial to vacuum up all the sanding dust thoroughly. Using a vacuum cleaner with a brush attachment, carefully remove all the dust from the surface of the wood floors.
This step is essential to ensure a clean and smooth surface for the next steps in the restoration process. Make sure to go over the entire floor, including the corners and edges, to remove any lingering dust particles.
Additionally, you can use a tack cloth or a damp cloth to wipe down the surface and remove any remaining dust.
Sealing and Refinishing the Floor
After addressing the water damage and ensuring that the wood floor is dry, the next step is to seal and refinish the floor. This process will help restore the appearance and protect the wood from future damage. Here’s a step-by-step guide on how to seal and refinish water-damaged wood floors:
Apply Wood Filler if Needed
If the water damage has caused any noticeable gaps or cracks in the wood floor, it’s important to fill them before proceeding with the sealing and refinishing process. Wood filler can be used to fill in these imperfections, creating a smooth and even surface.
Make sure to choose a wood filler that matches the color of your floor for a seamless finish. Apply the wood filler according to the manufacturer’s instructions and allow it to dry completely before moving on to the next step.
Seal the Floor with Polyurethane
Once the wood filler has dried, it’s time to seal the floor with polyurethane. Polyurethane provides a protective layer that helps to prevent moisture from seeping into the wood and causing further damage. Begin by applying a thin and even coat of polyurethane using a brush or roller.
Work in small sections, following the natural grain of the wood. Allow the first coat to dry according to the manufacturer’s instructions, and then apply additional coats as needed to achieve the desired level of protection.
Apply New Stain for Consistent Color
If the water damage has caused any discoloration or fading of the wood, applying a new stain can help restore a consistent color. Choose a stain that matches the original color of your wood floor, or experiment with different shades to achieve the desired look.
Before applying the stain, make sure the floor is clean and free of any dust or debris. Apply the stain using a brush or cloth, working in the direction of the grain. Allow the stain to penetrate the wood, and then wipe away any excess with a clean cloth.
Let the stain dry completely before moving on to the next step.
Add Finish Coats of Polyurethane
Once the stain is dry, it’s time to add finish coats of polyurethane to protect the newly stained wood. Apply the polyurethane in the same manner as before, working in small sections and following the grain of the wood.
Apply multiple coats, allowing each coat to dry completely before applying the next. The number of coats will depend on the level of protection and shine you desire. Once the final coat has dried, your water-damaged wood floor should be sealed, refinished, and ready to withstand the test of time.
Preventing Future Water Damage
Address Moisture Issues Quickly
One of the most important steps in preventing future water damage to wood floors is to address any moisture issues as soon as possible. Moisture can seep into the wood and cause it to warp or buckle, leading to costly repairs.
If you notice any signs of water damage, such as discoloration or a musty smell, it’s crucial to identify and fix the source of the moisture right away. This could include repairing leaky pipes, fixing a faulty roof, or improving ventilation in the area.
Use Mats at Entrances
Another effective way to prevent water damage to wood floors is to use mats or rugs at entrances. These mats can help to trap dirt, water, and other debris from shoes before it gets tracked onto the floor.
It’s important to choose mats that are made specifically for absorbing moisture and have a non-slip backing to prevent accidents. Regularly clean and replace these mats to ensure their effectiveness in preventing water damage.
Clean Up Spills Right Away
Accidents happen, and spills are inevitable. However, it’s essential to clean up spills on wood floors as soon as they happen to prevent water damage. Leaving standing water or wet spots on the floor for an extended period can lead to damage. Use a dry cloth or mop to soak up the liquid immediately.
For stubborn stains or spills, use a mild wood floor cleaner and follow the manufacturer’s instructions. Avoid using excessive amounts of water when cleaning, as this can seep into the wood and cause damage.
By addressing moisture issues promptly, using mats at entrances, and cleaning up spills right away, you can take proactive steps to prevent future water damage to your wood floors. Remember, prevention is always better than cure when it comes to maintaining the beauty and longevity of your floors.
Conclusion
Repairing water damaged wood floors takes time and diligence. But with the right process, you can often restore them to their original beauty. Just be sure to fully dry the floor, sand away all damaged areas, seal and refinish the surface, and address any underlying moisture issues.
With this complete step-by-step guide, you now have all the information you need to successfully repair water damaged wood flooring in your home. Just take it slow and steady. Before you know it, you’ll have gorgeous floors once again!