How To Install A Metal Door Frame
Installing a metal door frame is an important part of any door installation project. Having the right tools and materials on hand will ensure the job goes smoothly and the door frame is securely mounted.
In this comprehensive guide, we’ll walk through all the steps needed to install a metal door frame correctly.
If you’re short on time, here’s a quick answer to your question: Prepare the rough opening, insert the door frame ensuring it’s level and plumb, anchor it to the wall studs using appropriate fasteners, insulate gaps, and install trim pieces to finish.
Prepare the Rough Opening
Before installing a metal door frame, it is important to properly prepare the rough opening. This involves several steps to ensure that the frame fits correctly and the installation goes smoothly.
Measure the old frame
The first step in preparing the rough opening is to measure the old frame. This will help you determine the correct size for the new metal door frame. Measure the height and width of the existing frame, taking into account any trim or molding that may need to be removed.
It is important to be precise with your measurements to ensure a proper fit.
Cut away drywall
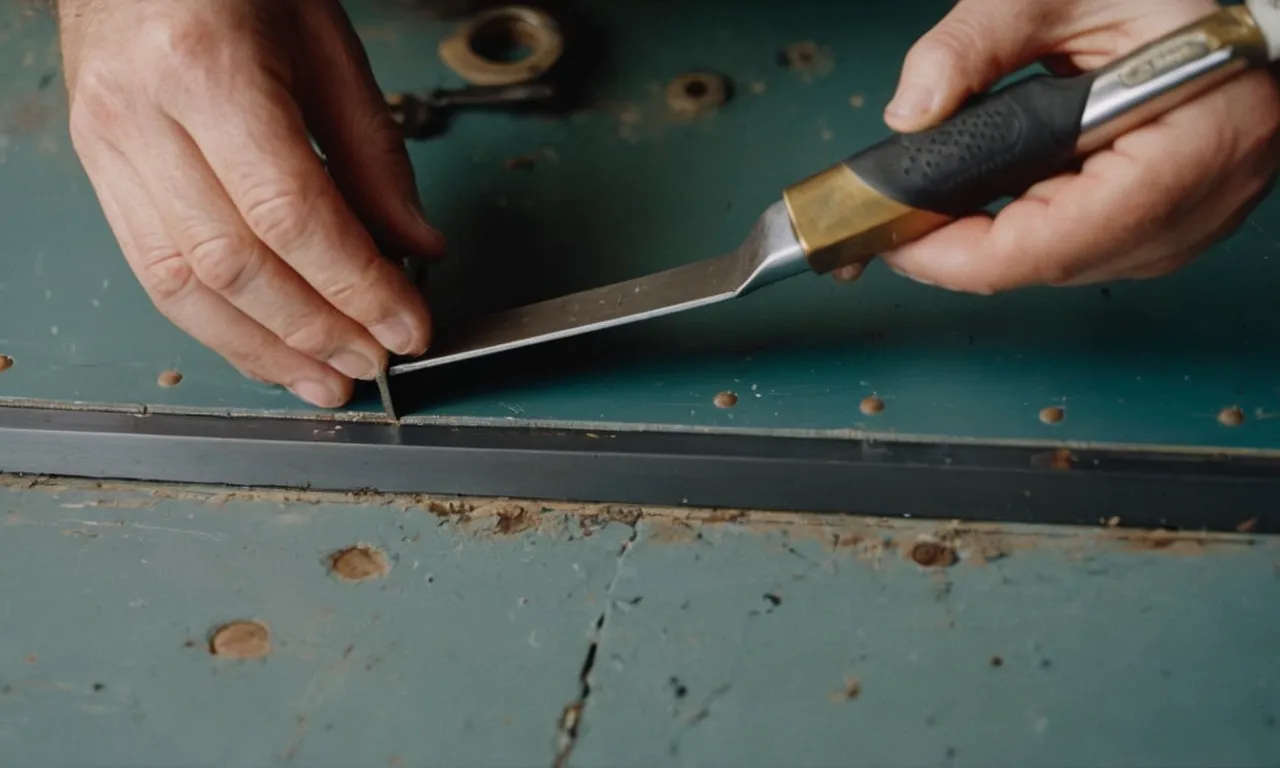
Once you have measured the old frame, you will need to cut away the drywall around the rough opening. Use a drywall saw or utility knife to carefully cut along the edges of the frame. Be sure to remove any screws or nails that may be holding the frame in place.
This step is necessary to create a clean and clear space for the new metal frame.
Check for plumb and level
After removing the drywall, it is important to check for plumb and level. Use a level to ensure that the opening is straight and true. If necessary, use shims to adjust the position of the rough opening. This step is crucial to ensure that the metal door frame will fit properly and function correctly.
By following these steps to prepare the rough opening, you will be well on your way to successfully installing a metal door frame. Remember to take accurate measurements, cut away the drywall carefully, and check for plumb and level. With proper preparation, your installation will be a breeze!
Insert and Fasten the New Door Frame
Test fit the frame
Before starting the installation process, it is essential to test fit the new door frame. This step ensures that the frame fits perfectly into the existing opening. Carefully place the frame into the opening and check for any gaps or misalignments.
A properly fitted frame is crucial for the stability and functionality of the door.
Shim as needed for plumb and level
Once you have tested the fit of the door frame, it’s time to make sure it is plumb and level. Use shims to adjust the frame as needed. Shims are thin pieces of material that can be inserted between the frame and the opening to ensure it is perfectly aligned.
This step is important to ensure that the door operates smoothly and securely.
Anchor frame to studs
After ensuring the frame is plumb and level, it’s time to anchor it to the studs. This step provides stability and security to the door frame. Use screws or nails to secure the frame to the studs. Make sure to follow the manufacturer’s instructions for the appropriate size and type of fasteners.
Anchoring the frame properly will prevent any movement or shifting over time.
For more detailed instructions and visuals, check out www.example.com. They provide step-by-step guides with illustrations to assist you in the installation process.
Insulate Gaps and Install Trim
Insulating gaps and installing trim is an important step when installing a metal door frame. This helps to provide insulation and improve the overall appearance of the door frame. Here are the key steps to insulate gaps and install trim:
Apply spray foam insulation
One of the first steps in insulating gaps is to apply spray foam insulation. This is a great way to seal any gaps or cracks around the door frame, preventing drafts and improving energy efficiency. Simply use a can of spray foam insulation and carefully apply it to any gaps or openings.
Be sure to follow the manufacturer’s instructions for proper application and drying time.
Install interior trim pieces
Installing interior trim pieces is the next step in completing the door frame installation. Trim pieces not only provide a finished look, but they also help to cover any gaps or rough edges. Measure and cut the trim pieces to fit around the door frame, and secure them in place using nails or adhesive.
Make sure the trim is level and aligned properly before securing it.
Install exterior trim pieces
Once the interior trim is in place, it’s time to install the exterior trim pieces. These trim pieces provide additional protection and enhance the aesthetic appeal of the door frame. Measure and cut the exterior trim to fit around the door frame, and secure it in place using nails or adhesive.
Ensure that the trim is properly aligned and level with the rest of the frame.
Remember, proper insulation and trim installation are crucial for the overall performance and appearance of a metal door frame. By following these steps, you can ensure a well-insulated and visually appealing door frame that will last for years to come.
Finish the Installation
Install the door
Once the metal door frame is securely in place, it’s time to install the door itself. Measure the width and height of the frame to ensure a proper fit. With the help of a friend or family member, carefully lift the door into the frame. Align the hinges with the pre-drilled holes on the frame.
Use screws to attach the hinges to the frame, ensuring they are tightly secured. Check that the door swings smoothly and freely.
Adjust hinges
After installing the door, it may be necessary to adjust the hinges for a perfect fit. If the door is not closing properly or seems to be misaligned, adjusting the hinges can solve the issue. Start by loosening the screws on the top, middle, and bottom hinges.
Gently move the door up or down, left or right, until it is properly aligned with the frame. Once in place, tighten the screws to secure the hinges and test the door again to ensure it opens and closes smoothly.
Install door hardware
Now that the door is installed and properly aligned, it’s time to add the finishing touches by installing the door hardware. This includes the doorknob, lockset, and any other accessories you desire. Begin by marking the desired location for the doorknob and lockset on the door.
Use a template or measuring tape to ensure accurate placement. Once marked, carefully drill the necessary holes. Install the doorknob and lockset according to the manufacturer’s instructions, making sure they are securely attached.
Remember, installing a metal door frame and door requires precision and attention to detail. If you’re unsure about any step of the process, it’s always best to consult a professional. This will ensure that the installation is done correctly and that your door operates smoothly and securely.
Conclusion
Installing a metal door frame takes careful preparation, precise installation, and finishing touches. Follow the steps outlined here to ensure your door frame is securely mounted and ready for a beautiful new door.
Taking your time to do the job right will lead to an entryway you can enjoy for years to come.