How To Install A Single Torsion Spring On A Garage Door
Replacing a broken torsion spring on your garage door can be a daunting task for a homeowner. A garage door torsion spring is a crucial component that provides the counterbalance needed to open and close the heavy door.
If one spring breaks, the door will be unbalanced and you’ll notice the door becoming difficult to operate. Replacing just one spring can restore proper operation, but this repair requires specific tools and knowledge to complete safely.
If you’re short on time, here’s a quick answer to your question: you’ll need winding bars, vise grips, a drill with sockets, a ladder, safety glasses and gloves. To replace the spring, you’ll relieve tension, detach the broken spring, install the new spring and cable drum, wind and balance the tension, then test operation.
Assembling the Proper Tools
Winding Bars
One of the essential tools you will need for installing a single torsion spring on a garage door is a set of winding bars. These bars are used to apply torque to the winding cone of the spring, allowing you to adjust the tension and balance of the door.
It is important to use the correct size winding bars for your specific garage door system, as using the wrong size can be dangerous and cause injury. You can find winding bars at your local hardware store or online.
Vise Grips
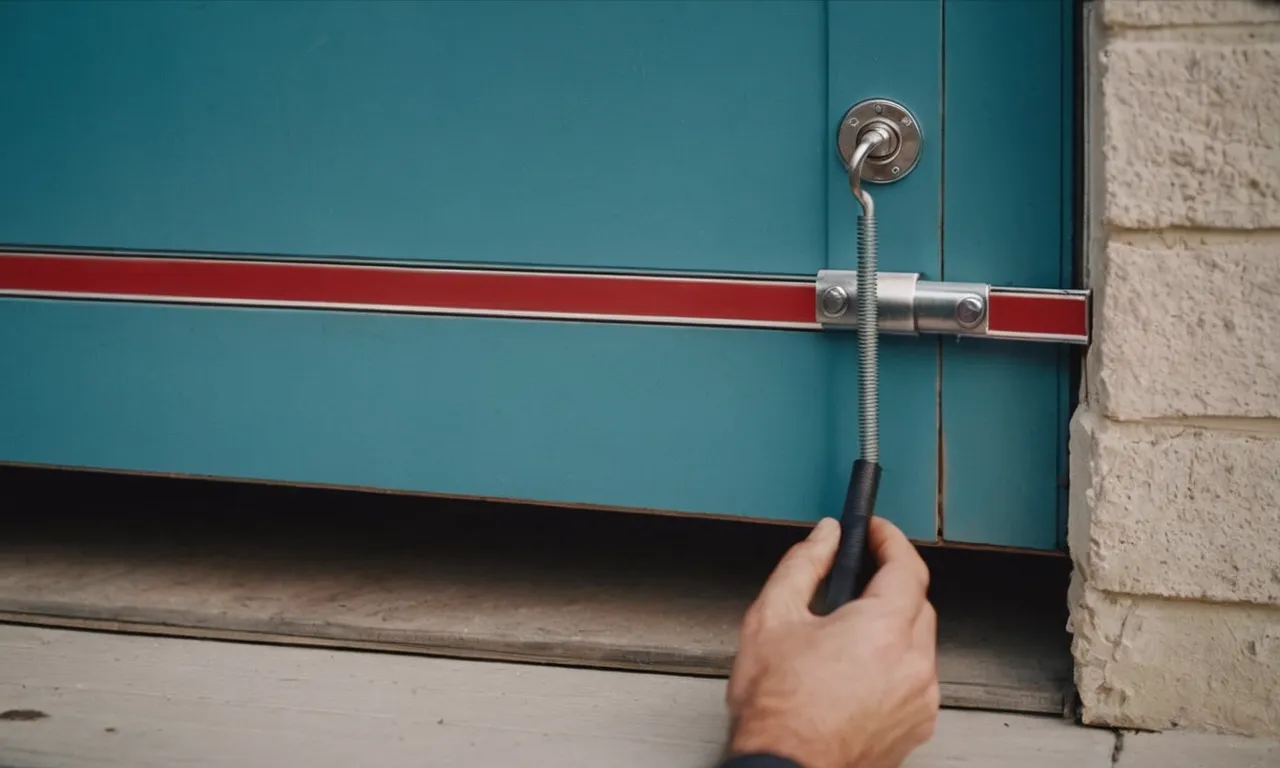
Another tool that will come in handy during the installation process is a pair of vise grips. These locking pliers can be used to securely hold the torsion spring in place while you work on the door. They provide a strong grip, allowing you to safely handle the spring without it slipping or causing any accidents.
Make sure to choose vise grips that are suitable for the size and weight of your garage door spring.
Drill and Sockets
A drill and a set of sockets will be needed to remove and replace the bolts that hold the torsion spring in place. The drill will make the process quicker and easier, while the sockets will ensure a snug fit and prevent any damage to the bolts.
It is recommended to have a variety of socket sizes on hand to accommodate different bolt sizes commonly used in garage doors.
Ladder
Since garage doors are typically installed at a height, having a sturdy ladder is crucial for a safe and successful installation. Make sure the ladder is in good condition and can support your weight as well as the weight of any tools or equipment you may need to carry up with you.
Always use caution when climbing the ladder and follow proper ladder safety guidelines.
Safety Equipment
Lastly, don’t forget to prioritize your safety by wearing the appropriate safety equipment. This includes safety goggles to protect your eyes from any flying debris, work gloves to prevent injuries to your hands, and sturdy shoes to provide proper footing.
Additionally, consider wearing a hard hat to protect your head in case of any accidental falls or impacts. Safety should always be a top priority when working with garage doors.
Relieving the Spring Tension
When it comes to installing a single torsion spring on a garage door, relieving the spring tension is a crucial step that must be done carefully and safely. This ensures that you can work on the spring without the risk of it suddenly releasing and causing injury.
Here are some steps to follow for relieving the spring tension:
Engage the Garage Door Safety Lock
The first step is to engage the garage door safety lock. This lock is designed to prevent the garage door from accidentally opening while you’re working on it. It’s usually located on the inside of the garage door track, near the bottom.
Engaging the safety lock provides an extra layer of protection while you work on relieving the spring tension.
Disconnect the Power Supply
Before you start working on the torsion spring, it’s important to disconnect the power supply to the garage door opener. This will prevent the motor from accidentally activating and causing the garage door to move while you’re working on it.
Simply unplug the power cord from the outlet or turn off the breaker that powers the garage door opener.
Secure the Winding Cone
The winding cone is the part of the torsion spring assembly that holds the spring in place. Before you can relieve the tension, you’ll need to secure the winding cone. This can be done by inserting a winding bar into one of the holes on the cone and holding it firmly in place.
The winding bar provides leverage and allows you to control the movement of the cone as you release the tension from the spring.
It’s important to note that relieving the spring tension can be dangerous if not done correctly. If you’re unsure about any aspect of the process, it’s best to consult a professional garage door technician.
They have the knowledge and experience to safely handle torsion springs and ensure that the installation is done properly.
For more information on garage door safety and maintenance, you can visit https://www.garaga.com/ca/blog. This website offers a wealth of resources and articles related to garage doors, including step-by-step guides and safety tips.
Removing the Broken Spring
Detach the End Bearing Plates
When it comes to removing a broken torsion spring from your garage door, the first step is to detach the end bearing plates. These plates are located on both ends of the door and hold the spring in place.
You will need a socket wrench or an adjustable wrench to loosen the bolts that secure the plates to the door. Once the bolts are loosened, carefully remove the plates and set them aside.
Unwind and Remove the Broken Spring
After removing the end bearing plates, the next step is to unwind and remove the broken spring. This can be a dangerous task, so it is important to proceed with caution and wear protective gear, such as gloves and safety glasses. Start by using a winding bar to unwind the tension in the spring.
Insert the winding bar into one of the holes on the winding cone and slowly turn it counterclockwise. As you turn the bar, the tension in the spring will release. Once the tension is released, you can safely remove the broken spring from the torsion tube.
Pro Tip: It is highly recommended to seek professional assistance when removing a broken torsion spring, as it can be a complex and potentially dangerous task. A certified garage door technician has the knowledge and experience to safely handle the removal and installation of torsion springs.
Installing the New Spring
When it comes to installing a new torsion spring on your garage door, the first step is to slide on the new spring. Start by positioning the spring on the torsion bar, making sure that it is centered and aligned properly.
This can be a bit tricky, so take your time and ensure that the spring is secure and in the correct position. Once you have the spring in place, you can move on to the next step.
Reattach the End Bearing Plates
With the new spring in place, it’s time to reattach the end bearing plates. These plates are what hold the torsion bar in place and allow it to rotate when the door is opened or closed. Begin by aligning the end bearing plates with the holes on the garage door frame.
Once aligned, secure the plates using the appropriate screws or bolts. Be sure to tighten them securely to ensure that the spring and bar are properly supported.
Attach the Center Bearing Plate
The final step in installing a single torsion spring on a garage door is to attach the center bearing plate. This plate is located in the middle of the garage door and helps to distribute the weight of the door evenly.
To attach the center bearing plate, position it on the garage door frame and align it with the holes. Use the appropriate screws or bolts to secure it in place, making sure that it is tight and secure.
It’s important to note that the installation process may vary depending on the specific type and model of your garage door. Always consult the manufacturer’s instructions or seek professional assistance if you are unsure about any aspect of the installation process.
Winding and Balancing the New Spring
Wind the Spring
Once you have successfully removed the old torsion spring from your garage door, it is time to install the new one. Start by placing the new spring on the torsion tube, ensuring that it is centered and properly aligned. Use a winding cone to secure the spring to the tube.
Insert the winding bar into one of the holes on the cone and begin winding the spring in a clockwise direction. Be cautious and make sure to follow the manufacturer’s instructions for the number of turns required.
Balance the Tension
After winding the spring, it is crucial to balance the tension. This step ensures that the door operates smoothly and prevents any unnecessary strain on the opener system. Begin by slowly lifting the garage door manually to test the tension.
If the door feels heavy or difficult to lift, it may indicate that the tension needs adjustment. Use the winding bars to add or release tension as needed. Remember, it is essential to achieve the proper balance to avoid any potential safety hazards.
Test and Adjust as Needed
Once you have wound the spring and balanced the tension, it is time to test the door’s operation. Carefully lower and raise the door several times to ensure it moves smoothly and without any jerking or hesitation.
If you notice any issues, such as the door being too heavy or uneven, further adjustments may be necessary. Keep in mind that garage door springs are under high tension and should only be adjusted by experienced individuals.
If you are unsure or uncomfortable with the process, it is always best to seek professional assistance.
For more detailed instructions and illustrations on installing a single torsion spring on a garage door, you can visit websites like Family Handyman or GarageHowTo.com.
Conclusion
Replacing a broken garage door torsion spring on your own requires specialized tools, patience, and attention to safety. But with proper preparation and by carefully following the step-by-step process, a homeowner can complete this repair and get their garage door functioning properly once again.
Be sure to work slowly, double check each step, and test operation frequently to ensure the new spring is providing balanced tension. With this DIY guide and the right tools, you can avoid the hassle and expense of calling a professional.