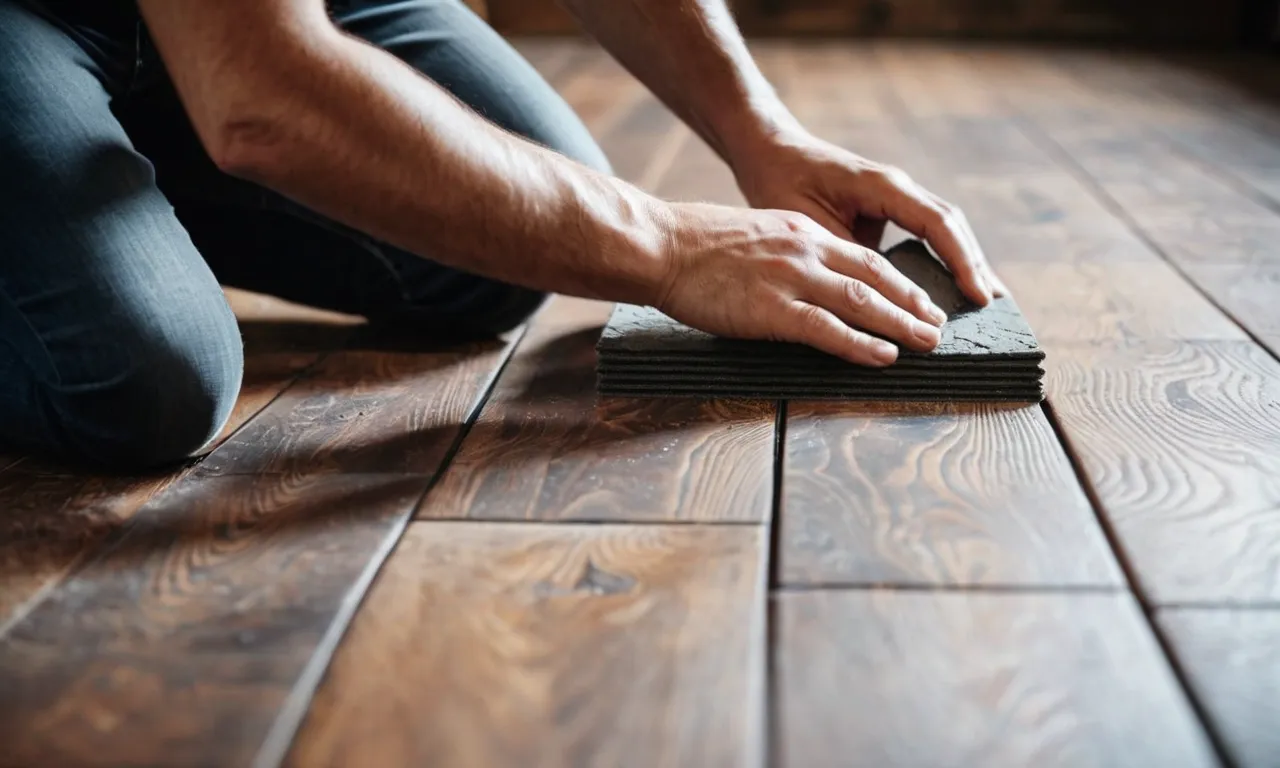
How To Lay Tile On A Wood Floor: A Step-By-Step Guide
Installing tile floors can transform the look of any room in your home. But can you lay tile directly over wood floors? With the right preparation and materials, it is possible to tile over wood floors for a stylish, durable finish.
If you’re short on time, here’s a quick answer to your question: You can lay tile on wood floors, but you need to add a cement backer board first to provide a stable base. Clean the floor, nail the backer board in place, apply thinset mortar, then lay the tiles.
In this comprehensive guide, we’ll walk through all the steps involved in tiling over wood floors, from assessing your current floor to grouting and sealing your new tile flooring. With the right tools and attention to detail, you can achieve beautiful, long-lasting results.
Assess Your Existing Wood Floor
Before you start laying tile on your wood floor, it is important to assess the condition of the existing floor. This will help you determine if any repairs or adjustments need to be made before proceeding.
Check for rot or damage
Inspect the wood floor thoroughly for any signs of rot, decay, or damage. Look for areas that are soft, discolored, or have visible cracks. These issues can compromise the structural integrity of the floor and should be addressed before laying tile.
If you find any rot or damage, it is recommended to consult a professional for repairs.
Consider floor height
Take into account the height of the wood floor in relation to the surrounding areas. If the wood floor is significantly higher than the adjacent flooring, it may create challenges when transitioning between the two surfaces.
In such cases, you may need to consider using transition strips or adjusting the height of the wood floor to achieve a smooth and seamless transition.
Test moisture content
Wood floors are susceptible to moisture damage, so it is crucial to test the moisture content of the wood before installing tile. Excessive moisture can cause the wood to warp, buckle, or develop mold and mildew. Use a moisture meter to determine the moisture levels of the wood.
Ideally, the moisture content should be within the acceptable range recommended by the manufacturer of the tile adhesive. If the moisture levels are too high, it is important to address the underlying moisture issue before proceeding with tile installation.
For more information on assessing your existing wood floor, you can visit woodfloorbusiness.com, a trusted source for professional advice on wood floor installation and maintenance.
Prepare the Wood Floor Surface
Before laying tile on a wood floor, it is important to properly prepare the surface. This will ensure that the tiles adhere well and the finished result is both durable and visually appealing. Here are three essential steps to prepare the wood floor surface:
Clean thoroughly
The first step is to clean the wood floor thoroughly. Remove any dirt, dust, or debris using a broom or vacuum cleaner. Pay special attention to corners and edges, as these areas tend to accumulate more dirt. For a deeper clean, consider using a mild detergent mixed with warm water.
Be sure to rinse the floor thoroughly to remove any residue.
Fill any holes or gaps
Inspect the wood floor for any holes or gaps and fill them in before laying the tile. Use a wood filler or putty that matches the color of the floor. Apply the filler with a putty knife, making sure to smooth it out and remove any excess.
Allow the filler to dry completely before moving on to the next step. This will help create a level surface for the tile installation.
Sand down high spots
If there are any high spots on the wood floor, they should be sanded down to create a level surface. Use a handheld sander or sandpaper to gently sand the high spots until they are flush with the rest of the floor.
This will prevent any unevenness in the tile installation and ensure a smooth and professional-looking result.
By following these steps to prepare the wood floor surface, you will create a solid foundation for your tile installation. Remember, proper preparation is key to achieving a long-lasting and visually stunning tiled floor.
Install Cement Backer Board
Installing cement backer board is an essential step when laying tile on a wood floor. Cement backer board provides a stable and sturdy surface for the tile, preventing it from cracking or shifting over time. Here are the steps to properly install cement backer board:
Cut boards to fit
The first step is to measure and cut the cement backer board to fit the desired area. Use a utility knife or a specialized backer board cutter to make clean and precise cuts. Remember to wear safety goggles and a dust mask when cutting the boards to protect yourself from any airborne particles.
Stagger seams
When laying the cement backer board, it is important to stagger the seams between the boards. This helps to distribute the weight of the tile evenly and prevents any weak points in the floor. Staggering the seams also adds strength to the overall installation.
Screw boards in place
Once the boards are cut and positioned, secure them to the wood floor using screws. Make sure to use screws that are specifically designed for cement backer board installation. Space the screws about every 6-8 inches along the edges and every 12 inches in the field of the boards.
Be careful not to overdrive the screws, as this can cause the boards to crack.
By following these steps to install cement backer board, you will create a solid foundation for your tile installation and ensure a long-lasting and durable floor. For more detailed instructions and visuals, you can visit The Spruce, a trusted home improvement website that provides expert advice and tutorials on various DIY projects.
Apply Thinset Mortar
Mix mortar correctly
Before you begin applying thinset mortar, it is important to mix it correctly. Thinset mortar is a cement-based adhesive that is used to attach the tiles to the wood floor. To ensure that the mortar sets properly, follow the instructions on the packaging and mix the mortar with water in the correct ratio.
This will ensure that the mortar has the right consistency for spreading and adhering the tiles.
Spread evenly with notched trowel
Once the thinset mortar is mixed, you can start spreading it on the wood floor. Using a notched trowel, spread the mortar in an even layer, making sure to cover the entire surface where the tiles will be laid.
The notches on the trowel create ridges in the mortar, which help to create a stronger bond between the tiles and the wood floor. Make sure to spread the mortar evenly and avoid leaving any gaps or lumps.
Let it sit 10-15 minutes
After spreading the thinset mortar, it is important to let it sit for about 10-15 minutes. This allows the mortar to become tacky and helps to improve the bond between the tiles and the wood floor. During this time, avoid walking on the mortar or disturbing it in any way.
Once the mortar has set and become tacky, you can start laying the tiles on top.
For more detailed instructions and tips on how to apply thinset mortar when laying tile on a wood floor, you can visit The Spruce.
Lay the Tile
When laying tile on a wood floor, it is important to follow a step-by-step guide to ensure a successful installation. Here are the key steps to laying the tile:
Start in the center
Begin by finding the center of the room. This will help ensure that the tile is evenly distributed and looks visually pleasing. To find the center, measure the length and width of the room and mark the midpoint on each side. Where the two midpoints meet is the center of the room.
Start laying the tile from this point and work your way out towards the walls.
Use tile spacers for even grout lines
To achieve even grout lines, it is essential to use tile spacers. These small plastic devices help maintain a consistent gap between the tiles. The size of the spacers will depend on the desired grout line width. Insert the spacers between each tile as you lay them, ensuring they are aligned properly.
This will result in a professional-looking finish.
Cut edge tiles to fit
Inevitably, you will need to cut some tiles to fit along the edges of the room or around obstacles. To do this, measure the space where the tile needs to fit and mark the tile accordingly. Use a tile cutter or a wet saw to make precise cuts.
It is important to wear safety goggles and follow the manufacturer’s instructions when using these tools. After cutting the tile, place it in the designated area and continue laying the rest of the tile.
Laying tile on a wood floor requires careful planning and attention to detail. By starting in the center, using tile spacers, and cutting edge tiles to fit, you can achieve a beautiful and professional-looking tile installation.
Grout and Seal the Tile
Once you have successfully laid the tiles on your wood floor, the next step is to grout and seal them. This will not only enhance the appearance of the tiles but also provide added protection against moisture and stains.
Let mortar cure before grouting
Before you start grouting, it is important to allow the mortar to cure completely. This typically takes around 24 to 48 hours, but it is best to follow the manufacturer’s instructions for the specific mortar you used. Rushing this step can result in a weaker bond between the tiles and the wood floor.
Wipe diagonally across tiles
When it comes to grouting, it is essential to apply the grout evenly and wipe off any excess. A great technique is to wipe diagonally across the tiles using a grout float. This helps to ensure that the grout fills in all the gaps between the tiles, creating a seamless and professional finish.
Remember to periodically clean the grout float to prevent any buildup.
Apply sealant for moisture protection
Once the grout has dried and cured, it is time to apply a sealant to protect the tiles from moisture and stains. This step is crucial, especially in areas prone to water exposure such as bathrooms or kitchens.
There are various types of sealants available, so make sure to choose one that is suitable for the type of tiles you have installed.
It is important to note that different types of tiles may require different sealing techniques. For example, natural stone tiles may require multiple coats of sealant, while ceramic or porcelain tiles may only need a single application.
Always refer to the manufacturer’s instructions or seek professional advice to ensure you are using the correct sealing method.
Pro tip: Regular maintenance and resealing are essential to keep your tiled wood floor looking great and to prolong its lifespan. Check for any signs of wear or damage and address them promptly to prevent further issues.
For more detailed information on grouting and sealing tiles, you can visit websites like The Spruce or This Old House.
Conclusion
Tiling over existing wood floors takes time and care, but the results are well worth the effort. Preparing the floor properly creates a sound base on which your tiles will adhere for many years. Focus on each step—from evening out the floor to expertly grouting the tile joints.
The beauty of natural stone or ceramic over wood is sure to add stylish appeal to your space.


