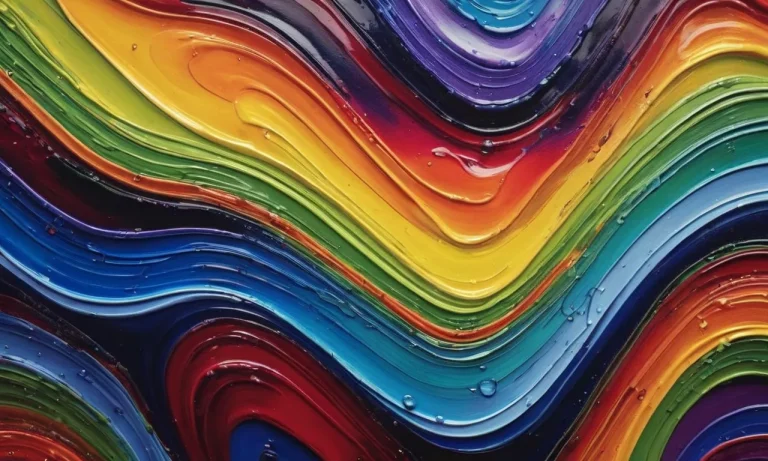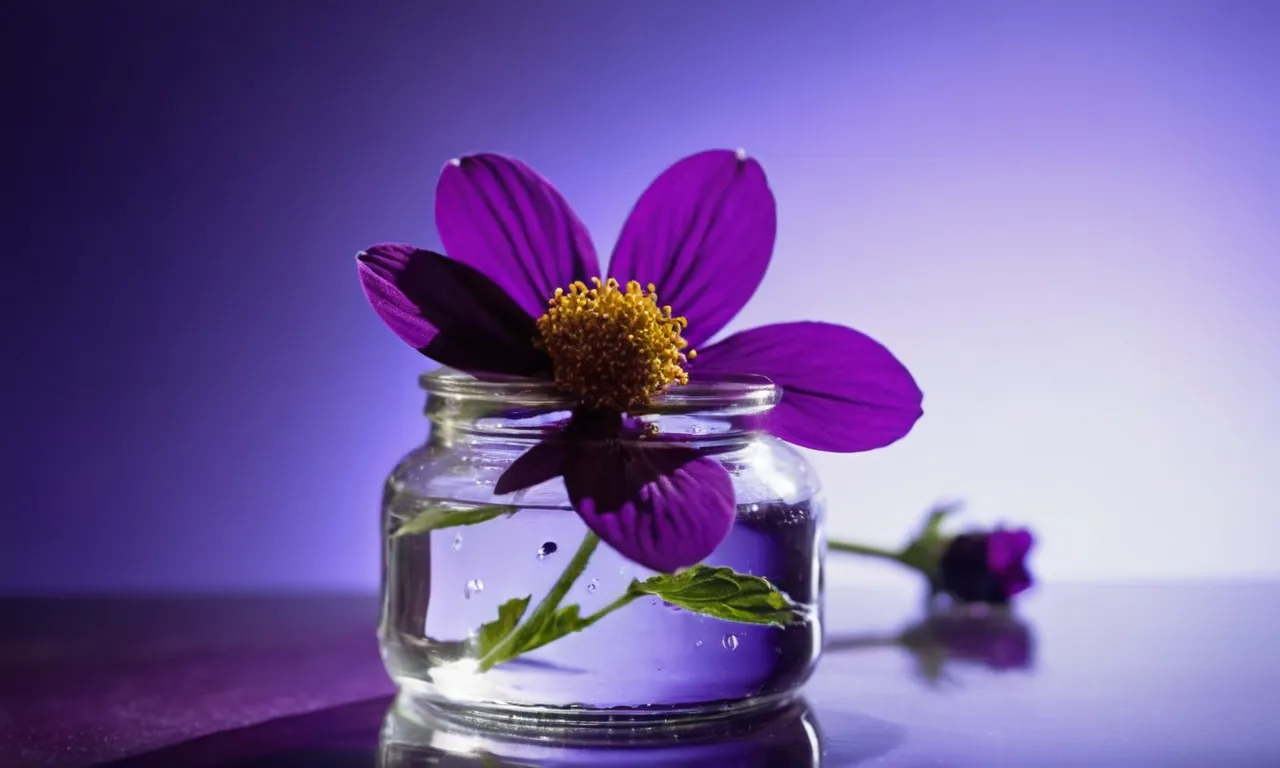
How To Make Violet Paint From Scratch
Looking to add a pop of regal color to your latest DIY project? Violet paint is a great way to make any space feel luxurious and elegant. But did you know that with just a few simple ingredients, you can easily whip up this stunning shade right at home?
Read on to unlock the secrets behind crafting beautiful violet paint from scratch.
If you’re short on time, here’s a quick answer to your question: Mix red and blue paint together until you achieve the perfect purple hue. Adjust ratios as needed to lighten or darken the color. Then simply add the homemade paint to your project!
Choose High Quality Red and Blue Pigments
When it comes to making violet paint from scratch, the quality of the pigments you choose is crucial. Starting with pure, richly pigmented red and blue pigments will ensure that your violet paint turns out vibrant and true to color.
Start with pure, richly pigmented reds and blues
For the best results, opt for red and blue pigments that are known for their intensity and purity. Look for pigments with high color saturation and lightfastness, as these characteristics will contribute to the longevity and brilliance of your final violet paint.
Consider primary red and primary blue for a balanced violet
When selecting red and blue pigments, it’s important to consider the color theory principles. Mixing primary red and primary blue pigments will give you a well-balanced violet hue. Primary red pigments typically have a bluish undertone, while primary blue pigments have a reddish undertone, making them ideal for creating a true violet color.
Pay attention to undertones to avoid muddiness
Undertones play a significant role in the final appearance of your violet paint. It’s essential to pay attention to the undertones of the red and blue pigments you choose to avoid creating a muddy or dull violet.
If you’re unsure about the undertones, consult color charts or seek guidance from art supply stores or online resources.
By selecting high-quality red and blue pigments and considering their undertones, you can create a vibrant and beautiful violet paint from scratch. Experiment with different combinations and ratios to achieve the desired shade, and enjoy the process of creating your own unique color.
Determine the Right Ratio of Red to Blue
When making violet paint from scratch, it is crucial to determine the right ratio of red to blue to achieve the desired shade. Too much red will result in a pinkish hue, while too much blue will lean towards indigo. Striking the perfect balance is key to creating a beautiful shade of violet.
Too much red will skew pink, too much blue will be more indigo
It’s important to understand that the color violet is created by mixing red and blue pigments together. If you add too much red to the mix, the resulting color will be more on the pink side. On the other hand, if you add too much blue, the resulting color will be closer to indigo.
Finding the right balance of red and blue is crucial to achieving the perfect violet shade.
Start with a 1:1 ratio and adjust from there
A good starting point when mixing red and blue to create violet is to use a 1:1 ratio. This means that you should add equal amounts of red and blue paint to your palette. From there, you can assess the color and make adjustments as needed.
This initial ratio will give you a solid foundation to work with.
Add more red to brighten, more blue to deepen
If you find that your violet shade is too dull or lacks vibrancy, you can add more red paint to brighten it up. Adding additional red will intensify the color and make it appear more vibrant. On the other hand, if you feel that your violet shade is too dark or lacks depth, you can add more blue paint to deepen the color.
This will give your violet paint a richer and more saturated appearance.
Remember, practice makes perfect when it comes to mixing paint colors. Don’t be afraid to experiment with different ratios and adjust as needed to achieve the exact shade of violet you desire. Happy painting!
Mix the Paint Thoroughly
When making violet paint from scratch, it is important to mix the paint thoroughly to achieve a consistent color and texture. Here are a few tips to ensure a well-blended paint:
Stir, don’t shake, to evenly distribute pigments
When mixing your violet paint, it is recommended to stir the pigments instead of shaking them. Shaking the paint vigorously can introduce air bubbles, which may affect the final appearance of your paint.
By gently stirring the pigments, you allow them to evenly distribute, resulting in a smoother and more uniform color.
Make sure no streaks remain before painting
After mixing the pigments, take a moment to examine the paint for any streaks or clumps. Using a palette knife or a stir stick, gently fold the paint onto itself in a figure-eight motion. This technique helps to ensure that all the pigments are completely blended and that no streaks or clumps remain.
It is important to achieve a consistent color throughout the paint before applying it to your canvas.
Allow time for paint to fully blend
Once you have mixed the pigments together, it is a good idea to let the paint sit for a while to allow the colors to fully blend. This process, known as “maturing,” allows any chemical reactions between the pigments to occur and ensures a more stable and vibrant paint.
The amount of time required for maturing can vary depending on the specific pigments used, so it is best to refer to the manufacturer’s instructions or consult with an art expert for guidance.
By following these steps and taking the time to mix your violet paint thoroughly, you can achieve a beautiful and consistent color that will enhance your artwork.
Consider Adding White to Lighten the Violet
When creating violet paint from scratch, one way to achieve a lighter shade is by adding white paint or pigment. Adding white will create a lavender shade, which is a lighter variation of violet. This can be useful when you want to create different tones and shades in your artwork.
Add white paint or pigment to make a lighter lavender shade
To lighten the violet, start by adding small amounts of white paint or pigment to your violet mixture. This allows you to control the intensity of the color and gradually achieve the desired tone. Remember that a little goes a long way, so start with a small amount and gradually add more if needed.
It’s important to mix the white paint or pigment thoroughly with the violet to ensure an even distribution of color. You can use a palette knife or a brush to mix the colors together until you achieve the desired shade of lavender.
Start with small amounts until you reach the desired tone
Experiment with different ratios of violet to white to find the perfect balance for your desired tone. Adding too much white too quickly can result in a color that is too pale or washed out. By starting with small amounts and gradually adding more, you have more control over the final result.
Remember, it’s always easier to add more white paint or pigment if needed, but it’s much more difficult to darken a color once it has become too light. Take your time and make adjustments as necessary to achieve the perfect lavender shade.
Too much white may skew gray or pink
While adding white can lighten the violet and create a beautiful lavender shade, it’s important to be cautious not to add too much. Adding excessive amounts of white paint or pigment can cause the color to skew towards gray or even pink.
To avoid this, it’s best to add white in small increments and continually assess the color as you go. By doing so, you can ensure that your violet paint remains true to its intended hue and doesn’t become unintentionally diluted or altered.
Remember, painting is a form of art, and experimenting with different colors and shades is part of the creative process. Don’t be afraid to try different techniques and adjust your mixture until you achieve the desired result. Happy painting!
Test Paint on Sample Surfaces
Before applying your homemade violet paint to your final project, it is essential to test it on sample surfaces first. This will allow you to evaluate the color and make any necessary adjustments to achieve the desired shade of violet.
Brush small swatches on spare wood, canvas, etc.
Start by selecting spare pieces of wood, canvas, or any other material similar to what you will be painting on. Using a small brush, apply a thin layer of the violet paint onto these sample surfaces. Make sure to cover a variety of textures and finishes to see how the paint performs on each.
Pro Tip: If you don’t have spare surfaces, you can even use the back of an old painting or a piece of cardboard as a testing ground.
Evaluate dried color and make adjustments
Allow the paint to dry completely on the sample surfaces. This will give you a better understanding of how the color will appear once it has fully dried. Take note of any changes in hue or intensity compared to your desired shade of violet.
Pro Tip: Natural light is the best way to evaluate the true color of the paint, so make sure to examine your samples in different lighting conditions.
Correct ratio for vibrant violet across surfaces
If you find that the dried color of your paint does not match your desired shade of violet, you can make adjustments to the ratio of pigments or mix in additional colors to achieve the desired vibrancy. Experiment with different ratios and combinations until you achieve the perfect violet hue.
Pro Tip: Keep a record of the ratios and adjustments you make during this testing phase. This way, you can replicate the desired color consistently when you start working on your final project.
By testing your homemade violet paint on sample surfaces, you can ensure that the color turns out exactly how you envision it. This extra step will save you time and effort in the long run, helping you achieve the perfect shade of violet on your final masterpiece.
Conclusion
With the right red and blue pigments, a little mixing elbow grease, and some trial and error, you’ll be able to produce the perfect homemade violet paint for any project. Adjust the ratio and add white to create custom hues ranging from vivid purple to pale lavender.
Just be sure to test your mixed paint as you go until you nail down the ideal blend. Get creative with homemade violet paint and bring a regal touch of color to your crafts and artworks.