How To Paint A Skateboard: A Step-By-Step Guide
If you want to customize your skateboard and make it truly your own, painting it is a great way to express yourself creatively. Painting a skateboard takes some preparation and patience, but with the right steps, you can end up with a deck you love showing off at the skate park.
If you’re short on time, here’s a quick answer to your question: Clean and sand the deck, apply primer, sketch your design, paint in layers using spray paint or acrylic, and finish with a sealant like polyurethane.
In this comprehensive guide, we’ll walk you through the entire process of painting your skateboard deck from start to finish. We’ll cover how to prep the deck, what paints work best, tips for designs, painting techniques, and how to finish it off so your art lasts.
Prep the Skateboard Deck
Sand Down the Grip Tape
Before you start painting your skateboard, it’s important to sand down the grip tape. This will help the paint adhere better to the surface and prevent it from peeling off easily. Use a fine-grit sandpaper to gently sand the grip tape in a circular motion.
Be careful not to apply too much pressure as you don’t want to damage the tape. Sanding down the grip tape will also help to create a smoother surface for painting.
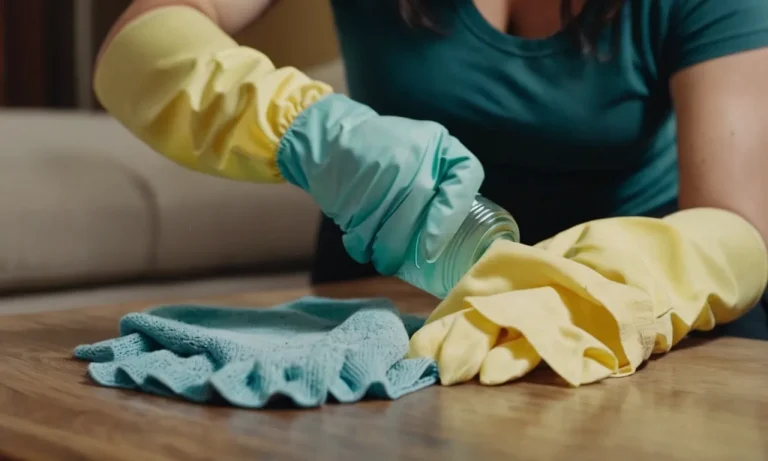
Clean the Deck
Next, it’s crucial to clean the skateboard deck thoroughly. Use a mild soap or skateboard cleaner and a soft cloth to remove any dirt, grease, or debris from the surface. Make sure to clean both the top and bottom of the deck.
This step is essential as it will ensure that the paint adheres properly and results in a smooth finish. Once you have cleaned the deck, allow it to dry completely before moving on to the next step.
Apply Primer
Applying a primer to the skateboard deck is an important step that shouldn’t be skipped. The primer acts as a base coat, helping the paint to adhere better and preventing it from chipping or flaking off.
Choose a primer specifically designed for use on skateboards or any other surface that will be subjected to frequent use and rough handling. Apply the primer evenly using a paintbrush or roller, following the manufacturer’s instructions.
Allow the primer to dry completely before proceeding to the next step.
By sanding down the grip tape, cleaning the deck, and applying a primer, you are setting yourself up for success when it comes to painting your skateboard. These preparatory steps ensure that the paint adheres well to the surface and results in a professional-looking finish.
So, take your time with the prep work, and you’ll be ready to unleash your creativity and bring your skateboard to life with a fresh coat of paint!
Design Your Art
Decide on a Theme
Before you start painting your skateboard, it’s important to decide on a theme for your design. Think about what inspires you or what message you want to convey through your artwork. It could be anything from nature and animals to pop culture references or abstract designs.
Take some time to brainstorm and find a theme that resonates with you.
Make a Sketch
Once you have chosen a theme, it’s a good idea to make a sketch of your design before you start painting. This will help you visualize how the final artwork will look on your skateboard and make any necessary adjustments.
You don’t have to be a professional artist to create a sketch – just a rough outline will do. It will serve as a roadmap for your painting process.
Use Stencils or Tape for Clean Lines
If you want to achieve clean and precise lines in your skateboard design, using stencils or tape can be a great technique. Stencils allow you to easily create intricate patterns or shapes, while tape can help you create straight lines or block off areas you want to protect from paint.
Just make sure to secure the stencil or tape firmly to the skateboard surface before painting, so that the paint doesn’t bleed underneath.
For more inspiration and ideas on skateboard designs, check out Skate Deluxe, a website that showcases a wide range of creative skateboard artwork. Remember, the key to a great skateboard design is to let your creativity flow and have fun with the process!
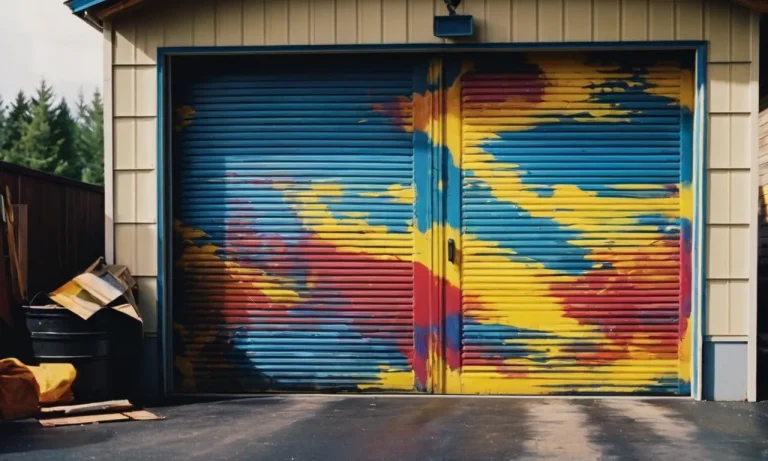
Paint the Skateboard
When it comes to painting a skateboard, there are several steps you need to follow to ensure a successful and visually appealing outcome. One of the first steps is to choose the right type of paint for your skateboard.
Choose Your Paint
There are various types of paint that you can use to paint your skateboard. One popular option is spray paint, which allows for quick and even coverage. It is important to choose a spray paint that is specifically designed for use on skateboards to ensure durability and longevity.
Another option is acrylic paint, which can be applied with a brush or a sponge. Acrylic paint offers a wide range of colors and allows for more control over the design. Whichever type of paint you choose, make sure to select colors that complement each other and reflect your personal style.
Spray Painting Tips
If you decide to use spray paint, there are a few tips to keep in mind. First, make sure to work in a well-ventilated area or outdoors to avoid inhaling fumes. Shake the can of spray paint vigorously before applying it to ensure proper mixing of the paint.
Hold the can about 6-8 inches away from the skateboard and apply the paint in thin, even coats. This will prevent drips and allow for better control over the final result. Don’t forget to wear protective gloves and a mask to avoid any unwanted paint on your skin or inhalation of fumes.
Acrylic Painting Tips
If you prefer using acrylic paint, there are a few tips to help you achieve the best results. Start by applying a primer to the skateboard to create a smooth surface for the paint to adhere to. Once the primer is dry, you can start painting your design using a brush or a sponge.
Acrylic paint dries quickly, so work in small sections to ensure that the paint doesn’t dry before you have a chance to blend or add details. Additionally, consider using different brushes or sponges to create different textures and effects.
Let Layers Dry Between Coats
Regardless of the type of paint you choose, it is important to let each layer dry completely before applying another coat. This will prevent smudging or mixing of colors and ensure a clean and crisp finish.
The drying time can vary depending on the type of paint and the environmental conditions, so be patient and allow ample time for each layer to dry. You can also use a hairdryer on a low heat setting to speed up the drying process.
Spray Clear Coat Between Colors
If you plan on using multiple colors in your design, it is recommended to spray a clear coat between each color. This will help to seal the previous layer and prevent bleeding or mixing of colors. The clear coat also adds an extra layer of protection to the paint, ensuring that your design stays vibrant and intact for a longer period of time.
Remember, painting a skateboard is a fun and creative process, so don’t be afraid to experiment with different colors, techniques, and designs. Let your imagination run wild, and soon you’ll have a one-of-a-kind skateboard that reflects your unique style and personality.
Seal and Protect the Paint
Once you have finished painting your skateboard, it is important to seal and protect the paint to ensure its longevity. By applying a sealant, you can help prevent the paint from chipping, fading, or getting scratched.
Apply Sealant
The first step in sealing your painted skateboard is to apply a sealant. There are various types of sealants available in the market, such as clear coats or varnishes specifically designed for protecting painted surfaces.
These sealants can help create a durable barrier between the paint and external elements.
Before applying the sealant, make sure to clean the surface of your skateboard thoroughly. Remove any dust, dirt, or debris using a soft cloth or a mild cleaner. This will ensure that the sealant adheres properly to the painted surface.
Using a brush or a foam applicator, evenly apply the sealant to the entire painted area of your skateboard. Make sure to follow the instructions provided by the manufacturer for the best results. Apply multiple thin coats rather than one thick coat to achieve a smoother and more even finish.
Let Fully Cure Before Riding
After applying the sealant, it is crucial to let it fully cure before taking your skateboard out for a ride. The curing time can vary depending on the type of sealant and the environmental conditions. It is recommended to leave your skateboard untouched for at least 24 to 48 hours to allow the sealant to dry and harden completely.
During this curing period, it is essential to keep your skateboard in a clean and dry area to avoid any potential damage or contamination. Avoid touching or using the skateboard until the sealant has fully cured to ensure the best protection for your painted design.
Once the sealant has dried and hardened, you can confidently take your skateboard for a spin, knowing that the paint is well-protected. Regularly inspect your skateboard’s paint and reapply the sealant if necessary to maintain its vibrant appearance and durability over time.
For more detailed information on skateboard maintenance and care, you can visit www.skateboardershq.com or www.wikihow.com.
Conclusion
Customizing your skateboard with a fresh paint job is a great way to make it unique and show off your personal style. By properly preparing the deck, planning out your design, using spray paint or acrylics, and sealing the finished product, you can create durable artwork that will hold up to hours of shredding.
Take your time, get creative, and enjoy the process of painting your own skateboard masterpiece.