How To Paint A Perfectly Straight Line
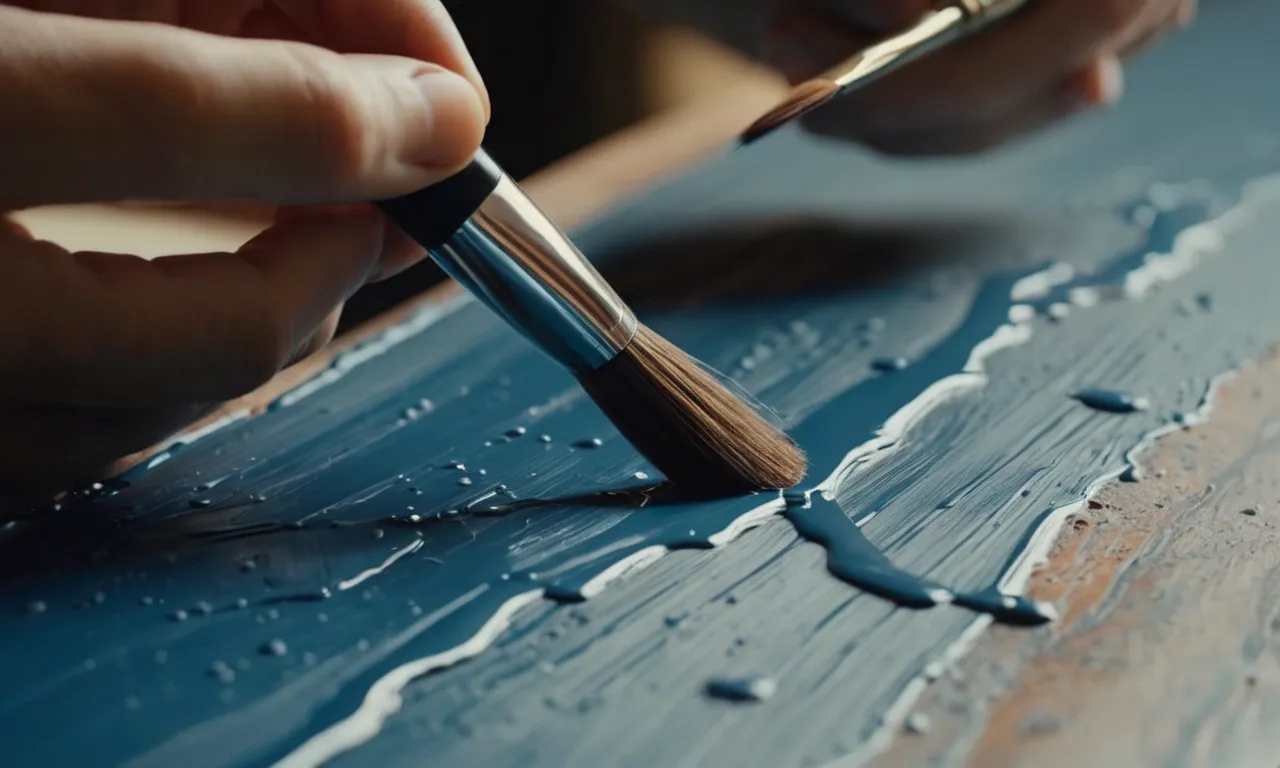
Painting straight lines can be tricky, especially for beginners. But with the right tools and techniques, anyone can achieve crisp, straight paint lines. In this comprehensive guide, we’ll walk you through everything you need to know to paint pro-level straight lines.
If you’re short on time, here’s a quick answer to your question: Use painter’s tape and a level to create guidelines, hold your elbow close to your body while painting, and use angled brushes for best control.
Gather the Right Supplies
Before you start painting a straight line, it’s important to gather all the necessary supplies. Having the right tools will make the process much easier and increase your chances of achieving a perfectly straight line.
Painter’s tape
One of the most essential supplies for painting a straight line is painter’s tape. This tape is designed to adhere to surfaces without leaving any residue or damaging the paint underneath. It creates a barrier that prevents paint from bleeding onto areas where you don’t want it.
Make sure to choose a high-quality painter’s tape that is specifically designed for clean lines.
Paint edger tool or angled brush
Another helpful tool for achieving a straight line is a paint edger tool or an angled brush. These tools allow you to paint along the edges with precision and control. The paint edger tool has a built-in guide that helps keep your lines straight, while an angled brush allows you to easily navigate corners and edges.
Metal yardstick or long level
Using a metal yardstick or a long level can be incredibly useful when painting straight lines. These tools act as guides and help ensure that your lines are perfectly horizontal or vertical. Simply place the yardstick or level against the wall or surface you are painting and use it as a reference while applying the paint.
Pencil
A pencil might seem like a simple tool, but it can make a big difference when it comes to painting straight lines. Before applying the painter’s tape, lightly mark the line you want to paint with a pencil. This will serve as a guide and help you stay on track while painting.
High-quality paint
Lastly, using high-quality paint is essential for achieving a clean and professional-looking result. Cheaper paints tend to be thinner and more prone to bleed through the painter’s tape, making it harder to achieve straight lines.
Invest in a high-quality paint that is specifically formulated for the surface you are painting.
By gathering the right supplies, you’ll set yourself up for success when it comes to painting a perfectly straight line. Remember to take your time, follow the proper techniques, and don’t be afraid to seek inspiration or guidance from reputable sources such as DIY Network or Bob Vila.
Prepare the Surface
Before you start painting, it’s important to properly prepare the surface to ensure a smooth and professional-looking finish. Here are some steps to follow:
Clean the walls
Begin by thoroughly cleaning the walls to remove any dirt, dust, or grease. Use a mild detergent mixed with water and a sponge or cloth to gently wipe down the surface. Be sure to rinse off any residue and allow the walls to dry completely before proceeding.
Apply painter’s tape
Using painter’s tape is essential for achieving clean and straight lines. It helps to protect areas that you don’t want to paint and creates a crisp edge. Carefully apply the tape along the edges where you want the straight line to be.
Make sure the tape is firmly pressed against the wall to prevent any paint from bleeding through.
Create guidelines with a level
To ensure that your line is perfectly straight, you can use a level as a guide. Place the level horizontally or vertically where you want the line to be and draw a light pencil line along the edge of the level. This will serve as a guideline for your painting.
Make sure to erase or paint over the pencil line once you are finished.
By following these steps and taking the time to properly prepare the surface, you will be on your way to painting a perfectly straight line. Remember, patience and attention to detail are key when it comes to achieving professional-looking results.
Hold Proper Body Position
When it comes to painting a perfectly straight line, holding the right body position is crucial. By positioning your body correctly, you can achieve better control and stability, leading to cleaner and more precise lines. Here are some tips to help you hold the proper body position:
Keep elbow tucked in
One of the key aspects of maintaining a steady hand while painting is to keep your elbow tucked in. This helps to stabilize your arm, reducing the chances of wobbly or uneven lines. By keeping your elbow close to your body, you can have better control over your brush strokes and maintain a straighter line.
Stand square to the wall
Another important factor in achieving straight lines is to stand square to the wall. This means facing the wall directly, with your shoulders parallel to it. By doing so, you can ensure that your brush strokes are consistent and perpendicular to the wall, resulting in clean and straight lines.
Get as close as possible
Getting as close as possible to the surface you are painting can make a significant difference in the quality of your lines. By minimizing the distance between your body and the wall, you can have better control over your brush, allowing you to create precise and straight lines.
However, be careful not to get too close and accidentally smudge the paint.
Remember, practice makes perfect! Experiment with different body positions and find the one that works best for you. By mastering the art of holding the proper body position, you’ll be well on your way to painting perfectly straight lines like a pro.
Load the Brush Properly
When it comes to painting a perfectly straight line, loading the brush properly is key. Here are a few tips to ensure you get it right:
Dip just the tip in paint
When you dip your brush into the paint, make sure to only submerge the tip. This will help you control the amount of paint on the brush and prevent it from dripping or smudging on the surface. It may take a few practice strokes to get the hang of it, but once you do, you’ll notice a significant improvement in the quality of your lines.
Wipe excess on rim of can
Before you start painting, it’s important to remove any excess paint from the brush. To do this, simply wipe the bristles against the rim of the paint can. This will help you achieve a clean and even application, without any clumps or drips.
Remember, less is more when it comes to loading your brush with paint.
Hold brush at a consistent angle
Maintaining a consistent angle while painting is crucial for achieving straight lines. Whether you’re using a roller or a brush, make sure to hold it at the same angle throughout the stroke. This will help you create smooth and straight lines, without any wobbles or unevenness.
Practice makes perfect, so don’t be discouraged if it takes a few tries to get it right.
For more detailed instructions and visual demonstrations, you can check out painting tutorials on websites like Family Handyman or This Old House. These resources offer valuable tips and techniques to help you paint like a pro.
Apply the Paint
When it comes to painting a perfectly straight line, applying the paint correctly is essential. Here are some tips to help you achieve a flawless finish:
Use smooth, steady strokes
When using a brush or roller, it’s important to apply the paint with smooth and steady strokes. This will help to create an even and consistent layer of paint, resulting in a cleaner line. Avoid applying too much pressure, as this can cause the paint to bleed and create an uneven edge.
Instead, let the brush or roller do the work, using gentle and controlled movements.
Keep the brush moving
Another key tip is to keep the brush moving as you apply the paint. This will help to prevent any buildup of paint in one area, which can lead to drips or uneven lines. By continuously moving the brush in a back-and-forth or up-and-down motion, you’ll ensure that the paint is evenly distributed and avoid any streaks or inconsistencies.
Pause at corners
When you reach a corner or edge, it’s important to pause and take your time. This will allow you to carefully navigate the brush or roller around the corner, ensuring a clean and straight line. Take note of the angle and position of the brush, making small adjustments as necessary.
By taking a moment to pause and be mindful of your technique, you’ll be able to achieve a precise and professional-looking finish.
Remember, practice makes perfect when it comes to painting straight lines. Don’t be discouraged if your first attempt isn’t flawless. Keep practicing and refining your technique, and soon you’ll be able to paint perfectly straight lines with ease!
Common Mistakes to Avoid
Painting too far from the wall
One common mistake that many people make when trying to paint a straight line is painting too far from the wall. This can result in uneven lines and an overall messy appearance. It’s important to get as close to the wall as possible when painting to ensure a clean and straight line.
By keeping the brush close to the wall, you’ll have better control over the paint and be able to create a more precise line. Remember, precision is key when it comes to painting a perfectly straight line!
Overloading the brush
Another mistake to avoid is overloading the brush with too much paint. When the brush is overloaded, it can lead to drips and uneven coverage, making it difficult to achieve a straight line. Instead, dip just the tips of the bristles into the paint and remove any excess on the side of the can.
This will allow you to apply a thin, even coat of paint and maintain better control over the brush strokes. Taking the time to load your brush properly will greatly improve your chances of creating a straight line.
Rushing the strokes
Patience is key when it comes to painting a straight line. Rushing the strokes can result in uneven lines and a sloppy finish. Take your time and make slow, deliberate strokes along the edge of the line you want to create.
This will give you better control over the brush and allow you to maintain a consistent line. Remember, it’s better to take your time and get it right than to rush and end up with a crooked line.
A great resource for more tips on painting straight lines can be found on BobVila.com. They provide step-by-step instructions and helpful techniques to ensure your lines are flawlessly straight. By avoiding these common mistakes and following the right techniques, you’ll be able to paint a perfectly straight line like a pro!
Conclusion
With the right tools, preparation, posture, brush technique, and controlled application, anyone can achieve straight paint lines. Just remember to move slowly, follow tape guidelines, and keep your hand steady. It may take some practice, but you’ll be edging walls like a pro in no time.
We hope this comprehensive guide gives you everything you need to know to paint perfect straight lines. Just take your time, pay attention to detail, and happy painting!

