How To Paint Your Car Hood Like A Pro
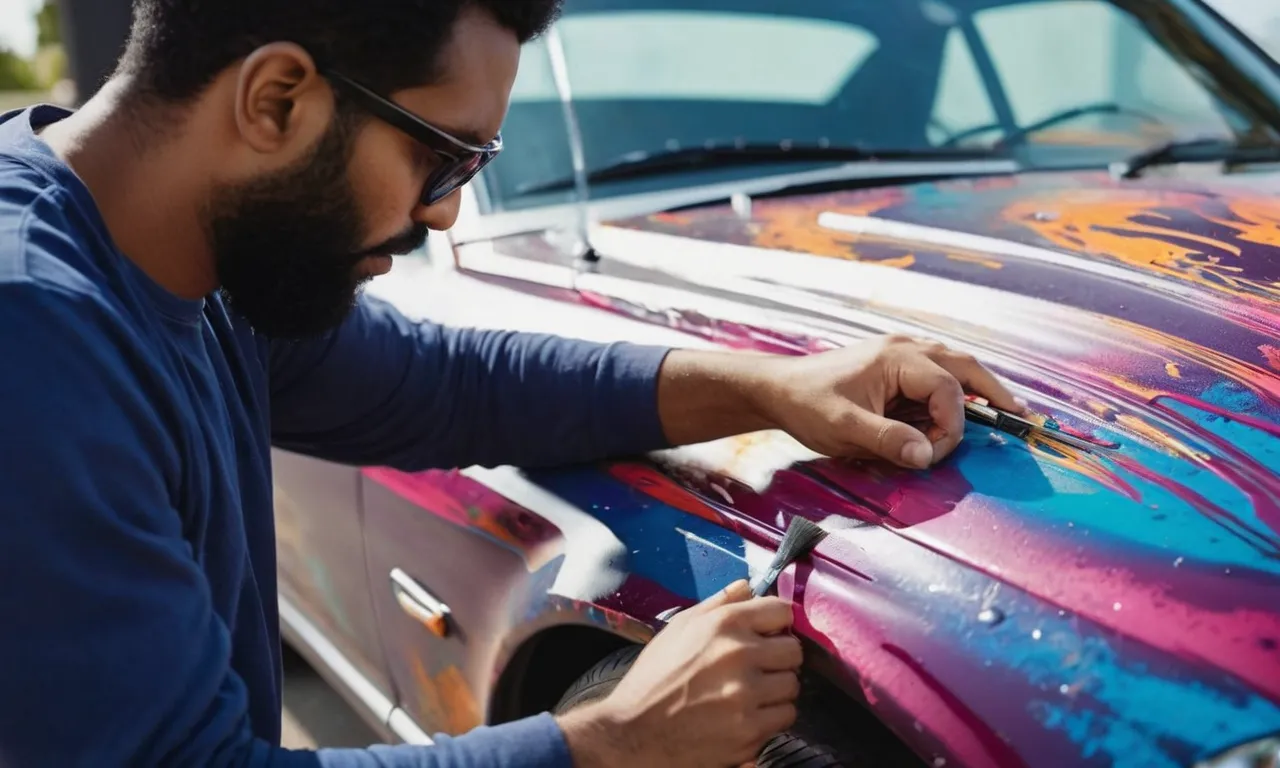
Painting your car’s hood can completely transform the look of your vehicle. With some preparation and the right techniques, you can get professional-quality results in your own garage.
If you’re short on time, here’s a quick answer to your question: Clean, sand, and mask off the hood before applying 2-3 coats of automotive primer, color coats, and 2-3 coats of clear coat, allowing proper drying time between coats.
In this comprehensive guide, we’ll walk through all the steps and best practices for prepping, priming, painting, and clearing your car’s hood. We’ll also provide tips on choosing paint types, required tools and materials, and techniques to get a flawless, long-lasting finish.
Preparing the Hood Surface
Before you begin painting your car hood, it is important to properly prepare the surface. This will ensure that the paint adheres well and provides a smooth and professional finish. Here are three essential steps to prepare the hood surface:
Wash and Degrease
The first step is to thoroughly wash and degrease the hood. Use a mild automotive detergent and warm water to remove any dirt, grime, or grease that may be present on the surface. This will help the paint adhere better and prevent any imperfections from showing through.
Rinse the hood thoroughly and allow it to dry completely before moving on to the next step.
Sand the Surface
Once the hood is clean and dry, use sandpaper to gently sand the surface. This will help remove any existing paint chips, scratches, or imperfections. Start with a coarse-grit sandpaper and gradually move to a finer-grit sandpaper for a smoother finish.
Be sure to sand in a consistent and even motion to avoid creating uneven patches. This step will also help the new paint adhere better to the hood.
Mask and Tape Off
Before applying primer or paint, it is important to mask and tape off any areas that you do not want to be painted. Use automotive masking tape and plastic sheeting to cover the surrounding areas, such as the windshield, fenders, and headlights.
This will protect them from overspray and ensure a clean and professional-looking paint job. Take your time to carefully mask off these areas, as it will make the painting process much easier and prevent any unwanted paint on other parts of the car.
By following these steps to prepare the hood surface, you will be well on your way to painting your car hood like a pro. Remember to take your time and pay attention to detail to achieve the best results.
Applying Primer
1-2 Coats of Primer
Before you start painting your car hood, it’s important to apply a coat or two of primer. Primer helps to create a smooth surface for the paint to adhere to, and it also helps to prevent rust and other damage.
Make sure to choose a high-quality automotive primer that is compatible with your paint type.
When applying primer, it’s best to use a spray gun for an even and professional finish. Start by cleaning the hood thoroughly to remove any dirt or grease. Then, apply the primer in thin, even coats, holding the spray gun about 8-12 inches away from the surface.
Allow each coat to dry before applying the next one, following the manufacturer’s instructions for drying time.
Pro tip: If you notice any imperfections or rough spots after the primer has dried, you can use fine-grit sandpaper to smooth them out before moving on to the next step.
Allow Proper Dry Time
After applying the primer, it’s crucial to allow it to dry properly before moving on to the next step. Drying time can vary depending on the type of primer and the environmental conditions, so be sure to check the manufacturer’s instructions for specific guidelines.
Generally, it’s recommended to wait at least 24 hours for the primer to fully dry. This ensures that it has hardened and adhered properly to the surface. If you’re in a hurry, you can use a heat lamp or a fan to speed up the drying process, but be cautious not to overheat the surface or cause any damage.
Important: Rushing the drying process can lead to paint imperfections and a less durable finish, so it’s best to be patient and allow the primer to dry completely before proceeding to the next step.
For more information on applying primer to your car hood, you can visit cars.com or popularmechanics.com.
Painting the Base Color Coat
When it comes to painting your car hood like a pro, applying the base color coat is a crucial step. This is the coat that will give your car its desired color and finish. Here are some important tips to keep in mind:
2-3 Thin Coats
When applying the base color coat, it’s important to apply 2-3 thin coats rather than one thick coat. This allows for better coverage and a more even finish. Thin coats also dry faster, which reduces the risk of drips and runs.
Don’t be tempted to apply a thick coat in one go, as it can lead to uneven color distribution and longer drying times.
Allow Proper Dry Time Between Coats
After applying each thin coat of the base color, it’s important to allow proper dry time before applying the next coat. This typically ranges anywhere from 10-30 minutes, depending on the paint product and environmental conditions.
Rushing this step can result in the paint not adhering properly and may lead to a less durable finish. Be patient and let each coat dry completely before proceeding.
For more detailed information on the base color coat application process, you can visit www.autobodytoolmart.com, a reputable website that provides comprehensive guides for automotive painting.
Applying the Clear Coat
Once you have successfully applied the base coat and allowed it to dry, the next step in painting your car hood like a pro is applying the clear coat. The clear coat adds a glossy finish to your paint job and provides protection against UV rays and other environmental factors.
Follow these steps to ensure a smooth and professional-looking clear coat application.
2-3 Coats of Clear Coat
When applying the clear coat, it is recommended to apply 2-3 coats for optimal results. This will ensure that you achieve a deep and lustrous finish. Before starting, make sure to shake the can of clear coat thoroughly to mix the contents.
Begin by applying a thin and even coat, holding the can about 8-12 inches away from the surface. Allow each coat to dry for about 10-15 minutes before applying the next one.
As you spray the clear coat, make sure to maintain a consistent speed and distance to avoid any splotches or drips. Apply the clear coat in smooth, overlapping strokes to ensure full coverage. Don’t rush the process – take your time and be patient.
Remember, multiple thin coats are better than one thick coat.
Allow Proper Curing Time
After applying the final coat of clear coat, it is crucial to allow proper curing time. Curing time refers to the duration it takes for the clear coat to dry and harden completely. This step is essential to achieve a durable and long-lasting finish.
Typically, clear coats require anywhere between 24 to 48 hours to fully cure. During this time, it is important to keep your car in a controlled environment, away from dust, dirt, and extreme temperatures. This will prevent any imperfections or contaminants from marring the clear coat’s surface.
Once the clear coat has cured, you can proceed with buffing and polishing to enhance the shine and smoothness of the paint job. Remember to use high-quality products and follow the manufacturer’s instructions for best results.
For more detailed information on painting your car hood like a pro, you can visit www.autoblog.com or www.cars.com.
Materials and Tools Needed
When it comes to painting your car hood like a pro, having the right materials and tools is essential. Here are the key items you’ll need to get started:
Paint Types and Sheens
Choosing the right paint for your car hood is crucial for achieving a professional finish. There are different types of automotive paints available, such as acrylic enamel, urethane, or water-based paints. Each type has its own advantages and suitability for different weather conditions.
It’s important to consider the sheen as well, with options ranging from gloss to matte finishes.
Primers
Using a primer before painting is essential for ensuring proper adhesion and a smooth finish. Primers create a bond between the surface and the paint, allowing it to adhere better and last longer. There are different types of primers available, including self-etching primers for bare metal surfaces and high-build primers for filling in any imperfections.
Brushes and Rollers
While brushes and rollers are not typically used for painting car hoods, they can be handy for touch-ups or smaller areas. It’s important to choose high-quality brushes and rollers that are specifically designed for automotive painting to ensure a smooth and even application.
Paint Sprayers
Paint sprayers are the preferred tool for painting car hoods and achieving a professional finish. They provide a smooth and even application of paint, giving your car hood a flawless appearance. There are different types of paint sprayers available, including HVLP (high volume, low pressure) and airless sprayers.
It’s important to choose a sprayer that suits your needs and skill level.
Masking Tape
Masking tape is essential for protecting areas of your car that you don’t want to paint, such as windows, trim, or headlights. Make sure to use high-quality automotive masking tape that is designed to adhere well and prevent any paint bleed-through.
Sandpaper
Proper surface preparation is crucial for a professional paint job. Sandpaper of varying grits is necessary to remove any imperfections, smooth out the surface, and create a suitable base for paint adhesion. It’s recommended to use a combination of coarse and fine-grit sandpaper.
Degreaser
Cleaning the surface of your car hood is an important step before painting. A degreaser helps remove any dirt, grease, or contaminants that could affect the adhesion of the paint. Make sure to choose a degreaser that is safe for automotive use and follow the manufacturer’s instructions for proper application.
Tips and Techniques
Maintain Proper Surface Prep
Before you start painting your car hood, it’s crucial to ensure that the surface is properly prepped. This involves cleaning the hood thoroughly to remove any dirt, grease, or debris. You can use a mild detergent and water to clean the surface, followed by a wax and grease remover to eliminate any remaining contaminants.
Additionally, sanding the hood with fine-grit sandpaper will help create a smooth surface for paint adhesion. Proper surface prep is essential for achieving a professional-looking finish.
Spray in a Clean, Dust-Free Area
When it comes to painting your car hood, the environment plays a significant role in the final outcome. It’s important to work in a clean, dust-free area to prevent any particles from landing on the wet paint.
If possible, consider using a paint booth or creating a makeshift spray booth with plastic sheeting. This will help minimize the risk of dust or debris affecting the quality of your paint job. Remember, a clean environment is key to achieving a flawless finish.
Use Fresh Filters
Using fresh filters in your spray gun is essential for achieving smooth and even paint application. Dirty or clogged filters can lead to uneven spraying, resulting in an inconsistent finish. Make sure to check your filters regularly and replace them when necessary.
This simple step can make a significant difference in the overall quality of your paint job.
Overlap Spray Passes
When spraying the paint on your car hood, it’s crucial to overlap your spray passes. This technique helps to ensure even coverage and eliminates any potential streaks or lines. Start by spraying a pass from left to right, then overlap with another pass from right to left.
By criss-crossing your spray pattern, you’ll achieve a more uniform and professional-looking finish.
Work in Criss-Cross Layers
In addition to overlapping your spray passes, it’s also beneficial to work in criss-cross layers. This means applying multiple thin coats of paint in different directions. By doing so, you’ll achieve a more even distribution of the paint and reduce the risk of visible brush strokes or uneven color.
Remember to allow each layer to dry properly before applying the next one. Working in criss-cross layers will give your car hood a smooth and flawless appearance.
Conclusion
With the right preparations and techniques, you can paint your car hood at home and achieve professional-quality results. Just be sure to properly clean, sand, mask, prime, and apply color and clear coats using multiple thin layers. Allow proper dry times between coats.
With some patience, the right materials, and these best practices, your freshly painted hood will look flawless for years to come.

