How To Paint Perfect Circles On Walls: A Step-By-Step Guide
Painting circles on walls can transform any boring space into something fun and creative. Whether you want to create an accent wall, decorate a nursery, or liven up a playroom, painting circles is an easy DIY project that makes a serious visual impact.
If you’re short on time, here’s a quick answer to your question: Use a pencil tied to a string as a compass to draw the circle outline. Then carefully fill it in with paint using a small brush or paint roller.
Choose Your Location
When it comes to painting perfect circles on walls, choosing the right location is crucial. Here are a few key considerations to keep in mind:
Pick an Accent Wall
Decide which wall you want to paint the perfect circles on. It’s often best to choose an accent wall, as this will make the design stand out and add visual interest to the room. Consider the overall layout and flow of the space, as well as the existing color scheme, to ensure the painted circles will complement the room’s aesthetics.
Prepare the Surface
Before you can start painting the perfect circles, it’s important to properly prepare the surface. This will ensure that the paint adheres well and the final result is smooth and flawless. Here’s what you need to do:
- Clean the wall using a mild detergent and water to remove any dirt or grease.
- Repair any cracks or holes using spackle or putty, and sand them down until they are smooth.
- Prime the wall using a high-quality primer to create a smooth and even surface for the paint.
By picking the ideal location and preparing the wall properly, you’ll set yourself up for success when it comes to painting perfect circles on walls.
Determine the Size and Quantity
Think About Scale
Before you start painting circles on your walls, it is important to consider the scale of the circles. Think about the size of the room and the purpose of the circles. Are you aiming for a bold and dramatic look, or do you prefer a more subtle and minimalist approach?
By determining the scale of the circles, you can ensure that they complement the overall aesthetic of the room.
Sketch Your Design
Once you have decided on the scale of the circles, it’s time to sketch your design. Grab a pen and paper and start experimenting with different sizes and arrangements of circles. This will give you a visual representation of how the circles will look on your walls and help you determine the quantity needed.
Consider using a compass or a circular object as a template to draw perfect circles on your sketch. This will give you a better idea of how the circles will appear on your walls and allow you to make any necessary adjustments to the size or placement.
Remember, your sketch doesn’t have to be perfect! It’s just a starting point to help you visualize the end result. Feel free to explore different patterns and arrangements to find the one that best suits your taste and style.
If you are looking for inspiration or ideas for your circle design, you can browse websites like Pinterest or Houzz. These platforms offer a wide range of creative and unique wall designs that can spark your imagination.
Create Circles with DIY Compass
If you’re looking to paint perfect circles on your walls, creating a DIY compass is a simple and effective solution. With just a few materials that you probably already have lying around the house, you’ll be able to achieve professional-looking circles in no time.
Here’s a step-by-step guide on how to create circles with a DIY compass.
Tie String to Pencil
The first step is to tie a string to a pencil. Make sure the string is long enough to reach the desired radius of your circle. You can use any type of string or cord that you have available, just make sure it’s sturdy enough to hold its shape.
Once the string is securely tied to the pencil, you’re ready to move on to the next step.
Anchor the String
To create a stable pivot point for your DIY compass, you’ll need to anchor the string. Find a point on the wall where you want the center of your circle to be and secure the string at that spot. You can use a small nail, a piece of tape, or even a pushpin to anchor the string.
The important thing is to ensure that the string remains taut and doesn’t move while you’re drawing the circle.
Draw the Circles
With the string securely anchored and the pencil in hand, it’s time to draw your circles. Hold the pencil against the wall, keeping the string taut, and slowly rotate the pencil around the anchor point. As you move the pencil, the string will create a perfect circle on the wall.
Depending on the size of the circle you want, you may need to adjust the length of the string or find a new anchor point.
Remember, practice makes perfect! Don’t worry if your first attempt doesn’t turn out exactly as you imagined. With a little bit of practice, you’ll be able to paint perfect circles on your walls effortlessly.
For more detailed instructions and visual demonstrations, you can visit DIY Network. They have a great article that provides additional tips and tricks for painting perfect circles on walls.
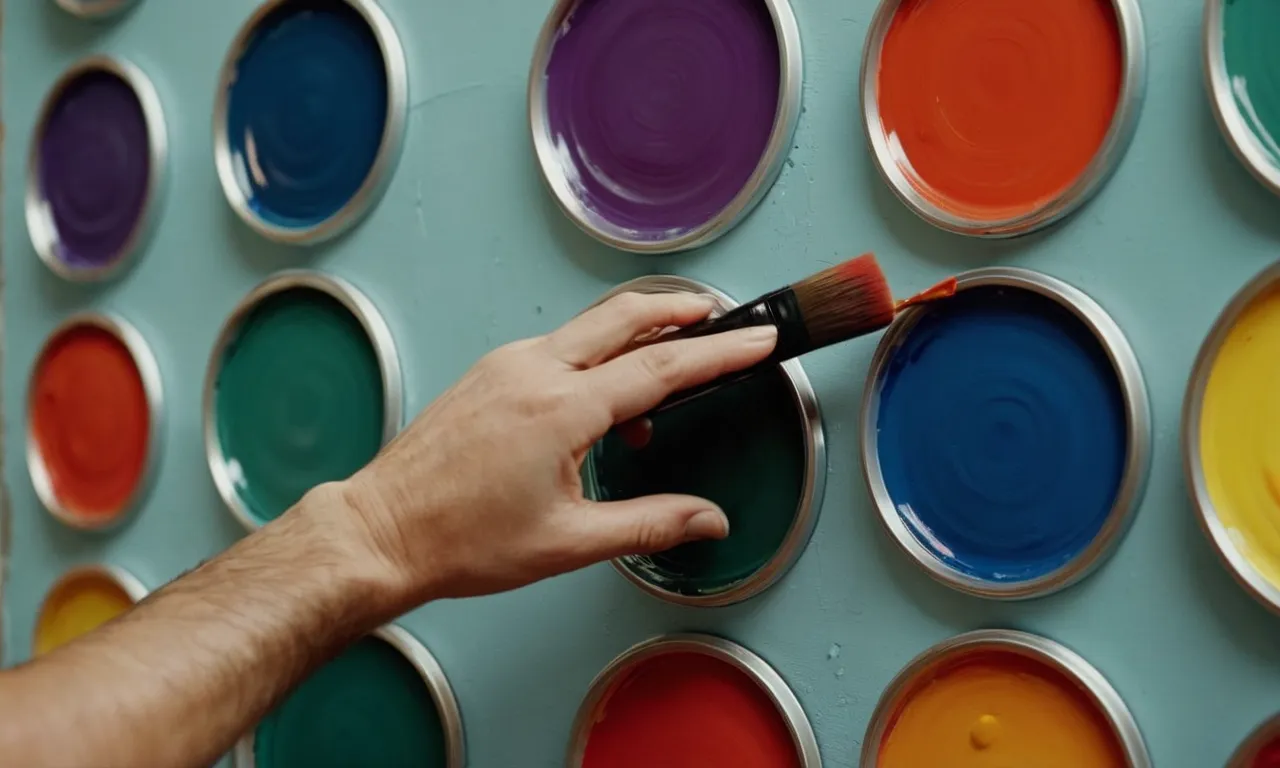
Paint the Circles
When it comes to painting perfect circles on walls, there are a few key steps to follow. By taking your time and using the right techniques, you can achieve professional-looking results. Here is a step-by-step guide on how to paint perfect circles on walls:
Use Painter’s Tape
The first step in painting perfect circles on walls is to use painter’s tape. This will help you create clean, crisp edges and prevent the paint from bleeding. Begin by measuring the desired diameter of your circle and mark the center point on the wall.
Then, use a level to draw a straight line through the center point. Next, cut several strips of painter’s tape and place them along the line, creating an outline of the circle.
Apply Primer
Before painting the circles, it is important to apply a primer. Primer helps to create a smooth and even surface for the paint to adhere to. Use a brush or roller to apply a thin coat of primer to the area within the painter’s tape. Allow the primer to dry completely before moving on to the next step.
Paint the Outline
Now it’s time to paint the outline of the circle. Choose a paint color that complements your room’s decor and pour it into a paint tray. Use a small brush or a foam brush to carefully paint along the edge of the painter’s tape, following the outline of the circle.
Take your time and use steady, even strokes to ensure a clean and precise line.
Fill in the Shape
Once you have painted the outline, it’s time to fill in the shape. Use a larger brush or a roller to fill in the center of the circle with paint. Start from the outer edge and work your way towards the center, using smooth, overlapping strokes.
Apply two or more coats of paint as needed to achieve full coverage. Allow the paint to dry completely before removing the painter’s tape.
By following these steps, you can paint perfect circles on your walls with ease. Remember to take your time and be patient throughout the process. With a little practice, you’ll be able to create beautifully painted circles that add a unique touch to your space.
Finish and Protect the Design
Once you have successfully painted perfect circles on your walls, it’s important to finish and protect your design to ensure its longevity. Here are a few steps you can follow:
Remove Tape
After you have finished painting the circles and they have dried completely, it’s time to remove the tape. Start by gently peeling off the tape from the edges of the circles. Be careful not to damage the painted surface as you remove the tape.
If you notice any areas where the paint has bled through the tape, you can use a small, fine-tip brush to touch up those spots with a matching color.
Seal with Clear Coat
To protect your painted circles and give them a polished finish, consider sealing them with a clear coat. This will help prevent any chipping or fading over time. Choose a clear coat that is suitable for the type of paint you used on your walls.
Apply the clear coat evenly using a paintbrush or roller, making sure to cover the entire surface of the circles. Allow the clear coat to dry according to the manufacturer’s instructions before touching or moving anything near the painted area.
Remember, proper preparation and finishing are crucial for achieving a professional-looking result. Take your time and follow these steps to ensure that your painted circles on the walls not only look great but also last for a long time.
Conclusion
With some basic supplies and these simple steps, you can easily paint perfect circles for a custom wall design. Start with just one focal circle or create a whole pattern—the options are endless. Just take your time taping off the shape, use a compass to draw it cleanly, and paint carefully within the lines.
You’ll have a charming new accent wall that looks professionally done.