How To Paint New Drywall: A Step-By-Step Guide
Painting new drywall can transform the look of a room, but it requires careful preparation and technique to get professional results. In this comprehensive guide, we’ll walk you through every step of the process – from properly sealing and priming the drywall to choosing paint sheen and applying the finishing coat.
If you’re short on time, here’s a quick answer to your question: Make sure to seal the drywall with drywall primer, then apply two coats of paint for full coverage, sanding lightly between coats. Use high-quality paint rollers and brushes designed for smooth surfaces.
Prep the Drywall Surface
Fill Any Holes or Cracks
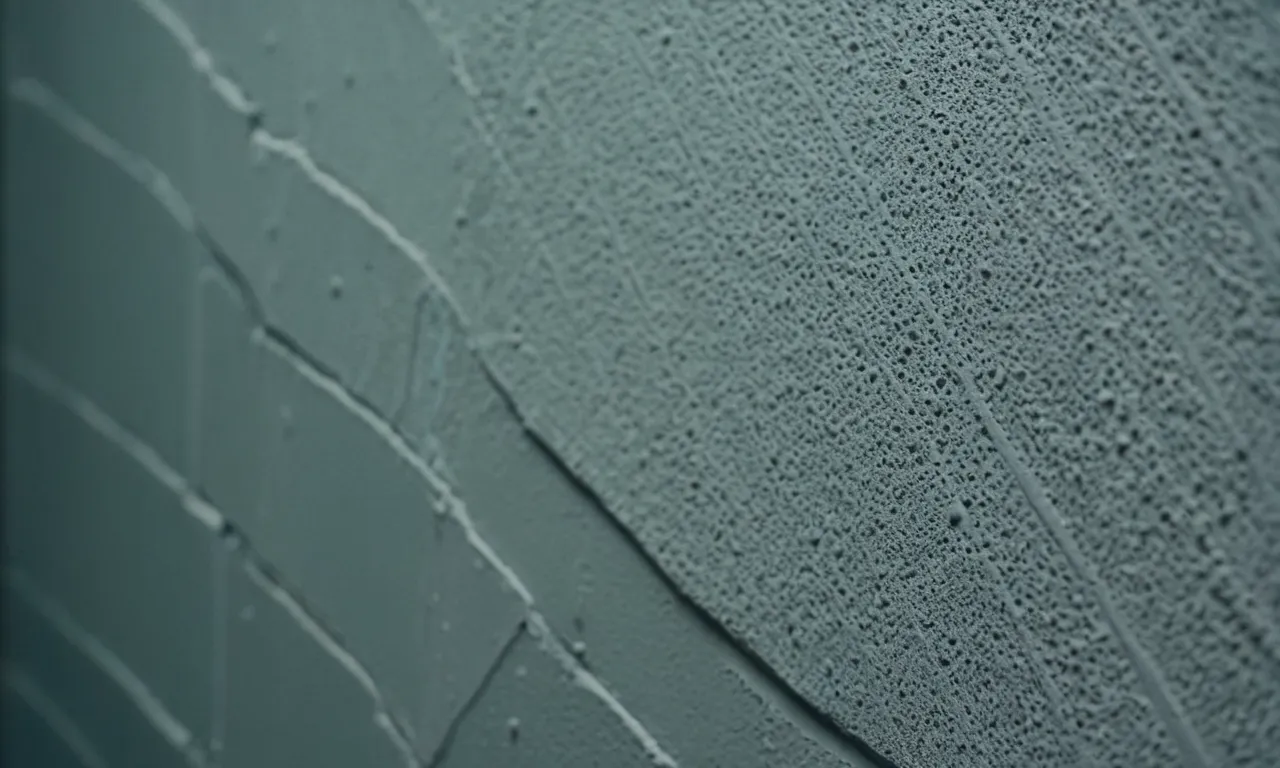
Before you start painting your new drywall, it’s important to ensure that the surface is smooth and free of any imperfections. Begin by inspecting the drywall for any holes or cracks. These can be filled using a spackling compound or joint compound.
Apply the compound to the holes or cracks using a putty knife, making sure to fill them completely. Allow the compound to dry, and then sand it down until it is flush with the surrounding drywall. This will create a seamless surface for painting.
Sand Down Any Rough Areas
Once you have filled in any holes or cracks, it’s time to sand down any rough areas on the drywall. Use a sanding block or sandpaper to smooth out any uneven surfaces or bumps. Sand in a circular motion, applying light pressure. Be careful not to sand too aggressively as this can damage the drywall.
After sanding, wipe away any dust with a damp cloth or sponge.
Wipe Away Dust
Before you start painting, it’s crucial to remove any dust or debris from the drywall surface. This will ensure that the paint adheres properly and results in a smooth finish. Use a clean, damp cloth or sponge to wipe down the entire surface, paying close attention to corners and edges.
Allow the surface to dry completely before proceeding with the painting process.
For more detailed instructions on how to prep new drywall for painting, you can visit www.familyhandyman.com. They provide step-by-step guides and helpful tips to achieve professional-looking results.
Apply Drywall Primer
Before painting new drywall, it is crucial to apply a coat of drywall primer. This step not only helps to create a smooth and even surface for the paint, but it also enhances the adhesion of the paint and improves its durability. Here are the essential steps to apply drywall primer:
Choose the Right Primer
When selecting a primer for your new drywall, it is important to choose one that is specifically designed for drywall surfaces. Look for a high-quality primer that is labeled as being suitable for new drywall.
These primers are designed to seal the porous surface of the drywall, prevent the paint from being absorbed unevenly, and ensure a consistent finish.
Pro Tip: If you are unsure about which primer to use, consider consulting with a paint specialist at your local home improvement store. They can provide valuable advice and help you choose the best product for your project.
Apply Primer With a Paint Roller
Using a paint roller is the most efficient way to apply drywall primer. Start by pouring the primer into a paint tray. Dip the roller into the primer, making sure to coat it evenly. Then, begin applying the primer to the drywall in long, even strokes, working from top to bottom.
Make sure to cover the entire surface, including corners and edges.
Pro Tip: To ensure a smooth finish, use a roller with a short nap (around 3/8 inch) for a smooth drywall surface, or a longer nap (around 1/2 inch) for textured drywall surfaces.
Let Primer Dry Completely Before Painting
Once you have applied the primer, it is crucial to allow it to dry completely before moving on to the painting stage. The drying time can vary depending on the brand and type of primer you are using, so be sure to read the manufacturer’s instructions for the recommended drying time.
Pro Tip: In general, it is recommended to wait at least 24 hours before applying paint over the dried primer. This waiting period ensures that the primer has fully cured and will provide the best surface for the paint to adhere to.
By following these steps and applying drywall primer before painting, you will achieve a professional-looking finish that will not only enhance the aesthetic appeal of your space but also ensure the longevity of your painted walls.
For more information and tips on painting new drywall, you can visit Home Depot’s guide on how to paint drywall.
Paint the Primed Drywall
After the drywall has been properly primed, it is time to paint it. This step is crucial as it adds color and personality to your space. Here is a step-by-step guide on how to paint the primed drywall:
Select High-Quality Paint
When it comes to painting your new drywall, quality matters. Make sure to choose a high-quality paint that will provide excellent coverage and durability. Look for paints that are specifically formulated for drywall surfaces.
These paints will adhere well to the surface and give you a smooth and even finish. Don’t be tempted to cut corners by choosing a cheaper paint, as it may result in a less satisfactory outcome.
Cut In Edges With Angled Brush
Before you start rolling the paint onto the drywall, it is important to cut in the edges with an angled brush. This means painting along the corners, edges, and trim of the walls. Use a steady hand and take your time to ensure clean and precise lines.
Cutting in the edges will make it easier to roll the paint onto the larger surfaces without getting paint on areas where you don’t want it.
Roll On First Coat of Paint
Once you have cut in the edges, it’s time to grab your roller and start applying the first coat of paint. Pour some paint into a paint tray and load the roller evenly. Start rolling the paint onto the drywall in smooth and even strokes, working from top to bottom.
Apply enough pressure to ensure good coverage, but be careful not to apply too much pressure as it can create streaks or uneven areas. Remember to overlap each stroke slightly to avoid leaving gaps.
Let First Coat Dry Before Second Coat
After you have applied the first coat of paint, allow it to dry completely before applying a second coat. The drying time will vary depending on the type of paint you are using, as well as the humidity and temperature in the room.
It is best to consult the manufacturer’s instructions for specific drying times. Patience is key during this step, as rushing the process can lead to uneven drying and a less professional-looking finish.
Lightly Sand Between Coats
Once the first coat is dry, it’s a good idea to lightly sand the surface before applying the second coat of paint. This step helps to smooth out any imperfections, such as brush strokes or drips, and creates a smoother finish.
Use a fine-grit sandpaper and gently sand the surface in a circular motion. Be sure to wipe away any dust with a clean cloth before proceeding to the next step.
Apply Second Finish Coat
Finally, it’s time to apply the second and final coat of paint. Repeat the process of cutting in the edges and rolling on the paint, ensuring that you maintain a consistent and even coverage. This second coat will help to ensure a rich and vibrant color, as well as a more polished and professional finish.
Take your time and pay attention to detail to achieve a result that you can be proud of.
By following this step-by-step guide, you can paint your new drywall with confidence and achieve a beautiful and flawless finish. Remember to work in a well-ventilated area, protect your floors and furniture with drop cloths, and clean your painting tools properly after use for future projects.
Happy painting!
Choose the Right Paint Sheen
When it comes to painting new drywall, choosing the right paint sheen is an important decision. The paint sheen not only affects the overall appearance of the wall but also plays a role in its durability and ease of maintenance. Here are some tips to help you make the right choice:
Flat for Minimal Reflection
For areas where you want to minimize reflection and hide imperfections, a flat paint sheen is the way to go. Flat paint has a non-reflective finish and helps to create a smooth, seamless look on the surface of the drywall. It is ideal for rooms with less traffic, such as bedrooms or living rooms.
However, keep in mind that flat paint is more challenging to clean and may not withstand heavy scrubbing or frequent washing.
Eggshell or Satin for Low-Traffic Areas
If you’re looking for a paint sheen that strikes a balance between durability and easy maintenance, consider using an eggshell or satin finish. These sheens have a subtle sheen that adds a touch of elegance to the walls while still being relatively easy to clean.
Eggshell and satin finishes are perfect for low-traffic areas like dining rooms, hallways, or home offices.
Semi-Gloss for Durability
For high-traffic areas or rooms that are prone to moisture, such as kitchens or bathrooms, a semi-gloss paint sheen is a wise choice. Semi-gloss paint offers excellent durability and is resistant to stains and mildew.
Its shiny finish also makes it easier to clean, as it can withstand regular scrubbing without losing its luster. Just be aware that the semi-gloss sheen may highlight any imperfections on the drywall surface.
High-Gloss for Accent Walls
If you want to make a bold statement with an accent wall, consider using a high-gloss paint sheen. High-gloss paint has an ultra-shiny finish that adds drama and reflects light, making the wall stand out. It is perfect for accentuating architectural details or creating a contemporary look.
However, keep in mind that high-gloss paint is less forgiving when it comes to surface imperfections, so proper preparation is crucial.
Remember, the choice of paint sheen will ultimately depend on your personal preference, the room’s purpose, and the amount of traffic the area receives. Experiment with different sheens to find the one that best suits your needs and desired aesthetic. Happy painting!
Clean Up and Allow Paint to Cure
Wash Paint Tools Promptly
After you have finished painting your new drywall, it is important to clean your paint tools promptly. Leaving paint brushes and rollers with dried paint can make them difficult to use in the future. Plus, it’s always a good idea to keep your tools in good condition.
To clean your paint tools, simply rinse them thoroughly with warm water and mild soap. Remove any excess paint and allow them to air dry. This will ensure that your tools are ready for your next painting project.
Allow Paint Minimum 2 Weeks to Cure
Once you have finished painting your new drywall, it’s crucial to allow the paint to cure properly. Paint curing is the process of allowing the paint to fully dry and harden. This ensures that the paint adheres well to the surface and provides a long-lasting finish.
For new drywall, it is recommended to allow a minimum of 2 weeks for the paint to cure. During this time, it is important to be cautious and avoid any contact with the painted surface to prevent any damage or smudging.
Ventilate the Room During Curing Period
During the curing period of the paint, it is essential to provide proper ventilation in the room. The paint emits volatile organic compounds (VOCs) during the drying process, which can be harmful if inhaled in high concentrations.
Opening windows and using fans to circulate fresh air will help to dissipate the VOCs and reduce the strong paint odor. It is also recommended to avoid sleeping in freshly painted rooms during the curing period to minimize exposure to the fumes.
Once the paint has fully cured, the room will be safe and ready to enjoy.
Conclusion
With the right supplies and some patience, you can achieve professional-looking painted drywall on your own. Be sure to properly prepare the surface, apply primer, use quality paint and tools, and allow ample drying time between steps.
Your efforts will be rewarded with a durable, beautiful paint finish that will stand the test of time.


