How To Prep Drywall For Paint: A Complete Guide
Preparing drywall for paint is a crucial step that will ensure your paint job looks smooth and professional. If you skip proper drywall prep work, imperfections in the wall will show through the final coat of paint.
With some time and effort, you can prep your drywall surface correctly and achieve beautiful painted results.
If you’re short on time, here’s a quick answer to your question: Fill holes and imperfections with drywall compound. Sand smooth. Wipe away dust. Apply primer. Check for flaws and repeat sanding/priming as needed. Now the surface is ready for paint!
Repair Holes, Cracks and Imperfections
Before painting drywall, it’s important to properly prepare the surface by addressing any holes, cracks, or imperfections. Here are some steps you can take to repair these issues:
Fill holes and dents
Start by inspecting the drywall for any small holes or dents. These can be easily filled using a spackling compound or a patching compound. Simply apply the compound to the hole or dent using a putty knife, making sure to smooth it out evenly.
Allow it to dry, then sand it down until it’s smooth and flush with the surrounding surface. This will ensure a seamless finish once the paint is applied.
Tape joints
Next, check for any cracks along the joints of the drywall. These cracks can be repaired by applying joint tape over the crack and then covering it with joint compound. Use a putty knife to smooth out the compound, feathering the edges to blend it in with the surrounding surface.
Once the joint compound is dry, sand it down until it’s smooth and flush with the rest of the wall.
Skim coat as needed
In some cases, the drywall may have larger imperfections or uneven surfaces. If this is the case, you may need to apply a skim coat to create a smooth and even surface for painting. A skim coat is a thin layer of joint compound that is applied over the entire surface of the drywall.
Use a wide putty knife to spread the compound evenly, making sure to fill in any low spots or imperfections. Once the skim coat is dry, sand it down until it’s smooth and ready for painting.
Remember, proper preparation is key to achieving a professional-looking paint job. By taking the time to repair any holes, cracks, and imperfections in your drywall, you’ll be ensuring a smooth and flawless finish for your paint.
For more detailed instructions and tips, you can visit Family Handyman or Hunker.
Sand the Walls
Before painting drywall, it is crucial to prepare the surface properly. One of the essential steps in prepping drywall for paint is sanding the walls. Sanding helps to create a smooth and even surface, allowing the paint to adhere better and provide a flawless finish.
Start with coarse sandpaper
To begin the sanding process, start with coarse sandpaper. This will help remove any imperfections, such as bumps or ridges, on the drywall. You can use a sanding block or a sanding sponge to ensure even pressure while sanding.
Make sure to wear protective goggles and a dust mask to avoid inhaling any dust particles.
When sanding, move the sandpaper in a circular motion or in long, even strokes. Focus on areas where the drywall compound or joint compound has been applied. Be cautious not to oversand and damage the surface of the drywall.
It’s always better to start with a light touch and gradually increase pressure if necessary.
After sanding with coarse sandpaper, wipe down the walls with a damp cloth to remove any dust or debris. This step is crucial to ensure a clean surface for the next stage of sanding and painting.
Finish sanding with fine grit
Once you have successfully smoothed out the imperfections with coarse sandpaper, it’s time to move on to a finer grit sandpaper. This will help further refine the surface and prepare it for paint.
Use a sanding sponge or a sanding block with a fine-grit sandpaper to sand the walls. This step will help to smooth out any remaining rough patches and create a surface that is ready for paint application.
As with the previous step, wipe down the walls with a damp cloth or use a vacuum with a brush attachment to remove any dust or debris. This will ensure a clean surface for painting.
Remember, proper sanding is essential for achieving a professional-looking paint job. Take your time and be thorough in this step to ensure the best results. Happy sanding!
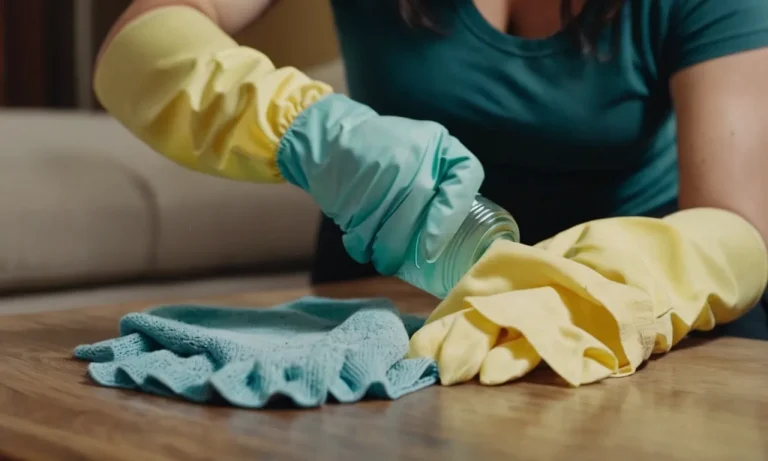
Clean Away Dust
One of the first steps in prepping drywall for paint is to ensure that the surface is free of any dust or debris. Dust particles can interfere with the paint’s adhesion and result in an uneven finish. To clean away the dust, follow these steps:
1. Use a Vacuum Cleaner
Start by using a vacuum cleaner with a brush attachment to remove any loose dust from the surface of the drywall. Move the attachment gently across the surface, paying extra attention to corners and edges where dust tends to accumulate.
2. Wipe with a Damp Cloth
After vacuuming, take a damp cloth and wipe down the entire surface of the drywall. This will help remove any remaining dust particles that the vacuum might have missed. Make sure the cloth is not too wet as excess moisture can damage the drywall.
3. Use Tack Cloth
For a thorough cleaning, consider using a tack cloth. Tack cloths are sticky, lint-free cloths that are specifically designed to pick up fine particles of dust. Gently wipe the tack cloth over the entire surface of the drywall to ensure a clean and smooth finish.
Remember, a clean surface is essential for achieving a professional-looking paint job. By taking the time to properly clean away dust, you’ll ensure that your paint adheres evenly and lasts longer.
Prime the Surface
Before painting drywall, it is crucial to properly prime the surface. Priming helps to create an even and smooth surface for the paint to adhere to, resulting in a professional-looking finish. There are a few key steps to follow when priming drywall:
Use drywall primer
When choosing a primer for your drywall, it is important to select one specifically designed for this purpose. Drywall primer helps to seal the porous surface of the drywall and provides a good base for the paint.
It also helps to prevent the paint from soaking into the drywall, which can result in uneven color and texture. Look for a high-quality drywall primer that is recommended by professionals.
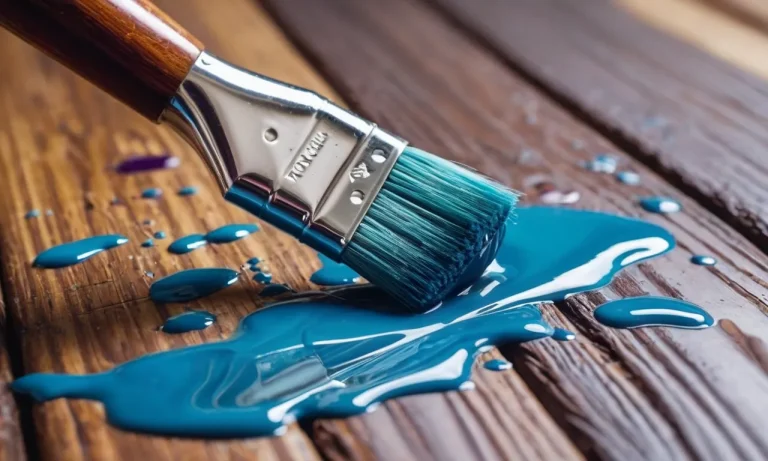
Apply evenly
When applying the primer, it is important to do so evenly across the entire surface. Use a roller or brush to apply the primer, making sure to cover all areas thoroughly. Take your time and apply the primer in smooth, even strokes to avoid streaks or uneven coverage.
This will ensure that the paint adheres properly and provides a consistent finish.
Let dry fully
After applying the primer, it is essential to allow it to dry fully before moving on to the next step. This usually takes around 24 hours, but it is always best to check the manufacturer’s instructions for specific drying times.
Rushing this step can result in the paint not adhering properly and can lead to a less durable and professional-looking finish. Allow the primer to dry fully and cure before proceeding with the painting process.
By following these steps and properly priming the drywall surface, you will create a solid foundation for your paint job. This will result in a smoother and more professional-looking finish that will last for years to come.
Sand and Re-Prime as Needed
Once you have applied the primer to your drywall, it’s important to inspect the surface for any flaws that may need to be addressed before painting. This step is crucial in ensuring a smooth and flawless paint job.
Inspect for flaws after priming
Take a close look at the primed surface and look out for any imperfections such as bumps, ridges, or rough patches. These flaws can be caused by uneven drywall seams, nail or screw dimples, or existing texture that was not properly covered with primer.
If you come across any flaws, don’t panic! They can easily be fixed with some sanding and re-priming.
Sand out imperfections
Using a fine-grit sandpaper or sanding block, gently sand the areas with imperfections until they are smooth and even with the rest of the surface. Be careful not to sand too aggressively, as you don’t want to damage the drywall or create uneven patches.
After sanding, wipe away any dust or debris with a clean cloth or sponge. This will ensure that the surface is clean and ready for the next step.
Re-prime problem spots
Once the sanded areas are clean, it’s time to re-prime them. Apply a thin coat of primer to the problem spots using a brush or roller. This will help to seal the repaired areas and provide a smooth base for the paint to adhere to.
Allow the primer to dry completely before moving on to the next step of painting your drywall. This may take a few hours, so be patient and resist the temptation to rush the process.
Remember, properly sanding and re-priming any flaws in your drywall will ensure a professional-looking paint job that will stand the test of time.
Final Prep Before Painting
Wipe away dust again
Before you start painting, it is important to ensure that the surface of your drywall is clean and free from any dust or debris. Even if you have already wiped away the dust during the initial prep, it is a good idea to give it another wipe down just before painting.
This will ensure that your paint adheres properly and gives you a smooth finish. Use a clean, dry cloth or a tack cloth to gently remove any remaining dust particles from the surface.
Lightly sand glossy primer
If you have applied a glossy primer to your drywall, it is recommended to lightly sand it before applying the paint. This step will help to create a better bond between the primer and the paint, resulting in a more even and durable finish.
Take a fine-grit sandpaper and gently sand the surface of the primer in a circular motion. Be sure to wipe away any dust or debris after sanding.
Tack cloth to remove residue
After sanding the glossy primer, you may notice some residue or particles left behind. To ensure a flawless paint job, it is essential to remove any remaining residue from the surface. A tack cloth is a great tool for this job.
Simply unfold the tack cloth and lightly wipe it over the surface of the drywall to pick up any loose particles. The tack cloth is slightly sticky, which helps it to grab and hold onto the residue without leaving any residue behind.
Remember, the final prep before painting is crucial for achieving a professional-looking result. Taking the time to wipe away dust, sand the glossy primer, and remove any residue will ensure that your paint adheres properly and your finished project looks great. Happy painting!
Conclusion
Prepping drywall thoroughly before painting is a time-consuming process, but the work pays off with a smooth, flawless painted finish. By repairing imperfections, sanding, priming, and repeating steps as needed, you’ll get the surface ready for paint that looks professionally done.
With patience and the right prep work, your painted drywall will look amazing.