How To Remove Chalk Paint: A Step-By-Step Guide
Chalk paint has become a popular decorative and furniture painting technique in recent years. The matte, velvety finish and subtle color variations it creates are highly desirable. However, as with any paint, there comes a time when you may need to remove chalk paint from a surface.
Luckily, with the right techniques and products, removing chalk paint is totally doable.
If you’re short on time, here’s a quick answer to your question: Use a paint stripper formulated for chalk paint or a solution of warm water and baking soda to loosen the paint, then scrape it off with a plastic scraper. Sand lightly and clean with mineral spirits afterward.
Determine the Surface Material
Before you begin the process of removing chalk paint, it is important to determine the surface material you are working with. Different materials require different methods of removal to avoid causing damage. Here are the steps for determining the surface material:
Wood
If you are dealing with a wooden surface, such as furniture or flooring, you need to be cautious while removing chalk paint. Start by assessing the condition of the wood. If the paint has seeped into the grain, you might need to employ more intensive methods.
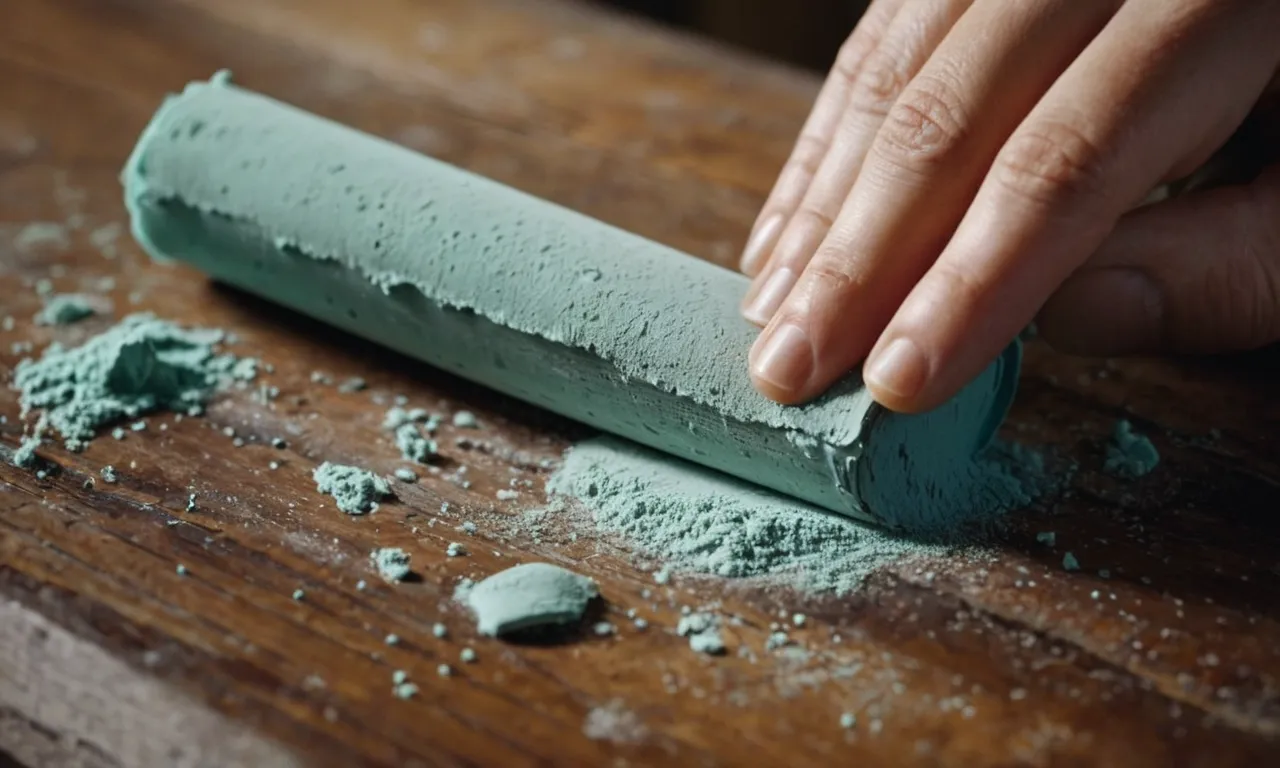
Begin by gently scraping the paint off using a plastic putty knife or a paint scraper. Be careful not to scratch or gouge the wood. If the paint is stubborn, you can use a fine-grit sandpaper to sand away the remaining paint. Remember to sand in the direction of the wood grain.
Metal
When dealing with metal surfaces like hardware or fixtures, removing chalk paint can be a bit easier. Begin by wiping the surface with a damp cloth to remove any loose paint. Next, use a metal-safe paint stripper, following the manufacturer’s instructions.
Apply the stripper evenly over the painted area and let it sit for the recommended time. Once the paint starts to bubble, use a wire brush or steel wool to gently scrape off the paint. Be sure to wear protective gloves and goggles to avoid any chemical contact or debris.
Concrete/Masonry
If you have chalk paint on concrete or masonry surfaces, the removal process might require a bit more effort. Start by using a pressure washer to remove any loose paint. If there are still remnants left, you can try using a paint stripper specifically designed for concrete or masonry.
Apply the stripper to the affected area, following the instructions on the packaging. Let it sit for the recommended time, then use a stiff-bristled brush or a pressure washer to scrub away the remaining paint. Repeat the process if necessary.
Remember to always wear appropriate safety gear, such as gloves, goggles, and a mask, when working with paint strippers or other chemicals. Additionally, test any products or methods on a small, inconspicuous area before applying them to the entire surface to avoid any unwanted damage.
For more detailed instructions and tips, you can visit reputable websites like Family Handyman or DIY Network.
Choose a Paint Remover
When it comes to removing chalk paint, there are several options available. Here are a few methods you can consider:
Paint Strippers Formulated for Chalk Paint
If you want a quick and effective solution, using a paint stripper specifically formulated for chalk paint is a great option. These products are designed to break down the paint and make it easier to remove.
Simply apply the paint stripper according to the instructions, wait for it to work its magic, and then scrape off the paint. Don’t forget to wear protective gloves and goggles to ensure your safety.
Baking Soda and Water
For those who prefer a more natural approach, a mixture of baking soda and water can be used to remove chalk paint. Create a paste by mixing equal parts of baking soda and water, then apply it to the painted surface.
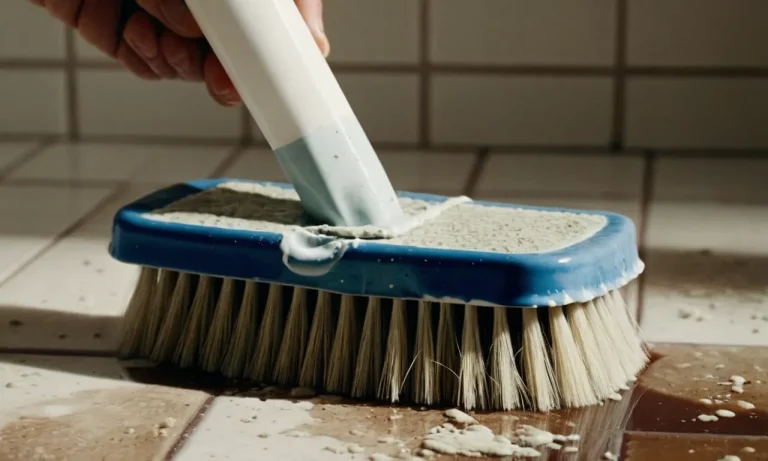
Let it sit for a few minutes, then use a scrub brush or a cloth to gently scrub away the paint. This method may take a bit more time and effort, but it can be an effective and eco-friendly solution.
Sandpaper
If you have a small area or stubborn spots of chalk paint to remove, sandpaper can come to the rescue. Start by using a coarse-grit sandpaper to rough up the surface, then switch to a finer-grit sandpaper to smooth it out.
This method requires some elbow grease and patience, but it can be a great way to remove chalk paint from intricate or delicate surfaces.
Heat Gun
For larger areas or thicker layers of chalk paint, a heat gun can be a useful tool. The heat will soften the paint, making it easier to scrape off. However, caution must be exercised when using a heat gun, as excessive heat can damage the surface or even cause a fire.
Always follow the manufacturer’s instructions and keep the heat gun moving to avoid overheating.
Remember to test any paint remover method in a small, inconspicuous area first to ensure it does not damage the underlying surface. Additionally, proper ventilation and protective gear should be used when working with paint removers to minimize exposure to fumes and chemicals.
Apply the Remover and Scrape Off Paint
When it comes to removing chalk paint, the process can be quite straightforward if you follow the right steps. One of the key steps in removing chalk paint is applying the remover and then scraping off the paint. Here’s how you can do it:
1. Protect Yourself and the Surroundings
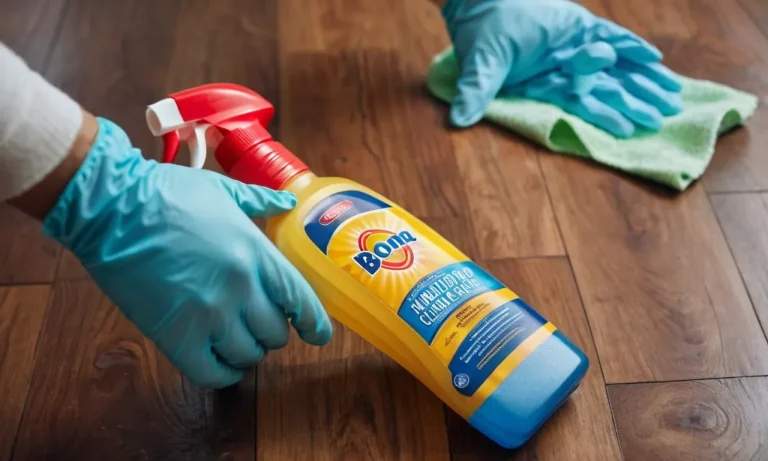
Before you begin the paint removal process, it’s important to protect yourself and the surroundings. Wear protective gloves, goggles, and a mask to prevent any potential harm from the chemicals in the remover.
Additionally, cover the floor or any furniture near the area you’ll be working on to avoid any accidental spills or splatters.
2. Apply the Remover Evenly
Once you’re properly protected, apply the paint remover evenly onto the surface with a brush or a sponge. Make sure to follow the instructions provided by the manufacturer of the remover and apply a generous amount to ensure effective removal.
Work in small sections at a time to prevent the remover from drying out before you can scrape it off.
3. Let it Sit
After applying the remover, allow it to sit on the surface for the recommended amount of time. This will give the remover enough time to penetrate the layers of paint and break it down, making it easier to scrape off. Be patient and avoid the temptation to start scraping too soon.
4. Scrape in the Direction of the Wood Grain
When it’s time to start scraping off the paint, use a putty knife or a scraper and work in the direction of the wood grain. This will help prevent any damage to the surface and ensure a smoother finish once the paint is completely removed.
Apply gentle pressure and scrape off the softened paint, being careful not to dig into the wood.
5. Take Breaks to Avoid Fatigue
Removing chalk paint can be a time-consuming task, especially if you’re working on a large surface area. To avoid fatigue, make sure to take regular breaks. Step back, stretch your muscles, and give yourself time to rest.
This will not only help prevent injuries but also ensure that you’re able to maintain focus and precision throughout the process.
Remember, removing chalk paint requires patience and attention to detail. By following these steps and taking the necessary precautions, you’ll be able to effectively remove the paint and achieve the desired results.
Clean and Restore the Surface
Once you have successfully removed the chalk paint from your surface, it’s important to clean and restore it to its original condition. This will ensure that the surface is smooth and ready for any future paint or finish you may want to apply.
Wipe Away Remover Residue
Start by wiping away any remaining residue from the paint remover. Use a clean, damp cloth to gently wipe the surface, removing any excess remover and ensuring that all traces of the paint are gone. This step will help prepare the surface for the next steps in the restoration process.
Sand Lightly
Next, you’ll want to lightly sand the surface to smooth out any rough patches and create a clean, even texture. Choose a fine-grit sandpaper and gently sand the entire surface in a circular motion. Be sure to remove any dust or debris that may be left behind after sanding.
Clean with Mineral Spirits
After sanding, it’s important to clean the surface with mineral spirits. This will remove any remaining dust or residue and ensure that the surface is clean and ready for the next step. Apply the mineral spirits to a clean cloth and gently wipe the entire surface, using a circular motion.
Allow the surface to dry completely before moving on to the final step.
Seal and Protect the Surface
Finally, to complete the restoration process, you’ll want to seal and protect the surface. Choose an appropriate sealer or finish based on the type of surface you are working with. Apply the sealer according to the manufacturer’s instructions, using a brush or roller.
This will not only protect the surface from future damage but also enhance its appearance. Allow the sealer to dry completely before using or applying any additional paint or finish.
By following these steps to clean and restore the surface after removing chalk paint, you can ensure that your project looks great and lasts for years to come!
Conclusion
With the right remover and some elbow grease, you can strip chalk paint to reveal the original surface underneath. Always test in an inconspicuous area first and take safety precautions when working with caustic chemicals.
Patience and persistence will reward you with a clean slate for applying new finishes. Renewing furniture with chalk paint is a reversible process, so don’t be afraid to get creative with this decorative medium.

