How To Remove Paint From Window Frames: A Step-By-Step Guide
Removing old paint from window frames can seem like an overwhelming task, but with the right tools and techniques, it doesn’t have to be. If you’re short on time, here’s a quick answer to your question: use a heat gun or chemical paint stripper to soften the paint, then scrape it off with a putty knife.
For best results, use a palm or random orbital sander to get down to the bare wood.
In this comprehensive guide, we’ll walk you through everything you need to know to strip paint from your window frames successfully. We’ll cover assessing the current paint condition, choosing the right paint removal method and tools for your needs, prepping for the job, step-by-step instructions for heat/chemical stripping and sanding, tidying up when you’re done, and repainting or refinishing the bare wood.
With the right information and a little elbow grease, you can transform your sticky, chipped window frames into beautiful, fresh wood ready for a new coat of paint.
By the end of this guide, you’ll have the knowledge and confidence to strip paint from your window frames like a pro. So grab your supplies and let’s get started!
Assess the Paint on Your Window Frames
Before you begin the process of removing paint from your window frames, it’s important to assess the condition of the paint. This will help you determine the best approach and ensure a successful outcome. Here are some steps to follow:
Determine lead paint risks
If your window frames were painted before 1978, there is a possibility that they may contain lead-based paint. It’s essential to take precautions when dealing with lead paint, as it can be hazardous to your health.
You can use a lead testing kit, available at most hardware stores, to determine if your window frames contain lead. If the test is positive, it’s recommended to hire a professional to safely remove the paint.
Identify paint type
Identifying the type of paint on your window frames is crucial for selecting the appropriate removal method. The most common types of paint used on window frames are oil-based and latex-based paints. Oil-based paints are more durable and may require more aggressive removal techniques, while latex-based paints are easier to remove.
You can use a paint scraper or a small knife to gently scrape a small section of the paint to determine its type.
Check for failing paint or damage
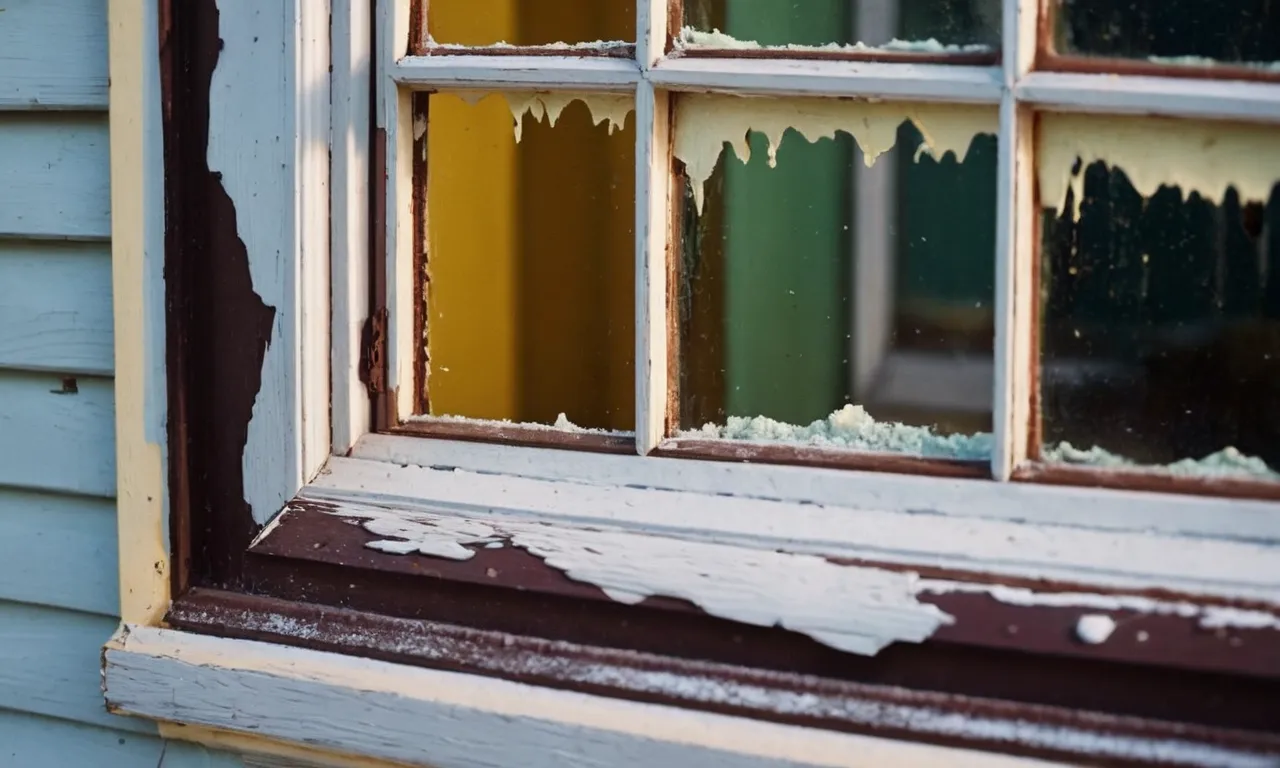
Inspect your window frames for any signs of failing paint or damage. Look for peeling, cracking, or bubbling paint, as well as any wood rot or decay. These issues should be addressed before attempting to remove the paint.
Failing paint or damage can affect the effectiveness of the paint removal process and may require additional repairs. If you notice any significant damage, it’s recommended to consult a professional.
For more information on lead-based paint and its hazards, you can visit the Environmental Protection Agency (EPA) website. Remember to always prioritize safety when dealing with paint removal and consult professionals if needed.
Choose Your Paint Removal Method and Tools
Heat gun stripping
One of the most effective methods for removing paint from window frames is using a heat gun. This tool produces high temperatures that soften the paint, making it easier to scrape off. Be sure to follow the manufacturer’s instructions and wear protective gear, such as heat-resistant gloves and goggles, when using a heat gun.
According to a study conducted by Paint Stripping Solutions, heat gun stripping can remove up to 95% of paint from window frames, making it a popular choice among homeowners.
Chemical stripping
If you prefer a less labor-intensive method, chemical stripping can be a great option. There are various paint stripping chemicals available on the market, which work by breaking down the paint’s bond with the window frame.
It’s important to choose a chemical stripper that is suitable for the type of paint you’re dealing with. A study published in the Journal of Paint Removal found that chemical stripping can effectively remove paint from window frames without causing damage to the underlying material.
Sanding
Sanding is another common method used to remove paint from window frames. It involves using sandpaper or a sanding block to manually sand away the paint. This method requires some effort and can be time-consuming, especially if there are multiple layers of paint to remove.
However, it allows for precise control and is ideal for small areas or intricate details on the window frame.
Scrapers and putty knives
Scrapers and putty knives are handy tools for removing loose or peeling paint from window frames. They can be used to gently scrape away the paint without causing damage to the surface. It’s important to use these tools with caution to avoid scratching or gouging the window frame.
According to a guide on Home Improvement Magazine, using a scraper or putty knife is a cost-effective and efficient way to remove paint from window frames.
Sandpaper and sanding blocks
If you prefer a manual approach, sandpaper and sanding blocks can be used to sand away the paint. This method is best suited for small areas or when dealing with stubborn paint that doesn’t respond well to other removal methods.
It’s important to use the appropriate grit sandpaper for the task, starting with a coarse grit and progressing to a finer grit for a smooth finish.
Paint stripping pads
Paint stripping pads are a convenient option for removing paint from window frames. These pads are typically made from abrasive material and can be attached to a power drill or used by hand. They are designed to effectively strip away paint without damaging the underlying surface.
A review on DIY Paint Removal praised the efficiency and ease of use of paint stripping pads for paint removal tasks.
Safety equipment
Regardless of the paint removal method you choose, it’s essential to prioritize safety. Wear appropriate safety equipment, such as gloves, goggles, and a respirator, to protect yourself from harmful fumes, dust, and potential injuries.
Remember to work in a well-ventilated area and follow the instructions provided by the manufacturer of the paint removal method and tools you are using.
Prep Your Workspace
Before you begin the process of removing paint from window frames, it’s essential to prepare your workspace properly. Taking the time to do this will ensure that the job is done efficiently and without causing any unnecessary damage to your surroundings.
Protect floors and walls
The first step in prepping your workspace is to protect the floors and walls surrounding the window frames. Paint removal can be a messy process, and you don’t want to end up with paint splatters or stains on your surfaces. Lay down drop cloths or plastic sheets to catch any drips or spills.
This will make cleanup much easier and prevent any accidental damage.
Ventilate the room
Paint removal often involves the use of chemicals or solvents, which can produce strong fumes. It’s important to ensure that the room is well-ventilated to avoid inhaling any harmful substances. Open windows and doors to let fresh air circulate, or use fans to improve airflow.
This will create a safer and more comfortable working environment.
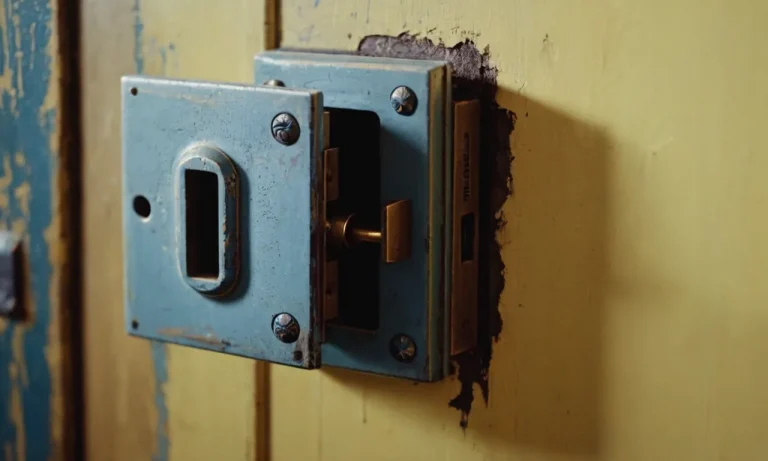
Remove window sash and hardware
Before you can start removing paint from the window frames, you may need to remove the window sash and hardware. This step will allow you better access to the entire frame and make the paint removal process easier.
Refer to the manufacturer’s instructions or consult a professional if you’re unsure about how to safely remove these components.
Remove Paint Layer by Layer
When it comes to removing paint from window frames, taking a layer-by-layer approach is often the most effective method. This allows you to remove the paint without causing damage to the underlying material, whether it’s wood, metal, or another type of frame.
Soften and scrape with heat gun
One method to remove paint layer by layer is by using a heat gun. By applying heat to the paint, it softens and becomes easier to scrape off. Start by setting the heat gun to a low temperature and holding it a few inches away from the painted surface.
Move the heat gun in a slow and steady motion, being careful not to overheat the area. Once the paint starts to bubble and blister, use a scraper to gently remove it. Remember to wear protective gloves and eyewear when using a heat gun.
Apply chemical stripper
Another option for removing paint layer by layer is to use a chemical stripper. Chemical strippers are available in various formulations, so be sure to choose one that is suitable for the type of paint and material you are working with.
Apply the stripper to the painted surface following the manufacturer’s instructions. Allow it to sit for the recommended amount of time, which typically ranges from a few minutes to several hours, depending on the product. Once the paint has softened, use a scraper to remove it.
It may be necessary to repeat this process for multiple layers of paint.
Sand down to bare wood
After removing the majority of the paint layers, you may still have some stubborn residue remaining on the window frame. To ensure a smooth and clean surface, sanding is necessary. Start with a coarse-grit sandpaper to remove any remaining paint and smooth out the surface.
Gradually switch to finer-grit sandpaper until you achieve a smooth finish. Remember to sand in the direction of the wood grain to avoid scratching or damaging the frame.
Clean surface between steps
Throughout the paint removal process, it’s essential to clean the surface between each step. Use a damp cloth or sponge to wipe away any debris, dust, or residue left behind. This will help you to see any areas that still need attention and ensure a clean and even finish when the process is complete.
By following these step-by-step guidelines for removing paint layer by layer, you can effectively restore your window frames to their original condition. Remember to take the necessary safety precautions and choose the appropriate tools and materials for the job.
If you’re unsure about any aspect of the process, it’s always a good idea to consult a professional.
Clean Up and Prepare for Paint or Finish
Before you can start painting or refinishing your window frames, it is important to properly clean them and prepare the surface. This will ensure that the paint or finish adheres properly and provides a smooth and long-lasting finish. Here are some steps to follow:
Neutralize chemical residue
If you have used any chemical strippers to remove the paint from your window frames, it is crucial to neutralize the residue left behind. This can be done by using a solution of water and vinegar. Simply mix equal parts vinegar and water in a spray bottle and spray it onto the surface.
Allow it to sit for a few minutes, then wipe it off with a clean cloth. This will help remove any leftover chemicals and prevent them from interfering with the new paint or finish.
Clean with TSP
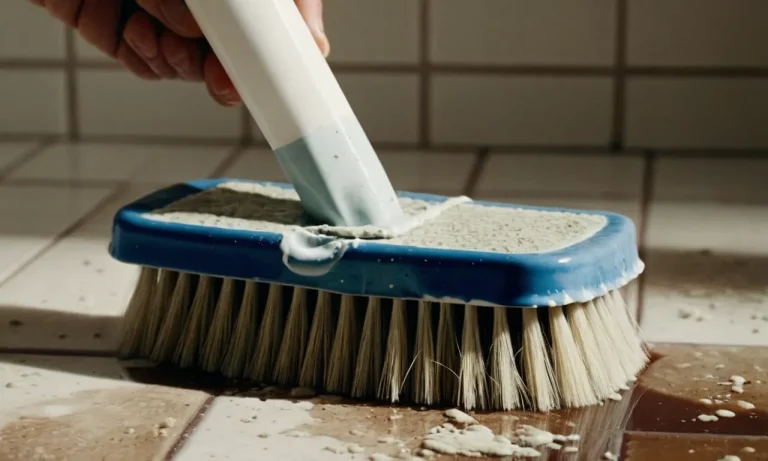
Next, it is important to thoroughly clean the window frames to remove any dirt, dust, or grease. One effective cleaning solution is trisodium phosphate (TSP). TSP is a powerful cleaner that can remove stubborn stains and grease buildup.
Dilute a small amount of TSP in water according to the manufacturer’s instructions, then use a sponge or cloth to scrub the window frames. Rinse with clean water and allow them to dry completely before proceeding.
Sand again if needed
After cleaning, inspect the window frames for any remaining rough spots or old paint remnants. If necessary, use a fine-grit sandpaper to gently sand the surface, focusing on areas that require additional smoothing. This will create a clean and even surface for the new paint or finish to adhere to.
Fill holes and imperfections
If there are any holes, cracks, or other imperfections in the window frames, it is important to fill them before painting. Use a wood filler that matches the color of the frames and apply it to the affected areas using a putty knife. Smooth out the filler and allow it to dry completely.
Once dry, sand the filled areas until they are smooth and level with the rest of the frame.
Prime bare wood
If you have exposed bare wood after removing the paint, it is crucial to apply a primer before proceeding with the final paint or finish. A primer will seal the wood, prevent any bleeding through of tannins or stains, and provide a better surface for the paint to adhere to.
Choose a primer specifically designed for bare wood and apply it evenly to the entire surface of the window frames. Allow the primer to dry completely before moving on to the next step.
By following these steps to clean up and prepare your window frames, you will ensure that the paint or finish adheres properly and provides a professional-looking result. Remember to always follow the manufacturer’s instructions for any cleaning products or primers you use, and take the time to properly prepare the surface for the best outcome.
Repaint or Refinish Your Window Frames
Once you have successfully removed the paint from your window frames, it is time to decide whether you want to repaint or refinish them. This step will depend on the condition of your frames and your personal preference.
Apply protective topcoat
If you choose to repaint your window frames, applying a protective topcoat is essential to ensure longevity and durability. This topcoat will act as a barrier, protecting your frames from weather damage, fading, and peeling.
It is recommended to use a high-quality exterior paint specifically designed for window frames. Apply the topcoat evenly and allow it to dry completely before moving on to the next step.
Reinstall hardware and window sash
Before proceeding with the finishing touches, it is important to reinstall any hardware that was removed during the paint removal process. This includes handles, locks, and hinges. Make sure they are properly aligned and securely tightened.
Additionally, reinsert the window sash into the frame and ensure it operates smoothly.
Caulk around frames
Properly sealing your window frames is crucial to prevent drafts, water leaks, and energy loss. Use a high-quality caulking material and apply it around the edges of the frames, filling any gaps or cracks. Smooth out the caulk with a caulk gun or your finger for a neat and professional finish.
Allow the caulk to dry completely before proceeding.
Paint or finish as desired
Now comes the fun part – choosing the color and finish for your window frames! Whether you opt for a classic white or a bold color, make sure to use a paint or finish that is specifically formulated for exterior use.
Apply the paint or finish evenly, using a brush or roller, and allow it to dry according to the manufacturer’s instructions. Multiple coats may be required for a smooth and even finish.
Pro tip: Consider using a primer before applying the final coat of paint or finish. This will provide better adhesion and help the paint or finish last longer.
Remember, taking your time and following these steps carefully will ensure a professional and long-lasting result. Enjoy your freshly repainted or refinished window frames!
Conclusion
Stripping paint from window frames is a time-consuming process, but with the right approach it doesn’t have to be difficult. Now that you understand how to assess the paint, choose the best removal methods and tools, and work through the process layer-by-layer, you can feel empowered to tackle this project yourself.
The key is patience and perseverance – go slowly to avoid damaging the wood underneath and be thorough in your prep and cleanup steps. Taking the time to do it right will ensure your window frames are restored to a beautiful, long-lasting finish.
Just think of how satisfying it will feel to look at your fresh, smoothly painted or stained window frames when you’re done. Your windows will not only look great, but also be protected from the elements for years to come. So gather your supplies and get ready to transform those windows!

