How To Remove Quick Shine Floor Finish
If you have quick shine floor finish that you want to remove, you’ve come to the right place. Removing floor finishes can be tricky, but with the right techniques and products, you can get your floors back to their natural state.
If you’re short on time, here’s a quick answer to your question: Use a floor finish remover or stripper, apply it evenly across the floor, let it sit for 5-10 minutes, then scrub with a buffing pad or scrub brush. Reapply and scrub again as needed until the finish is completely removed.
In this comprehensive guide, we’ll go over everything you need to know to safely and effectively remove quick shine and other polyurethane floor finishes. We’ll cover the right products to use, tips for application, how long to let it sit, scrubbing techniques, and how to deal with stubborn leftover residue.
What You’ll Need
Floor finish remover or stripper
To effectively remove quick shine floor finish, you’ll need a floor finish remover or stripper. These products are specifically designed to break down and dissolve the finish, making it easier to remove.
You can find floor finish removers or strippers at most home improvement stores or janitorial supply shops. It’s important to choose a product that is suitable for the type of flooring you have, so be sure to read the label or consult a professional if you’re unsure.
Mop and bucket
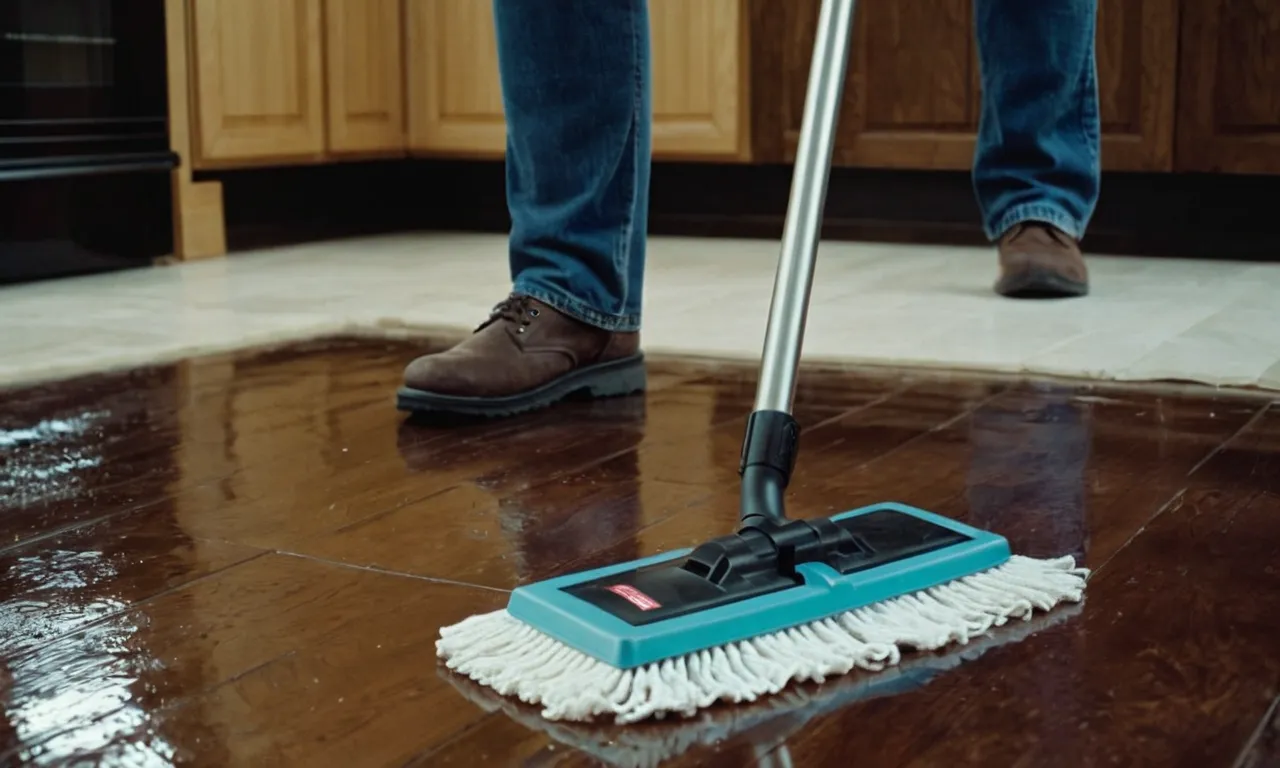
A mop and bucket are essential tools for the floor finish removal process. After applying the floor finish remover, you’ll need to thoroughly mop the floor to loosen and lift the dissolved finish. Fill the bucket with warm water and add a suitable floor cleaner for your specific type of flooring.
Use the mop to scrub the area, ensuring that all the residue is removed. Rinse the mop regularly in the bucket to avoid spreading the dissolved finish around.
Scrub brush or buffing pad
A scrub brush or buffing pad can be used to agitate the floor finish remover and help break down the finish further. These tools are particularly useful for stubborn or hard-to-reach areas. Choose a brush or pad that is appropriate for your flooring material to avoid causing any damage.
Gently scrub the affected areas in a circular motion to ensure even coverage and effective removal of the finish.
Putty knife or scraper
In some cases, there may be excess or stubborn layers of quick shine floor finish that need to be manually scraped off. A putty knife or scraper can be helpful for this task. Carefully slide the blade under the finish and gently lift it away from the floor.
Be cautious not to scratch or damage the underlying flooring material. Use the putty knife or scraper sparingly and only when necessary to avoid any potential harm.
Wet vacuum or mop
Once you have removed the quick shine floor finish, it’s important to thoroughly clean the floor to remove any remaining residue. A wet vacuum or mop can be used to extract any leftover solution or debris. If using a wet vacuum, ensure it is suitable for the type of flooring you have.
Otherwise, a mop and bucket filled with clean water can also do the job. Rinse and wring out the mop or use the wet vacuum to suction up the water, leaving your floor clean and ready for any further treatments or finishes.
Choosing the Right Remover
When it comes to removing Quick Shine floor finish, it is essential to choose the right remover to effectively strip away the product. Here are some key factors to consider when selecting a remover:
Look for alkali-based strippers
One important characteristic to look for in a remover is that it is alkali-based. Alkali-based strippers are known for their ability to effectively break down and remove floor finishes. They work by neutralizing the pH of the finish, making it easier to lift off the surface.
When shopping for a remover, make sure to check the product label to ensure that it is alkali-based.
Avoid acidic removers
On the other hand, it is crucial to avoid using acidic removers to remove Quick Shine floor finish. Acidic removers can damage the flooring material and may even cause discoloration. It is best to steer clear of these types of removers to protect the integrity of your floors.
Opt for environmentally-friendly options
If you are conscious about the impact of the products you use on the environment, consider opting for environmentally-friendly removers. There are several eco-friendly options available on the market that are formulated with biodegradable ingredients and have minimal impact on the environment.
These removers are just as effective in stripping away Quick Shine floor finish without compromising on sustainability.
Consider volatility
When choosing a remover, it is important to consider its volatility. Some removers have strong odors and high levels of volatile organic compounds (VOCs), which can be harmful to your health and the indoor air quality.
Look for removers that have low VOC content and minimal odor to ensure a safer and more pleasant stripping experience.
By considering these factors and choosing the right remover, you can effectively remove Quick Shine floor finish and restore the natural beauty of your floors.
Preparing the Floor
Sweep and vacuum the floor thoroughly
Before you begin removing the Quick Shine floor finish, it is important to prepare the floor properly. Start by sweeping the entire area to remove any loose dirt, dust, or debris. Pay extra attention to corners and edges where dirt tends to accumulate.
Once you have swept the floor, use a vacuum cleaner to remove any remaining dirt or dust. This will ensure that the floor is clean and ready for the next steps.
Remove any furniture or rugs
Next, remove any furniture or rugs from the room to make it easier to work on the floor. This will also prevent any accidental damage to your furniture or rugs during the removal process. If you have heavy furniture that cannot be easily moved, consider placing protective coverings or pads underneath to prevent them from scratching or damaging the floor.
Ventilate the room well
Proper ventilation is important when removing the Quick Shine floor finish, as some of the products used in the process can have strong odors. Open windows and doors to allow fresh air to circulate throughout the room. You can also use fans or air purifiers to help improve air circulation.
This will not only help with the odor but also ensure that you are working in a well-ventilated environment.
Now that you have prepared the floor by sweeping and vacuuming, removing furniture or rugs, and ventilating the room, you are ready to move on to the next steps of removing the Quick Shine floor finish.
Applying the Remover
Use a mop to apply remover evenly
When it comes to removing Quick Shine floor finish, the first step is to apply the remover evenly. One of the most effective ways to do this is by using a mop. Simply pour the remover onto the floor and spread it out using the mop. Make sure to cover the entire surface area to ensure an even removal.
Work in sections for larger floors
If you have larger floors, it’s best to work in sections when applying the remover. This will help you maintain control and ensure that each section is properly treated. Start with one section, apply the remover, and then move on to the next.
By working in sections, you can avoid any potential mishaps or missed spots.
Follow product instructions for application
When using any type of floor product, it’s important to follow the instructions provided by the manufacturer. This applies to removing Quick Shine floor finish as well. The product instructions will guide you on the proper application techniques, including the amount of remover to use and any specific precautions to take.
By following the instructions, you can achieve the best results and avoid any potential damage to your floors.
Let remover sit for 5-10 minutes
After applying the remover, it’s crucial to let it sit for a period of time. This allows the remover to penetrate the floor finish and break it down effectively. The recommended time to let the remover sit is typically between 5-10 minutes, but it’s always a good idea to check the product instructions for the specific recommendation.
During this waiting period, you can take a break, catch up on your favorite show, or even indulge in a quick dance party. Just make sure not to forget about the remover!
Scrubbing and Removing Finish
When it comes to removing Quick Shine floor finish, scrubbing is an essential step. There are several methods you can use to effectively scrub away the finish from your floors.
Scrub with a buffing pad, brush, or putty knife
The first step in removing Quick Shine floor finish is to scrub the surface using a buffing pad, brush, or putty knife. This will help break down the finish and loosen it from the surface of the floor. Make sure to apply consistent pressure and scrub in a circular motion to ensure even coverage.
If you’re using a buffing pad, attach it to a floor buffer or a handheld scrubber for larger areas. For smaller areas or hard-to-reach spots, a brush or putty knife can be used. Just be careful not to scratch the floor surface with the putty knife.
Reapply remover and scrub again if needed
In some cases, one round of scrubbing may not be enough to completely remove the Quick Shine floor finish. If you still notice residue or a glossy appearance on the floor, you may need to reapply the remover and scrub again.
Follow the manufacturer’s instructions for the specific remover you are using. Apply it to the floor and scrub with the same method as before. This additional step will help ensure all traces of the finish are removed, leaving your floor ready for a fresh application or a different floor treatment.
Wipe up residue with wet vacuum or mop
After the scrubbing process, you’ll likely have some residue left on the floor. It’s important to remove this residue to prevent any build-up or streaking. A wet vacuum or mop can be used to effectively wipe up the residue.
If using a wet vacuum, make sure to use the appropriate attachment for hard floors. Run the vacuum over the floor, focusing on areas with visible residue. If you don’t have a wet vacuum, a mop can also be used. Dip the mop in clean water and wring out excess moisture before wiping the floor.
Rinse thoroughly with clean water
Once you’ve wiped up the residue, it’s crucial to rinse the floor thoroughly with clean water. This will remove any remaining traces of the floor finish remover and ensure a clean surface.
Fill a bucket with clean water and use a mop or sponge to apply it to the floor. Make sure to rinse the entire area, paying extra attention to corners and edges. Change the water as needed to prevent spreading any remaining residue.
By following these steps and taking the time to properly scrub and remove the Quick Shine floor finish, you’ll be well on your way to achieving a clean and fresh-looking floor.
Dealing with Leftover Residue
Removing Quick Shine floor finish can sometimes leave behind stubborn residue that requires additional effort to completely eliminate. Here are some effective methods to deal with leftover residue:
Try reapplying remover and scrubbing again
If you notice that there are still traces of residue on your floor after using a remover, don’t worry. You can try reapplying the remover and scrubbing the area again. This can help to break down any remaining residue and make it easier to remove.
Be sure to follow the instructions on the remover product and use a scrub brush or sponge to scrub the affected area gently.
Use mineral spirits for stubborn spots
If you have stubborn spots or residue that are not responding to the remover, mineral spirits can be a helpful solution. Mineral spirits are solvents that can effectively dissolve tough residues without damaging the flooring.
Apply a small amount of mineral spirits to a clean cloth and gently rub the area until the residue is removed. Remember to test a small, inconspicuous area first to ensure that it does not cause any damage to your floor.
Scrape with putty knife then scrub
If the residue is particularly stubborn and cannot be removed with the above methods, you can try using a putty knife to scrape off the residue. Be cautious when using a putty knife to avoid scratching the floor.
Once you have scraped off as much residue as possible, use a scrub brush or sponge with a cleaning solution to scrub the area and remove any remaining residue.
Sand lightly if small areas remain
If there are still small areas of residue that are difficult to remove, you can consider lightly sanding the affected area. Use a fine-grit sandpaper and gently sand the residue until it is no longer visible. After sanding, clean the area thoroughly to remove any dust or debris.
This method should only be used as a last resort and on floors that can withstand sanding.
Remember, it’s always important to follow the manufacturer’s instructions when dealing with any cleaning products or methods. If you are unsure about the best approach for your specific flooring type, consult a professional for guidance.
With patience and the right techniques, you can successfully remove any leftover residue from your floor and restore its natural beauty.
Conclusion
Removing floor finishes takes some work, but with the right products and techniques, you can thoroughly strip the floor. Be sure to ventilate the area well and rinse multiple times after scrubbing. If you have stubborn leftover residue, reapply remover, scrape, scrub, or sand until it is completely gone.
With a little time and elbow grease, you’ll have a clean, bare floor ready for new finish or stain.

