How To Tell If Your Outside Faucet Is Frozen
As winter approaches and temperatures start to drop, a common problem homeowners face is frozen outdoor faucets. Nothing is more frustrating than turning on your hose or trying to connect a sprinkler only to find your outdoor water spout is frozen solid.
If you’re short on time, here’s a quick answer to your question: The main ways to check if your outside faucet is frozen are trying to turn it on and seeing if water comes out, visually inspecting for ice, and feeling if the pipe is unusually cold to the touch.
In this comprehensive guide, we’ll go over all the steps to determine if your outdoor faucet is frozen and how to thaw it out. We’ll also provide tips on preventing frozen pipes and faucets in the future.
Physically Checking The Faucet and Pipes
When it comes to determining if your outside faucet is frozen, there are a few key steps you can take to physically check the faucet and pipes. By following these steps, you can gain a better understanding of the situation and take appropriate action.
Turn On The Faucet
The first step is to turn on the faucet. Simply turning on the faucet can provide valuable information about whether or not it is frozen. If no water comes out or only a trickle is present, there is a high chance that the faucet is frozen.
Visually Inspect For Ice
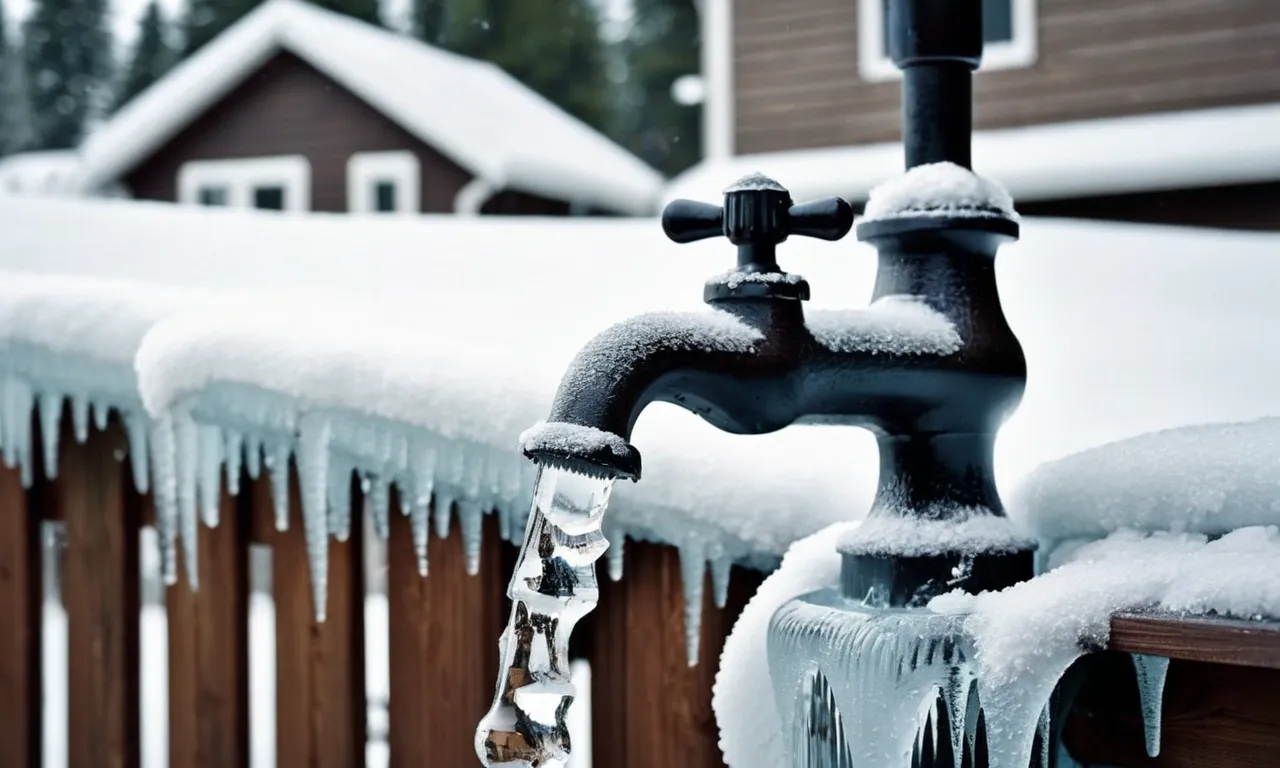
After turning on the faucet, visually inspect the area around the faucet for any signs of ice. Look for ice formations or frost on the faucet itself, as well as on the pipes leading to and from the faucet. Ice formations are a clear indication that the faucet is frozen and needs attention.
Feel The Pipe Temperature
Another way to determine if your outside faucet is frozen is to feel the temperature of the pipes. Carefully touch the pipes leading to and from the faucet. If they feel extremely cold to the touch or are covered in frost, it is likely that the faucet is frozen.
It is important to exercise caution when checking for a frozen faucet. If you are unsure or uncomfortable with the process, it is always best to consult a professional plumber who can assess the situation and provide guidance.
Checking For Leaks and Damage
When it comes to determining if your outside faucet is frozen, it’s important to inspect for any leaks or damage that may have occurred. Leaks are a common sign of a frozen faucet, as the water inside the pipe expands when it freezes, causing cracks or bursts.
By checking for leaks and damage, you can get a better idea of whether or not your outside faucet is frozen and take the necessary steps to fix it.
Inspect for Water Leaking
One way to check for leaks is to visually inspect the area around your outside faucet. Look for any signs of water pooling or dripping, as this could indicate a leak. Additionally, check for damp or discolored areas on the ground or walls near the faucet.
These signs are often a clear indication that water is leaking from the pipe and may be frozen. If you notice any leaks, it’s important to address them promptly to prevent further damage to your plumbing system.
Check for Cracks and Bursts
In addition to inspecting for leaks, it’s crucial to check for any cracks or bursts in the pipe. This can be done by carefully examining the faucet and its surrounding areas. Look for visible cracks or splits in the pipe, as well as any bulging or swelling.
These are telltale signs that the water inside the pipe has frozen and caused damage. If you notice any cracks or bursts, it’s recommended to shut off the water supply to the faucet and contact a professional plumber for repairs.
It’s worth noting that while these visual inspections can help indicate if your outside faucet is frozen, they may not provide definitive proof. If you’re unsure or want to confirm your suspicions, it’s always best to consult with a professional plumber.
They have the expertise and tools necessary to accurately diagnose the issue and provide appropriate solutions.
Thawing a Frozen Faucet
If you discover that your outside faucet is frozen, there are several methods you can use to thaw it out and restore the flow of water. Here are three effective techniques:
Use a Hair Dryer
One of the easiest ways to thaw a frozen faucet is by using a hair dryer. Simply plug in the hair dryer, set it to a medium heat setting, and aim the warm air at the frozen area of the faucet. Move the hair dryer back and forth across the frozen section until the ice melts and the water starts flowing again.
Be sure to keep the hair dryer away from any water sources to avoid electrical hazards.
Pour Hot Water
Pouring hot water over the frozen faucet is another effective method for thawing it out. Boil a pot of water on the stove and carefully pour it over the frozen section of the faucet. The hot water will help melt the ice and restore the water flow.
However, be cautious not to pour boiling water directly onto any plastic parts of the faucet, as it could cause damage.
Use Heat Tape
If you live in an area where frozen faucets are a common occurrence, you may want to consider using heat tape as a preventative measure. Heat tape is an electrical heating element that can be wrapped around the faucet to keep it warm and prevent freezing.
It is easy to install and can be plugged into an electrical outlet. Heat tape is especially useful for faucets located in areas with limited insulation or in colder climates.
Remember, it’s important to take precautions to prevent your outside faucet from freezing in the first place. Disconnect any hoses and drain the water from the faucet before the cold weather sets in. Insulate the faucet with a faucet cover or wrap it with insulation material to provide extra protection against freezing temperatures.
For more information and tips on how to thaw frozen faucets, you can visit www.familyhandyman.com, a trusted source for DIY home improvement projects.
Preventing Frozen Pipes and Faucets
Freezing temperatures can cause your outside faucets and pipes to freeze, leading to potential damage and inconvenience. Fortunately, there are several steps you can take to prevent this from happening.
Disconnect Hoses
One of the most important steps in preventing frozen pipes and faucets is to disconnect and drain all outdoor hoses. When hoses are left attached to the faucet, water can become trapped and freeze, causing the faucet to freeze as well.
Simply disconnecting and storing your hoses indoors during the winter months can save you from a potential headache.
Insulate Pipes
Insulating your outdoor pipes is another effective way to prevent freezing. Pipe insulation is readily available at most hardware stores and is easy to install. By wrapping the exposed pipes with insulation, you create a barrier that helps to retain heat and prevent freezing.
Pay extra attention to areas where pipes are exposed to colder temperatures, such as in crawl spaces or near exterior walls.
Seal Gaps and Cracks
Gaps and cracks in your home’s foundation or walls can allow cold air to seep in and freeze your pipes. Take the time to inspect for any gaps or cracks and seal them with caulk or weatherstripping. This will not only help prevent frozen pipes but also improve energy efficiency and reduce heating costs.
Remember, prevention is key when it comes to frozen pipes and faucets. By following these simple steps, you can avoid the hassle and expense of dealing with frozen, burst pipes during the winter months.
Conclusion
Frozen outdoor faucets can cause a lot of headaches during the winter months. By following the tips in this guide, you’ll know how to check for frozen pipes and how to safely thaw them. Taking preventative measures like insulating pipes and sealing gaps can also help avoid frozen faucets in the future.
The next time your outdoor spigot doesn’t turn on, don’t panic. Just work through these steps to get your water flowing again and enjoy the convenience of outdoor water access all winter long.

