How To Use Paint Thinner: A Step-By-Step Guide
Paint thinner is a versatile solvent that can be used for a variety of purposes around the home. If you’re looking to thin oil-based paints, clean brushes, remove paint spills, or prep surfaces for painting, paint thinner is the solution you need.
If you’re short on time, here’s a quick answer to your question: Paint thinner can be used to thin oil-based paints, clean paint brushes, remove paint spills, and prep surfaces for painting by removing wax, grease, and other grime. Always work in a well-ventilated area when using paint thinner.
In this comprehensive guide, we’ll cover everything you need to know about how to properly use paint thinner for your painting projects.
Choosing the Right Type of Paint Thinner
When it comes to using paint thinner, it’s important to choose the right type for your project. Different types of paint thinners have varying properties and uses. Here are some popular options:
Mineral spirits
Mineral spirits, also known as white spirits, are a common choice for thinning oil-based paints and varnishes. They are derived from petroleum and have a low odor. Mineral spirits are effective in removing grease, grime, and dirt from surfaces, making them an excellent choice for cleaning brushes and tools.
Acetone
Acetone is a powerful paint thinner that is primarily used for thinning lacquers and epoxy-based paints. It evaporates quickly and leaves no residue, making it ideal for cleaning surfaces before painting. However, acetone is highly flammable and should be used with caution.
Turpentine
Turpentine is a traditional paint thinner that has been used for centuries. It is commonly used with oil-based paints and varnishes. Turpentine has a strong odor and should be used in well-ventilated areas. It is also a natural solvent for cleaning brushes and removing paint stains from clothing.
Lacquer thinner
Lacquer thinner is specifically designed for thinning lacquer-based paints and finishes. It is highly effective in removing lacquer overspray and cleaning spray equipment. However, lacquer thinner is highly flammable and should be used with caution.
Choosing the right one for your project
When choosing a paint thinner, consider the type of paint or finish you are working with, as well as the desired consistency and drying time. It’s always a good idea to refer to the manufacturer’s instructions for the specific product you are using.
Additionally, be sure to follow safety precautions, such as wearing gloves and working in a well-ventilated area.
For more detailed information on paint thinners and their uses, you can visit www.painting-business.com, where you can find comprehensive guides and tips on various painting techniques.
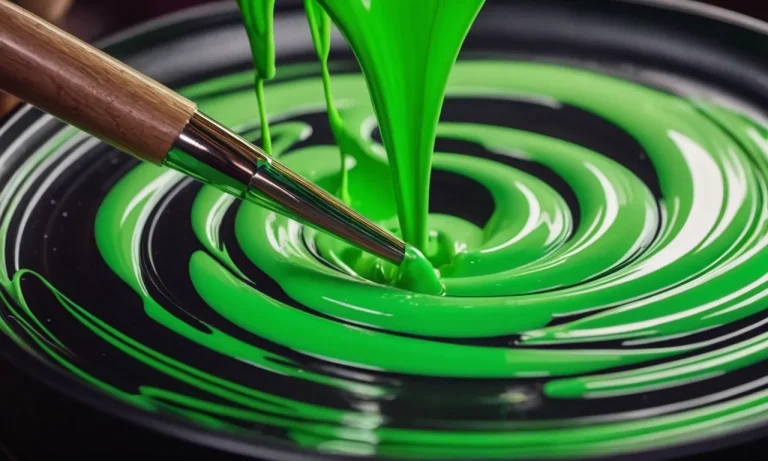
Using Paint Thinner to Thin Oil-Based Paints
Getting the right consistency
When it comes to thinning oil-based paints, using paint thinner is a common practice. Paint thinner helps to reduce the viscosity of the paint, making it easier to apply and achieve a smoother finish. To get the right consistency, start by pouring a small amount of paint into a clean container.
Then, gradually add small amounts of paint thinner while stirring continuously. Keep adding thinner until you reach the desired consistency. It’s important to note that different brands and types of paint thinner may require different amounts to achieve the desired results, so always refer to the manufacturer’s instructions.
How much to add
The amount of paint thinner to add depends on the thickness of the paint and the desired consistency. As a general rule of thumb, start by adding a small amount of paint thinner, such as a teaspoon, to a cup of paint. Mix well and test the paint on a small area.
If the paint is still too thick, gradually add more paint thinner, a little bit at a time, until you achieve the desired consistency. Remember, it’s always better to add less paint thinner initially and gradually increase the amount if needed, rather than adding too much and ending up with overly thin paint.
Mixing and testing the paint
Once you’ve added the paint thinner, it’s important to mix the paint thoroughly to ensure that it is well incorporated. Use a clean stir stick or paintbrush to stir the paint in a circular motion, making sure to scrape the sides and bottom of the container.
After mixing, it’s crucial to test the paint on a small area before applying it to the entire surface. This will allow you to assess the consistency and make any necessary adjustments before committing to the entire project.
If the paint is still too thick or too thin, you can add more paint or paint thinner accordingly and repeat the process until you achieve the desired results.
Tips for best results
- Always work in a well-ventilated area when using paint thinner, as it can emit strong fumes.
- Wear protective gloves and eyewear to prevent any contact with the skin or eyes.
- Make sure to read and follow the safety instructions provided by the manufacturer of the paint thinner.
- Store paint thinner in a cool, dry place away from direct sunlight or heat sources.
- Dispose of any leftover paint thinner properly according to local regulations.
For more detailed instructions on using paint thinner to thin oil-based paints, you can visit PaintThinnerGuide.com where you can find additional tips, tricks, and safety guidelines to help you achieve the best results.
Cleaning Brushes with Paint Thinner
Cleaning brushes promptly after painting
One of the most important steps in maintaining your paint brushes is to clean them promptly after each use. Leaving paint on the brushes can cause the bristles to harden and become unusable. To prevent this, make sure to clean your brushes as soon as you finish painting.
Submerging and stirring the brush
To clean your brushes with paint thinner, start by pouring a small amount of paint thinner into a container. Then, gently submerge the bristles of the brush into the paint thinner. Use a stirring motion to agitate the bristles and loosen any remaining paint.
Removing excess paint and drying the brush
After stirring the brush in the paint thinner, carefully remove it and use a cloth or paper towel to wipe off any excess paint. Make sure to remove as much paint as possible to prevent it from drying and hardening on the bristles.
Once the excess paint has been removed, allow the brush to air dry completely before storing it.
Caring for brushes for reuse
To ensure the longevity of your paint brushes, it is important to properly care for them after cleaning. Store them in a cool, dry place to prevent the bristles from becoming misshapen or damaged. Additionally, regularly inspect your brushes for any signs of wear and tear, and replace them as needed.
For more detailed instructions on cleaning brushes with paint thinner, you can visit The Spruce, a reputable website that provides useful tips and guides on home improvement.
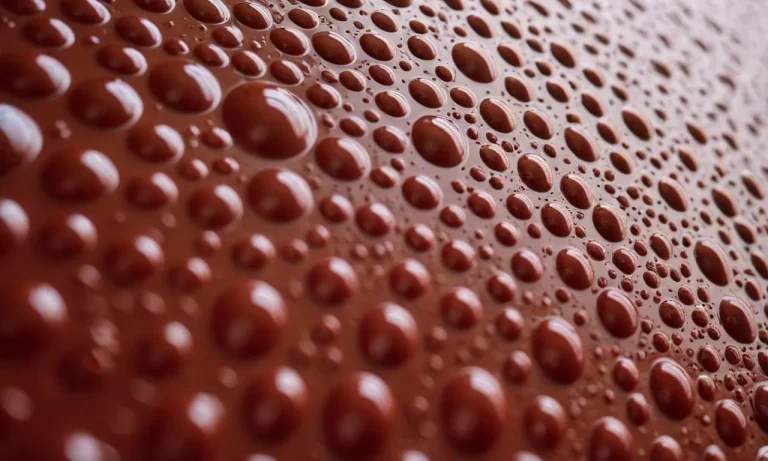
Removing Paint Spills with Paint Thinner
Acting quickly to lift fresh paint
If you’ve accidentally spilled paint on a surface, acting quickly is the key to successful cleanup. Using paint thinner can help you remove the spilled paint effectively. Start by blotting the excess paint with a clean rag or paper towel. Be careful not to spread the paint further.
Pro tip: Don’t let the paint dry before attempting to remove it. Wet paint is much easier to clean up than dried paint.
Using a rag to blot lifted paint
Once you’ve removed the excess paint, dampen a clean rag with paint thinner. Gently dab the rag on the stained area, working from the outside in. This will help lift the paint off the surface. Continue blotting until you’ve removed as much paint as possible.
Did you know? Paint thinner contains solvents that break down the paint and make it easier to remove.
Scrubbing dried paint spills
If you’re dealing with dried paint spills, the process may require a bit more effort. Start by applying a generous amount of paint thinner to the affected area and let it sit for a few minutes. This will soften the paint, making it easier to scrub off.
Use a scrub brush or a sponge to gently scrub the surface until the paint starts to lift.
Pro tip: Be cautious when scrubbing delicate surfaces to avoid damaging them.
Taking safety precautions
While using paint thinner, it’s important to take safety precautions to protect yourself and the surrounding environment. Make sure you’re working in a well-ventilated area to avoid inhaling the fumes. Wear gloves and goggles to protect your skin and eyes from any potential splashes.
Additionally, dispose of the paint thinner properly according to local regulations.
Safety first! Always read and follow the instructions on the paint thinner label to ensure safe usage.
For more detailed information on using paint thinner and other painting techniques, you can visit www.familyhandyman.com.
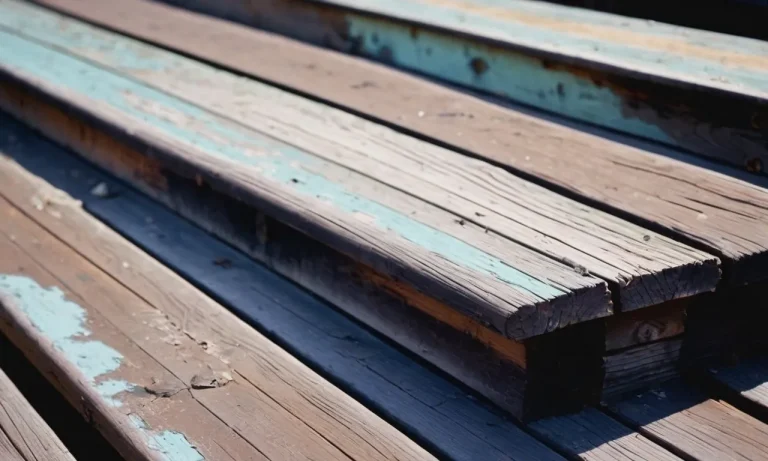
Prepping Surfaces with Paint Thinner
Before you start painting, it’s essential to properly prepare the surfaces you’ll be working on. One effective way to do this is by using paint thinner. Paint thinner is a solvent that helps clean and prepare surfaces by removing dirt, grease, wax, and oil residues, allowing for better paint adhesion.
Here are some steps to follow when prepping your surfaces with paint thinner:
Wiping down surfaces thoroughly
The first step in prepping surfaces with paint thinner is to wipe them down thoroughly. Use a clean cloth or sponge soaked in paint thinner to remove any dust, dirt, or debris. This will ensure that the surface is clean and ready for painting.
Removing grease, wax, and oil residues
Next, it’s important to remove any grease, wax, or oil residues from the surface. These substances can interfere with paint adhesion, leading to peeling or flaking. Apply paint thinner to a clean cloth and gently rub the surface, focusing on areas with visible residues.
This will help dissolve and remove any greasy or waxy substances.
Sanding glossy surfaces
If you’re working with glossy surfaces, such as varnished wood or previously painted walls, sanding them before applying paint can help improve adhesion. After wiping down the surface with paint thinner, use sandpaper to lightly sand the glossy areas.
This will create a slightly rough surface that allows the paint to adhere better.
Ensuring proper ventilation
When using paint thinner, it’s crucial to ensure proper ventilation in the area where you’re working. Paint thinner contains volatile organic compounds (VOCs) that can be harmful if inhaled in large quantities.
Open windows and doors, use fans, or work in a well-ventilated room to minimize exposure to these fumes.
Remember to always follow the manufacturer’s instructions when using paint thinner and wear protective gloves and goggles to ensure your safety. By properly prepping your surfaces with paint thinner, you’ll be creating a clean and smooth canvas for your painting project.
Using Paint Thinner Safely
When it comes to using paint thinner, safety should always be a top priority. Whether you’re a DIY enthusiast or a professional painter, following the proper safety measures can help prevent accidents and ensure a successful painting project. Here are some important steps to keep in mind:
Choosing a well-ventilated area
Before you begin using paint thinner, it’s crucial to select a well-ventilated area. This will help minimize your exposure to harmful fumes and ensure that the space is properly ventilated. Open windows and use fans to circulate fresh air throughout the room.
If possible, work outdoors or in a garage with the doors open to provide maximum ventilation.
Wearing proper safety gear
Protecting yourself while using paint thinner is essential. Always wear appropriate safety gear, including gloves, safety goggles, and a respirator mask. Gloves will protect your hands from chemical exposure, goggles will shield your eyes from splashes, and a respirator mask will filter out harmful fumes.
Additionally, wearing old clothes that cover your arms and legs can help prevent any accidental spills or splatters from coming into contact with your skin.
Properly disposing of used thinner
After you’ve finished working with paint thinner, it’s important to dispose of it properly. Never pour paint thinner down the drain or throw it in the trash, as it can contaminate water sources and harm the environment.
Instead, contact your local hazardous waste disposal facility to find out how to safely dispose of paint thinner. They will provide you with the necessary information and guidelines to ensure that it is handled and disposed of correctly.
Storing paint thinner safely
When you’re not using paint thinner, it’s crucial to store it safely to prevent accidents or damage. Keep paint thinner in its original container with a tightly sealed lid and store it in a cool, dry place away from direct sunlight and sources of heat.
Make sure to label the container clearly to avoid any confusion. Additionally, keep paint thinner out of reach of children and pets to prevent accidental ingestion or exposure.
Remember, using paint thinner can be hazardous if not done safely. By following these guidelines and taking the necessary precautions, you can ensure a safe and successful painting experience.
Conclusion
Paint thinner is an extremely versatile tool to keep on hand for all your painting projects. By following the proper techniques for thinning paints, cleaning brushes, removing spills, and prepping surfaces, you can use paint thinner effectively and safely.
Just be sure to take the necessary safety precautions and always use paint thinner in a well-ventilated area. With this comprehensive guide, you now have all the information you need to start using paint thinner like a pro.