How To Connect A Shower Head To A Faucet
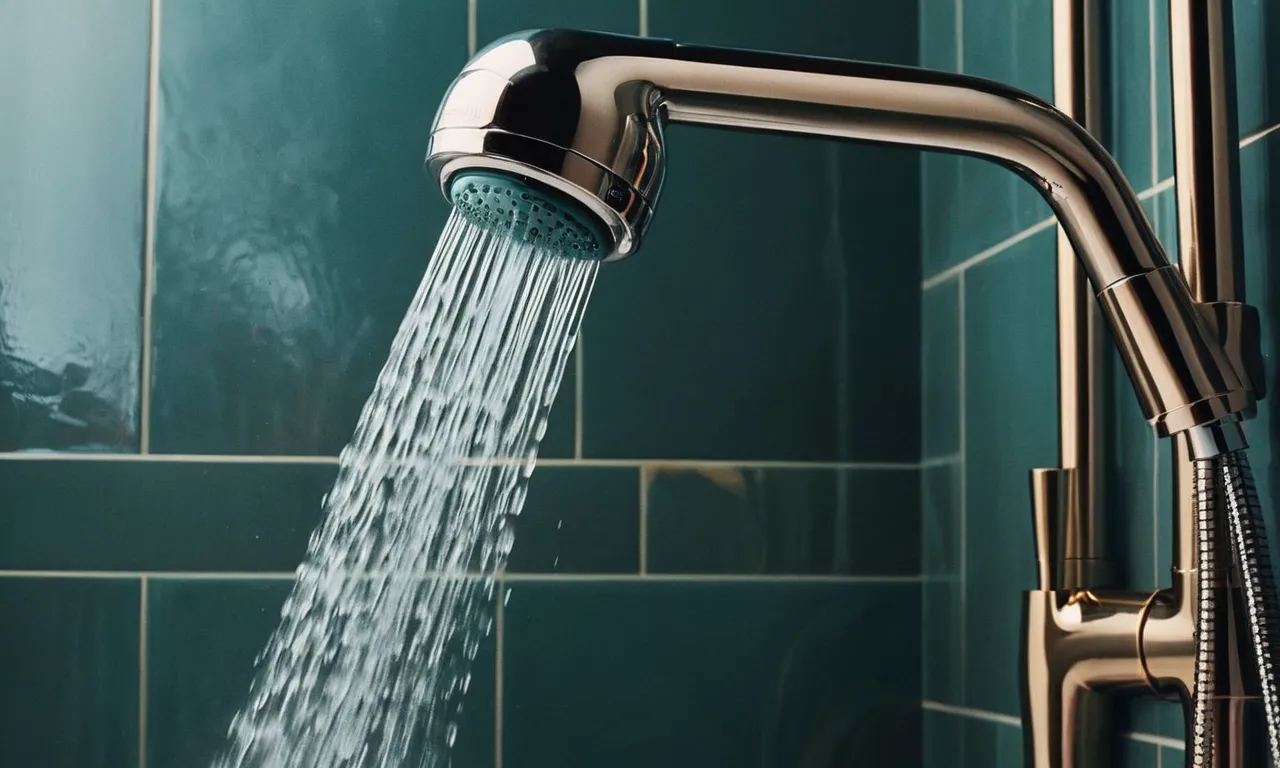
If you’re looking to upgrade your shower experience with a new shower head, you may be wondering how difficult it is to connect it to your existing plumbing. The good news is that installing a new shower head is a relatively straightforward DIY project that most homeowners can tackle themselves with some basic tools and a little bit of know-how.
If you’re short on time, here’s a quick answer to your question: connecting a shower head to an existing faucet is easy with the right adapter. You’ll need either a shower arm adapter or a faucet-to-shower adapter, along with plumber’s tape.
Just screw the adapter onto the faucet, wrap the threads with tape, and attach the shower head.
Assess Your Existing Plumbing
Before connecting a shower head to a faucet, it is important to assess your existing plumbing to ensure a proper fit. This will help you determine the necessary steps and materials needed for the installation process.
Identify the type of faucet you have
The first step in assessing your existing plumbing is to identify the type of faucet you have. There are different types of faucets available, such as single-handle faucets, double-handle faucets, and wall-mounted faucets. Each type may require a different approach when connecting a shower head.
If you are unsure about the type of faucet you have, you can consult the manufacturer’s website or contact a professional plumber for assistance. They can provide you with the necessary information and guidance.
Check for a shower arm or other existing adapter
Next, you should check if your faucet already has a shower arm or any other existing adapter. A shower arm is a pipe that extends from the wall and connects to the shower head. Some faucets come with a built-in shower arm, while others may require an adapter to be installed.
If your faucet does not have a shower arm or adapter, you will need to purchase one that is compatible with your faucet. It is important to choose the right size and type of adapter to ensure a proper fit and prevent any leaks.
You can find shower arms and adapters at your local hardware store or online. It is recommended to consult the manufacturer’s instructions or seek professional advice to ensure you select the appropriate product.
Assessing your existing plumbing is an essential step in connecting a shower head to a faucet. By identifying the type of faucet you have and checking for any existing adapters, you can ensure a smooth and successful installation process.
Remember to follow the manufacturer’s instructions and seek professional assistance if needed.
Obtain the Necessary Adapter
When it comes to connecting a shower head to a faucet, one of the first steps is to obtain the necessary adapter. The adapter serves as a bridge between the shower head and the faucet, allowing for a secure and leak-free connection.
There are two main types of adapters that you may need to consider: the shower arm adapter and the faucet-to-shower adapter.
Shower Arm Adapter
The shower arm adapter is a crucial component when connecting a shower head to a faucet. This adapter is typically used when you want to replace an existing shower head with a handheld one or when you want to attach a shower head to a wall-mounted faucet.
It connects to the shower arm, which is the pipe that extends from the wall and holds the shower head. The shower arm adapter ensures a proper fit and allows for easy installation of the new shower head.
Faucet-to-Shower Adapter
The faucet-to-shower adapter, on the other hand, is used when you want to connect a shower head directly to a faucet without a shower arm. This adapter is particularly useful in situations where you don’t have a separate shower area or when you’re looking for a temporary solution.
The faucet-to-shower adapter attaches to the end of the faucet and provides a connection point for the shower head. It typically comes with a diverter valve that allows you to switch between the faucet and the shower head.
When choosing an adapter, it is important to consider the compatibility between the adapter and your specific shower head and faucet. Some adapters are designed to fit specific brands or models, so be sure to check the specifications before making a purchase.
Additionally, it may be helpful to consult with a professional or refer to reputable plumbing resources for guidance on the best adapter for your needs.
Prepare the Connection Points
Before connecting a shower head to a faucet, it is important to properly prepare the connection points. This will ensure a secure and leak-free connection that will provide you with a satisfying shower experience. Here are two key steps to follow:
Clean the faucet threads
Start by cleaning the threads on the faucet where the shower head will be attached. Over time, mineral deposits and debris can accumulate on these threads, which can interfere with the proper connection. Use a soft cloth or a toothbrush to gently scrub the threads and remove any buildup.
This will help create a smooth surface for the shower head to be screwed on.
Use plumber’s tape on the threads
Once the faucet threads are clean, it is recommended to use plumber’s tape to create a tight seal. Plumber’s tape, also known as Teflon tape, is a thin white tape that is wrapped around the threads to prevent leaks.
To apply the tape, start at the base of the threads and wrap it clockwise around the threads. Be sure to wrap the tape tightly and evenly, making at least three complete rotations. This will help provide a watertight connection between the faucet and the shower head.
Pro Tip: When applying plumber’s tape, make sure to avoid covering the first few threads closest to the faucet opening. This will prevent any loose tape from entering the faucet and potentially causing clogs.
For more detailed instructions and visuals, you can visit homeplumbing.co, a reputable website that provides step-by-step guides on various plumbing tasks.
Install the Adapter and Attach the Shower Head
Hand-tighten the adapter onto the faucet
Before attaching the shower head to the faucet, you’ll need to install an adapter. The adapter allows you to connect the shower head to the faucet securely. Start by ensuring that the faucet is turned off and dry. Take the adapter and hand-tighten it onto the faucet.
Make sure it is securely attached, but be careful not to overtighten it, as this may cause damage. If you’re unsure about the compatibility of the adapter with your faucet, consult the manufacturer’s instructions or seek professional assistance.
Attach the shower head to the adapter
Once the adapter is firmly in place, it’s time to attach the shower head. Take the shower head and screw it onto the adapter in a clockwise direction. Ensure that the connection is tight, but again, be cautious not to overtighten.
If your shower head has a rubber washer, make sure it is in place to prevent any leaks. If you’re using a handheld shower head, you may need to attach a bracket to the wall to hold the shower head when not in use.
Follow the instructions provided with your specific shower head for proper installation.
Check for leaks
After attaching the shower head, it’s essential to check for any leaks. Turn on the water and allow it to flow through the shower head. Inspect the connection points between the faucet, adapter, and shower head for any signs of leakage.
If you notice any leaks, try tightening the connections a bit more. If the leaks persist, you may need to replace the adapter or seek professional assistance. Remember, a secure and leak-free connection is vital for a hassle-free showering experience.
Conclusion
Upgrading to a new shower head is an easy way to improve your bathing experience. With the right adapter and a few simple tools, connecting a shower head to your existing bathroom faucet can be a quick DIY job.
Just take your time, ensure a tight seal with plumber’s tape, and check for leaks after installation. Enjoy the luxurious feel of your new shower spray!


