How To Remove Urine Stains From Wood Floors
Urine stains on wood floors are an unsightly nuisance, but with the right techniques and products, they can be removed. In this comprehensive guide, we’ll walk you through everything you need to know to get rid of those pesky stains.
If you’re short on time, here’s a quick answer to your question: Mix equal parts white vinegar and water and use a clean cloth to blot the stained area. Let it sit for 5-10 minutes before blotting it dry. Then, apply an enzyme cleaner and let it sit before scrubbing and rinsing.
Assessing the Stain
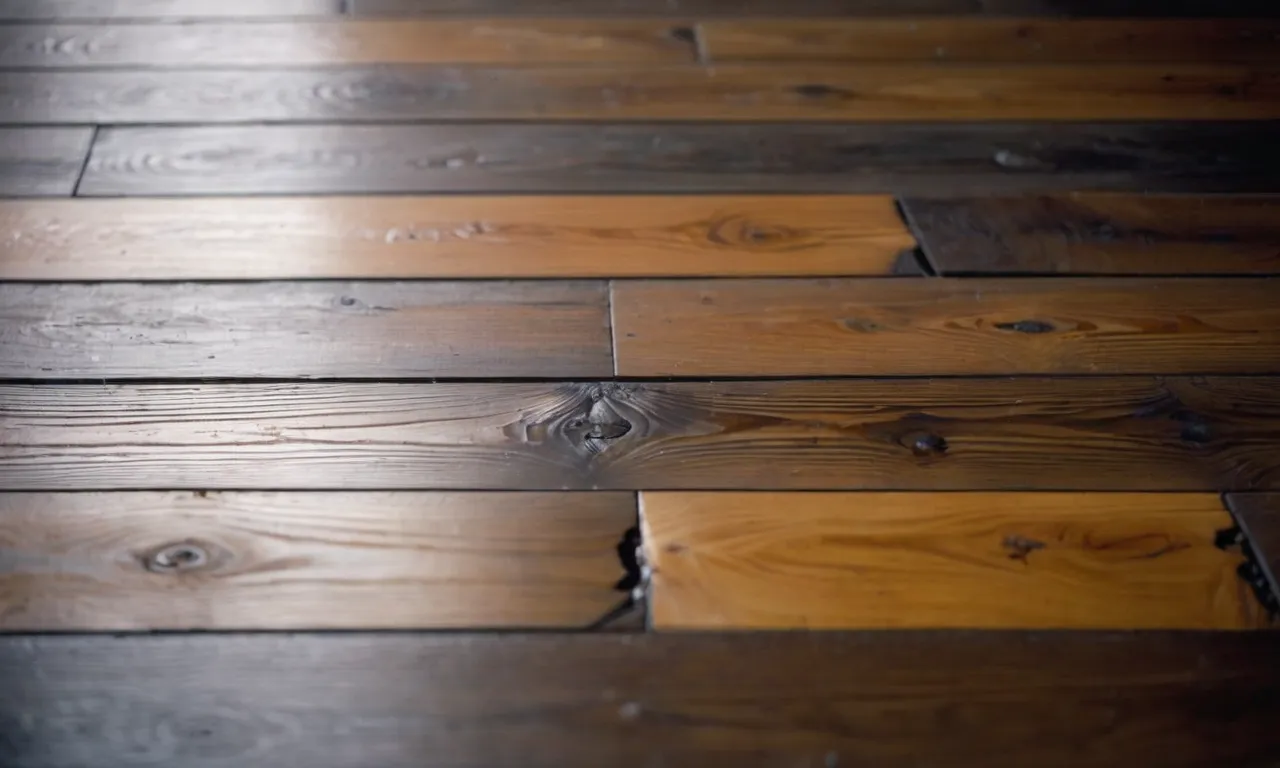
When it comes to removing urine stains from wood floors, the first step is to assess the stain. This will help you determine the best course of action to take in order to effectively remove it. Here are some important factors to consider:
Determine the age of the stain
The age of the urine stain can play a role in how difficult it is to remove. Fresh stains are generally easier to clean compared to older stains that may have penetrated deeper into the wood. If you notice a fresh stain, it’s best to act quickly to prevent it from setting in.
Identify the type of wood flooring
Not all wood floors are created equal, and different types of wood may require different cleaning methods. It’s important to identify the type of wood flooring you have in order to choose the most appropriate cleaning solution.
For example, hardwood floors may require a different approach compared to laminate or engineered wood floors.
Test stain removers in an inconspicuous area
Before applying any stain remover to the urine stain, it’s always a good idea to test it in an inconspicuous area of the wood floor. This will help you determine if the stain remover is safe to use and if it will cause any damage or discoloration to the wood.
It’s better to be safe than sorry, so take the time to perform this test before moving forward.
Remember, each urine stain is unique and may require a slightly different approach. By properly assessing the stain, you can ensure that you’re taking the necessary steps to effectively remove it without causing any further damage to your wood floors.
Preparing to Remove the Stain
Before you start removing urine stains from your wood floors, it’s important to properly prepare for the task at hand. This will help ensure that you have everything you need and that you can safely and effectively remove the stain without causing any damage to the wood.
Here are some steps to follow:
Clear the area around the stain
Begin by clearing the area around the urine stain. Remove any furniture or objects that may be in the way to give yourself ample space to work. This will prevent any accidental spills or damage to your belongings.
Gather the necessary supplies
Next, gather all the supplies you’ll need to remove the urine stain. This typically includes:
- A clean cloth or paper towels
- Warm water
- Mild soap or wood floor cleaner
- Hydrogen peroxide
- White vinegar
- Wood floor polish or wax (optional)
Having these supplies ready will make the stain removal process much smoother and efficient.
Protect your hands and eyes
When working with cleaning solutions, it’s important to protect your hands and eyes. Wear gloves to protect your hands from any potential irritation caused by the cleaning products. Additionally, consider wearing safety goggles to protect your eyes from any splashes or fumes.
Pro Tip: If you’re unsure about which cleaning products to use or how to effectively remove the urine stain, consult the manufacturer’s guidelines for your specific type of wood flooring. Their recommendations will provide you with the most accurate and safe cleaning instructions.
By following these preparatory steps, you’ll be well-equipped to tackle the urine stain on your wood floors with confidence and minimize the risk of any further damage.
Trying Vinegar and Water
If you’re dealing with urine stains on your beautiful wood floors, one effective method to try is using vinegar and water. Vinegar is a natural cleaning agent that can help break down the urine and eliminate any lingering odors. Here’s how to do it:
Mix vinegar and water
Start by mixing equal parts of vinegar and water in a spray bottle. The vinegar acts as a disinfectant and helps to neutralize the urine stain. Make sure to use white vinegar, as it is less likely to leave behind any residue or discoloration on your wood floors.
Blot the stain repeatedly
Once you have your vinegar and water mixture ready, spray it directly onto the urine stain. Take a clean cloth or paper towel and gently blot the stain, being careful not to scrub or rub it. Blotting helps to lift the stain from the wood fibers without spreading it further.
Let the mixture sit before drying
After blotting the stain, allow the vinegar and water mixture to sit on the affected area for a few minutes. This will give the solution time to penetrate the wood and break down the urine stain. Once the mixture has had time to work its magic, use a clean cloth or paper towel to blot up any excess liquid.
This method can be highly effective in removing urine stains from wood floors. However, it’s always a good idea to test the vinegar and water mixture on a small, inconspicuous area of your floor before applying it to the stain.
If you’re unsure about using vinegar on your specific type of wood flooring, consult the manufacturer’s guidelines or seek professional advice.
Using Enzyme Cleaners
When it comes to removing urine stains from wood floors, using enzyme cleaners can be highly effective. Enzyme cleaners are specifically formulated to break down the organic compounds found in urine, eliminating both the stain and the odor.
Choose an enzyme cleaner formulated for pet stains
Not all enzyme cleaners are created equal, so it’s important to choose one that is specifically formulated for pet stains. These cleaners contain enzymes that target the bacteria and proteins in urine, ensuring a thorough and complete cleanup.
Look for products that are labeled as pet stain removers or urine odor eliminators.
Apply the enzyme cleaner liberally
Once you have selected the right enzyme cleaner, it’s time to apply it to the urine stain on your wood floor. Start by blotting up any excess urine with a clean cloth or paper towel. Then, saturate the stain with the enzyme cleaner, making sure to cover the entire affected area.
Let it sit before scrubbing
After applying the enzyme cleaner, it’s important to let it sit on the stain for a period of time. This allows the enzymes to work their magic and break down the urine particles. Check the instructions on the cleaner’s packaging for specific guidance on how long to let it sit.
Once the recommended time has passed, you can use a soft brush or sponge to gently scrub the stained area. Be sure to use a gentle motion to avoid damaging the wood. After scrubbing, blot up any excess cleaner with a clean cloth or paper towel.
Repeat the process if necessary, as some stubborn stains may require multiple applications. Once the stain is completely removed, rinse the area with clean water and dry it thoroughly.
Remember, it’s always a good idea to spot test the enzyme cleaner on a small, inconspicuous area of your wood floor before using it on the stain. This will ensure that it doesn’t cause any discoloration or damage to the wood.
For more information on enzyme cleaners and their effectiveness in removing urine stains from wood floors, you can visit petmd.com.
Scrubbing with Baking Soda
Make a baking soda paste
If you’re dealing with stubborn urine stains on your wood floors, scrubbing with baking soda can be a highly effective solution. To make a baking soda paste, simply mix a small amount of baking soda with water until it forms a thick, spreadable consistency.
The alkaline nature of baking soda helps to break down the stains and neutralize odors.
Gently scrub the paste into the wood
Once you have your baking soda paste ready, take a soft cloth or sponge and apply the paste onto the urine-stained area of the wood floor. Gently scrub the paste into the wood using circular motions. Be sure to cover the entire stained area and work the paste into the grain of the wood.
This will help to lift the stain and remove any lingering odors.
Rinse thoroughly afterwards
After scrubbing the baking soda paste into the wood, it’s important to rinse the area thoroughly to remove any residue. Use a clean cloth or sponge dampened with water to wipe away the baking soda paste.
Make sure to remove all traces of the paste to prevent it from leaving a white film on the wood surface.
Pro tip: For extra cleaning power, you can add a few drops of white vinegar to the water used for rinsing. Vinegar is known for its natural cleaning properties and can help to eliminate any remaining stains or odors.Remember: Before applying any cleaning solution to your wood floors, it’s always a good idea to test it on a small, inconspicuous area first to ensure that it doesn’t cause any damage or discoloration.
Sealing and Protecting the Floor
When it comes to removing urine stains from wood floors, it is essential to take preventative measures to protect the floor and prevent future stains. Here are some effective ways to seal and protect your wood floors:
Apply a wood floor sealant
One of the best ways to protect your wood floors from urine stains is by applying a wood floor sealant. A sealant acts as a protective barrier, preventing liquid from seeping into the wood and causing stains. It also helps to enhance the natural beauty of the wood and increase its lifespan.
There are different types of wood floor sealants available in the market, such as polyurethane, acrylic, and wax-based sealants. It is important to choose the right sealant based on the type of wood and finish of your floors.
Refer to websites like HGTV for detailed instructions on how to apply sealant to your wood floors.
Consider repainting or refinishing
If you have already tried removing urine stains from your wood floors and they are still visible, you may want to consider repainting or refinishing the affected areas. This process involves sanding down the stained area, removing the existing finish, and applying a new coat of stain or paint.
Repainting or refinishing not only helps to remove stubborn stains but also gives your wood floors a fresh and rejuvenated look. However, it is important to note that this process may require professional expertise, especially if you are not familiar with refinishing wood floors.
Consult websites like DIY Network for step-by-step instructions or consider hiring a professional for the job.
Prevent future stains with training
While sealing and refinishing can help remove existing urine stains, it is equally important to prevent future stains by training pets or individuals who may be responsible for accidents. Properly potty training pets or establishing bathroom routines for family members can significantly reduce the chances of urine stains on your wood floors.
Additionally, consider using protective mats or rugs in areas where accidents are more likely to occur, such as near pet feeding stations or around toilets. These mats can act as a barrier, preventing direct contact between urine and the wood floor.
Remember, prevention is always better than cure when it comes to protecting your wood floors from urine stains. By following these sealing and protecting methods, you can maintain the beauty and longevity of your wood floors for years to come.
Conclusion
Urine stains on wood floors can be frustrating, but with a combination of ingredients like vinegar, enzyme cleaners, and baking soda, you can get rid of them. Assess the stain, prep the area, and work the stain removers into the wood for best results.
Sealing and protecting the floor afterwards will help prevent stains in the future. With a little time and elbow grease, you can have your wood floors looking clean and beautiful again.

