Whirlpool In-Door Ice Maker Not Working? Here’S How To Fix It
If you open your Whirlpool refrigerator door and find your in-door ice maker is not producing ice, it can be incredibly frustrating. But never fear – most issues with ice makers can be easily fixed with some simple troubleshooting steps.
If you’re short on time, here’s a quick answer to your question: The most common reasons a Whirlpool in-door ice maker stops working are a frozen water line, jammed ice cubes, a faulty water inlet valve, or a failed control module. Check these first before moving on to other troubleshooting steps.
In this comprehensive guide, we’ll outline the top reasons your Whirlpool ice maker isn’t working and provide step-by-step instructions to get it up and running again.
Check if the Freezer Temperature is Cold Enough
If your Whirlpool in-door ice maker is not working, one of the first things you should check is the temperature of your freezer. The ice maker relies on a cold environment to freeze the water and create ice cubes. If the freezer temperature is not cold enough, it can cause issues with the ice maker.
Here are a couple of steps to follow:
Set freezer temperature between 0 – 10 degrees Fahrenheit
Make sure that the freezer temperature is set within the recommended range of 0 – 10 degrees Fahrenheit. If the temperature is set too high, it can prevent the ice maker from functioning properly. Adjust the temperature settings accordingly and wait for the freezer to reach the desired temperature.
Allow 24 hours for temperature to stabilize
After adjusting the freezer temperature, it’s important to give it some time to stabilize. Allow at least 24 hours for the temperature to settle before checking if the ice maker is working again. This waiting period ensures that the freezer reaches the desired temperature consistently, providing the optimal conditions for the ice maker to operate efficiently.
If you’re unsure about the recommended temperature settings for your specific Whirlpool model, refer to the manufacturer’s manual or visit the official Whirlpool website for more information. Additionally, if you continue to experience issues with your ice maker even after adjusting the freezer temperature, it may be necessary to contact a professional technician for further assistance.
Make Sure the Water Supply Line is Not Frozen
If you’re experiencing issues with your Whirlpool in-door ice maker, one of the first things you should check is whether the water supply line is frozen. This is a common problem that can prevent the ice maker from working properly. Here are some steps you can take to fix it:
Turn off the ice maker and unplug the refrigerator
Before you start troubleshooting, it’s important to turn off the ice maker and unplug the refrigerator for safety reasons. This will ensure that no electrical power is running through the appliance while you work on it.
Disconnect the water line and check for obstructions
Next, locate the water supply line that connects to the ice maker. Disconnect it from the refrigerator and visually inspect it for any obstructions. Sometimes, debris or ice can accumulate in the line, causing a blockage that prevents water from flowing.
Run warm water through the line to thaw ice blockage
If you find any obstructions in the water line, you can try running warm water through it to thaw the ice blockage. This can be done by placing the line under a faucet or using a hairdryer on a low heat setting. Be sure to use caution and avoid using hot water, as it can damage the line.
Reconnect the water line and turn refrigerator back on
Once you’ve cleared any obstructions and thawed the ice blockage, reconnect the water line to the refrigerator. Make sure it is securely attached. Then, plug the refrigerator back in and turn on the ice maker. Give it some time to see if the issue is resolved and if the ice maker starts working again.
If you have followed these steps and your Whirlpool in-door ice maker is still not working, it may be time to contact a professional for further assistance. They will have the expertise to diagnose and fix any underlying issues that may be causing the problem.
Check for Jammed Ice Cubes
If your Whirlpool in-door ice maker is not working, one of the first things you should check for is jammed ice cubes. Sometimes, ice cubes can get stuck in the ice maker, preventing it from functioning properly. Here are a few steps you can take to resolve this issue:
Remove ice storage bin and check for jammed cubes
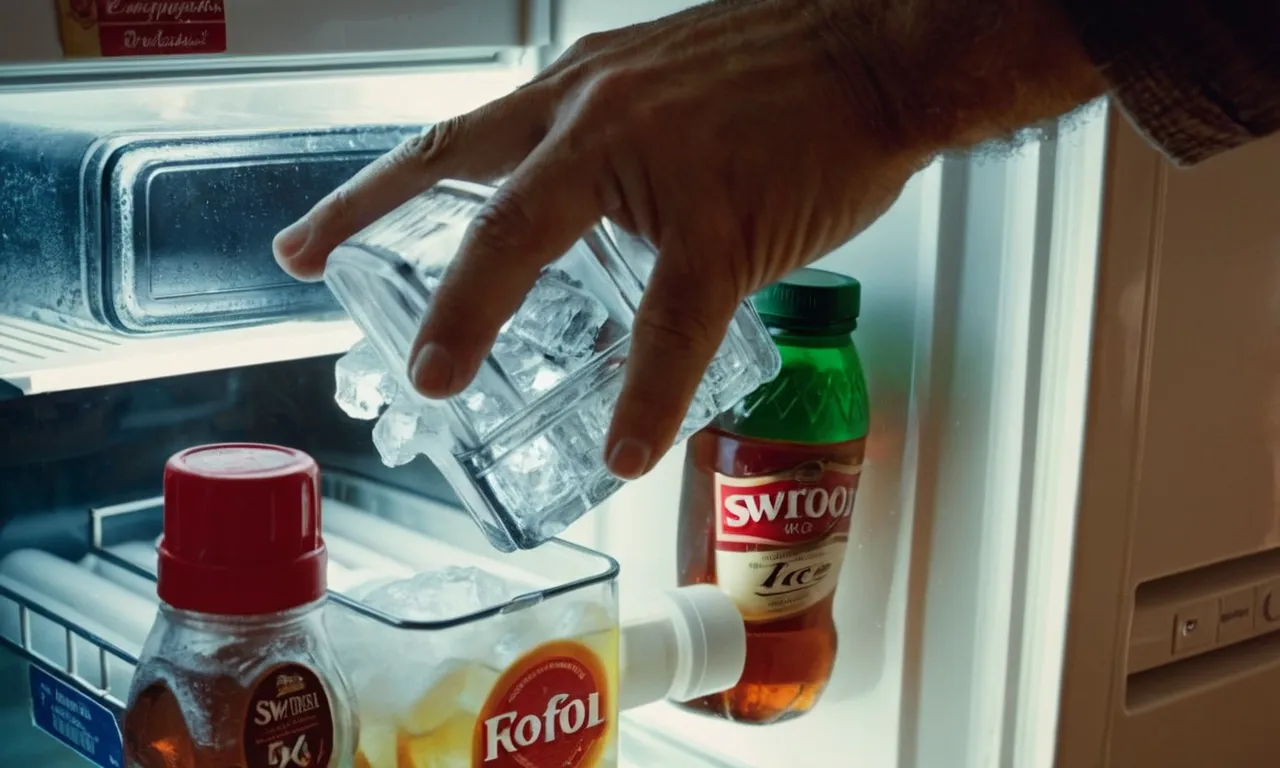
The first step is to remove the ice storage bin from your refrigerator. This will give you a clear view of the ice maker and allow you to check for any jammed cubes. Look for any ice cubes that might be blocking the ice maker’s mechanism.
Use a plastic utensil to gently loosen stuck ice
If you see any jammed ice cubes, try using a plastic utensil, such as a spoon or a spatula, to gently loosen them. Be careful not to use anything sharp or metallic, as this could damage the ice maker or the storage bin.
Once you’ve loosened the ice cubes, give the ice maker a few moments to reset itself.
Discard clumped ice cubes
In some cases, the ice cubes in the storage bin may clump together, causing them to get stuck in the ice maker. If this is the case, it’s best to discard the clumped ice cubes and start fresh. Simply empty the ice bin and dispose of the clumped ice.
Then, refill the bin with fresh ice cubes and see if the ice maker starts working again.
By following these steps, you may be able to resolve the issue with your Whirlpool in-door ice maker. However, if the problem persists, it’s always a good idea to consult the user manual or contact Whirlpool customer support for further assistance.
Test the Water Inlet Valve
If your Whirlpool in-door ice maker is not working, one of the first things to check is the water inlet valve. The water inlet valve is responsible for supplying water to the ice maker and if it is not functioning properly, it can prevent the ice maker from making ice.
Here’s how you can test the water inlet valve:
1. Locate the valve at the back bottom of the refrigerator
The water inlet valve is usually located at the back bottom of the refrigerator. It is connected to the water supply line and is responsible for controlling the flow of water to the ice maker. Before testing the valve, make sure to disconnect the power to the refrigerator and shut off the water supply.
2. Listen for buzzing/clicking noise indicating valve is opening
Once you have located the water inlet valve, you can listen for a buzzing or clicking noise when the ice maker is trying to fill with water. This noise indicates that the valve is opening and water should be flowing to the ice maker. If you do not hear any noise, there may be an issue with the valve.
3. If no noise, test with multimeter and replace if defective
If you do not hear any noise coming from the water inlet valve, you can test it using a multimeter. Set the multimeter to the resistance setting and place the probes on the terminals of the valve. If the multimeter shows a reading of infinity or zero, it means the valve is defective and needs to be replaced.
Note: It is always recommended to consult the Whirlpool user manual or contact Whirlpool customer support for specific instructions and guidelines on testing and replacing the water inlet valve.
Reset the Control Module
Unplug refrigerator for 1 minute to reset control board
If you’re facing issues with your Whirlpool in-door ice maker not working, one of the first troubleshooting steps you can take is to reset the control module. To do this, simply unplug the refrigerator from the power source and leave it unplugged for about a minute.
This will allow the control board to reset and may resolve any temporary glitches or errors that were preventing the ice maker from functioning properly.
While performing the reset, it’s a good idea to inspect the power cord for any visible damage that may be causing the issue. If you notice any frayed wires or exposed metal, it’s important to replace the cord before plugging the refrigerator back in.
Remember, safety first! Always exercise caution when dealing with electrical appliances. If you’re unsure or uncomfortable with performing the reset yourself, it’s best to consult a professional technician to avoid any potential hazards.
Plug back in and give 24 hours to restart ice production
After the one-minute reset, plug the refrigerator back into the power source. Allow the refrigerator to power up and give it some time to restart ice production. It’s important to note that it may take up to 24 hours for the ice maker to start producing ice again.
During this time, it’s a good idea to monitor the temperature settings in the refrigerator and freezer. Ensure that they are set to the recommended levels, as improper temperatures can also affect ice production.
Consult the user manual or the Whirlpool website for specific temperature recommendations for your model.
If after 24 hours the ice maker is still not producing ice, it may be necessary to further troubleshoot the issue or seek professional assistance. The problem could be due to a faulty control module, a clogged water line, or other mechanical or electrical issues that require expert intervention.
For more detailed troubleshooting steps and support, you can visit the official Whirlpool website at www.whirlpool.com or contact their customer service for assistance.
Check Refrigerator Door Seal for Leaks
One common cause of a malfunctioning in-door ice maker in a Whirlpool refrigerator is a faulty door seal. The door seal, also known as a gasket, is responsible for keeping the cold air inside the fridge and preventing warm air from entering.
Over time, the seal may wear out or become damaged, resulting in leaks that can affect the ice maker’s performance. Here’s how you can check and fix the refrigerator door seal to get your ice maker working again.
Use a dollar bill to test seal tightness when door closed
An easy way to check the tightness of your refrigerator’s door seal is by using a dollar bill. Close the refrigerator door with the dollar bill partially sticking out. Try to pull the bill out. If you feel resistance and the bill doesn’t slide out easily, it indicates that the seal is tight and in good condition.
However, if the bill slides out without much effort from any point, there may be a leak in the seal that needs to be addressed.
Replace seal if bill slides out easily from any point
If the dollar bill slides out easily from any point when testing the door seal, it’s a clear indication that the seal is compromised and needs to be replaced. A damaged seal can result in cold air escaping, causing temperature fluctuations inside the refrigerator and affecting the ice maker’s ability to function properly.
To replace the seal, you can contact the manufacturer or a professional technician to ensure the correct seal is installed.
Remember, a faulty door seal can not only impact the performance of your in-door ice maker but also lead to energy wastage and higher electricity bills. It’s important to regularly inspect and maintain the door seal to keep your refrigerator running efficiently.
Replace Ice Maker Assembly
If above steps don’t work, ice maker may need replaced
If you have followed all the troubleshooting steps mentioned earlier and your Whirlpool in-door ice maker is still not working, it might be time to consider replacing the ice maker assembly. Sometimes, despite our best efforts, certain parts of the ice maker can wear out or malfunction, leading to a complete breakdown.
In such cases, replacing the entire assembly is often the most effective solution.
Before you proceed with replacing the ice maker assembly, it is important to first identify the exact part that needs to be replaced. To do this, consult your Whirlpool manual for the proper part number.
The manual will provide you with detailed instructions on how to identify and remove the faulty ice maker assembly.
Consult manual for proper part number and replace assembly
Once you have identified the correct part number, you can then proceed to purchase a replacement ice maker assembly. It is important to buy the assembly from a reliable source to ensure its compatibility and quality.
When installing the new ice maker assembly, make sure to follow the instructions provided in the manual. Take your time and be careful during the installation process to avoid any damage to the new assembly or other components of your refrigerator.
Replacing the ice maker assembly can be a more complex task compared to the earlier troubleshooting steps. It may require some basic knowledge of electrical connections and mechanical skills. If you feel uncomfortable or unsure about performing the replacement yourself, it is always recommended to seek professional assistance.
A qualified technician will be able to efficiently replace the ice maker assembly and ensure that it is installed correctly.
Remember, replacing the ice maker assembly is often the last resort when all other troubleshooting methods have failed. However, it can be a highly effective solution to get your Whirlpool in-door ice maker back up and running smoothly.
Conclusion
Troubleshooting a non-working ice maker may seem daunting, but in most cases, the fix involves a simple DIY repair or part replacement. Following the steps above will help you get to the bottom of the issue.
The most common culprits are a frozen water line, jammed ice cubes, a faulty water inlet valve, or a bad control module. Checking and addressing these potential problems first before replacing the entire ice maker assembly can save you time and money.
With some diligent troubleshooting, you’ll soon be back to enjoying freshly-made ice from your Whirlpool refrigerator’s in-door ice maker.

