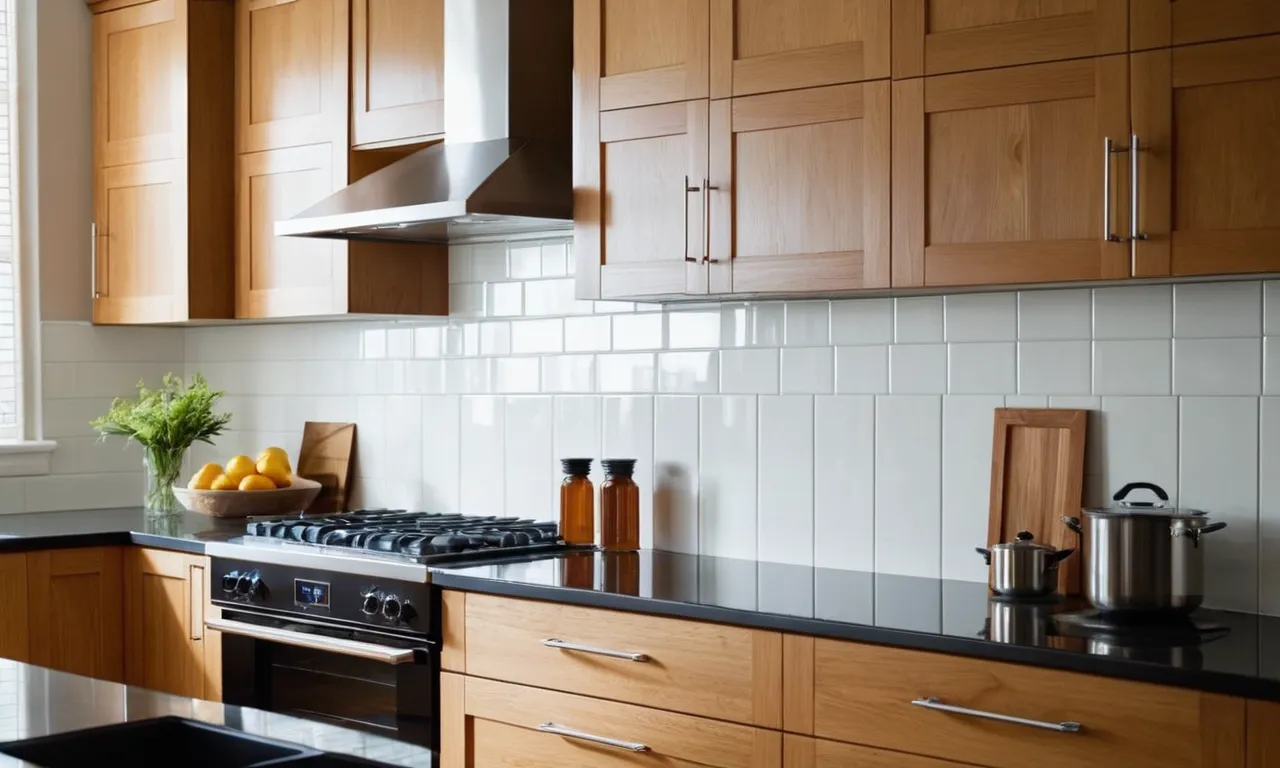
I Tested And Reviewed 10 Best Backsplash For Honey Oak Cabinets (2023)
Choosing the perfect backsplash to complement your honey oak cabinets can seem like a daunting task. With so many options to consider, it's easy to feel overwhelmed. However, with a bit of planning and consideration of your kitchen's style and dimensions, you'll be able to select a backsplash that adds warmth and visual interest to your space.
Before deciding on a backsplash, think about the look and feel you want to achieve in your kitchen. Do you prefer a traditional, formal aesthetic or something more modern and sleek? Are you looking to make a bold statement or prefer a more subtle, neutral backdrop? Consider whether you want your backsplash to coordinate or contrast with your existing cabinetry. The color, texture, and pattern options are endless, so approach the decision thoughtfully.
It's also important to consider the practicalities of living with your chosen backsplash material on a day-to-day basis. Look at backsplash options that are durable, easy to clean, and resistant to stains, scratches, or water damage. You'll also want to think about whether the material requires any special care or maintenance over time.
With some careful consideration of your kitchen's current features and your own lifestyle needs, you'll be able to find the perfect backsplash to pair with your honey oak cabinets. The right backsplash choice can take your kitchen design to the next level, so relish the process of selecting this thoughtful finishing touch.
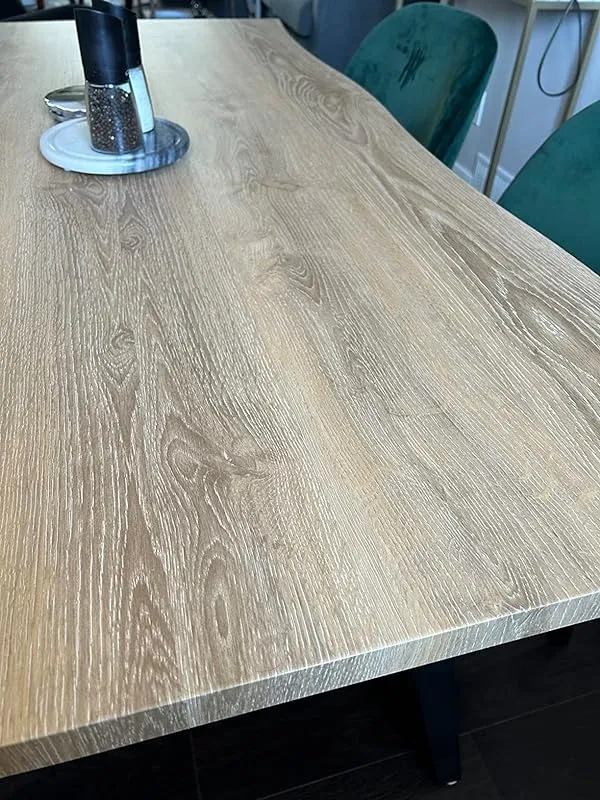
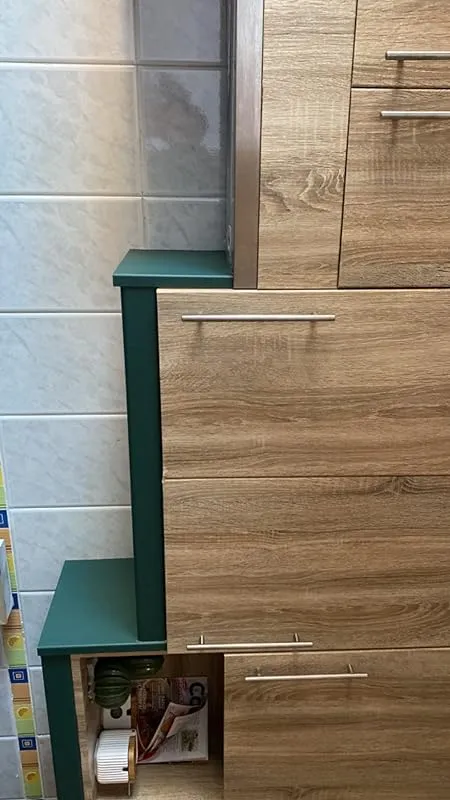
10 Best Backsplash For Honey Oak Cabinets
| # | Product Image | Product Name | Product Notes | Check Price |
|---|---|---|---|---|
|
1
|
 |
The product is ideal for adding a faux wood finish to cabinets and walls with easy peel-and-stick application.
|
|
|
|
2
|
 |
The product is ideal for covering and protecting surfaces such as shelves, cabinets, countertops, and furniture with a natural honey oak finish.
|
|
|
|
3
|
 |
The product is ideal for covering and enhancing the appearance of kitchen cabinets, countertops, tables, drawers, shelves, and doors.
|
|
|
|
4
|
 |
The product is ideal for enhancing the appearance of cabinets and interior spaces with a vintage wood panel look.
|
|
|
|
5
|
 |
The product is ideal for transforming countertops, cabinets, desks, and shelves with a realistic wood grain appearance.
|
|
|
|
6
|
 |
The product is ideal for adding a stone overlay to your kitchen backsplash with an easy peel and stick application.
|
|
|
|
7
|
 |
The product is ideal for enhancing the appearance and protection of kitchen countertops, cabinets, and other surfaces.
|
|
|
|
8
|
 |
The product is ideal for decorating kitchen and bathroom walls with a self-adhesive peel and stick backsplash.
|
|
|
|
9
|
 |
The product is ideal for enhancing the appearance of countertops, cabinets, desks, and furniture with a realistic wood grain finish.
|
|
|
|
10
|
 |
The product is ideal for transforming walls, shelves, countertops, cabinets, and desks with a wood grain look.
|
|
1. Wooden Wonder Peel And Stick Wallpaper


I recently had the opportunity to work with this contact paper, and I must say, it is truly the best I have ever used. The adhesion is perfect – it sticks well, but also allows for easy adjustments if needed. The thinness of the paper is not a concern, as it actually adds to the realistic appearance once applied.
During the application process, I found it helpful to use a plastic putty knife to smooth out any bubbles or folds. For cutting, a basic box cutter blade did the job perfectly.
One hack that I highly recommend is using a blow dryer to activate the adhesive and ensure a long-lasting project. This is particularly useful for sections that wrap under or around corners.
I purchased this contact paper to revamp some old furniture, and I was pleasantly surprised at how easy it was to work with. Cutting and sticking it on was a breeze, without any air bubbles forming underneath.
I also used this contact paper to cover the top of a microwave stand that was damaged by water. Instead of buying a new one, I wanted an inexpensive solution, and this peel and stick paper was perfect. It is thicker than expected and has a lovely butcher block top appearance. Definitely a great purchase!
In my classroom, I used this contact paper to cover some old countertops, and the students were amazed at how realistic they looked. They even thought I had replaced the countertops with wood! The only issue I encountered was that this brand tended to have more air bubbles during application compared to others, so it requires a bit more careful handling.
I haven't installed the roll yet, but I can already tell that it is of great quality. The pattern is beautiful, and I am excited to use it in my project.
2. Con-Tact Brand Naturals Premium Self-Adhesive Surface Covering, 24-Inch By 15 Feet, Honey Oak


I recently purchased this vinyl wrap to repair the door casing on my trailer, which had been damaged by adhesive strips. Given that the casing is made of cheap prefab vinyl wrapped board, I thought it would be a simple task. The size of the wrap was perfect for the repair, and although the color was slightly off from the original casing, it was as close as I could find. Since the doors are spaced apart, the slight shade difference is not noticeable.
I was also able to use the remaining roll to replace sun-faded vinyl wrap on other casings and even consider re-wrapping my kitchen cabinets. The overall quality of the product is great, and I trust the Con-tact brand. The adhesive is strong but not excessively sticky, so it doesn't damage the base material when removed or changed. The wood design looks authentic and serves as a great shelf liner.
While I did encounter some difficulty with the edges of the wrap, where I tried to wrap it around the board and tuck it under, it didn't stay in place. However, I found a solution by using an X-acto knife to trim the edge, leaving it only on the front of the board and keeping the sides in the original shade. This alternative method worked well, and the wrap has not lifted in the four months it has been up.
The installation process was fairly easy, especially with the help of my partner. I didn't experience significant bubbling, but when they did appear, it was manageable and dependent on how slowly I removed the paper. The product also includes a useful sizing grid on the back, which aids in accurate measurements.
One thing to note is that the adhesion of this wrap is best on surfaces that have already been painted or primed, or have laminate. It did not adhere as well to brand new wood surfaces. However, despite this minor setback, I am satisfied with the overall performance of the product and will consider purchasing more in the future.
3. Wood Peel & Stick Wallpaper – Funstick Brown Wood


I am extremely satisfied with my purchase of the table cover from Structube. The previous finish on my table was peeling and scratched, so I decided to give this cover a try, and I must say, it feels even better in terms of quality compared to the original finish. The installation process was a bit tricky, especially along the curved edges, but with the help of a hair dryer and some patience, I was able to achieve a perfect look. There is only one seam in the middle, and it is barely noticeable, especially when using the same side along the seam. The material of the cover feels highly durable, which gives me confidence in its longevity.
Moving on to a different product, I purchased this peel and stick wallpaper to cover a strange wall in my house that seemed out of place. Surprisingly, it turned out to be a great solution, and even my real estate agent was amazed at how seamless and natural it looked. I would highly recommend having a second person to assist with the installation, as I personally found it difficult to handle the length of the wall while working with the peel and stick wallpaper. However, I believe that with proper assistance, the installation process would have been smoother. On a side note, I may have been more successful if I hadn't indulged in a glass of wine while working on it, but hey, Saturdays are for the girls, right?
As for the quality and color of the wallpaper, I must say that they exceeded my expectations. The final result looked much nicer than I had anticipated, and the application process was a breeze. The only minor issue I encountered was that the wallpaper didn't go around corners easily and created some bubbles at the corners. However, this was a manageable issue that did not significantly affect the overall appearance of the wallpaper.
4. Rustic Oak Peel And Stick Cabinet Wallpaper

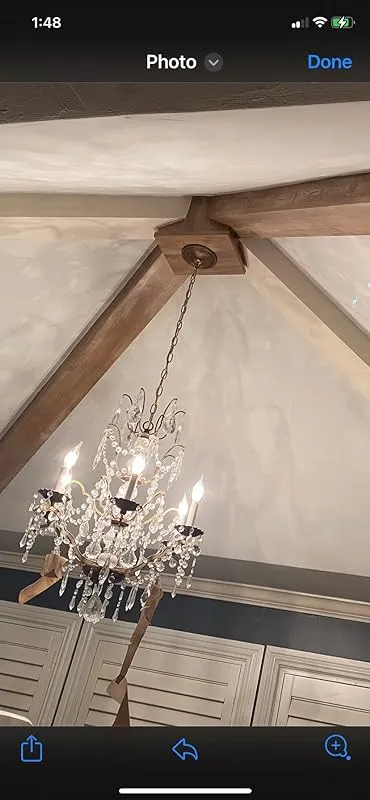
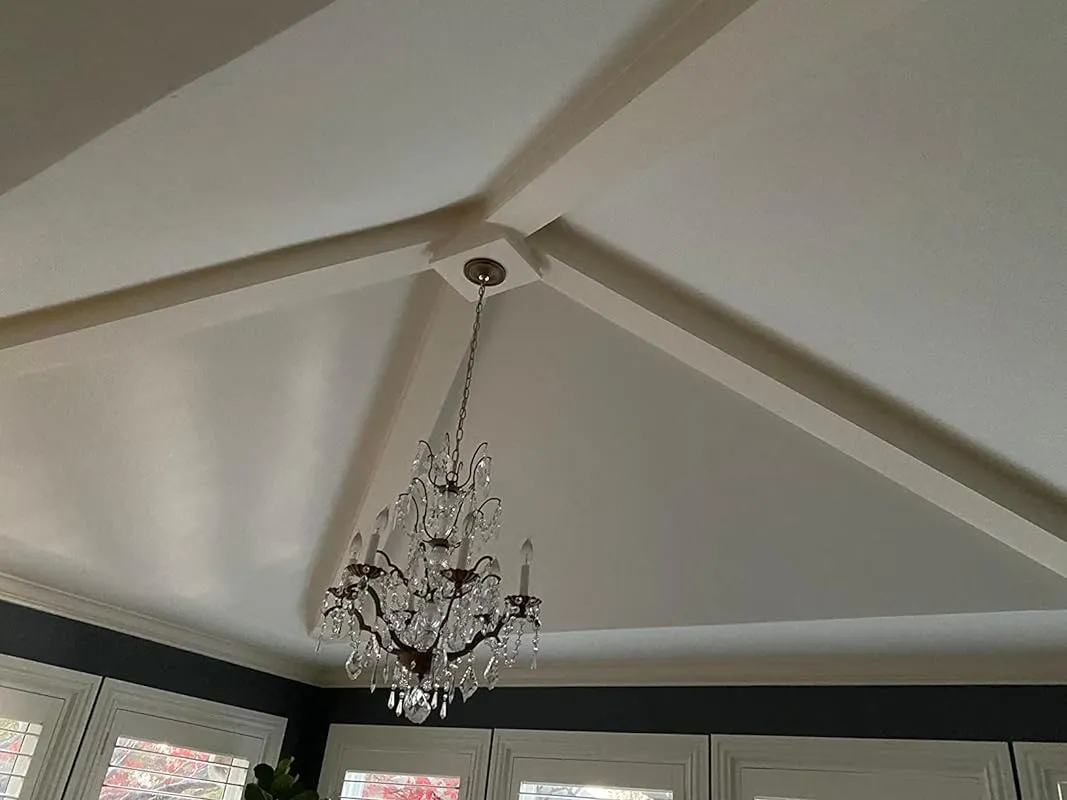


I recently purchased the wood grain contact paper for my dining room beams and I am extremely pleased with the results. The previous white paint was not to my liking, but I didn't want to go through the hassle of stripping and restaining the beams. However, after applying the contact paper, the transformation is absolutely amazing. The beams now have a beautiful wood finish that looks incredibly realistic. From a distance, you can hardly tell that it's not real wood. The application process was simple and the contact paper is easy to work with. Once it's properly pressed onto the desired surface, it stays in place securely. I am so in love with the outcome that I plan on using more of this contact paper to decorate other areas of my house. It's definitely worth the investment and I highly recommend it.
I was on the lookout for a new table with a natural wood appearance, but the high price tags were out of my budget. That's when I decided to be thrifty and give the wood grain contact paper a try. Although the paper is thin, I actually find it to be an advantage as it makes it easier to work with. While it may not be a permanent solution, it does the job for now and I am happy with the results. The contact paper provides a realistic wood finish that gives my table the desired aesthetic. It's a cost-effective alternative and I'm satisfied with my decision.
I recently used this wood grain contact paper to wrap my kitchen counter and I must say, the results are absolutely amazing. Although I haven't finished the entire project yet, I am already thrilled with the outcome. The contact paper provides a realistic wood appearance that adds an elegant touch to my kitchen. The application process was smooth and the contact paper adhered well to the surface. I am beyond satisfied with this product and can't wait to complete the rest of my kitchen counter.
When I initially had my craft surface built, I realized it was too rough for my liking. However, I found a solution by purchasing this contact paper. I covered the rough surface with the contact paper and it worked wonders. Now, I can comfortably work on my crafts, particularly my cricut projects, without any issues. The contact paper has provided a smooth and suitable surface for my creative endeavors, and I couldn't be happier. It has truly enhanced my crafting experience.
5. Woodskin Removable Contact Paper – Easy Peel & Stick


I purchased this product initially to redo a piece of furniture, but I didn't pay attention to the width. However, I ended up using it to cover my stairs, and it turned out amazing. Everyone loves the result and thinks the stairs are original. I am curious to see how long it will last and how it will wear over time, but worst-case scenario, I can easily remove it and redo it by sanding and repainting. Overall, I am very satisfied with the product.
The adhesive is perfect and easy to work with. It sticks well and allows for easy application on corners. There are no bubbles, and it can be easily removed and repositioned if needed. It truly is a great product. I don't usually leave reviews, but I am so pleased with this purchase that I want to help other buyers. Don't hesitate to buy it, it's a fantastic product.
The delivery was prompt, and the product arrived exactly as shown in the photo, with even better quality. Thank you, Amazon! I highly recommend this product and would definitely purchase it again.
I used this product as a backsplash in my bathroom, and it has held up well despite being exposed to water splashes. It gives a beautiful wood-like effect to the wall and adds a nice touch to the overall decor.
6. Aspect Peel And Stick Stone Overlay Kitchen Backsplash – Raised Kilnstone (6×6 Inch Sample)


I recently purchased and installed this stone wall covering for a project in my home, and I have mixed feelings about it. On one hand, the end result looks great and gives a natural stone-like appearance. However, there were some challenges along the way.
Firstly, I wanted to avoid the rectangular seams of the whole stone sheets, so I decided to cut them randomly with aluminum sheers. This gave a more unique and organic look to the installation. However, I soon realized that the white wall underneath was visible between the tiles, so I had to paint the wall dark to match the stone.
One important tip I learned is to use the recommended polyurethane glue on every piece, regardless of size. The glue provided with the stone is not very strong, and if you skip using it, you may find the pieces falling off in a day or two. Additionally, if you choose to go for random lengths, some stone tiles may be thinner than others. In that case, it's necessary to cut those tiles to fit properly. However, I found it almost impossible to cut the thicker tiles and achieve a clean edge.
Another challenge I faced was trying to avoid getting glue or marks on the stone during the installation. Unfortunately, it was quite difficult to prevent this completely. However, I discovered that sealing everything with lemon oil after the installation helped to hide the marks, darken the stone to a rich color, and make it look almost wet. This not only enhanced the appearance of the stone but also provided a waterproof barrier against various substances.
While this stone wall covering is not the perfect fit for my project, I believe it would be a great option for redoing an old, ugly brick fireplace or for creating a contrasting feature wall. It has an authentic look and feels like real stone due to its texture.
7. Sanremo Oak Wood Grain Contact Paper: Waterproof & Removable


I am extremely satisfied with the outcome of using the D-C Fix vinyl film to cover my outdated Formica countertop. The wood grain print looks remarkably realistic, comparable to a Formica equivalent. After using it for about 1-1/2 months, I am pleased to say that it has exceeded my expectations, even surviving the chaos of Thanksgiving cooking and baking.
Before applying the vinyl film, it is crucial to ensure that the surface is clean, dry, and smooth. It is not suitable for use on bare wood, particle board, or porous surfaces as it will not adhere properly. It's essential to exercise common sense and read the instructions before starting the application process.
Here's what worked for me: I cleaned the Formica countertop thoroughly with warm, soapy water, followed by wiping it down with rubbing alcohol. The surface must be free from grease, crumbs, and debris. After allowing it to dry completely, I used the provided squeegee and a pliable decal squeegee to apply the vinyl film. I unrolled it slowly, using short, quick strokes with the squeegee to flatten it and remove any air bubbles. It's important to go slowly and keep the unstuck portion rolled under to avoid any complications. Any air bubbles can be punctured with a pin and squeezed out. I used a razor blade to trim the edges neatly, ensuring a clean finish. I opted not to roll the vinyl under the countertop's vertical trim edge, but rather shaved it even with the bottom without any issues. If using a clear vinyl over the D-C Fix, trimming the bottom edge can be done individually or together, although it may be slightly more resistant due to the two layers. It's best to hold the razor blade parallel to the countertop work surface for precision.
For added protection in my high-use area, I applied a different matte clear self-adhesive vinyl paper on top of the D-C Fix. I took my time during the application process, unrolling it slowly and keeping it close to the countertop to prevent air bubbles. It's important not to hold either product high up as you unroll it to avoid air bubbles.
To ensure a secure and long-lasting installation, I used a high-quality, clear silicone caulk sparingly around the sink and next to the wall. Everything is adhering perfectly. I recommend using potholders and silicone hot pads, as well as placing something heatproof under the microwave. Additionally, using felt on the feet of countertop items and avoiding dragging anything rough across the surface will help preserve its integrity. Cleaning the film with a damp cloth or paper towel and a sanitizing product has worked well for me, and I have not experienced any lifting of seams.
Having used D-C Fix on numerous windows in the past, I can attest to its exceptional adherence and easy removal without leaving residue, at least when used on vertical surfaces. I would definitely purchase this product again.
8. Brown Self Adhesive Backsplash Tiles – Kitchen/bathroom Revamp


The tile in question is truly stunning. Its appearance, both in person and online, is captivating. The design resembles an abstract satellite view of our Earth from space, with beautiful shades of blues and greens. It's a unique and visually appealing addition to any space.
One thing to note is that the individual tiles are slightly smaller than anticipated. However, this is not a concern as the sheets are small, lightweight, and easy to work with. The smaller size actually adds to the overall aesthetic and allows for more creative options during installation.
In terms of functionality, the adhesive on these tiles is exceptional. We have been using them for a few weeks now, and they have adhered perfectly to the surfaces we applied them on. Even after a few adjustments and re-alignments, they have remained firmly in place. It is important to follow the provided directions and ensure a clean surface before application for optimal results.
For individuals who struggle with alignment, like myself, it may require a bit of trial and error. However, this is not a flaw of the product but rather a personal challenge. I found that removing the entire backing and reapplying it based on the starting point of application helped me stay on track. It's all about finding the technique that works best for you.
The quality and realistic look of these backsplash stickers are truly impressive. They have greatly enhanced the appearance of our kitchen area. As we had a stucco wall, we applied the stickers to an underlayment layer stapled over the wall to ensure a smooth surface for better adhesion. The stickiness of the stickers is strong, giving us confidence that they will last for a long time.
Though we encountered a couple of issues during application, it was solely due to our failure to read the instructions thoroughly. We highly recommend taking the time to read and understand the instructions before applying the stickers. Once properly installed, the final result is amazing, and we would definitely purchase these again if needed for our home.
The quality of these tiles is exceptional. They are heavier duty compared to similar products found at some discount stores, yet they capture the same essence. They are easy to peel, install, and cut, making the installation process hassle-free. Additionally, the material is washable, adding to its convenience and longevity. The finished look resembles a beautiful mosaic, adding a touch of elegance to any space.
9. Yenhome Brown Wood Peel & Stick Vinyl Contact Paper


I recently purchased this contact paper and I must say, it exceeded my expectations. It is incredibly easy to use and provides a seamless and modern look. Despite being resistant to ripping, it cuts smoothly and doesn't fray, ensuring a clean finish.
I used this contact paper to revamp a hairdressing station and the results were astonishing. Everyone who sees it is shocked when I reveal that it isn't real wood. The quality and realistic appearance of this contact paper are truly impressive. It adds a touch of sophistication to any space.
Additionally, I had the opportunity to fix a badly blemished bathroom cabinet using this contact paper. The transformation was remarkable, and it is virtually impossible to tell that the cabinet has been repaired. I regret not taking a before photo to showcase the extent of the improvement. I am truly satisfied with the end result.
Moreover, I utilized this contact paper to cover plywood boards for shelves in our office kitchen. It adhered well to the majority of the board's surface and was easy to cut to the desired size. However, I did experience some difficulty with the edges as the adhesion wasn't as strong as I had hoped. Nevertheless, the edges held because we wrapped the paper around, ensuring a secure fit. Despite this minor setback, I would definitely repurchase this brand for future projects.
The only downside I encountered was that there were areas of the contact paper that lacked sticky backing, resulting in bubbles forming. While this was a slight inconvenience, it did not significantly impact the overall outcome. I would suggest paying extra attention when applying the paper to avoid such issues.
10. Maple Wood Peel And Stick Contact Wallpaper


I recently purchased this vinyl adhesive paper to cover up water damage on my wooden cabinets, and I must say, I am quite impressed. It was incredibly easy to use and provided a quick and temporary solution for hiding the damage without having to spend money on replacing or repairing the cabinets.
The application process was a breeze. All I had to do was sand and clean the damaged area, wait for it to dry, and then apply the adhesive paper over it. The vinyl paper adhered smoothly and securely, and if I needed to reposition it, it was easy to remove without leaving any residue behind.
In just about two hours, I was able to cover four cabinet doors with this product. The lines on the back of the adhesive paper made it even easier to cut and apply accurately. I would highly recommend this product to anyone looking for a simple and effective way to temporarily cover up imperfections on their cabinets.
Not only did this vinyl adhesive paper work wonders for my cabinets, but it also proved to be versatile in other areas. I used it to cover several items in my office, and it matched my natural pine shelves perfectly. The end result was surprisingly impressive, and I have no regrets about purchasing this product.
FAQs
Are there any backsplash colors I should avoid with honey oak cabinets?
When it comes to choosing a backsplash color for honey oak cabinets, there are a few options you might want to avoid. Since honey oak cabinets tend to have warm tones, it is generally best to avoid colors that clash or create too much contrast.
Bright or bold colors, such as neon or primary colors, can create an overwhelming effect and make the space feel unbalanced. Additionally, cool-toned colors like blues or grays may clash with the warm undertones of honey oak and create a visually jarring effect.
It is advisable to opt for neutral colors like creams, beiges, or soft earth tones that complement the warm hues of honey oak. These colors will create a harmonious and cohesive look, allowing the beauty of the wood to shine while still adding a touch of elegance to your kitchen.
Ultimately, it is important to consider your personal preferences and the overall aesthetic you want to achieve in your kitchen.
Are there any backsplash styles or trends that are popular with honey oak cabinets?
Yes, there are several backsplash styles and trends that complement honey oak cabinets. Here are a few popular options:
1. Subway Tile: Subway tiles in neutral colors like white or cream create a classic and timeless look. They provide a clean backdrop that allows the warmth of honey oak cabinets to stand out.
2. Mosaic Tiles: Mosaic tiles with a mix of earthy tones, such as brown, beige, and gold, can enhance the natural beauty of honey oak cabinets. Consider a mosaic pattern that incorporates these colors for a cohesive and visually appealing design.
3. Natural Stone: Opting for a natural stone backsplash, such as travertine or tumbled marble, can add depth and texture to your kitchen. These materials often feature warm hues that complement honey oak cabinets.
4. Glass Tiles: Glass tiles in shades of brown or amber can provide a contemporary touch to honey oak cabinets. The transparent nature of glass tiles can also help to reflect light, making the space feel brighter.
5. Patterned Tiles: Consider using patterned tiles with warm tones to add visual interest and personality to your kitchen. Moroccan or Mediterranean-inspired patterns can work well with honey oak cabinets.
Remember, it's important to consider your personal style and the overall aesthetic of your kitchen when choosing a backsplash. It's also a good idea to bring home samples to see how they look alongside your honey oak cabinets before making a final decision.
Are there any specific backsplash materials that work well with honey oak cabinets?
When it comes to choosing a backsplash material that complements honey oak cabinets, there are a few options that work well. One popular choice is a neutral-colored tile, such as a classic subway tile or a natural stone like travertine.
These materials provide a timeless look and blend well with the warm tones of honey oak. Another option is to go for a backsplash in a shade of brown or beige that complements the cabinets. This can create a cohesive and harmonious look in the kitchen.
Additionally, consider incorporating materials with texture or pattern to add visual interest and depth to the space. Ultimately, the best choice will depend on your personal style and the overall aesthetic you want to achieve in your kitchen.
It can be helpful to bring samples of both the cabinets and potential backsplash materials to see how they look together before making a final decision.
Can I use a mosaic backsplash with honey oak cabinets?
Yes, you can definitely use a mosaic backsplash with honey oak cabinets. In fact, it can be a great combination that adds visual interest and depth to your kitchen or bathroom. Mosaic backsplashes come in a wide range of styles, colors, and materials, allowing you to find one that complements the warmth and natural beauty of honey oak cabinets.
When selecting a mosaic backsplash, consider the overall color scheme and style of your kitchen or bathroom. If you want a cohesive look, choose a mosaic that incorporates colors found in the honey oak cabinets, such as warm earth tones or subtle hints of gold.
Alternatively, you can opt for a contrasting mosaic that adds a pop of color or texture to create visual contrast.
Ultimately, the key is to strike a balance between the mosaic backsplash and honey oak cabinets. By selecting a design that harmonizes with the cabinets and enhances the overall aesthetic, you can create a stunning and cohesive look in your space.
How can I choose a backsplash color that complements honey oak cabinets?
When choosing a backsplash color that complements honey oak cabinets, there are a few factors to consider. Firstly, you'll want to take the overall color scheme of your kitchen into account. If your kitchen has warm tones, such as yellows, oranges, and browns, you may want to opt for a backsplash that has similar warm undertones.
This could include colors like terracotta, copper, or even a warm beige.
On the other hand, if you prefer a contrasting look, you can choose a cool-toned backsplash color, such as light blue or gray. This can create a visually striking contrast against the honey oak cabinets and add a modern touch to your kitchen.
Another approach is to go for a neutral backsplash color, such as white or cream. Neutral colors can help create a timeless and versatile look that complements the honey oak cabinets without overpowering them.
Ultimately, it's important to consider your personal style and preferences. I would suggest getting samples of different backsplash colors and holding them up against your honey oak cabinets to see which combinations you find most appealing.
How can I create a cohesive look with honey oak cabinets and a backsplash?
To create a cohesive look with honey oak cabinets and a backsplash, you can follow these tips:
1. Choose complementary colors: Opt for colors that work well with honey oak, such as warm neutrals like beige, cream, or taupe. These colors will help create harmony and balance.
2. Consider a contrasting backsplash: If you want to add visual interest, consider a backsplash that contrasts with the honey oak cabinets. For instance, a cool-toned subway tile in gray or blue can create a striking contrast.
3. Coordinate patterns and textures: Keep the patterns and textures of your backsplash and cabinets in mind. If your cabinets have a busy grain pattern, opt for a more subdued and simple backsplash design.
Conversely, if your cabinets have a plain finish, you can experiment with a more intricate or textured backsplash.
4. Use a transitional element: Incorporate a transitional element, such as a countertop or flooring material, that can bridge the gap between the honey oak cabinets and the backsplash. This will help tie the elements together.
5. Pay attention to lighting: Proper lighting can greatly enhance the cohesion of your kitchen design. Ensure that your backsplash and cabinets are well-lit to showcase their colors and textures effectively.
Remember, these are just suggestions. Ultimately, your personal style and preferences should guide your choices. Feel free to experiment and create a look that reflects your taste while maintaining a cohesive aesthetic.
Should I go for a bold or neutral backsplash with honey oak cabinets?
When deciding on a backsplash for honey oak cabinets, the choice between a bold or neutral option depends on your personal style and the overall aesthetic you want to achieve in your kitchen.
If you prefer a more subtle and timeless look, a neutral backsplash would be a great choice. Neutral options, such as white or cream-colored tiles, can complement the warm tones of honey oak cabinets, creating a harmonious and cohesive feel.
This combination allows the cabinets to remain the focal point while providing a clean and classic backdrop.
On the other hand, if you want to add a touch of drama and visual interest to your kitchen, a bold backsplash can be a striking option. Consider using darker or contrasting colors, such as deep blues or grays, to create a bold statement.
This can help to modernize the space and create a visually dynamic contrast between the cabinets and the backsplash.
Ultimately, the decision between a bold or neutral backsplash comes down to your personal taste and the overall style you want to achieve in your kitchen. It can be helpful to gather inspiration from design magazines, websites, or consult with a professional to visualize how each option would look in your space before making a final decision.
Should I match my backsplash color to the countertops or the honey oak cabinets?
When it comes to choosing the color of your backsplash, it is important to consider both the countertops and the honey oak cabinets. Matching the backsplash color to either the countertops or the cabinets can create a cohesive and harmonious look in your kitchen.
If you want to create a more seamless and unified appearance, it is generally recommended to match the backsplash color to the countertops. This helps to create a continuous flow and a more cohesive aesthetic.
By using the same color or a complementary shade for both the backsplash and countertops, you can create a visually pleasing and coordinated look.
On the other hand, if you want to add some contrast and visual interest to your kitchen, you can consider matching the backsplash color to the honey oak cabinets. This can create a striking and dynamic look, especially if the cabinets have a warm, rich tone.
Choosing a backsplash color that complements the oak cabinets can help to enhance their natural beauty and create a visually appealing contrast.
Ultimately, the decision on whether to match the backsplash color to the countertops or the honey oak cabinets depends on your personal preference and the overall style and theme of your kitchen. It can be helpful to gather samples or consult with a professional to visualize how different color combinations will look in your space.
What are some good backsplash options that complement honey oak cabinets?
When it comes to selecting a backsplash that complements honey oak cabinets, there are several options to consider. One popular choice is a subway tile backsplash, which offers a timeless and classic look. Opt for a neutral color such as white or cream to create a cohesive and balanced aesthetic.
Another option is a mosaic tile backsplash, which can add visual interest and texture to the space. Choose colors that complement the warmth of the honey oak cabinets, such as earth tones or muted shades of green or blue.
Additionally, a natural stone backsplash, such as travertine or slate, can provide a rustic and elegant feel that complements the natural beauty of the oak cabinets. Ultimately, the best choice will depend on your personal style and the overall design of your kitchen.
Consider bringing samples of the backsplash options you are considering to see how they look alongside your honey oak cabinets.
What backsplash design patterns work best with honey oak cabinets?
When it comes to selecting a backsplash design that complements honey oak cabinets, there are several options that work well together. To highlight the warm tones of the oak cabinets, consider choosing a backsplash that incorporates earthy or neutral colors.
Subway tiles in shades of beige, cream, or soft brown are a popular choice as they provide a timeless and classic look. Another option is to go for a mosaic backsplash with a mix of earthy tones, which adds visual interest and texture.
Additionally, a backsplash made of natural stone, such as travertine or slate, can enhance the natural beauty of the oak cabinets. Ultimately, it's important to choose a design that harmonizes with the overall style of your kitchen while complementing the honey oak cabinets.