Can You Paint Copper Pipe? A Detailed Guide
Painting copper pipes in your home can help protect them from corrosion and give your plumbing a more uniform, clean look. But is it safe to paint copper pipe? And what kind of paint should you use? This comprehensive guide will explain everything you need to know about painting copper pipes.
If you’re short on time, here’s a quick answer: Yes, you can paint copper pipe to change its appearance or protect it from corrosion. Latex-based spray paints are the best choice for priming and painting copper plumbing.
However, painting may void the manufacturer’s warranty, so check before painting pipes that are still under warranty.
Can You Use Any Type of Paint on Copper Pipes?
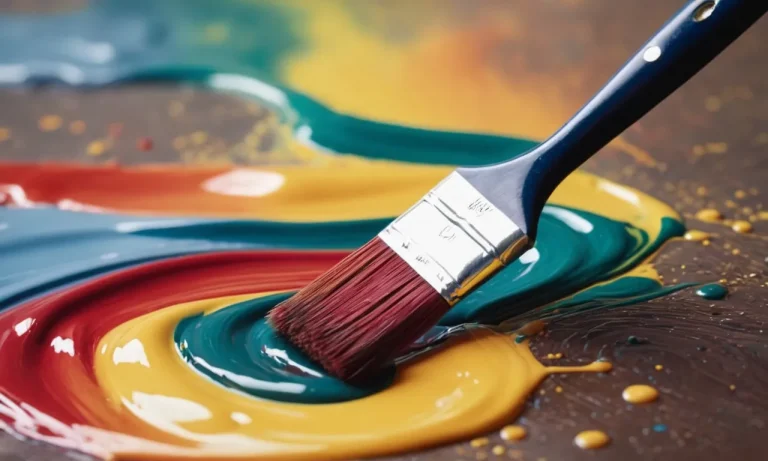
When it comes to painting copper pipes, not all paints are created equal. While it is possible to paint copper pipes, it is important to choose the right type of paint for the job. Using the wrong type of paint can lead to poor adhesion, peeling, and an unsightly finish.
Use Latex Paint for Best Results
For the best results, it is recommended to use latex paint when painting copper pipes. Latex paint is a water-based paint that offers excellent adhesion to copper surfaces. It is easy to apply, dries quickly, and provides a durable finish.
Additionally, latex paint is available in a wide range of colors, allowing you to customize the look of your copper pipes to match your decor.
Pro Tip: Before applying latex paint to your copper pipes, make sure to clean the surface thoroughly to remove any dirt, grease, or debris. This will ensure better adhesion and a smooth finish.
Avoid Oil-Based Paints and Sprays
While latex paint is the recommended choice for painting copper pipes, it is important to avoid using oil-based paints or sprays. Oil-based paints do not adhere well to copper surfaces, and over time, they may peel or flake off.
Additionally, oil-based paints tend to take longer to dry, which can be inconvenient when working on a plumbing project.
Instead of using oil-based paints, consider using a specialty paint designed specifically for metal surfaces, such as a copper spray paint. These paints are formulated to adhere well to copper and provide a long-lasting finish.
Just make sure to follow the manufacturer’s instructions for proper application.
Expert Tip: If you are unsure about which type of paint to use on your copper pipes, it is always a good idea to consult with a professional plumber or seek advice from a reputable plumbing website, such as www.plumbing.com.
Remember, painting your copper pipes can be a great way to add a touch of personalization to your plumbing system. Just make sure to choose the right type of paint for the job and follow proper preparation and application techniques for the best results.
How to Prepare Copper Pipes for Painting
If you’re looking to add a pop of color to your copper pipes, it’s important to properly prepare them before painting. This will ensure that the paint adheres well and provides a smooth, long-lasting finish. Here are some steps to follow when preparing your copper pipes for painting:
Clean and Dry the Pipes
The first step in preparing copper pipes for painting is to clean them thoroughly. Use a mild detergent and water solution to remove any dirt, grease, or other debris from the surface of the pipes. Scrub gently with a soft brush or sponge, and then rinse with clean water.
Make sure to dry the pipes completely before moving on to the next step. Any moisture left on the surface can interfere with the paint adhesion.
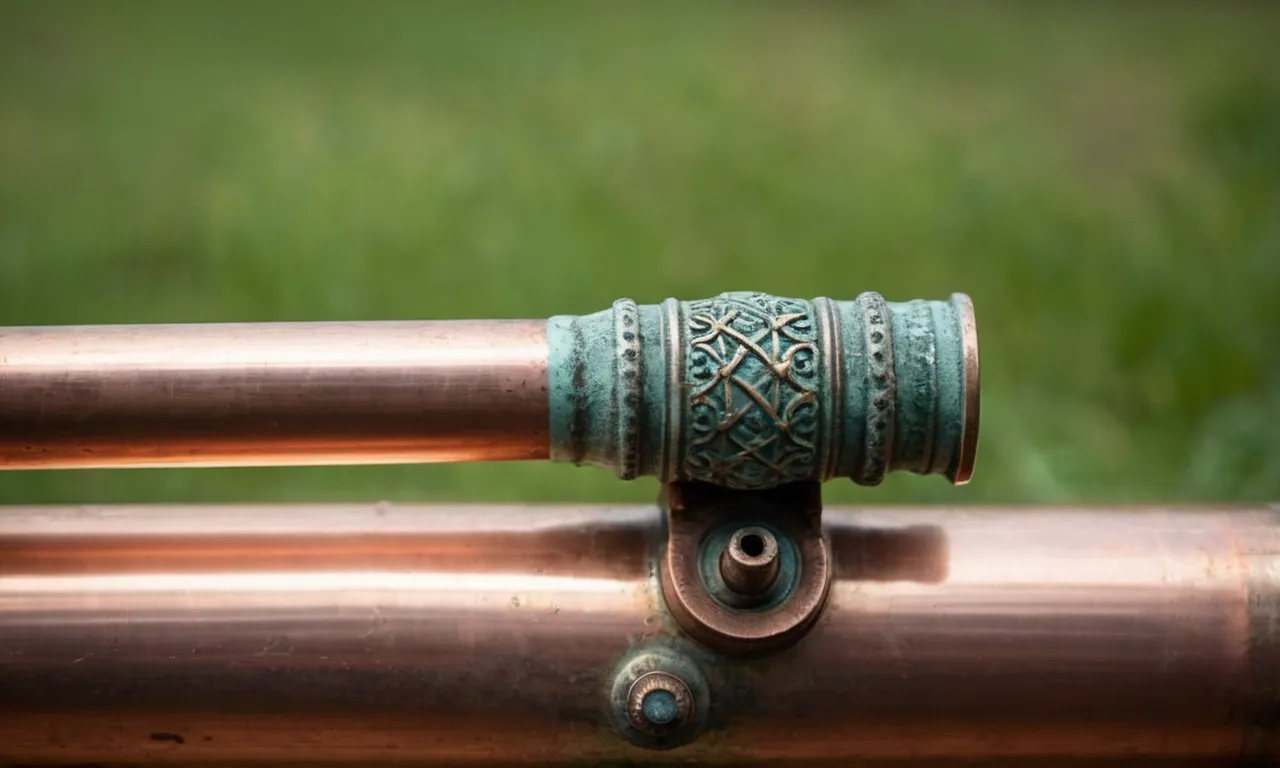
Sand Glossy Pipes
If your copper pipes have a glossy or shiny finish, it’s important to sand them to create a rough surface for the paint to adhere to. Use a fine-grit sandpaper and lightly sand the entire surface of the pipes.
This will help to remove any existing finish and create a slightly rough texture that will promote better paint adhesion. After sanding, make sure to wipe away any dust or debris with a clean, dry cloth.
Apply Primer
Before applying paint to your copper pipes, it’s crucial to apply a coat of primer. Primer helps to seal the surface and provides a smooth base for the paint to adhere to. Choose a primer that is specifically designed for use on metal surfaces, such as copper.
Apply the primer evenly using a brush or roller, following the manufacturer’s instructions. Allow the primer to dry completely before proceeding with painting.
By following these steps, you can ensure that your painted copper pipes will have a professional-looking finish that will last for years to come. Remember to choose a high-quality paint that is suitable for metal surfaces, and consider adding a clear topcoat for added durability.
Now you can enjoy your newly painted copper pipes as a stylish addition to your home decor!
Tips for Painting Copper Pipes
Work in a Well-Ventilated Area
When painting copper pipes, it is important to work in a well-ventilated area. The fumes from paint can be strong and potentially harmful if inhaled in large quantities. Open windows and use fans to ensure proper air circulation. This will not only keep you safe but also help the paint dry faster.
Allow Proper Dry Times Between Coats
Allowing sufficient dry time between coats is crucial for achieving a smooth and even finish when painting copper pipes. Follow the manufacturer’s instructions on the paint can for the recommended drying time. Rushing the process can lead to drips, uneven coverage, and a less durable finish.
Use Thin, Even Coats of Paint
When painting copper pipes, it is best to apply thin, even coats of paint. This ensures better adhesion and reduces the risk of paint drips. Start with a primer specifically designed for metal surfaces, as this will help the paint adhere better to the copper.
Once the primer is dry, apply the paint in thin layers, allowing each coat to dry completely before applying the next one. This will result in a more professional-looking and long-lasting finish.
For more detailed information and step-by-step instructions on painting copper pipes, you can visit DIY Network. They provide a comprehensive guide that covers everything you need to know about painting copper pipes.
Curing and Maintenance for Painted Copper Pipes
Painting copper pipes can be a great way to add a touch of color and style to your plumbing system. However, it is important to properly cure and maintain the painted surface to ensure its longevity and effectiveness. Here are some key steps to follow for curing and maintaining painted copper pipes.
Let Paint Cure Completely Before Use
After painting your copper pipes, it is crucial to allow the paint to cure completely before using them. This typically takes around 24 hours, but it may vary depending on the type of paint used. It is recommended to check the manufacturer’s instructions for the specific curing time. During this curing period, it is best to avoid any contact or manipulation of the painted surface to prevent any damage or smudging.
Patience is key here, as rushing the process can result in a subpar finish.
Check Condition of Paint Yearly
To ensure the longevity of your painted copper pipes, it is important to regularly inspect the condition of the paint. Check the painted surface at least once a year for any signs of wear, peeling, or chipping. This is especially important in areas where the pipes are exposed to moisture or other harsh elements.
If you notice any issues, it is crucial to address them promptly to prevent further damage. By maintaining the integrity of the paint, you can extend the lifespan of your painted copper pipes.
Touch Up Worn Areas as Needed
If you do notice any worn or damaged areas on the painted surface, it is important to touch them up as soon as possible. This will help prevent any corrosion or deterioration of the copper pipes underneath. To touch up the paint, start by cleaning the area thoroughly and ensuring it is dry.
Then, carefully apply a small amount of matching paint to the affected area, ensuring a smooth and even finish. Allow the touch-up paint to cure according to the manufacturer’s instructions before using the pipes again.
By following these steps for curing and maintaining painted copper pipes, you can enjoy a durable and aesthetically pleasing plumbing system for years to come.
The Impact of Paint on Copper Pipe Performance
When it comes to painting copper pipes, it is important to consider the potential impact on their performance. While painting copper pipes can be a great way to blend them in with the surrounding décor or protect them from certain elements, there are a few factors to keep in mind.
Little Effect on Pipe Strength
Painting copper pipes generally has little to no effect on their overall strength. Copper pipes are known for their durability and ability to withstand high pressure, and a layer of paint is unlikely to compromise their structural integrity.
However, it is still important to ensure that the paint used is compatible with copper and will not cause any chemical reactions that could weaken the pipe.
May Reduce Corrosion Protection Over Time
While copper pipes are naturally resistant to corrosion, the application of paint may reduce their corrosion protection over time. This is because the paint can create a barrier between the copper surface and the surrounding environment, potentially trapping moisture and leading to the development of corrosion.
To minimize this risk, it is crucial to choose a paint specifically designed for use on copper pipes and to apply it correctly according to the manufacturer’s instructions.
Voids Manufacturer Warranties
It is important to note that painting copper pipes may void any manufacturer warranties that come with the pipes. Manufacturers typically provide warranties for their products based on their intended use and installation guidelines.
Any modifications to the pipes, including painting, may be considered a deviation from these guidelines and could result in the voiding of the warranty. It is advisable to check the warranty terms and conditions before deciding to paint copper pipes.
Conclusion
Although paint can alter the appearance of copper plumbing, it’s important to choose the right type of paint and apply it properly to avoid issues. Test paint adhesion first, allow proper curing times, and inspect the paint yearly to get the best results.
And check with the pipe manufacturer, as painting may void any warranties and impact long-term performance. With the right prep and paint, you can give your copper pipes a fresh, uniform look safely.
Now that you know the ins and outs of painting copper pipe, you can decide if it’s the right choice for your plumbing. This guide covered everything from choosing the right paint to proper application and curing.
Hopefully this detailed breakdown gives you the knowledge needed to paint your pipes flawlessly. Happy painting!