Can You Paint Over Plasti Dip? Everything You Need To Know
Plasti dip is a rubber coating product used to change the texture and appearance of surfaces. Its flexibility makes it popular for customizing car parts, tools, and other items. A common question that arises is whether you can paint over plasti dip if you want to change the color or just freshen up the look.
In this comprehensive guide, we’ll cover everything you need to know to paint over plasti dip successfully.
If you’re short on time, here’s a quick answer: Yes, you can paint over plasti dip with careful surface preparation and using adhesion promoters. The key is properly scuffing the plasti dip layer to help the new paint adhere. Spray paints and dipping paints work best for a durable finish.
What Is Plasti Dip and How Is It Used?
Plasti Dip is a versatile rubber coating that can be used for a variety of purposes. It is made from a synthetic rubber compound that provides a flexible and protective layer when applied to various surfaces.
Plasti Dip was initially developed for use in the automotive industry, but its popularity has expanded to other areas such as arts and crafts, home improvement, and even fashion.
What Plasti Dip Is Made Of
Plasti Dip is primarily composed of a synthetic rubber called ethylene-propylene-diene monomer (EPDM). EPDM is known for its excellent resistance to heat, weathering, and chemicals, making it a durable and long-lasting material.
Plasti Dip also contains other additives and pigments that give it its color and desired properties. These additives make Plasti Dip flexible, waterproof, and resistant to peeling, cracking, and fading.
Benefits and Uses of Plasti Dip
There are several benefits to using Plasti Dip. One of the main advantages is its versatility. Plasti Dip can be applied to a wide range of surfaces, including metal, plastic, wood, glass, and more. It provides a protective barrier against scratches, UV rays, and harsh weather conditions.
Additionally, Plasti Dip can be easily removed if desired, allowing for customization and experimentation without the fear of damaging the underlying surface.
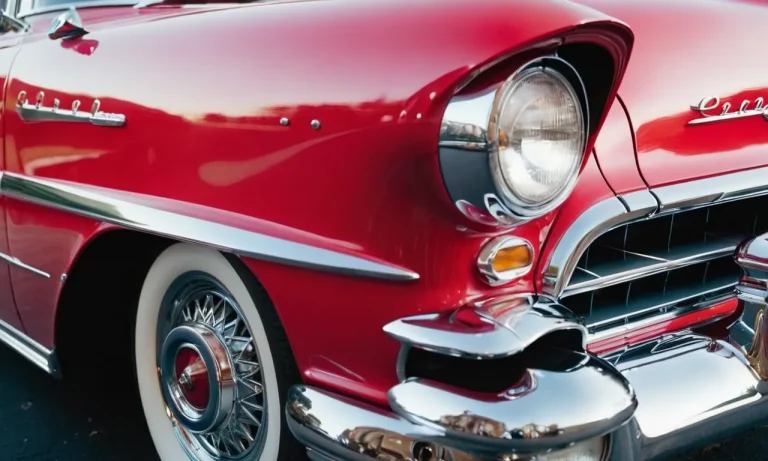
Plasti Dip has numerous uses across different industries and hobbies. In the automotive industry, it is commonly used to change the color of car parts, such as wheels, grilles, and emblems. It can also be applied to tools and equipment to provide a better grip and prevent slipping.
In arts and crafts, Plasti Dip can be used to coat and protect various objects, create unique textures, or add a pop of color to projects. It can even be used to customize shoes, phone cases, and other accessories.
How Plasti Dip Is Applied
Applying Plasti Dip is a simple process that can be done by anyone. It is available in both aerosol cans and liquid form. When using aerosol cans, the Plasti Dip can be sprayed directly onto the surface, creating an even and smooth coating.
For liquid Plasti Dip, it can be brushed or dipped onto the object, allowing for more precise application.
Before applying Plasti Dip, it is important to prepare the surface by cleaning it thoroughly and ensuring it is free from any dirt, grease, or loose particles. It is also recommended to apply multiple thin coats rather than a single thick coat to achieve a more durable finish.
Once applied, Plasti Dip should be allowed to dry completely before handling or exposing it to any harsh conditions.
Can You Paint Over Plasti Dip?
Plasti Dip is a popular rubberized coating that can be applied to various surfaces, providing a protective and customizable layer. One common question that arises is whether it is possible to paint over Plasti Dip.
The answer is yes, you can paint over Plasti Dip, but there are a few important considerations to keep in mind.
Prep work is essential for proper paint adhesion
Before painting over Plasti Dip, it is crucial to ensure that the surface is properly prepared. This involves thoroughly cleaning the Plasti Dip surface to remove any dirt, grease, or contaminants. You can use a mild soap and water solution or a specialized cleaner specifically designed for Plasti Dip.
Once the surface is clean, it is important to dry it thoroughly before proceeding with the painting process.
In addition to cleaning, it is recommended to lightly sand the Plasti Dip surface to create a better adhesion for the paint. This step helps roughen up the surface, allowing the paint to adhere more effectively. After sanding, make sure to remove any dust or debris before applying the paint.
Spray paints and dipping paints recommended
When it comes to choosing the right type of paint to use over Plasti Dip, spray paints and dipping paints are highly recommended. These types of paints are designed to adhere well to various surfaces, including Plasti Dip. They provide a smooth and even finish, ensuring optimal results.
It is important to note that certain types of paints, such as oil-based paints, may not adhere as well to Plasti Dip and can result in peeling or cracking. Therefore, it is best to stick to paints specifically formulated for use on rubberized coatings.
When applying the paint, it is advisable to follow the manufacturer’s instructions and apply thin coats, allowing each coat to dry before applying the next one. This helps achieve a more even and durable finish.
Surface Prep Tips Before Painting Over Plasti Dip
Lightly scuff the surface with sandpaper
Before painting over Plasti Dip, it is important to prepare the surface properly. One of the first steps is to lightly scuff the surface with sandpaper. This helps to create a rough texture that allows the new paint to adhere better.
Sanding the surface also helps to remove any imperfections or rough spots that may have formed over time.
It is recommended to use a fine-grit sandpaper, such as 220-grit, and gently sand the entire surface of the Plasti Dip. Be careful not to apply too much pressure as this can damage the underlying surface. After sanding, make sure to remove any dust or debris with a clean cloth or compressed air.
Clean thoroughly with rubbing alcohol
After scuffing the surface, the next step is to clean it thoroughly with rubbing alcohol. This helps to remove any oils, grease, or dirt that may be present on the surface. Simply dampen a clean cloth with rubbing alcohol and wipe down the entire surface of the Plasti Dip.
By cleaning the surface with rubbing alcohol, you ensure that the new paint will have a clean and smooth surface to adhere to. This step is crucial for achieving a professional-looking finish.
Use adhesion promoter/primer
To further enhance the adhesion of the new paint, it is recommended to use an adhesion promoter or primer. These products are specifically designed to improve the bond between the Plasti Dip and the new paint.
There are various adhesion promoters and primers available on the market, so make sure to choose one that is compatible with both Plasti Dip and the type of paint you plan to use. Follow the manufacturer’s instructions on how to apply the adhesion promoter or primer for best results.
Optional: Apply base color Plasti Dip layer
If you’re looking to change the color of your Plasti Dip, you have the option to apply a base color layer before painting over it. This can help to achieve a more consistent and vibrant final color.
Simply select a Plasti Dip color that matches or complements the color you plan to paint over it. Apply the base color layer following the manufacturer’s instructions, and allow it to dry completely before applying the new paint.
Keep in mind that this step is optional and may not be necessary if you’re satisfied with the current color of your Plasti Dip.
By following these surface prep tips, you can ensure that the new paint adheres properly to the Plasti Dip and achieves a smooth and long-lasting finish. Remember to take your time and be thorough in your preparation process for the best results.
Best Paints to Use Over Plasti Dip
Spray paint
Spray paint is one of the most popular options for painting over Plasti Dip. It provides a quick and easy way to change the color or add a new layer of paint to your Plasti Dip-coated surface. When using spray paint, it is important to choose a paint that is compatible with Plasti Dip.
Look for spray paints that are specifically formulated to adhere to rubber and flexible surfaces. These paints are designed to bond well with Plasti Dip, ensuring a long-lasting and durable finish.
Dipping paint
Dipping paint is another great option for painting over Plasti Dip. This type of paint is specially formulated to be applied by dipping the object into the paint. It provides a smooth and even finish, and it is ideal for larger surfaces or objects with intricate shapes.
Dipping paint is available in a wide range of colors and finishes, allowing you to create a customized look for your Plasti Dip-coated surface.
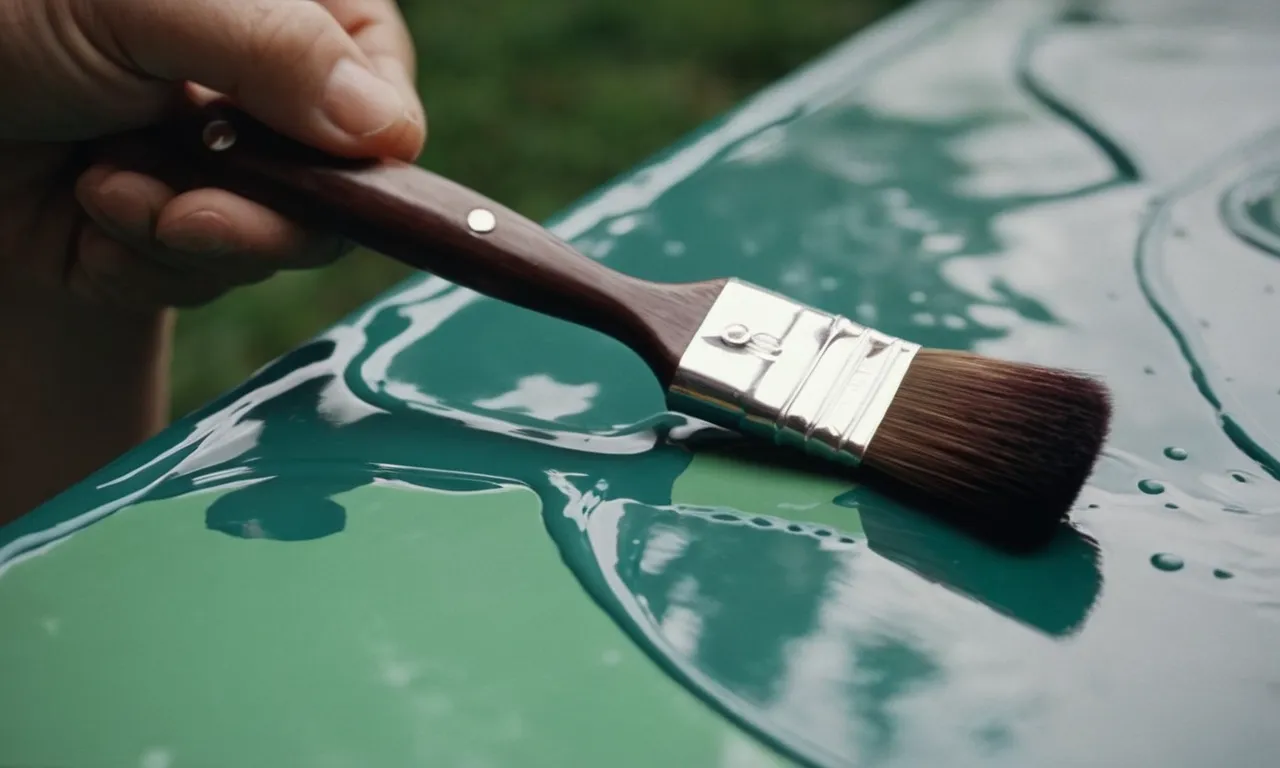
Brushing/rolling paint
If you prefer a more traditional approach to painting, you can use brushing or rolling paint over Plasti Dip. This method requires a bit more time and effort compared to spray or dipping paint, but it can still yield great results.
When using brushing or rolling paint, it is important to choose a paint that is compatible with Plasti Dip and has good adhesion properties. Make sure to apply thin and even coats, allowing each coat to dry completely before applying the next one.
It is important to note that regardless of the type of paint you choose, proper surface preparation is crucial for a successful paint job over Plasti Dip. Clean the surface thoroughly and ensure it is free from any dirt, grease, or contaminants.
Additionally, it is always a good idea to test the paint on a small, inconspicuous area before applying it to the entire surface.
For more information on painting over Plasti Dip, you can visit websites such as www.dipyourcar.com or www.plastidip.com.
Painting Techniques for Plasti Dip
Multiple light coats
When painting over Plasti Dip, it is important to apply multiple light coats rather than one heavy coat. This allows for better adhesion and a smoother finish. Applying too much paint at once can result in drips and uneven coverage.
By using light coats, you can build up the color gradually and achieve a more professional-looking result. Remember, patience is key when it comes to painting with Plasti Dip!
Allow proper drying between coats
To ensure the best results, it is crucial to allow each coat of Plasti Dip to dry completely before applying the next one. This will prevent the layers from mixing and smudging, resulting in a flawless finish.
The drying time may vary depending on factors such as temperature and humidity, so be sure to follow the manufacturer’s instructions for the recommended drying time. Rushing the process can lead to a less durable and less appealing final result.
Optional clear coat for added protection
While Plasti Dip is known for its durability, adding a clear coat can provide additional protection against scratches and UV damage. A clear coat can also enhance the glossy appearance of the painted surface.
It is recommended to use a clear coat specifically designed for use with Plasti Dip to ensure compatibility and the best possible outcome. Applying a clear coat is a great way to prolong the lifespan of your Plasti Dip paint job and keep it looking fresh for longer.
For more detailed information on Plasti Dip painting techniques, you can visit the official Plasti Dip website at www.plastidip.com. They provide step-by-step instructions, video tutorials, and helpful tips to help you achieve the best results when painting over Plasti Dip.
How Long Does Paint Last on Plasti Dip?
When it comes to painting over Plasti Dip, one of the common concerns is how long the paint will last. The durability of the paint on Plasti Dip largely depends on various factors such as the quality of the paint used, the preparation of the surface, and the environmental conditions.
Quality of the Paint
The quality of the paint used to cover Plasti Dip plays a significant role in determining its longevity. High-quality paints that are specifically designed for use on rubberized coatings tend to adhere better and last longer.
These paints are formulated to withstand the flexibility and stretching of the Plasti Dip without cracking or peeling. It is recommended to choose paints that are compatible with Plasti Dip for better results.
Surface Preparation
Proper surface preparation is crucial for ensuring the longevity of the paint on Plasti Dip. Before painting over Plasti Dip, it is important to thoroughly clean the surface to remove any dirt, grease, or contaminants. This can be done using a mild detergent and water, followed by a rinse and dry.
Additionally, lightly sanding the surface can help improve the adhesion of the paint. By taking the time to properly prepare the surface, you can enhance the durability of the paint on Plasti Dip.
Environmental Conditions
The environmental conditions in which the painted Plasti Dip is exposed can also affect its lifespan. Extreme temperatures, prolonged exposure to sunlight, and harsh weather conditions can deteriorate the paint over time.
To protect the paint, it is advisable to apply a clear protective coating or sealant over the painted surface. This can help to shield the paint from UV rays, moisture, and other damaging elements, ultimately extending its lifespan.
In general, with proper preparation and maintenance, paint applied over Plasti Dip can last for several years. However, it is important to note that the lifespan may vary depending on the specific conditions and usage.
Regular inspections and touch-ups may be necessary to maintain the appearance and integrity of the paint.
To learn more about painting over Plasti Dip and other related topics, you can visit www.dipyourcar.com or www.plastidip.com.
Removing Paint from Plasti Dip
When it comes to removing paint from Plasti Dip, there are a few methods you can try. Whether you want to change the color of your Plasti Dip or remove it completely, these techniques will help you achieve the desired result.
Use paint remover gel
If you want to remove the paint from your Plasti Dip without damaging the surface underneath, using a paint remover gel is a great option. Make sure to choose a gel that is safe for use on plastics and follow the instructions provided.
Apply the gel to the painted surface and let it sit for the recommended amount of time. Then, use a scraper or a soft cloth to gently remove the paint. This method is effective and relatively easy to use.
Pressure wash
Another method to remove paint from Plasti Dip is by using a pressure washer. This method is particularly useful if you are dealing with larger surfaces or multiple layers of paint. Start by setting your pressure washer to a low pressure setting to avoid damaging the Plasti Dip.
Direct the jet of water at the painted surface and move it back and forth until the paint starts to peel off. Be careful not to get too close to the surface or use too much pressure, as this can cause damage.
Sand down paint layer
If the paint on your Plasti Dip is stubborn and won’t come off with the previous methods, you can try sanding it down. Start by using a fine-grit sandpaper and gently sand the painted surface. Be careful not to sand too aggressively, as this can damage the Plasti Dip.
Gradually increase the grit of the sandpaper until you achieve the desired result. After sanding, make sure to clean the surface thoroughly to remove any residue.
It’s important to note that the effectiveness of these methods may vary depending on the type of paint used and the condition of the Plasti Dip. It’s always a good idea to test the chosen method on a small, inconspicuous area first to ensure it doesn’t cause any damage.
For more detailed instructions and tips on removing paint from Plasti Dip, you can visit https://www.dipyourcar.com/blogs/dyc/81676484-removing-plasti-dip-from-your-entire-car.
Conclusion
Plasti dip can be a fun and flexible way to customize the look of your possessions. While plasti dip on its own holds up well, you may eventually want to change the color or refresh the finish. As we’ve covered, it is certainly possible to paint over plasti dip for a brand new look.
Just be sure to properly prep the surface so the new paint adheres. Apply light coats of spray paints or dipping paints designed for plastic. With proper preparation and technique, you can paint over plasti dip as needed for a durable and long-lasting finish.
Now that you know how to successfully paint over plasti dip, you can customize items again and again. Just keep in mind the keys of scuffing the surface and using the right paints. Have fun giving your favorite items fresh new looks with plasti dip and paint!