How To Fix A Loose Doorknob In 12 Steps
Is your doorknob wiggling loose and making it hard to open or close your door properly? A loose doorknob can be annoying and make your home feel unsafe. Fortunately, fixing a loose doorknob is an easy DIY project that you can tackle in less than an hour, with the right tools and know-how.
If you’re short on time, here’s the quick answer to fixing a loose doorknob: Remove the doorknob assembly, tighten the screw in the knob spindle, and re-install the knob. You may also need to tighten the latch plate screws.
In this comprehensive guide, we’ll walk through all the steps needed to tighten a loose doorknob in both interior and exterior doors. You’ll learn how to remove the knob, inspect it for damage, tighten any loose screws, and re-install it securely.
What You Need
Basic toolkit
To fix a loose doorknob, you’ll need a few essential tools that can be found in any basic toolkit. These tools include:
- A screwdriver (both flathead and Phillips head)
- Needle-nose pliers
- A hammer
- A tape measure
- Sandpaper
- A pencil
These tools will help you effectively tighten your loose doorknob and ensure it stays secure for the long term.
Materials for exterior doors
If you’re dealing with a loose doorknob on an exterior door, you may need some additional materials to reinforce the fix. These materials include:
- A metal strike plate
- Longer screws
- A drill
- Anchors (if necessary)
These materials will help provide extra support and durability to your exterior door, making sure it can withstand frequent use and potential external forces.
Pro tip: If you’re unsure about the specific tools or materials required for your particular doorknob, consult the manufacturer’s website or the door’s instruction manual. They often provide detailed information and recommendations for fixing loose doorknobs.
Preparing to Remove the Knob
Turn off power
Before attempting to fix a loose doorknob, it is crucial to ensure your safety by turning off the power to the room. This step is particularly important if the doorknob is connected to a lock or an electrical system.
By turning off the power, you eliminate the risk of electrocution and can work on the doorknob without any safety concerns.
Protect the floor
When fixing a loose doorknob, it is always wise to protect the floor beneath it to prevent any damage during the repair process. You can do this by placing a soft cloth or a drop cloth underneath the doorknob area.
This will not only catch any screws that may fall during the repair but also protect the floor from scratches or dents caused by any accidental drops or slips.
Have replacement screws ready
One common reason for a loose doorknob is worn-out or missing screws. To fix this issue, it is important to have replacement screws ready before starting the repair. It is recommended to take the loose doorknob to a hardware store to ensure you get the right size and type of screws.
Having the replacement screws ready will save you time and allow for a smooth repair process.
Removing the Interior Doorknob
When it comes to fixing a loose doorknob, the first step is to remove the interior doorknob. This process involves taking off the knob rosette and unscrewing and removing the interior knob itself.
Take off knob rosette
The knob rosette is the decorative plate that covers the screws holding the doorknob in place. To remove the rosette, locate the small slot or hole on the side or bottom of the rosette. Use a small flathead screwdriver or a paperclip to push down on the release button inside the slot.
Once the release button is depressed, the rosette can be easily pulled away from the door.
Unscrew and remove interior knob
After removing the knob rosette, the next step is to unscrew and remove the interior knob. Look for the screws on the interior side of the door. Use a screwdriver to loosen and remove these screws. Once the screws are removed, the interior knob can be pulled away from the door.
Be careful not to damage any existing wiring or mechanisms inside the door while removing the knob.
It is always a good idea to consult the manufacturer’s instructions or the door’s manual for specific guidance on removing the interior doorknob. Additionally, there are many helpful tutorials and videos available online that provide step-by-step instructions and visual demonstrations on how to remove different types of doorknobs.
Removing the Exterior Knob
Take off exterior knob rosette
The first step in fixing a loose doorknob is to remove the exterior knob rosette. This is the decorative plate that covers the screws holding the doorknob in place. To do this, locate the small slot or hole on the rosette.
Insert a small flathead screwdriver or a paperclip into the slot or hole and gently pry off the rosette. Be careful not to scratch the door or the rosette in the process.
Remove exterior knob assembly
Once the rosette is removed, you will see the screws that hold the exterior knob assembly in place. Use a screwdriver to remove these screws. Once the screws are removed, you can pull the exterior knob assembly away from the door.
Be careful not to damage any wires or other components that may be connected to the doorknob.
Pro tip: If you’re unsure about disconnecting any wires, it’s always a good idea to consult a professional locksmith or handyman.
For more detailed instructions and visuals, you can visit HomeAdvisor. They provide step-by-step guides and videos to help you with various home improvement projects, including fixing a loose doorknob.
Inspecting and Tightening the Knob
When dealing with a loose doorknob, the first step is to inspect and tighten the knob itself. Here are three important substeps to follow:
Check knob spindle and rose liner
Start by examining the knob spindle and rose liner. Look for any signs of wear or damage. If you notice any cracks or breaks, it may be necessary to replace these parts. If they appear to be in good condition, proceed to the next step.
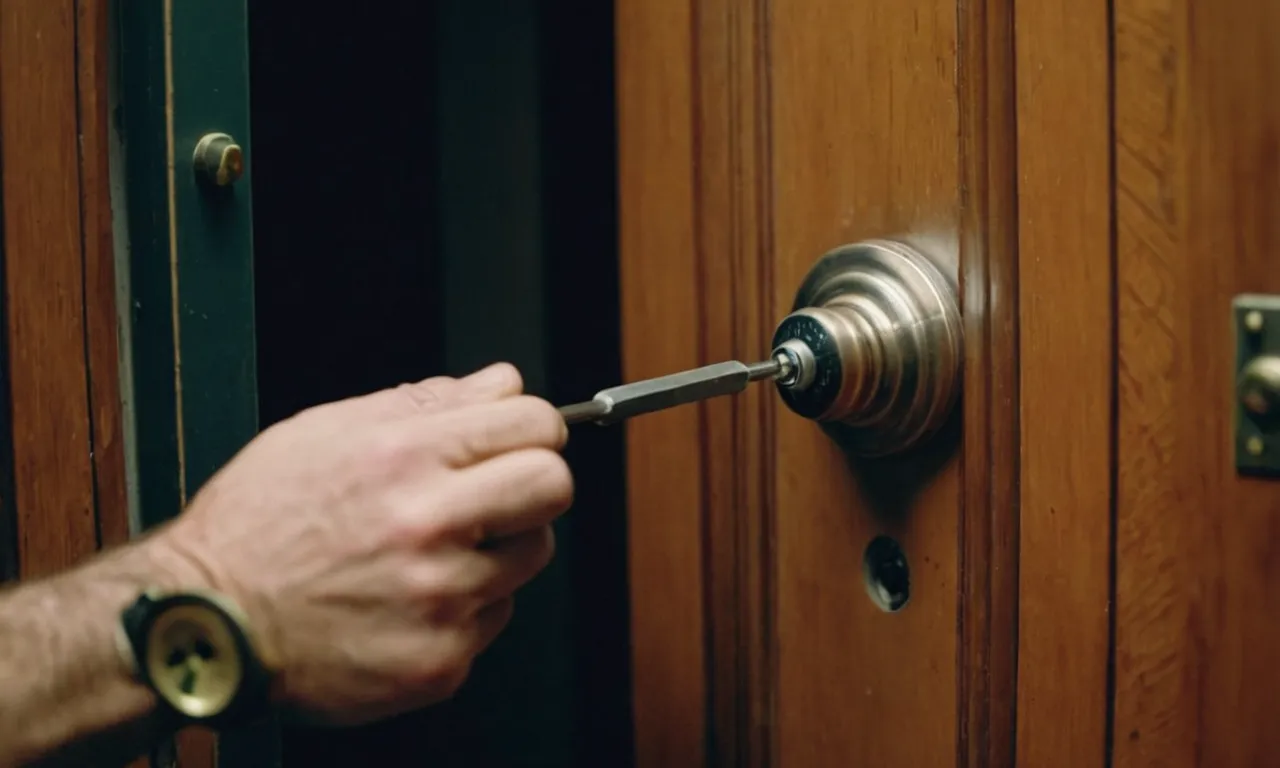
Tighten knob screw
Next, locate the knob screw, which is usually located on the side or bottom of the doorknob. Use a screwdriver to tighten the screw, turning it clockwise until it is snug. Be careful not to overtighten, as this can cause damage to the screw or knob.
Tighten latch plate screws
Finally, check the latch plate screws on the side of the door. These screws secure the latch plate to the door frame and can sometimes become loose over time. Use a screwdriver to tighten these screws, ensuring that the latch plate is securely fastened.
By following these steps, you can effectively inspect and tighten a loose doorknob. Remember to use caution when working with tools and always consult a professional if you are unsure about any part of the process.
Re-installing the Knob
If you have a loose doorknob, re-installing it is a simple and effective solution. Here are the steps to follow:
1. Replace exterior knob assembly
The first step is to remove the old doorknob assembly from the exterior side of the door. This is typically done by unscrewing the screws that hold the assembly in place. Once the screws are removed, carefully pull the assembly away from the door.
Pro tip: If you are having trouble removing the screws, try using a screwdriver with a bit of extra grip or applying a lubricant to help loosen them.
Next, take the new doorknob assembly and align it with the holes on the door. Insert the screws and tighten them until the assembly is securely attached to the door.
Pro tip: It’s a good idea to test the new knob assembly before moving on to the next step. Make sure it turns smoothly and doesn’t wobble.
2. Re-attach interior knob
Now it’s time to re-attach the interior knob. Start by removing the old interior knob from the door. This is usually done by unscrewing a single screw located on the side of the knob. Once the screw is removed, gently pull the knob away from the door.
Take the new interior knob and align it with the spindle on the door. Insert the screw and tighten it until the knob is securely attached.
Pro tip: Before tightening the screw completely, test the knob to make sure it turns smoothly and doesn’t have any play or wobble.
Finally, give the doorknob a final test by opening and closing the door a few times to ensure that it is secure and functions properly.
Pro tip: If you still experience issues with a loose doorknob after following these steps, it may be necessary to replace the entire doorknob assembly. Consider consulting a professional or referring to manufacturer guidelines for further assistance.
Testing the Repaired Knob
Once you have successfully fixed a loose doorknob following the 12 steps, it is important to test the repair to ensure it is secure and functioning properly. Testing the repaired knob will give you peace of mind knowing that your efforts have paid off and that the doorknob is no longer a source of frustration.
Step 1: Inspect the Knob
Before testing the repaired knob, take a moment to visually inspect it. Look for any visible signs of damage or looseness. Ensure that all the screws are tightened and that the knob is securely attached to the door. If everything looks good, proceed to the next step.
Step 2: Turn the Knob
Gently turn the knob to open and close the door. Pay attention to any resistance or wobbling. A properly repaired knob should turn smoothly without any excessive play or movement. If you notice any issues, it may be necessary to revisit the steps and make further adjustments.
Step 3: Verify Security
Test the security of the repaired knob by attempting to force the door open. Apply pressure to the knob in both directions to check for any weakness or instability. A well-repaired knob should hold up against moderate force without coming loose or breaking.
If the knob feels secure, you can proceed to the next step.
Step 4: Check for Noise
Open and close the door while listening for any unusual noises or squeaks. A properly fixed knob should operate quietly without any creaking or grinding sounds. If you hear any noises, it may be necessary to lubricate the moving parts or make further adjustments to eliminate the source of the noise.
Step 5: Repeat the Test
Repeat the entire testing process multiple times to ensure consistency and reliability. By testing the repaired knob multiple times, you can be confident that the repair has been successful and that the doorknob is now in good working condition.
Step 6: Celebrate Your Success!
Once you have completed the testing process and verified that the repaired doorknob is functioning properly, take a moment to celebrate your success! You have successfully fixed a loose doorknob and improved the functionality of your door. Give yourself a pat on the back for a job well done!
Remember, if you encounter any difficulties during the testing process or if the repaired knob does not meet your expectations, don’t hesitate to seek professional help. A qualified locksmith or handyman can provide further assistance and ensure that your doorknob is properly fixed.
Conclusion
With some basic DIY skills and the right tools, you can easily fix a loose doorknob in about an hour. Just follow the steps to methodically remove, inspect, tighten, and re-install the knob assembly. Pay special attention to tightening any loose screws in the knob spindle and latch plate.
And be sure to test the repaired knob before closing up the door to ensure it works properly. Knowing how to maintain and fix little issues like a loose knob will keep your doors working smoothly for years to come.