How To Get Rid Of Scratches On Wood Floors
Scratches on wood floors can be unsightly and damage the beauty of your hardwood. If you have scratches, don’t worry – there are several effective methods you can use to remove them and restore your floors.
If you’re short on time, here’s a quick answer to your question: Use a wood filler, like a wax stick, to fill in light scratches. For deeper scratches, sand the wood floor and apply new stain and finish.
Assessing Scratch Severity
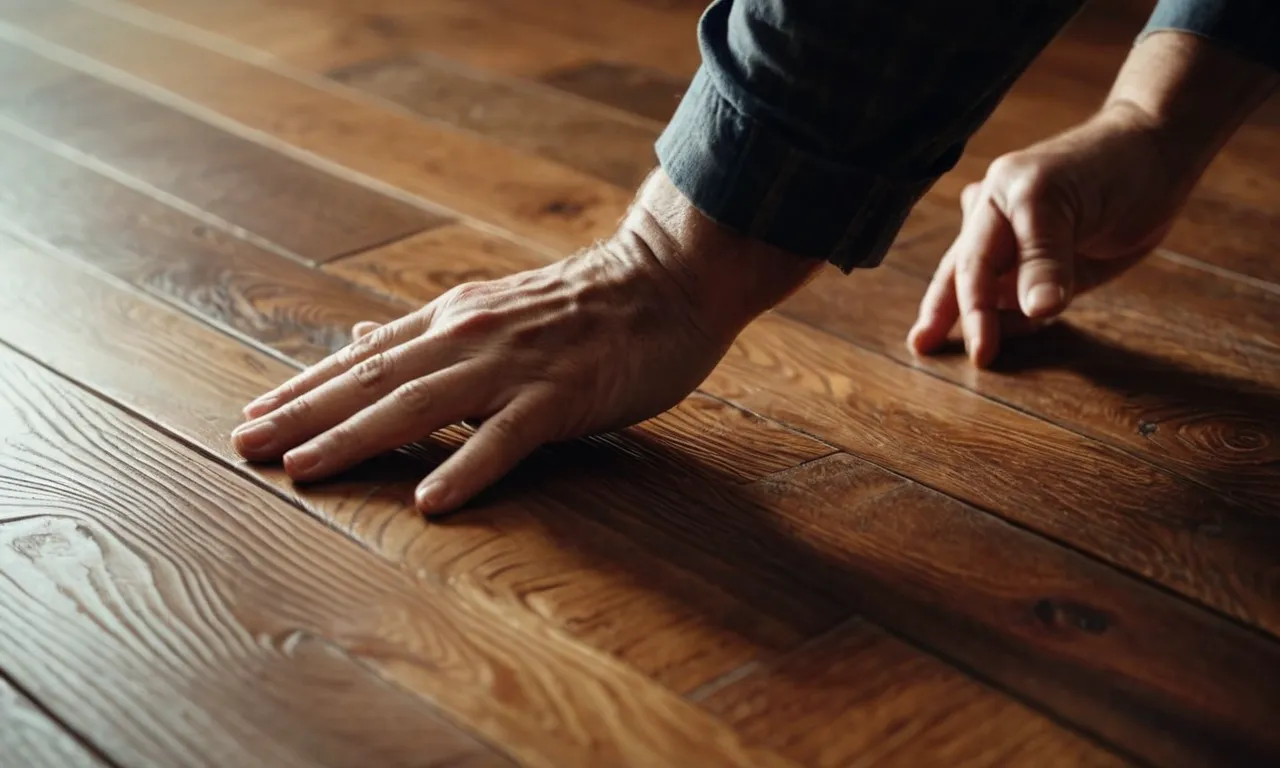
When it comes to dealing with scratches on wood floors, the first step is to assess the severity of the damage. By understanding the depth and width of the scratch, you can determine the appropriate method for repair.
Surface level vs. deep scratches
Surface level scratches are usually minor and can often be easily repaired. These scratches only affect the topmost layer of the wood, known as the finish. They are typically shallow and do not penetrate the actual wood.
Surface level scratches can be caused by pets, furniture, or everyday wear and tear.
On the other hand, deep scratches are more severe and require a different approach. These scratches penetrate beyond the finish and into the wood itself. They are usually more noticeable and may require more extensive repair work.
Deep scratches can be caused by heavy furniture being dragged across the floor or sharp objects being dropped.
Measuring scratch width and depth
Measuring the width and depth of the scratch is an important step in assessing its severity. To measure the width, you can use a ruler or tape measure to determine the distance across the scratch. This will give you an idea of how wide the scratch is and how much area needs to be repaired.
To measure the depth of the scratch, you can use a toothpick or a small probe. Gently insert the toothpick or probe into the scratch and see how deep it goes. This will help you determine if the scratch is superficial or if it has penetrated into the wood.
Note: It’s important to exercise caution when measuring scratches to avoid causing further damage. If you’re unsure about the severity of the scratch, it’s always a good idea to consult a professional.
For more information on assessing scratch severity and other tips for repairing wood floors, you can visit Home Depot’s guide on how to repair scratches in hardwood floors.
Cleaning Before Repair
Sweep and vacuum the floor
Before you can start repairing scratches on your wood floors, it is important to thoroughly clean the area. Begin by sweeping the floor to remove any loose dirt, dust, or debris. Make sure to pay extra attention to the scratched areas, as accumulated dirt can worsen the appearance of the scratches.
After sweeping, use a vacuum cleaner with a soft brush attachment to gently remove any remaining dirt or dust.
Wipe away dirt and debris
After you have swept and vacuumed the floor, it is recommended to wipe away any remaining dirt or debris. This can be done using a damp cloth or mop. Be sure to wring out the cloth or mop well to avoid excess moisture on the wood surface.
Gently wipe the affected area, following the direction of the wood grain. This will help remove any stubborn dirt or grime that may have settled into the scratches.
Remember, cleaning the floor before repair is essential as it ensures that the repair materials adhere properly and allows for a smoother and more effective repair process. Additionally, a clean floor will help prevent any further damage to the wood.
For more information on proper floor cleaning techniques and products, you can visit reputable websites such as HGTV or Better Homes & Gardens.
Fixing Surface Level Scratches
If you have noticed some surface level scratches on your wood floors, don’t worry! There are several easy and effective ways to get rid of them. Here are three methods you can try:
Use filler sticks
One popular method for fixing surface level scratches is to use filler sticks. These sticks are designed to fill in small scratches and restore the appearance of the wood. To use them, simply choose a filler stick that matches the color of your wood floor, rub it gently over the scratch, and then wipe away any excess with a clean cloth.
Filler sticks are a quick and affordable solution that can make a noticeable difference in the appearance of your wood floors.
Apply touch-up markers
Another option for fixing surface level scratches is to use touch-up markers. These markers are available in a variety of wood tones and can be used to color in scratches and blend them with the surrounding wood.
To apply a touch-up marker, simply choose the color that matches your wood floor, carefully color in the scratch, and then wipe away any excess with a clean cloth. Touch-up markers are a convenient and effective way to camouflage scratches on your wood floors.
Rub in oil soap
If you prefer a more natural approach, you can try rubbing in oil soap to fix surface level scratches. Oil soap is a gentle cleanser that can also help to minimize the appearance of scratches. To use oil soap, dampen a soft cloth with a small amount of the soap, and then rub it gently over the scratch in a circular motion.
This can help to remove dirt and grime from the scratch and make it less noticeable. Remember to always follow the manufacturer’s instructions when using oil soap on your wood floors.
Remember, these methods are most effective for surface level scratches. If you have deep scratches or gouges in your wood floors, it may be best to consult a professional for repairs.
Repairing Deeper Scratches
If you have deeper scratches on your wood floors, don’t worry! There are steps you can take to repair them and restore the beauty of your floors. Here are some effective methods:
Sand the damaged area
The first step in repairing deeper scratches is to sand the damaged area. This will help to smooth out the rough edges and prepare the surface for further treatment. Start by cleaning the area with a soft cloth and a mild cleaner.
Then, use a fine-grit sandpaper to gently sand the scratch, following the direction of the wood grain. Be careful not to sand too aggressively, as this can damage the surrounding area.
Pro tip: When sanding the scratch, start with a low-grit sandpaper and gradually work your way up to a higher grit for a smoother finish.
Apply new stain and finish
Once the scratched area is sanded, you can apply a new stain and finish to blend it with the rest of the floor. Start by choosing a stain that matches the color of your wood floor. Apply the stain using a clean cloth or a foam brush, following the manufacturer’s instructions.
Allow the stain to dry completely before applying the finish.
Pro tip: Test the stain on a small, inconspicuous area of the floor to ensure it matches perfectly before applying it to the scratched area.
After the stain has dried, apply a protective finish to the repaired area. This will not only protect the wood but also give it a polished look. You can choose between a polyurethane finish or a wax finish, depending on your preference.
Apply the finish according to the manufacturer’s instructions and allow it to dry completely before walking on the floor.
Pro tip: For a seamless finish, feather the stain and finish into the surrounding area to blend it in with the rest of the floor.
Remember, repairing deeper scratches on wood floors requires patience and attention to detail. If you are unsure about the process or if the damage is extensive, it’s always a good idea to consult a professional for assistance.
Preventing Future Scratches
Install felt pads under furniture
To protect your wood floors from scratches caused by moving furniture, consider installing felt pads on the bottom of chair legs, table legs, and other heavy pieces of furniture. These pads provide a cushioning effect and reduce friction, preventing scratches from occurring when furniture is moved or dragged across the floor.
Felt pads are inexpensive and easy to apply, and they can make a significant difference in preserving the quality of your wood floors.
Use area rugs in high-traffic zones
High-traffic areas in your home, such as hallways and entryways, are more prone to scratches and damage. To safeguard these areas, consider using area rugs or runners. These rugs not only add a decorative touch to your space but also act as a protective barrier between your wood floors and daily foot traffic.
Choose rugs with non-slip backings to prevent them from sliding around and causing accidents.
Trim pets’ nails regularly
If you have pets in your home, their nails can inadvertently cause scratches on your wood floors. To minimize this risk, it’s essential to trim your pets’ nails regularly. By keeping their nails short, you reduce the chances of them scratching the surface of your wood floors.
Additionally, providing your pets with designated scratching posts or mats can redirect their scratching behavior away from your floors.
By implementing these preventive measures, you can significantly reduce the likelihood of future scratches on your wood floors. Remember, prevention is key when it comes to maintaining the beauty and longevity of your floors.
Conclusion
While scratches on wood floors can be frustrating, don’t lose hope. With the right tools and techniques, you can make them look like new again. Just be sure to properly assess the depth of the scratches first, then follow the correct repair process.
With a little time and elbow grease, you can restore the beautiful look of your hardwood floors.