Should You Sand Between Coats Of Paint?
When it comes to home painting projects, you want the end result to have a smooth, professional look. So you may be wondering, should I sand between coats of paint? The short answer is that light sanding between paint coats can help achieve a flawless finish, but it’s not always necessary.
In this comprehensive guide, we’ll cover when and why sanding between paint coats is recommended, how to properly sand for each type of paint, what grit sandpaper to use, and top tips for prep and final sanding. We’ll also look at reasons you may want to skip sanding altogether.
By the end, you’ll know exactly whether sanding between paint coats is right for your next painting project.
When You Should Sand Between Paint Coats
When it comes to painting, achieving a smooth and professional finish is a top priority. One question that often arises is whether or not to sand between coats of paint. While sanding between coats is not always necessary, there are certain situations where it can greatly improve the final result.
Smoothing Over Drips or Sags
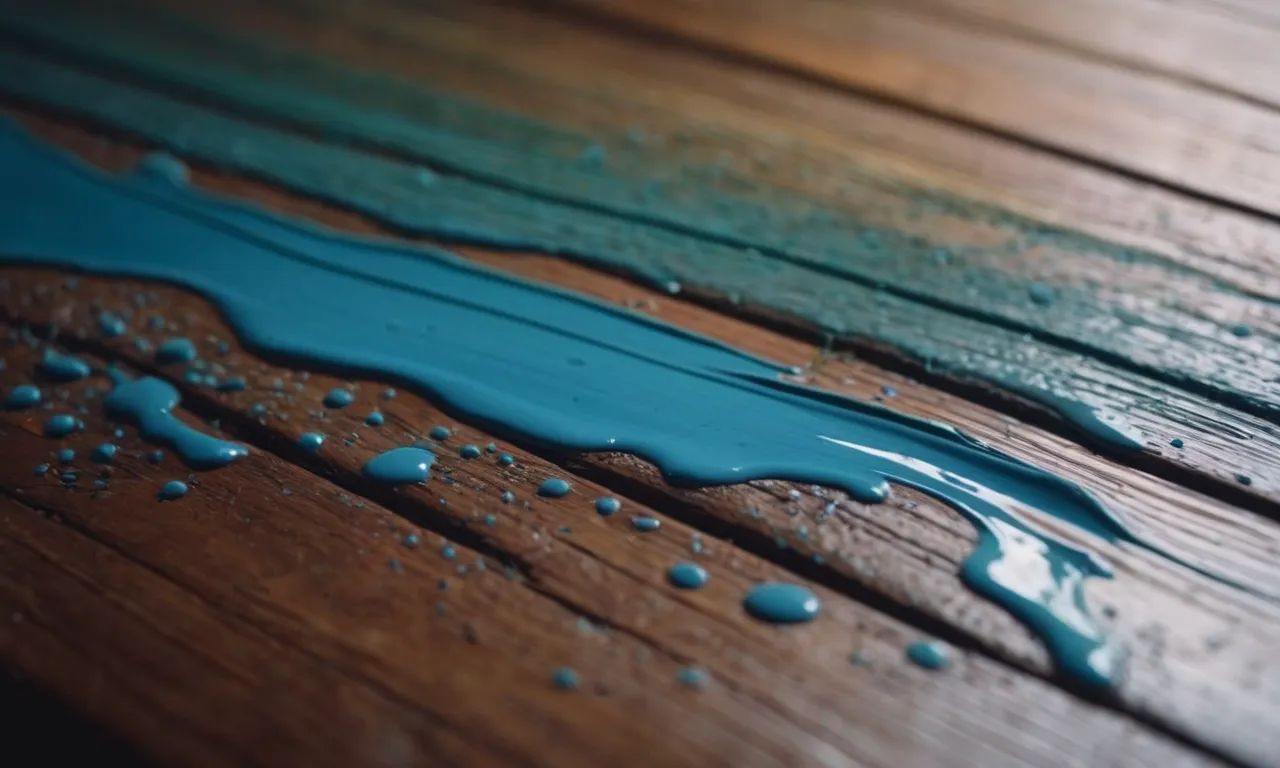
If you notice any drips or sags in your paint job, sanding between coats can help to smooth them out. Simply use a fine-grit sandpaper to gently sand down the imperfections. This will create a level surface and ensure a more even application of paint in the next coat.
Remember to wipe away any dust before applying the next coat of paint.
Creating a Smooth Finish on Interior Walls
When painting interior walls, sanding between coats can help to create a flawless finish. Sanding the walls between coats removes any brush or roller marks and smooths out any texture inconsistencies. This is particularly important if you are using a high-gloss paint, as it tends to highlight imperfections more easily.
By sanding between coats, you can achieve a smooth and professional-looking result.
Achieving an Even Finish on Furniture and Cabinets
If you are painting furniture or cabinets, sanding between coats is essential for achieving an even and durable finish. Sanding between coats helps to remove any roughness or brush strokes, resulting in a smoother and more professional appearance.
It also helps the subsequent coats of paint adhere better to the surface, ensuring a longer-lasting finish.
Prepping Glossy Surfaces for Recoat
When painting over glossy surfaces, such as previously painted trim or furniture, sanding between coats is crucial. Glossy surfaces can be difficult for new paint to adhere to, leading to peeling or chipping.
By sanding between coats, you create a rougher surface that allows the paint to grip onto more effectively. This improves the overall adhesion and durability of the paint job.
Choosing the Right Sandpaper Grit
When it comes to painting, sanding between coats can play a crucial role in achieving a smooth and professional finish. However, knowing which sandpaper grit to use can be a bit confusing. The grit of the sandpaper refers to the number of abrasive particles per square inch.
The higher the grit number, the finer the sandpaper. Let’s explore the different grit options and when to use them.
Light Sanding: 220-400 Grit
Light sanding is typically done between coats of paint to smooth out any imperfections and create a better surface for the next coat to adhere to. This is especially important when working with glossy paints or when using a high-quality finish.
Light sanding is often done with fine-grit sandpaper ranging from 220 to 400 grit. This grit is gentle enough to remove any visible brush strokes or drips without damaging the underlying layers of paint.
Medium Sanding: 150-220 Grit
If you’re dealing with rough patches, minor imperfections, or uneven surfaces, medium sanding is the way to go. Medium grit sandpaper, ranging from 150 to 220 grit, is effective in smoothing out these issues while still maintaining a good surface for the next coat of paint.
This level of sanding is also suitable for removing old paint or varnish before applying a fresh coat.
Heavy Sanding: 100-150 Grit
For more intense sanding tasks like removing thick layers of paint, smoothing out deep scratches, or reshaping surfaces, heavy sanding with a lower grit sandpaper is needed. Sandpapers ranging from 100 to 150 grit are considered heavy-duty and can quickly remove material.
However, caution should be exercised as heavy sanding can be aggressive and may require additional steps to achieve a smooth finish.
Remember, always choose sandpaper grit based on the specific needs of your project. It’s important to start with a higher grit and gradually work your way down to a lower grit for the best results. And don’t forget to use proper safety measures, such as wearing protective goggles and a dust mask, when sanding.
For more information on sandpaper grit and painting techniques, you can visit websites like familyhandyman.com or thisoldhouse.com.
Sanding Technique for Each Paint Type
Latex/Acrylic Paint
When it comes to latex/acrylic paint, sanding between coats is generally not necessary. This type of paint dries quickly and forms a smooth finish on its own. Sanding between coats can actually remove some of the previous layer and create an uneven surface.
However, if you notice any imperfections or rough spots after the paint has dried completely, you can lightly sand those areas with fine-grit sandpaper and then apply another coat of paint.
Oil-Based Paint
Unlike latex/acrylic paint, oil-based paint takes much longer to dry and can often result in a slightly rough texture. In this case, sanding between coats can be beneficial. It helps to create a smoother surface by removing any brush marks or imperfections.
Use fine-grit sandpaper to gently sand the surface after each coat has dried completely. However, be cautious not to sand too aggressively as it may damage the underlying layers of paint.
Chalk Paint
Chalk paint is known for its matte, velvety finish and is popular for furniture and decorative projects. The good news is that sanding between coats is generally not required for chalk paint. Its unique formula allows for easy layering without the need for sanding.
However, if you want to achieve a distressed or vintage look, you can sand specific areas after the paint has dried to create a worn-out effect. Remember to seal the paint with wax or a topcoat to protect the finish.
Polyurethane
Polyurethane is a clear topcoat that provides a protective layer over wood surfaces. When applying polyurethane, it is crucial to sand between coats to achieve a smooth and even finish. Sanding not only helps to remove any dust or particles that may have settled on the surface but also promotes adhesion between coats.
Use fine-grit sandpaper to lightly sand the surface after each coat has dried completely. This will ensure a professional-looking result that is free from imperfections.
When Sanding Between Coats is Optional
Sanding between coats of paint is a common practice that many people follow to achieve a smoother finish and better adhesion. However, there are certain situations where sanding between coats is optional and may not be necessary. Let’s explore some of these scenarios.
Flat Paint on Walls
When it comes to applying flat paint on walls, sanding between coats is typically not required. Flat paint has a porous surface that allows subsequent coats to adhere well without the need for sanding. This makes it an ideal choice for walls in low-traffic areas such as bedrooms or living rooms.
Sanding may only be necessary if there are visible imperfections or unevenness that need to be addressed.
Fresh Drywall or Plaster
When working with fresh drywall or plaster, sanding between coats can be optional. The first coat of paint on these surfaces acts as a primer, helping to seal the porous material. If the first coat is applied evenly and provides good coverage, sanding may not be necessary.
However, if there are rough patches or unevenness, a light sanding can be done to create a smoother surface before applying the next coat.
Painted Metal Surfaces
When painting metal surfaces, such as railings or furniture, sanding between coats is often not required. Most modern paints formulated for metal adhere well without the need for sanding. However, if the surface is rusty or has flaking paint, it is important to remove the loose material and roughen the surface before applying the new coat.
In such cases, sanding becomes necessary to ensure proper adhesion and a smooth finish.
It’s important to note that these guidelines may vary depending on the specific product and manufacturer’s recommendations. Always refer to the paint can or consult with a professional if you are unsure whether sanding between coats is necessary.
For more information on paint application techniques and tips, you can visit reputable websites such as Sherwin-Williams or Benjamin Moore.
Tips for Proper Surface Prep and Final Sanding
Fill Holes and Imperfections
Before applying the first coat of paint, it is essential to properly prepare the surface by filling any holes or imperfections. This can be done using a high-quality wood filler or spackling compound. Simply apply the filler to the affected areas, smooth it out with a putty knife, and let it dry completely.
Once dry, sand the filled areas to create a smooth and even surface for the paint to adhere to.
Degloss Shiny Surfaces
If you are painting over a glossy or shiny surface, it is important to degloss it before applying any paint. This can be done by lightly sanding the surface with fine-grit sandpaper or using a deglossing liquid.
Sanding or deglossing will help the paint adhere better and prevent it from peeling or chipping in the future. Remember to wipe away any dust or debris with a clean cloth before proceeding to the next step.
Remove Dust Before Topcoat
Prior to applying the final coat of paint, it is crucial to remove any dust or particles that may have settled on the surface. Dust can create a bumpy texture and affect the overall finish of your paint job. To remove dust, use a tack cloth or a soft, lint-free cloth lightly dampened with water.
Gently wipe down the surface, making sure to cover all areas, and allow it to dry completely before applying the topcoat.
Final Sand for Ultra Smooth Finish
For those aiming for an ultra-smooth finish, a final sanding between coats of paint can make a significant difference. Use fine-grit sandpaper and lightly sand the surface, focusing on any rough areas or brush marks.
This step will help create a flawless finish and ensure a professional-looking result. Remember to wipe away any sanding dust before applying the next coat of paint.
By following these tips for proper surface prep and final sanding, you can achieve a smooth and flawless paint job that will enhance the overall look of your project.
Conclusion
Sanding between coats of paint is a recommended technique for achieving the smoothest possible finish on many surfaces including wood, metal, and drywall. Light sanding helps adhesion, reveals any flaws to fix, and levels out drips or brush marks.
While it may add time to your painting project, the extra effort can really pay off with a professional-looking paint job. Just be sure to choose the appropriate sandpaper grit, prep the surface properly, and clean dust before adding your final coat of paint or protection.
However, for some low-sheen paint jobs like flat wall paint, sanding may not be necessary. And you always want to check the manufacturer’s recommendations for specialty paints like chalk paint. With the techniques above, you can decide when sanding between paint coats will result in a flawless finish – and when you can skip this step.


