How To Install Frameless Shower Doors
Installing frameless shower doors can completely transform the look of your bathroom. With their sleek, modern aesthetic, frameless doors create an open, airy feel in your shower space. If you’re looking to upgrade your shower, learning how to install frameless doors is a DIY project that can save you money compared to hiring a pro.
This comprehensive guide will walk you through the entire process step-by-step.
If you’re short on time, here’s a quick overview of how to install frameless shower doors: Carefully measure and mark where the glass panels will be installed, drill holes for hardware mounting, fasten wall brackets and door handles/hinges, silicone seal all glass edges.
Now let’s dive into the details!
What You’ll Need
Tools
- Measuring tape
- Level
- Drill
- Screwdriver
- Silicone caulk gun
- Utility knife
- Hammer
Materials
- Frameless shower door kit
- Shower door hinges
- Shower door handle
- Shower door sweeps
- Shower door sealant
- Shower door brackets
Safety Equipment
It’s important to prioritize safety when installing frameless shower doors. Make sure you have the following safety equipment:
- Safety goggles
- Gloves
- Dust mask
Before beginning the installation process, gather all the necessary tools and materials to ensure a smooth and successful installation of your frameless shower doors. The tools you’ll need include a measuring tape to accurately measure the dimensions of your shower area, a level to ensure that the doors are properly aligned, a drill to create holes for screws, a screwdriver to fasten the screws, a silicone caulk gun to apply sealant, a utility knife to trim any excess materials, and a hammer for any necessary adjustments.
Additionally, you’ll need to have the necessary materials on hand. A frameless shower door kit will include the main components of the door, such as glass panels and hinges. You may also need to purchase additional items like shower door handles, sweeps to prevent water leakage, sealant to ensure a watertight seal, and brackets to secure the door to the wall or shower enclosure.
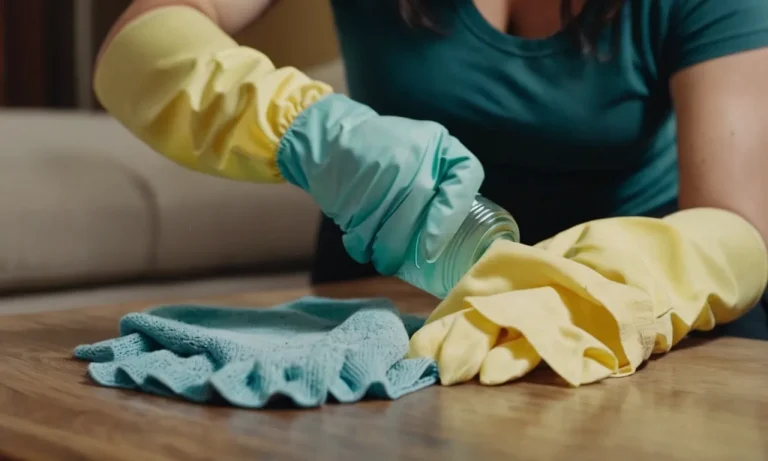
Lastly, don’t forget about safety. Protect your eyes with safety goggles, wear gloves to protect your hands, and use a dust mask to prevent inhaling any particles or debris during the installation process. Safety should always be a top priority when working with tools and materials.
Measuring and Marking
Measure Shower Opening
Before installing frameless shower doors, it is crucial to accurately measure the shower opening. This step ensures that you purchase the correct size of door and prevents any installation issues later on. To measure the opening, use a tape measure to determine the width and height of the space.
Measure at multiple points to account for any irregularities in the walls. It is also important to consider any obstructions, such as faucets or showerheads, and account for them in your measurements. Taking precise measurements will help you select the right-sized shower door for your bathroom.
Mark Mounting Locations
Once you have measured the shower opening, the next step is to mark the mounting locations for the frameless shower doors. Start by determining the desired height of the door and mark it on the wall. Use a level to ensure that the mark is perfectly horizontal.
Then, measure the distance from the edge of the wall to the mounting location on both sides of the opening. Make sure to account for any unevenness in the walls. Mark these measurements on the wall as well.
These markings will guide you during the installation process and ensure that the shower doors are aligned properly.
When marking the mounting locations, it is important to follow the manufacturer’s instructions and guidelines. Different types of frameless shower doors may have specific requirements for the placement of mounting hardware.
By following these instructions, you can ensure that the doors are securely installed and function properly.
For more detailed instructions and illustrations on measuring and marking for frameless shower doors, you can visit reputable websites such as Family Handyman or Home Depot. These resources provide step-by-step guides and helpful tips to make your installation process smoother.
Installing Brackets and Handles
Drill Holes
Before you can mount the brackets and handles for your frameless shower doors, you’ll need to drill holes in the appropriate spots. Measure and mark the positions where the brackets and handles will be attached, making sure they are level and aligned.
Use a drill with the appropriate drill bit to create the holes. It’s important to use the correct size of drill bit to ensure a secure fit for the brackets and handles.
Mount Wall Brackets
Once the holes are drilled, it’s time to mount the wall brackets. Place the brackets over the holes and use screws or anchors to secure them to the wall. Make sure the brackets are level and aligned properly before tightening the screws. If needed, use a level to double-check the positioning.
The wall brackets will provide the necessary support for the frameless shower doors, so it’s crucial to ensure they are securely attached to the wall.
Attach Door Handle and Hinges
After the wall brackets are in place, it’s time to attach the door handle and hinges. Start by attaching the hinges to the door panel according to the manufacturer’s instructions. Then, align the hinges with the brackets on the wall and secure them in place.
Make sure the door swings smoothly and securely. Finally, attach the door handle to the door, making sure it is aligned properly and tightened securely.
It’s important to follow the manufacturer’s instructions and guidelines when installing the brackets and handles for your frameless shower doors. This will ensure proper installation and functionality of your shower doors.
If you need further guidance, consult a professional or refer to reputable sources like Family Handyman or HGTV for step-by-step instructions and tips.
Hanging the Glass Panels
Once you have measured and prepared the space for your frameless shower doors, it’s time to hang the glass panels. This step is crucial as it determines the overall look and functionality of your shower enclosure.
1. Prepare the Panels
Before you begin hanging the glass panels, ensure that they are clean and free from any dust or debris. Use a lint-free cloth and a mild glass cleaner to wipe them down thoroughly. This will ensure a crystal-clear finish once the installation is complete.
2. Attach the Hinges
The hinges are an essential component of frameless shower doors as they provide stability and allow the doors to swing open and closed smoothly. Carefully attach the hinges to the glass panels according to the manufacturer’s instructions. Make sure they are aligned properly and securely fastened.
3. Use a Level
It is crucial to ensure that the glass panels are installed level to prevent any water leakage or misalignment. Use a level to check the vertical and horizontal positioning of the panels. Adjust them as necessary to achieve a perfectly level installation.
4. Secure the Panels
Once the panels are properly aligned, it’s time to secure them in place. Depending on the manufacturer’s instructions, this may involve drilling holes and using screws or applying adhesive to hold the panels in place.
Follow the recommended installation method to ensure a secure and long-lasting installation.
5. Finishing Touches
After the glass panels are securely installed, take the time to double-check for any imperfections or areas that require touch-ups. Use a silicone sealant to seal any gaps between the panels and the surrounding walls or floor.
This will help prevent water leakage and maintain the integrity of your shower enclosure.
Remember, installing frameless shower doors requires precision and care. If you are unsure or uncomfortable with any step of the process, it is always best to consult a professional for assistance. With the right tools and proper installation techniques, you can enjoy the beauty and functionality of frameless shower doors in your bathroom.
For more detailed instructions and visuals, you can visit Home Depot’s guide on how to install a frameless shower door.
Sealing the Shower Enclosure
One of the most important steps in installing frameless shower doors is properly sealing the shower enclosure. This helps to prevent water leakage and maintain the integrity of the door installation. There are a few key steps involved in sealing the shower enclosure.
Apply Silicone Sealant
The first step is to apply a silicone sealant around the edges of the shower enclosure. Silicone sealant is a flexible and waterproof material that helps to create a tight seal between the shower door and the walls of the enclosure.
It is important to choose a high-quality silicone sealant that is specifically designed for use in wet areas like bathrooms.
When applying the silicone sealant, start at one corner of the enclosure and work your way around, ensuring that you cover all the gaps between the glass door and the walls. Use a caulking gun for precise application and smooth out the sealant with a caulking tool or your finger.
This will help to create a neat and even seal.
Let Cure
After applying the silicone sealant, it is important to let it cure properly. The curing time can vary depending on the specific product you are using, so be sure to read the manufacturer’s instructions.
Generally, it takes about 24 to 48 hours for the silicone sealant to fully cure and form a strong bond.
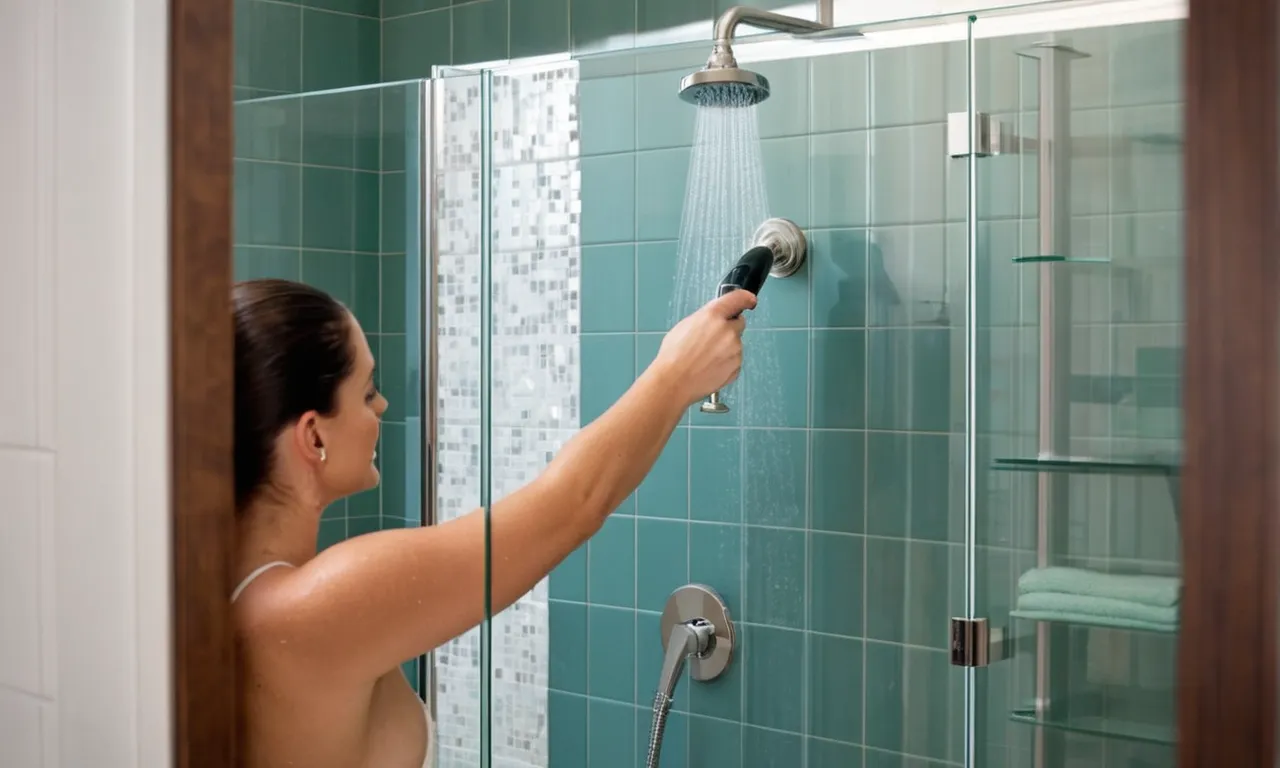
During the curing process, it is essential to keep the shower enclosure dry and avoid any water contact. This will allow the silicone sealant to set properly and ensure a watertight seal. Once the sealant is fully cured, you can test the effectiveness of the seal by running water over the enclosure and checking for any signs of leakage.
Remember, proper sealing of the shower enclosure is crucial for preventing water damage and maintaining the longevity of your frameless shower doors. By following these steps and allowing the silicone sealant to cure thoroughly, you can ensure a secure and leak-free shower enclosure.
Conclusion
With the right tools and preparation, installing frameless shower doors is totally doable as a DIY project. Carefully following each step will ensure your new frameless enclosure is securely and properly mounted.
Just take your time, double check measurements, and use silicone sealant generously for a watertight seal. Your bathroom will look like it was professionally remodeled once you step back and admire your new, gleaming frameless shower!