How To Paint Trim After Walls Are Painted
Painting the trim in your home can really make everything look fresh and new. But what if you’ve already painted the walls? Can you still paint the trim afterward? The short answer is yes, you absolutely can paint trim after painting walls.
With some careful prep work and patience, you can get a beautiful, cohesive look in any room.
In this comprehensive guide, we’ll walk through every step of painting trim after you’ve already painted the walls. We’ll cover all the preparation work required, the best painting techniques to use, how to avoid common mistakes, and pro tips to really make your trim pop.
Read on to learn everything you need to know to paint trim like a pro after the walls are done.
Proper Surface Preparation
Clean the Trim Thoroughly
Before you start painting the trim, it is important to thoroughly clean it to ensure the paint adheres properly. Use a mild detergent and warm water to remove any dirt, dust, or grime from the surface. You can also use a degreaser if there are any oily or greasy spots.
Make sure to rinse the trim thoroughly and allow it to dry completely before proceeding.
Sand Glossy Surfaces
If your trim has a glossy finish, it is recommended to sand it lightly before painting. This will help remove the shine and create a rougher surface for the paint to adhere to. Use a fine-grit sandpaper and gently sand the trim in a circular motion.
Be sure to wipe away any dust with a clean cloth before moving on to the next step.
Fill Any Holes or Imperfections
Inspect the trim for any holes, dents, or other imperfections that need to be filled. Use a high-quality wood filler and a putty knife to fill in these areas. Smooth out the filler and allow it to dry completely. Once dry, sand the filled areas lightly to ensure a smooth surface.
Prime Bare Wood
If you are painting bare wood trim, it is important to apply a primer before painting. This will help seal the wood and create a smooth surface for the paint. Choose a primer that is specifically designed for wood surfaces and follow the manufacturer’s instructions for application.
Once the primer is dry, you can proceed with painting the trim.
Painting Techniques
When it comes to painting trim after walls are painted, there are several techniques that can help you achieve a professional-looking finish. By following these techniques, you can ensure that your trim stands out and complements the overall look of the room.
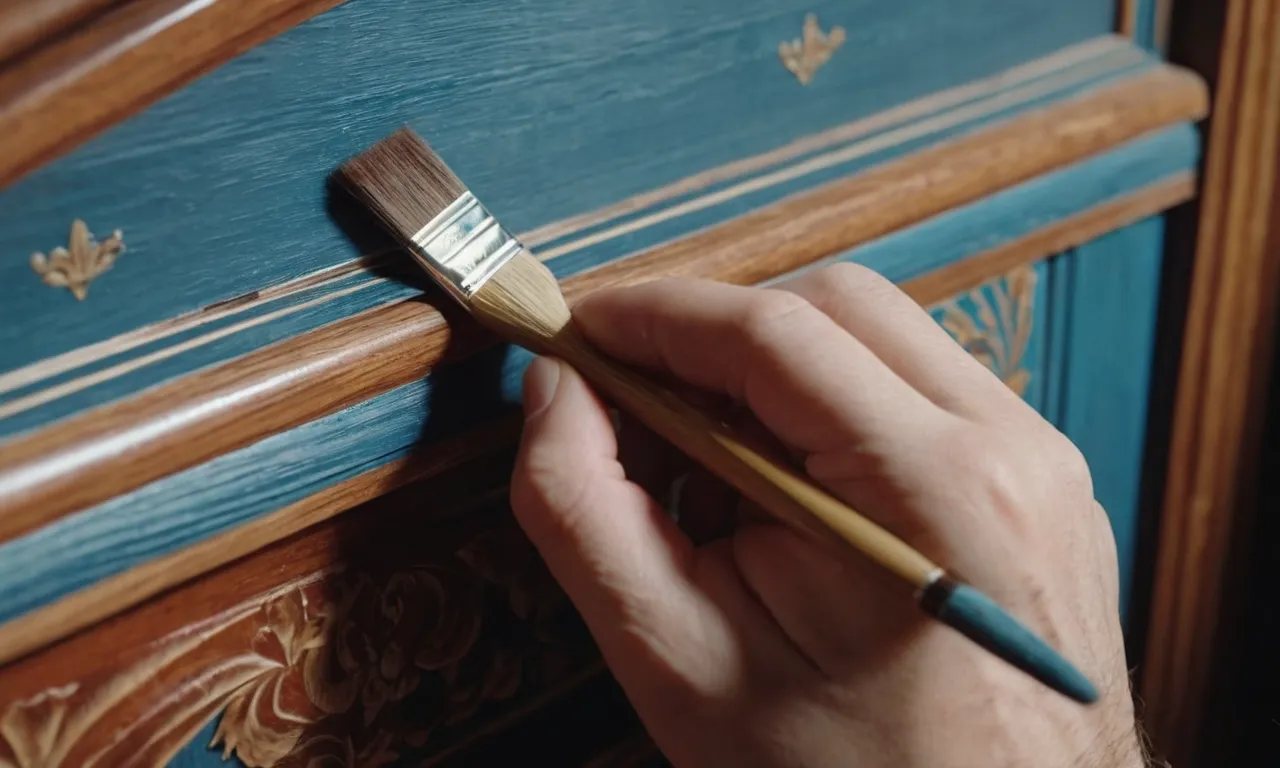
Cut In Carefully by Hand
One of the most important techniques for painting trim is to cut in carefully by hand. This involves using a high-quality brush and painting along the edges of the trim with precision. By doing this, you can create clean, sharp lines that separate the trim from the walls.
It may take a little more time and effort, but the end result will be well worth it.
Use Painter’s Tape on Edges
If you’re not confident in your ability to cut in by hand, another option is to use painter’s tape on the edges of the trim. This tape can be applied along the trim, acting as a barrier between the trim and the wall.
When painting, make sure to press the tape firmly to prevent any paint from bleeding through. Once the paint has dried, carefully remove the tape to reveal clean, crisp edges.
Roll the Centers Quickly
When it comes to painting the centers of the trim, using a roller can save you time and effort. Use a small roller specifically designed for trim work and roll the paint on quickly and evenly. This technique will help you cover the larger surface areas of the trim efficiently, leaving a smooth finish.
Work Top to Bottom
When painting trim, it’s important to work from top to bottom. By starting at the top and working your way down, you can prevent any drips or streaks from ruining the freshly painted surfaces below. This technique ensures that each section of the trim is painted evenly and eliminates the need for touch-ups.
Remember, practice makes perfect. Don’t be discouraged if your first attempt at painting trim doesn’t turn out exactly as you hoped. With time and experience, you’ll become more skilled at these techniques and achieve professional-looking results.
Avoiding Common Mistakes
Don’t Cut Corners on Prep Work
When it comes to painting trim after the walls are painted, one of the most common mistakes people make is rushing through the prep work. It’s important to take the time to properly prepare the trim before you start painting.
This includes cleaning the surface to remove any dirt or dust, sanding any rough areas, and filling in any cracks or holes with a suitable filler. By skipping these steps, you risk ending up with a less than perfect finish.
Remember, a little extra time spent on prep work can make a big difference in the final result.
Allow Proper Dry Times
Another mistake to avoid when painting trim after the walls are painted is not allowing enough time for the paint to dry. This is especially important if you are using multiple coats of paint. Rushing the drying process can result in smudges, streaks, or even damage to the previously painted walls.
It’s best to follow the manufacturer’s instructions for drying times and ensure that each coat is fully dry before applying the next one. Patience is key when it comes to achieving a professional-looking finish.
Watch Paint Drips Carefully
Paint drips can be a nightmare when painting trim, especially after the walls have already been painted. To avoid this common mistake, it’s important to watch for any drips or runs as you paint. Use a smaller brush or a foam brush to carefully catch any drips before they have a chance to dry.
It’s also a good idea to have a clean, damp cloth on hand to quickly wipe away any accidental drips. Taking these simple precautions will help ensure a clean and flawless finish.
Maintain a Wet Edge
One of the keys to achieving a smooth and even finish when painting trim after the walls are painted is to maintain a wet edge. This means that you should avoid letting the paint dry completely before moving on to the next section.
By overlapping each stroke slightly with the previous one, you will create a seamless look without any visible lines or brush marks. Remember to work in small sections and keep a wet brush to blend each stroke together. This technique may take a bit of practice, but the results will be worth it.
Pro Tips
Use an Angled Brush for Tight Spots
When painting trim after walls are painted, it’s important to use the right tools for the job. One pro tip is to use an angled brush for tight spots. The angled bristles allow for better control and precision when painting corners, edges, and other narrow areas.
This will help you achieve clean lines and a professional-looking finish. Remember to use smooth strokes and apply an even coat of paint for best results.
Consider Using a Small Roller
Another pro tip for painting trim is to consider using a small roller. While brushes are great for detail work, a small roller can be more efficient when covering larger areas of trim. It can help you save time and ensure a smooth and consistent finish.
Just make sure to choose a roller with a nap appropriate for the type of trim you’re painting.
Caulk First for Clean Lines
Before you start painting, it’s important to prep your trim properly. One crucial step is to caulk any gaps or cracks in the trim. This will not only improve the appearance of the trim but also help create clean lines when painting.
Caulking will fill in any imperfections and create a seamless surface for the paint to adhere to. Be sure to use a high-quality caulk and follow the manufacturer’s instructions for best results.
Paint Door and Window Trim Last
When painting trim after walls are painted, it’s generally recommended to start with the baseboards and work your way up to the crown molding. However, when it comes to door and window trim, it’s best to save them for last.
This is because door and window trim often have more intricate details and require extra care and attention. By painting them last, you can ensure that they are not accidentally smudged or damaged while working on other areas.
For more detailed instructions and tips on painting trim, you can visit www.familyhandyman.com. They have a comprehensive guide that covers everything you need to know about painting trim and achieving professional results.
Conclusion
By following the preparation, technique, and pro tip guidance above, you can paint beautiful, professional-looking trim after your walls are already done. Just take your time, pay close attention to the edges, and work methodically from top to bottom.
With some care and patience, your trim will look freshly painted, not like an afterthought. The end result will be a cohesive, pulled-together look in any space.
For best results, always read the manufacturer’s instructions for dry times and topcoat application. And don’t be afraid to ask the experts at your local paint store for additional pointers. With the right information and supplies in hand, you can paint stunning trim to complement your already fabulous walls.