How To Program A Remote To Your Garage Door Opener
Opening your garage door with the push of a button on a remote control keypad is incredibly convenient. But what happens when you get a new remote or need to replace a lost one? Reprogramming a garage door remote may sound daunting, but it’s actually quite simple.
In this comprehensive guide, we’ll walk you through every step of the process so you can get your remote paired and working with your garage door opener quickly.
If you don’t have time for the full instructions, here’s a quick overview: You’ll locate the learn button on your garage opener motor, push that button, push your remote button, then test to make sure it works. It usually only takes a few minutes at most.
Understanding Garage Door Opener Frequency
Most openers use a radio frequency signal
When it comes to programming a remote for your garage door opener, it’s important to understand the frequency that your opener uses. Most modern garage door openers operate on a radio frequency signal, which allows the remote control to communicate with the opener.
This signal is what allows you to open and close your garage door with the press of a button.
Understanding the frequency of your garage door opener is crucial because it determines the compatibility of the remote control. If you try to program a remote with a different frequency than your opener, it simply won’t work.
So, it’s essential to know which frequency your opener operates on before attempting to program a new remote.
Check manuals to verify frequency
To find out the frequency of your garage door opener, the first step is to check the owner’s manual. The manual should provide detailed information about the specifications of your opener, including the frequency it uses for communication.
If you can’t locate the manual, you can often find it online on the manufacturer’s website or by doing a quick internet search using your opener’s model number.
If you purchased the garage door opener recently and still have the packaging, you can also check the product label or the user guide that came with it. These resources typically contain the necessary information about the frequency of the opener.
315 MHz and 390 MHz are most common
Two of the most common frequencies used by garage door openers are 315 MHz and 390 MHz. These frequencies have become industry standards and are widely supported by remote control manufacturers. If your opener operates on one of these frequencies, you’ll have a wide range of remote control options to choose from.
However, it’s important to note that there are other frequencies used by some garage door openers, such as 433 MHz or 868 MHz. If you find that your opener uses a different frequency, you may need to do some additional research to find a compatible remote control.
When purchasing a new remote control, it’s always a good idea to check the product specifications to ensure compatibility with your garage door opener. Some remote controls are designed to work with multiple frequencies, providing flexibility and convenience for homeowners.
Remember, understanding the frequency of your garage door opener is the first step in successfully programming a remote control. By verifying the frequency and choosing a compatible remote, you can enjoy the convenience and security of controlling your garage door with ease.
Locating the Learn Button
When it comes to programming a remote to your garage door opener, the first step is to locate the learn button. This button is an essential component in the programming process, as it allows the opener to recognize and sync with the remote. Here are a few tips to help you find the learn button:
Consult the manual for the exact location
The easiest way to find the learn button is to consult the manual that came with your garage door opener. The manual will provide you with detailed instructions on where to find the button and how to access it.
It’s always a good idea to keep the manual handy for reference, as it contains important information about your specific model.
Usually a small button on the motor unit
In most cases, the learn button is located on the motor unit of the garage door opener. It is typically a small button that may be black, red, or another color that stands out from the rest of the unit.
The button is usually labeled with words such as “learn” or “program,” making it easier to identify. Take a close look at the motor unit, and you should be able to spot the learn button.
May say “learn” or “program”
If you’re having trouble finding the learn button visually, look for any labels or markings on the motor unit that indicate programming or learning. This could be in the form of words like “learn” or “program.”
Some garage door opener manufacturers even use symbols or icons to represent the learn button. Keep an eye out for any such indications, and you’ll be on your way to programming your remote in no time.
Remember, each garage door opener model may have a slightly different location for the learn button, so it’s essential to consult the manual or look for specific markings on your unit. If you’re still having trouble finding the learn button, don’t hesitate to reach out to the manufacturer’s customer support for assistance.
They can provide you with the guidance you need to successfully program your remote.
Programming the Remote
Programming a remote to your garage door opener is a simple process that allows you to conveniently open and close your garage door with the press of a button. Follow these steps to program your remote:
Push learn button and hold for 30 seconds
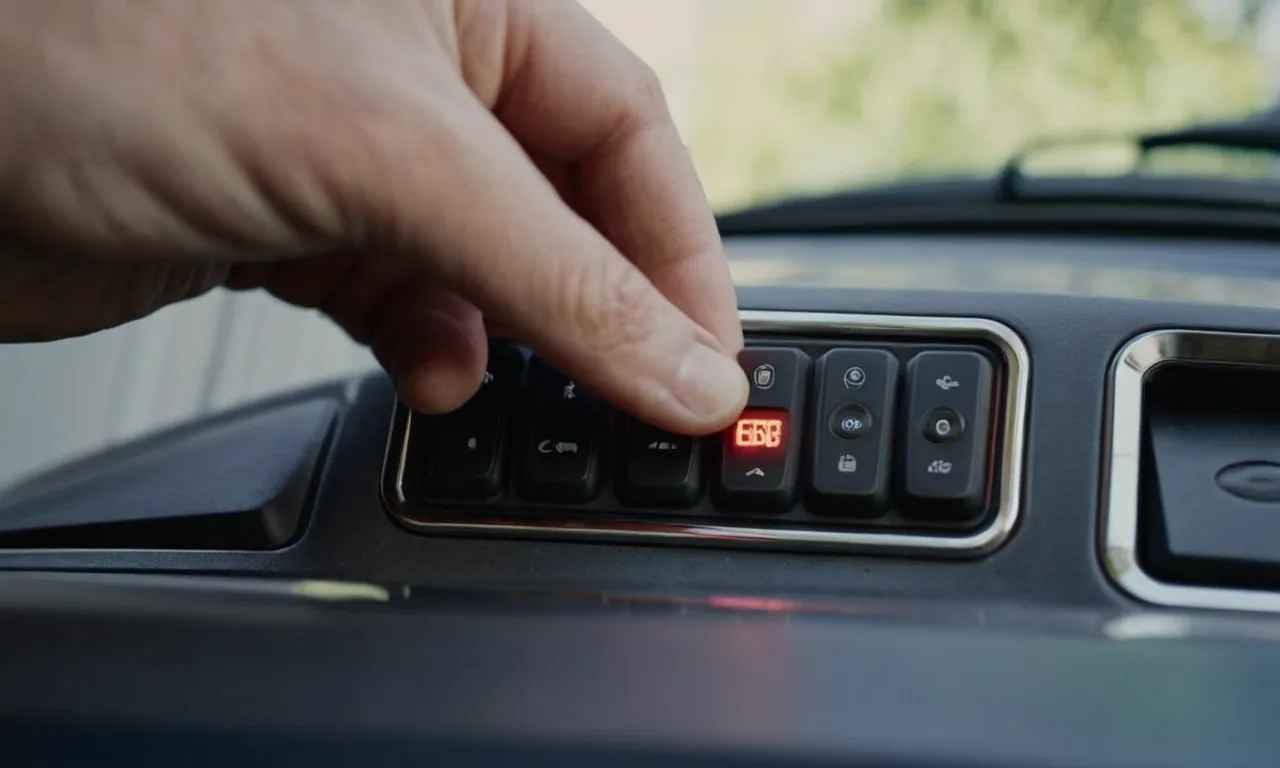
The first step in programming your remote is to locate the learn button on your garage door opener. This button is typically located near the antenna wire or on the back of the opener. Once you’ve found the learn button, press and hold it for 30 seconds.
This puts your garage door opener into programming mode.
Push your remote button 2-3 times while holding learn button
While continuing to hold down the learn button, grab your remote and press the button you want to program. Make sure to press the button 2-3 times to ensure a proper connection. This sends the signal from the remote to the garage door opener, syncing the two devices together.
Release learn button after remote programmed
After you’ve pressed the remote button multiple times, release the learn button on the garage door opener. This signals that the programming process is complete and that your remote is now successfully programmed to the opener.
It’s important to note that the specific steps for programming a remote may vary depending on the brand and model of your garage door opener. For detailed instructions, refer to the instruction manual provided by the manufacturer.
Additionally, you can always reach out to the manufacturer’s customer support or visit their official website for more information.
For more tips and tricks on garage door opener programming, check out Chamberlain’s official support page. They provide comprehensive guides and helpful resources to assist you in programming your remote with ease.
Testing the Remote
Once you have successfully programmed your remote to your garage door opener, it is important to test it to ensure it is working properly. Testing the remote is a simple process that can give you peace of mind knowing that you have successfully programmed it.
Stand outside the garage and test the remote
To test the remote, stand outside your garage and press the designated button on the remote. You should see the garage door open or close, depending on its current position. If the door responds to the remote, congratulations! You have successfully programmed it.
If it doesn’t work, repeat programming steps
If the remote does not work as expected, don’t panic. It is not uncommon for programming to fail on the first attempt. Double-check that you followed the programming steps correctly. Sometimes, a minor error can cause the remote to fail. Repeat the programming steps and try testing the remote again.
If the issue persists, consult the manufacturer’s manual or contact customer support for further assistance.
Make sure opener has power and is operational
Before assuming that the remote is faulty, make sure that the garage door opener has power and is operational. Check if the opener is plugged in and the power source is functioning properly. Additionally, inspect the garage door opener for any visible damage or malfunctions.
Sometimes, a malfunctioning opener can cause issues with the remote. If everything seems to be in order with the opener, then it is likely that the remote needs further troubleshooting.
Remember, troubleshooting issues with a garage door opener can vary depending on the brand and model. It is always recommended to refer to the manufacturer’s manual or seek professional assistance if you encounter persistent problems.
Troubleshooting Tips
Check battery in remote if not working
If your garage door remote is not working, the first thing you should check is the battery. A weak or dead battery can prevent the remote from sending a signal to the garage door opener. To check the battery, simply open the remote and replace the battery with a new one.
It is recommended to use a high-quality battery to ensure optimal performance.
Pro Tip: If you are unsure about the type of battery your remote uses, check the user manual or visit the manufacturer’s website for more information.
Try a different remote if one fails to program
If you are having trouble programming a specific remote to your garage door opener, it is possible that the remote itself is faulty. In such cases, it is worth trying a different remote to see if the issue lies with the remote or the opener.
Borrow a remote from a friend or family member, or purchase a new one if necessary. If the new remote programs successfully, it is likely that the original remote needs to be replaced.
Pro Tip: Before purchasing a new remote, make sure it is compatible with your garage door opener. Check the manufacturer’s website or consult the user manual for a list of compatible remotes.
Reset opener if programming button fails
If you are unable to program your remote using the programming button on the garage door opener, it may be necessary to reset the opener. To do this, locate the reset button on the opener and hold it down for approximately 10 seconds.
This will clear any existing programming and allow you to start the programming process from scratch. Once the opener is reset, follow the manufacturer’s instructions to program your remote.
Pro Tip: If you are unsure about the location of the reset button or how to reset your specific opener model, consult the user manual or visit the manufacturer’s website for step-by-step instructions.
Conclusion
With the right preparation and follow through, programming a garage door remote is quite straightforward. Locating the opener’s learn button and pushing your remote buttons while holding it down will typically do the trick.
We hope this guide has equipped you to easily add remotes or replace lost ones, restoring the convenience of push button garage access.


